
Sewing Tutorial: The Buttoned Belt

I like to offer you tutorials for sewing belts. Indeed, the customizable sewing patterns allow you to make dresses or jumpsuits that are fitted at the waist. I often sew my creations with a little more ease and complete my silhouette with a belt to cinch my dress. This way, my personalized creation can follow my weight fluctuations and my desires of the moment more easily ;-)
After the tie belt , the elastic belt and the quilted belt , today I offer you a tutorial for sewing a buttoned belt. I made this step-by-step tutorial as part of the update of the ebook "My wedding dress, advice and techniques for sewing your exceptional dress" , but it can also be made for your everyday outfits.
Supplies
10 cm of fabric 140 cm wide
Iron-on interfacing ( my favorite )
A few centimeters of elastic buttonhole braid
2 buttons to cover 11 mm
A plastic sew-on snap button
Measures
For a finished belt of 3 cm height, the strip of fabric measures 8 cm wide.
Its length is determined by the following formula:
Waist measurement + 1 cm ease + 4 cm buttoning + 2 cm seam allowances.
For example, for a waist size of 74 cm, the strip of fabric will measure 8 cm by 81 cm.
Step by step

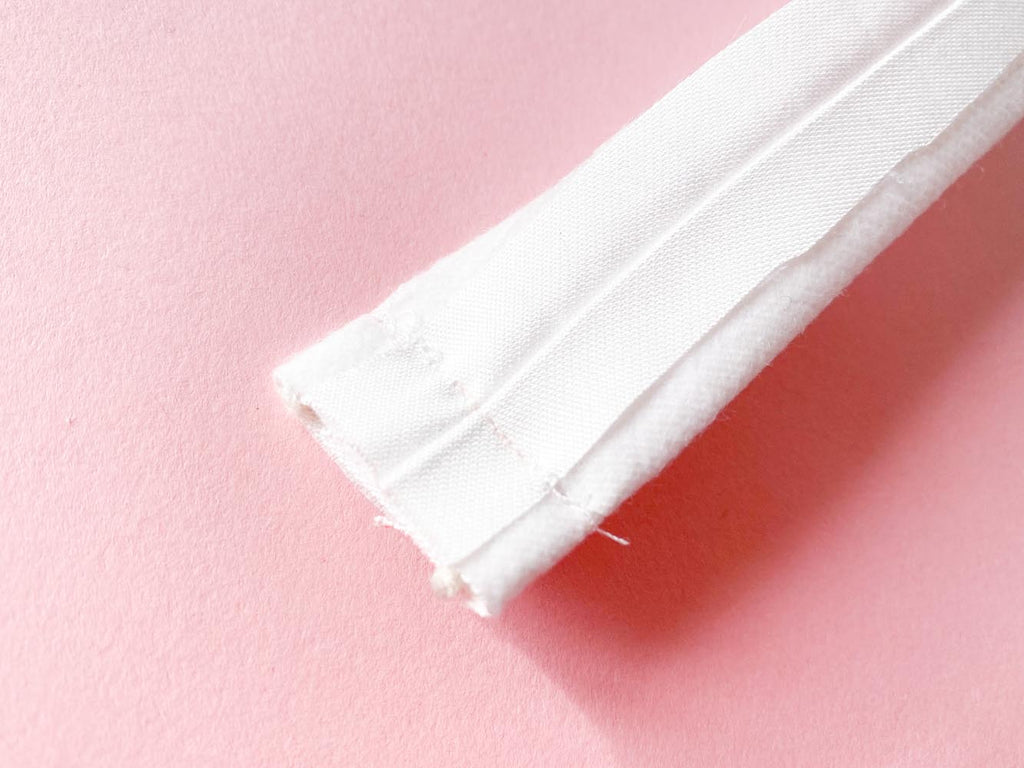
Using a Frixion pen (which can be erased with the heat of the iron), trace on the right side of the fabric, at one end, the seam line 1 cm from the edge and identify the central 3 cm which will ultimately be the right side of the belt.
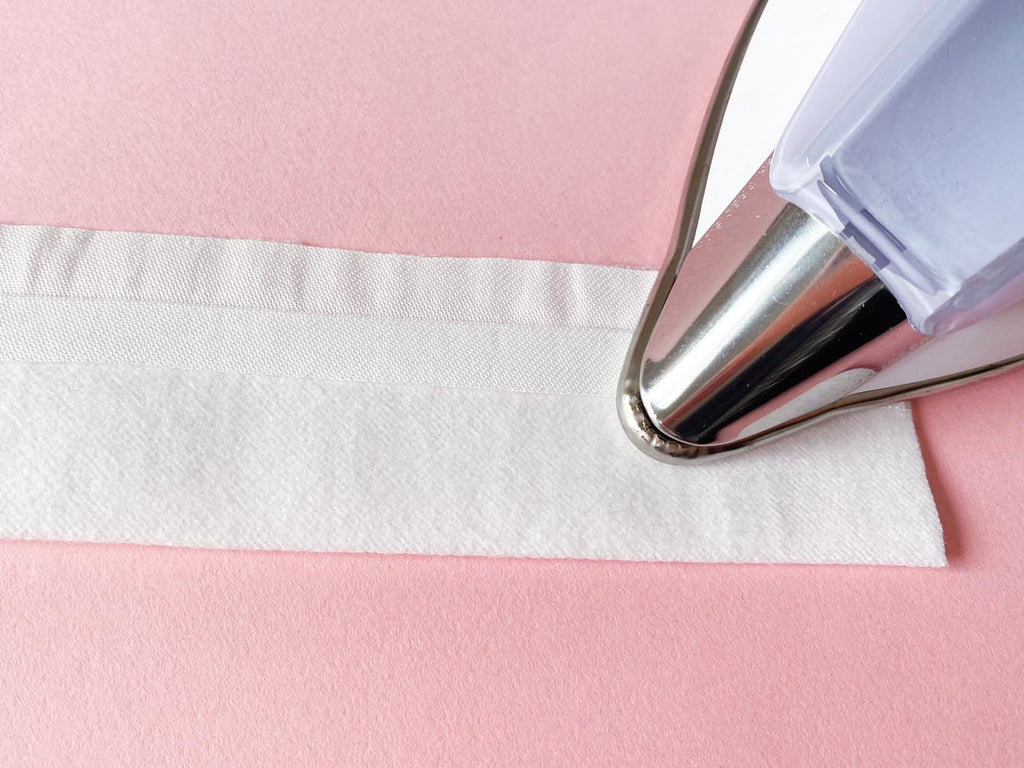
Position the braid in the center with two buttonholes facing inwards.

Straight stitch along the braid to hold the buttonholes in place.

Fold the belt edge to edge, right side against right side. Sew 1 cm from the edge along the entire length, making sure to leave an opening of about 10 cm.
Do not stitch the ends of the belt.
Press the seam allowances apart.
Still on the wrong side, fold your belt so that the seam is in the center. Stitch the ends 1 cm from the edge. For the end with the buttonholes, stitch again on the existing seam.

Trim the corners.

Return to the place using a guide-pass .

Iron, placing the seam in the center of the waistband.

Close the opening with a hand seam.

Make the buttons to be covered in the same fabric as the belt.

Try on your belt to determine where the buttons are located.
Hand sew on the buttons and a plastic snap for extra support. The ends of the belt overlap by about 4 cm.

Your buttoned belt is ready to wear with your favorite custom creation.
Happy customizing and happy sewing!


2 comments
Merci, pour l’explication, c’est très clair.
jacqueline LAJEUNE
Chère Charlotte,
Bravo pour ce beau tutoriel !
En tant que créatrice de robes de mariée, je me permets d’ajouter une petite remarque.
Sur certaines lichettes, il faut laisser davantage de marge car la petite bride peut rapidement sortir de la bande qui la maintient. Et donc tout est à refaire ;)
Si cela peut permettre aux futures mariées d’anticiper une frayeur le jour J avec une ceinture qui casse, je préfère autant prévenir ;-)
Camille de Saint-Léger
Camille de Saint-Léger
Leave a comment
This site is protected by hCaptcha and the hCaptcha Privacy Policy and Terms of Service apply.