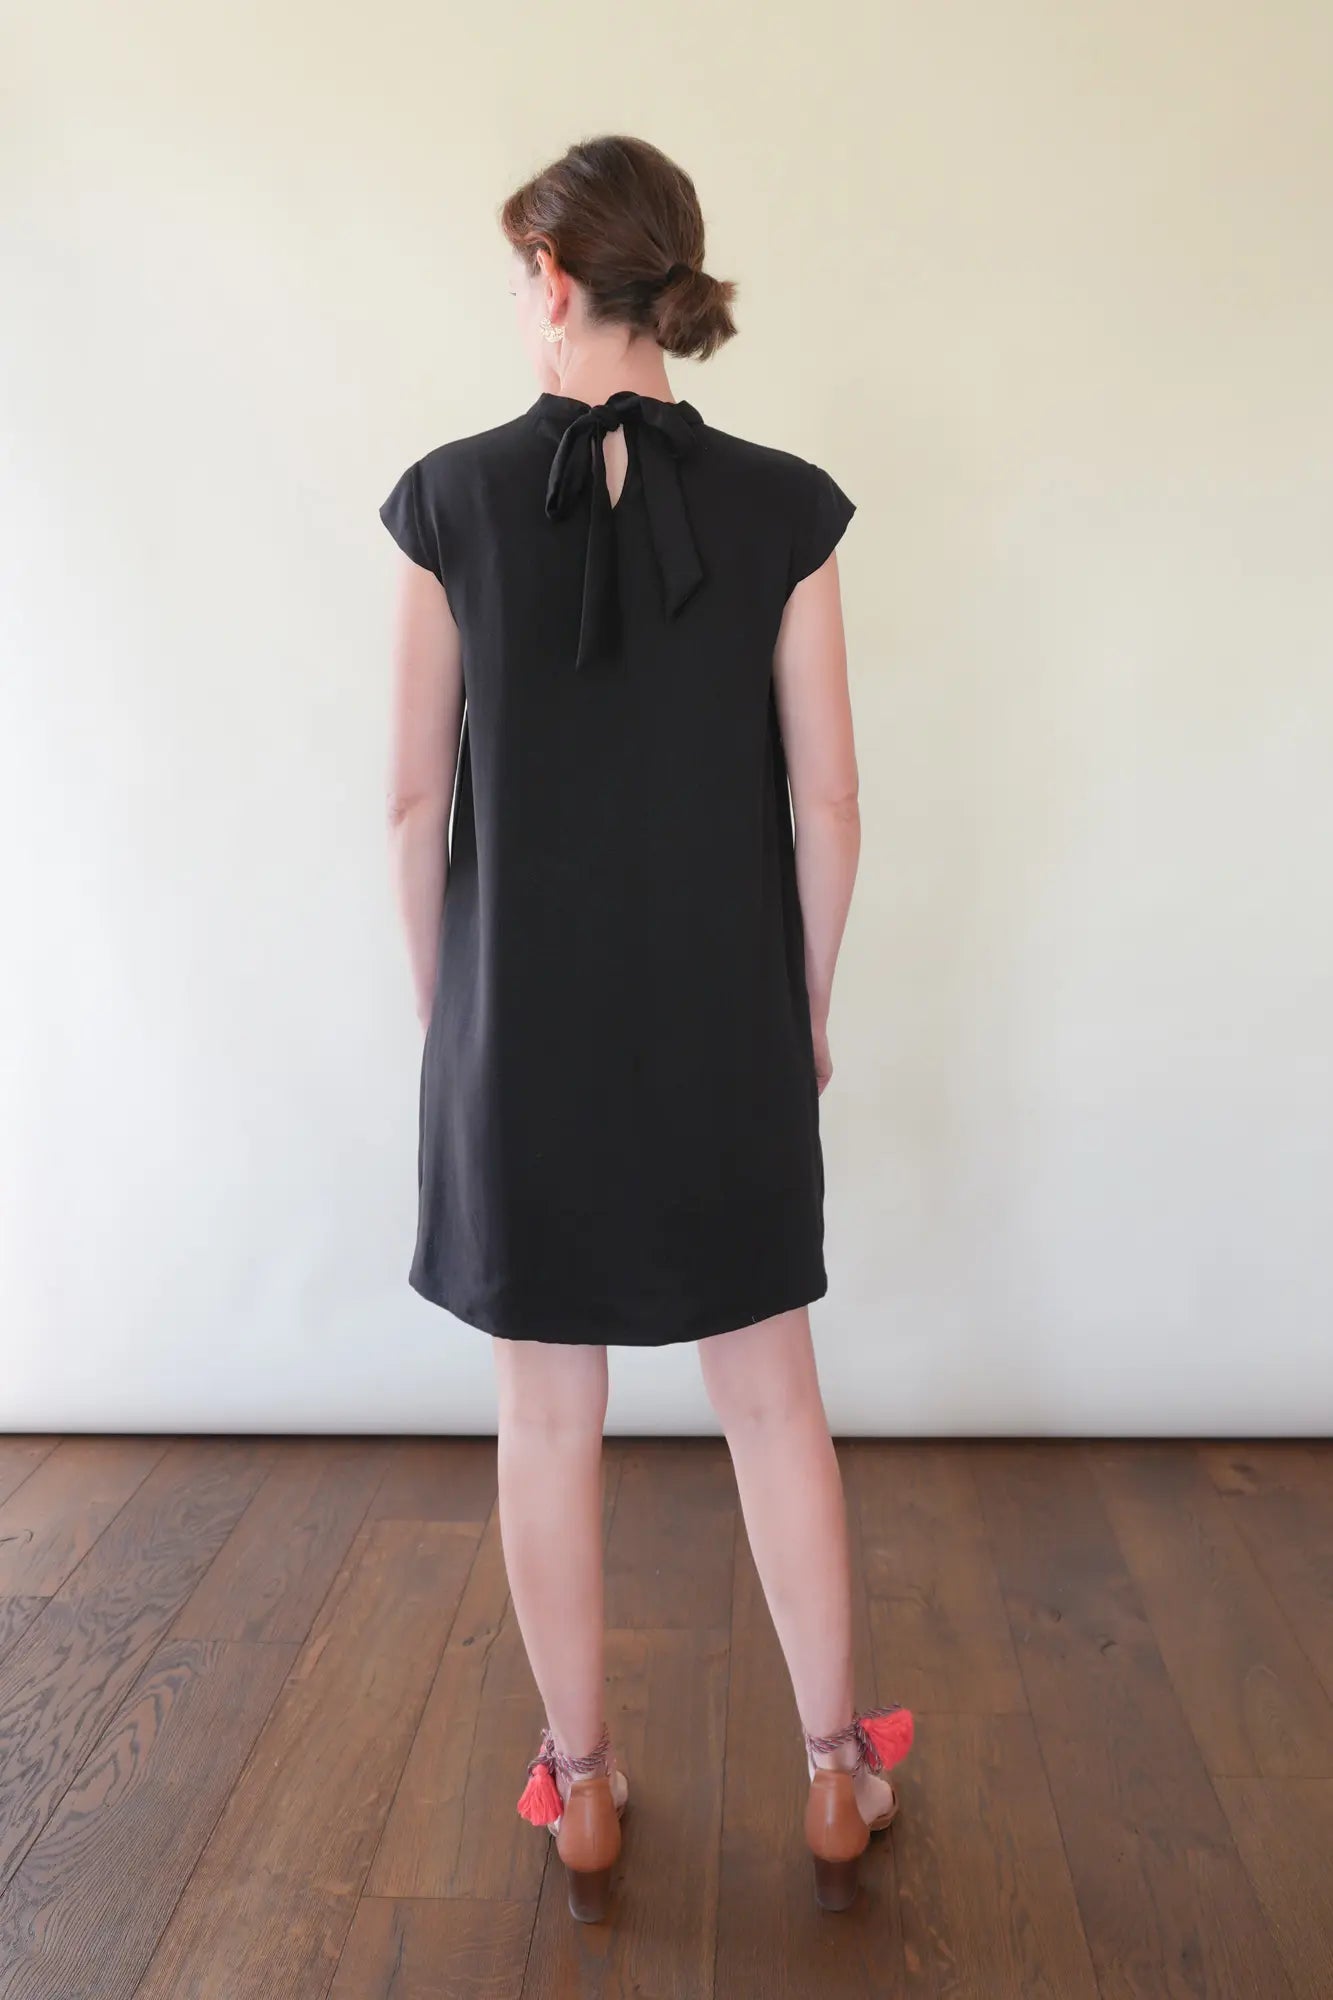
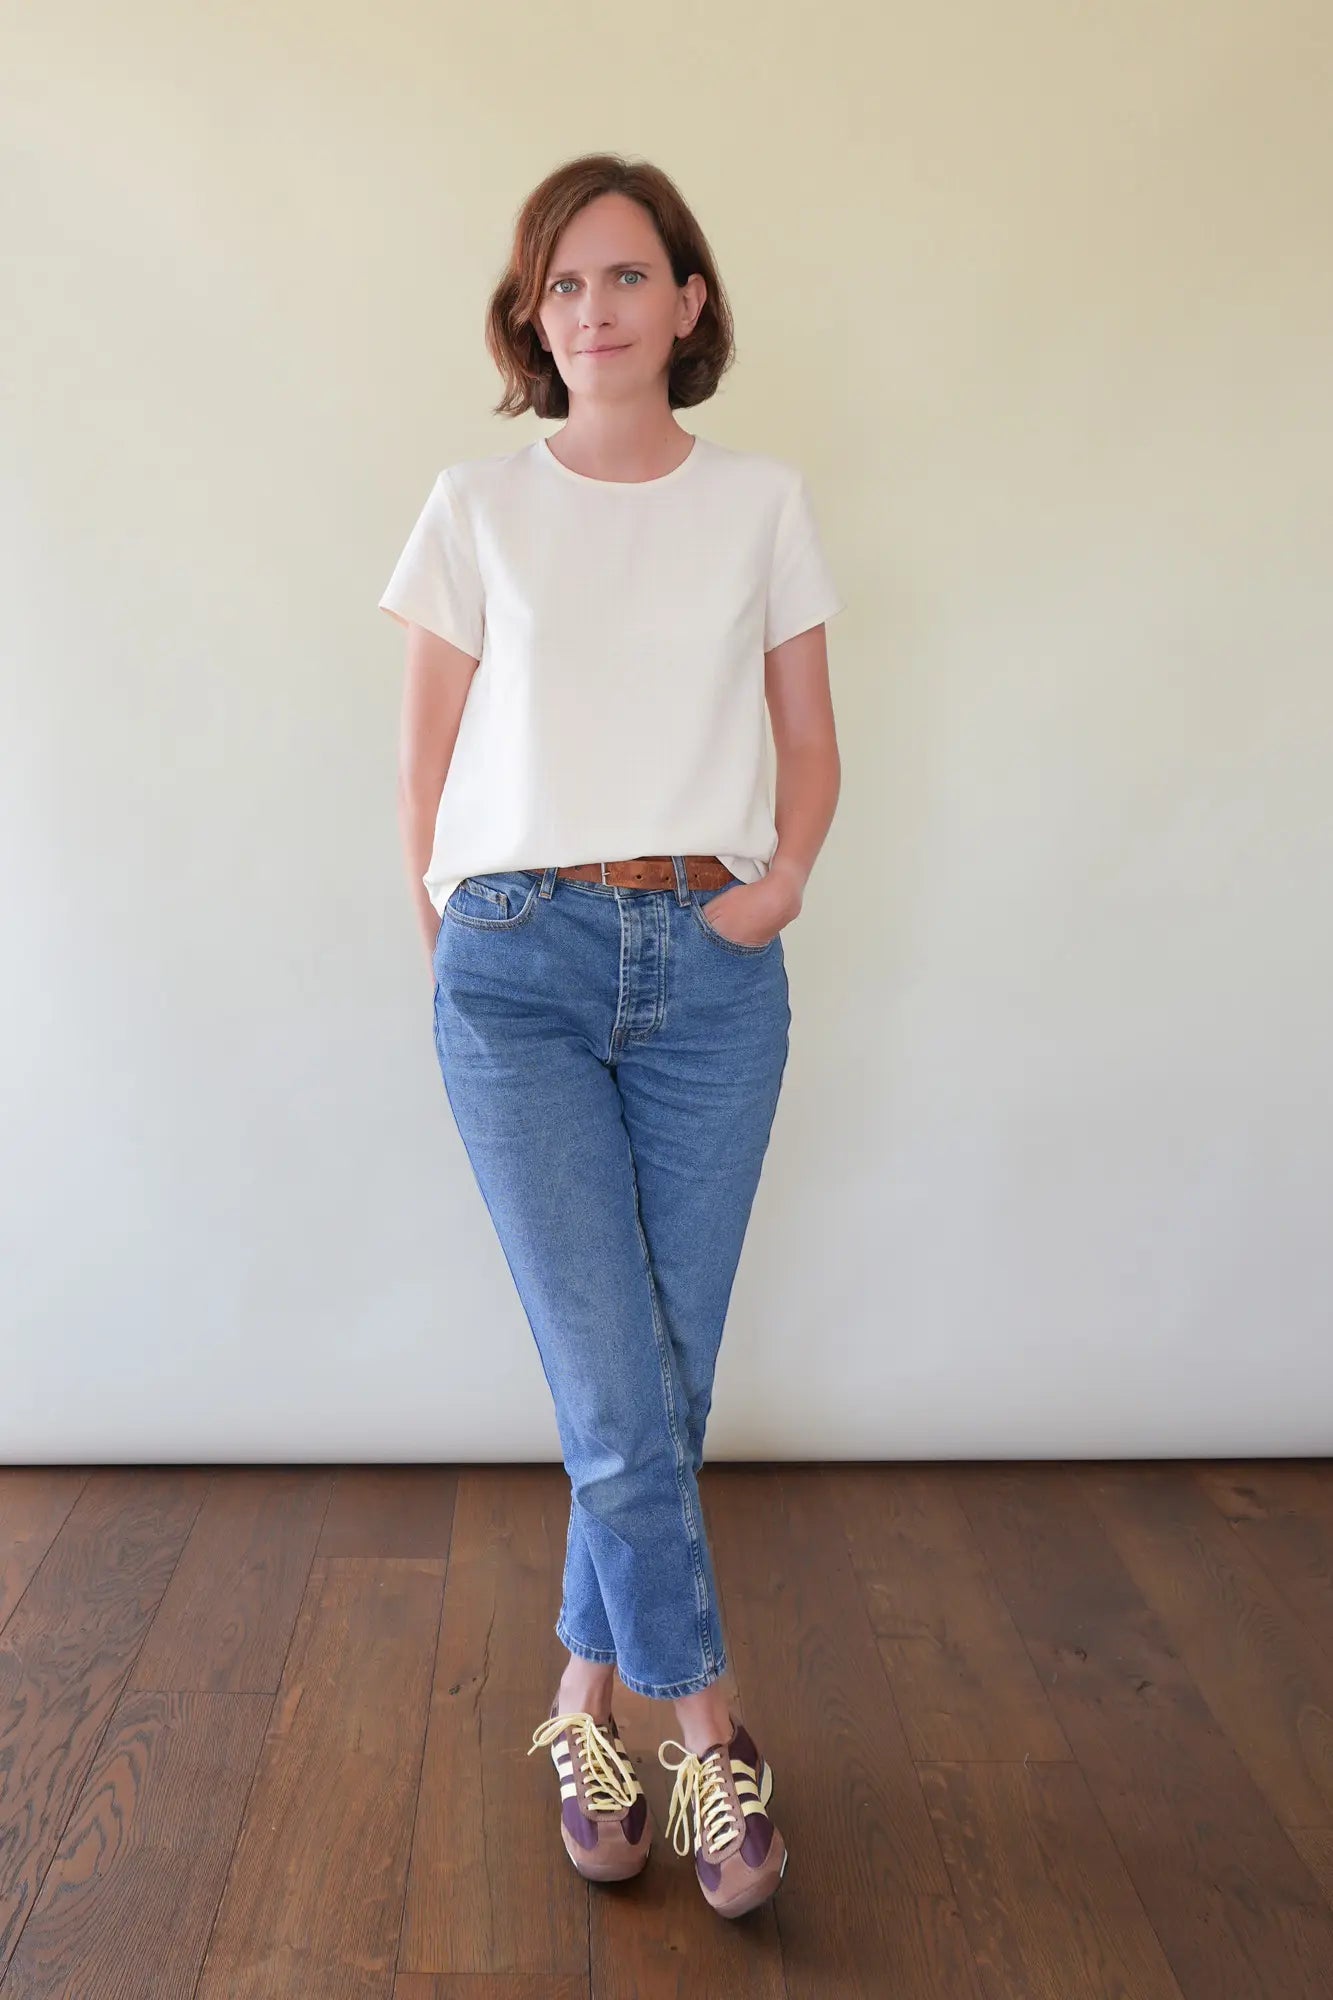
"Multiples sizes
for multiple women."
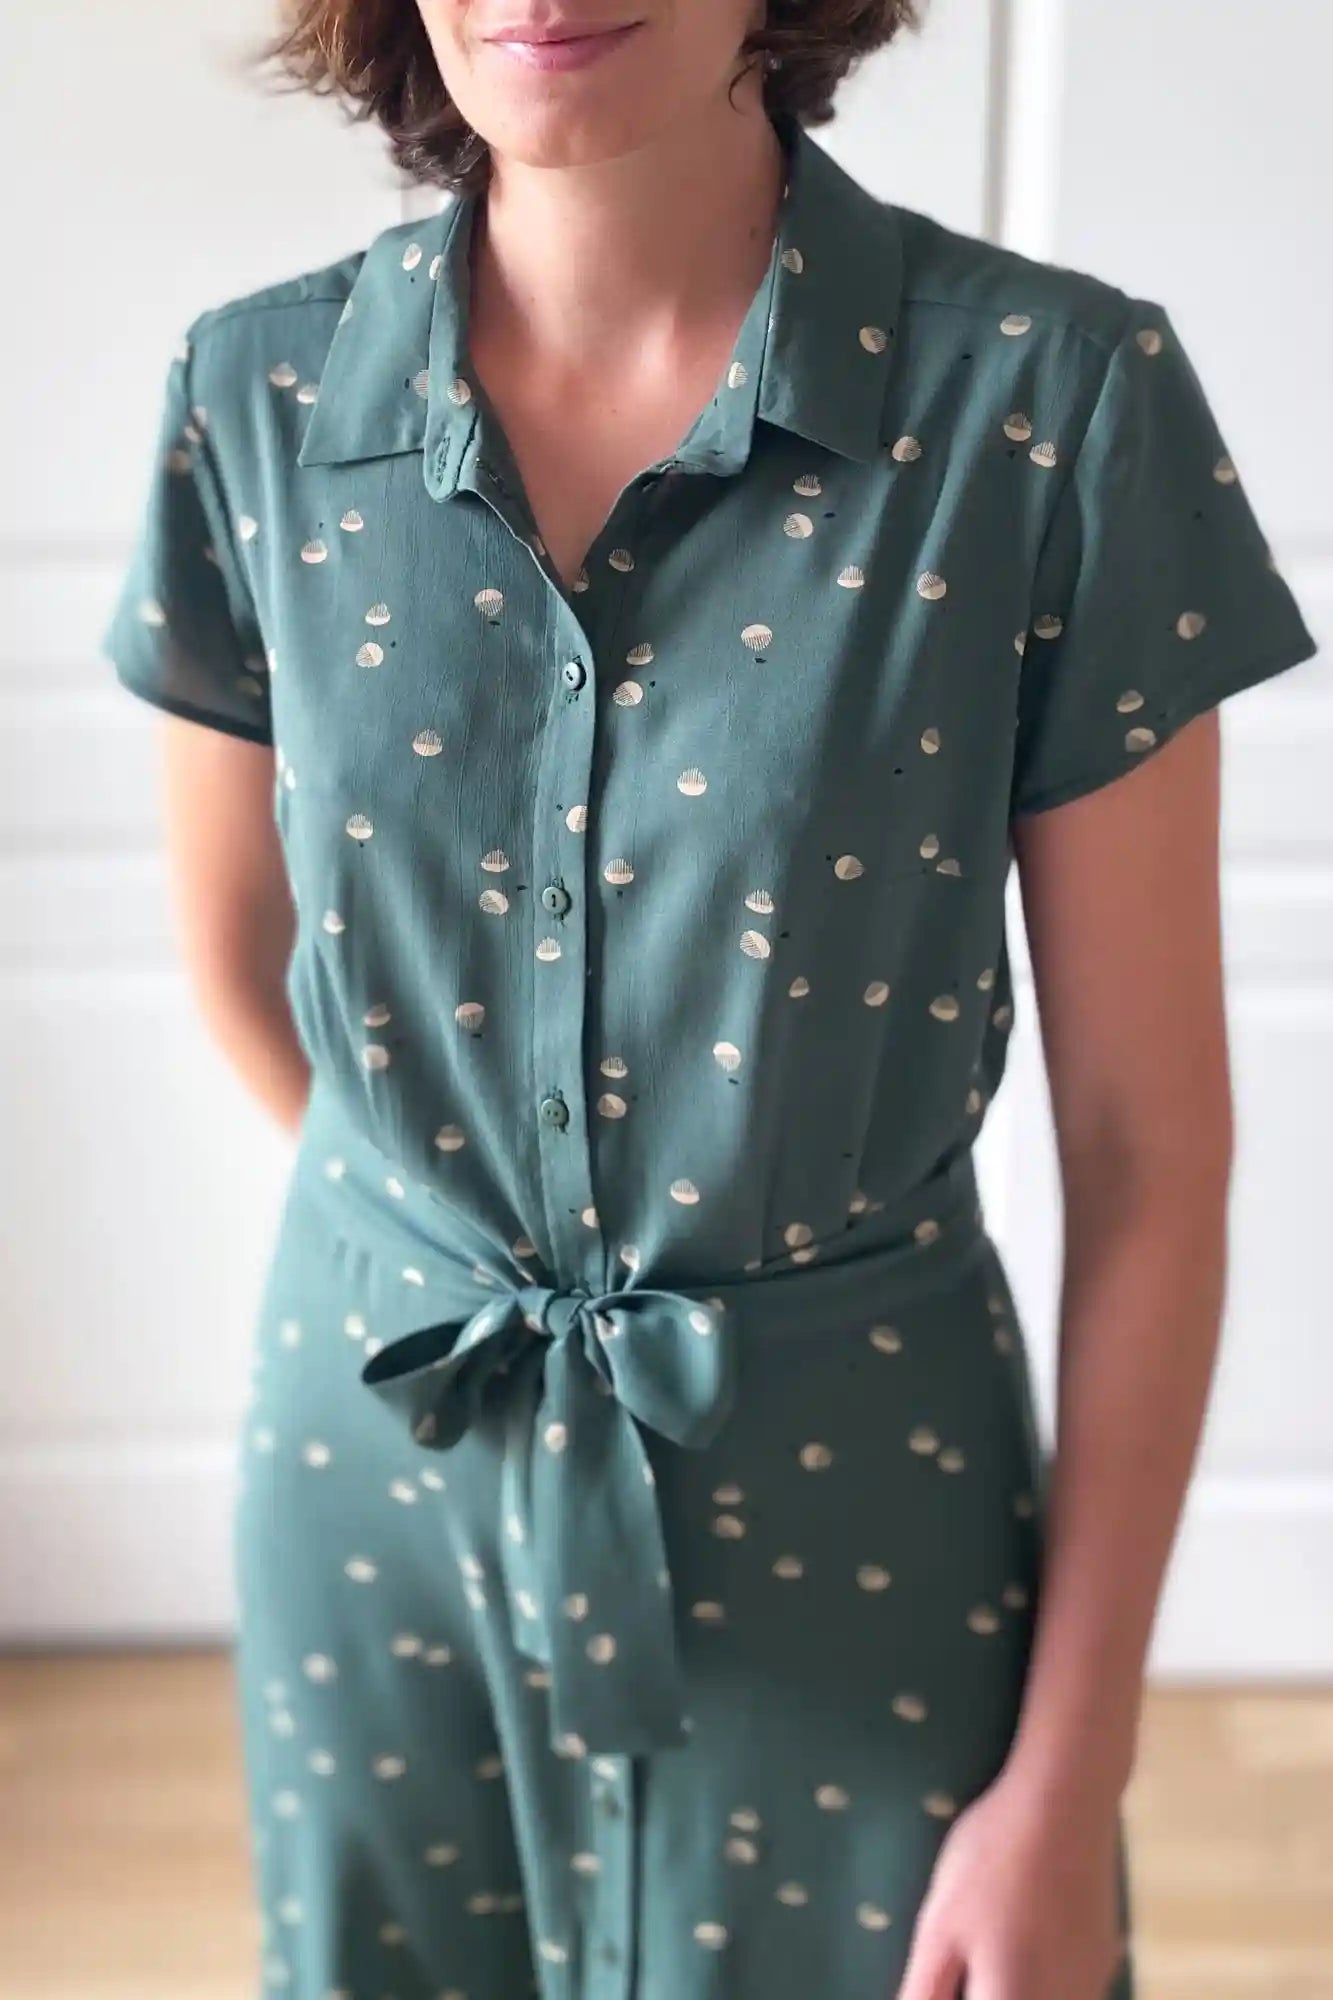
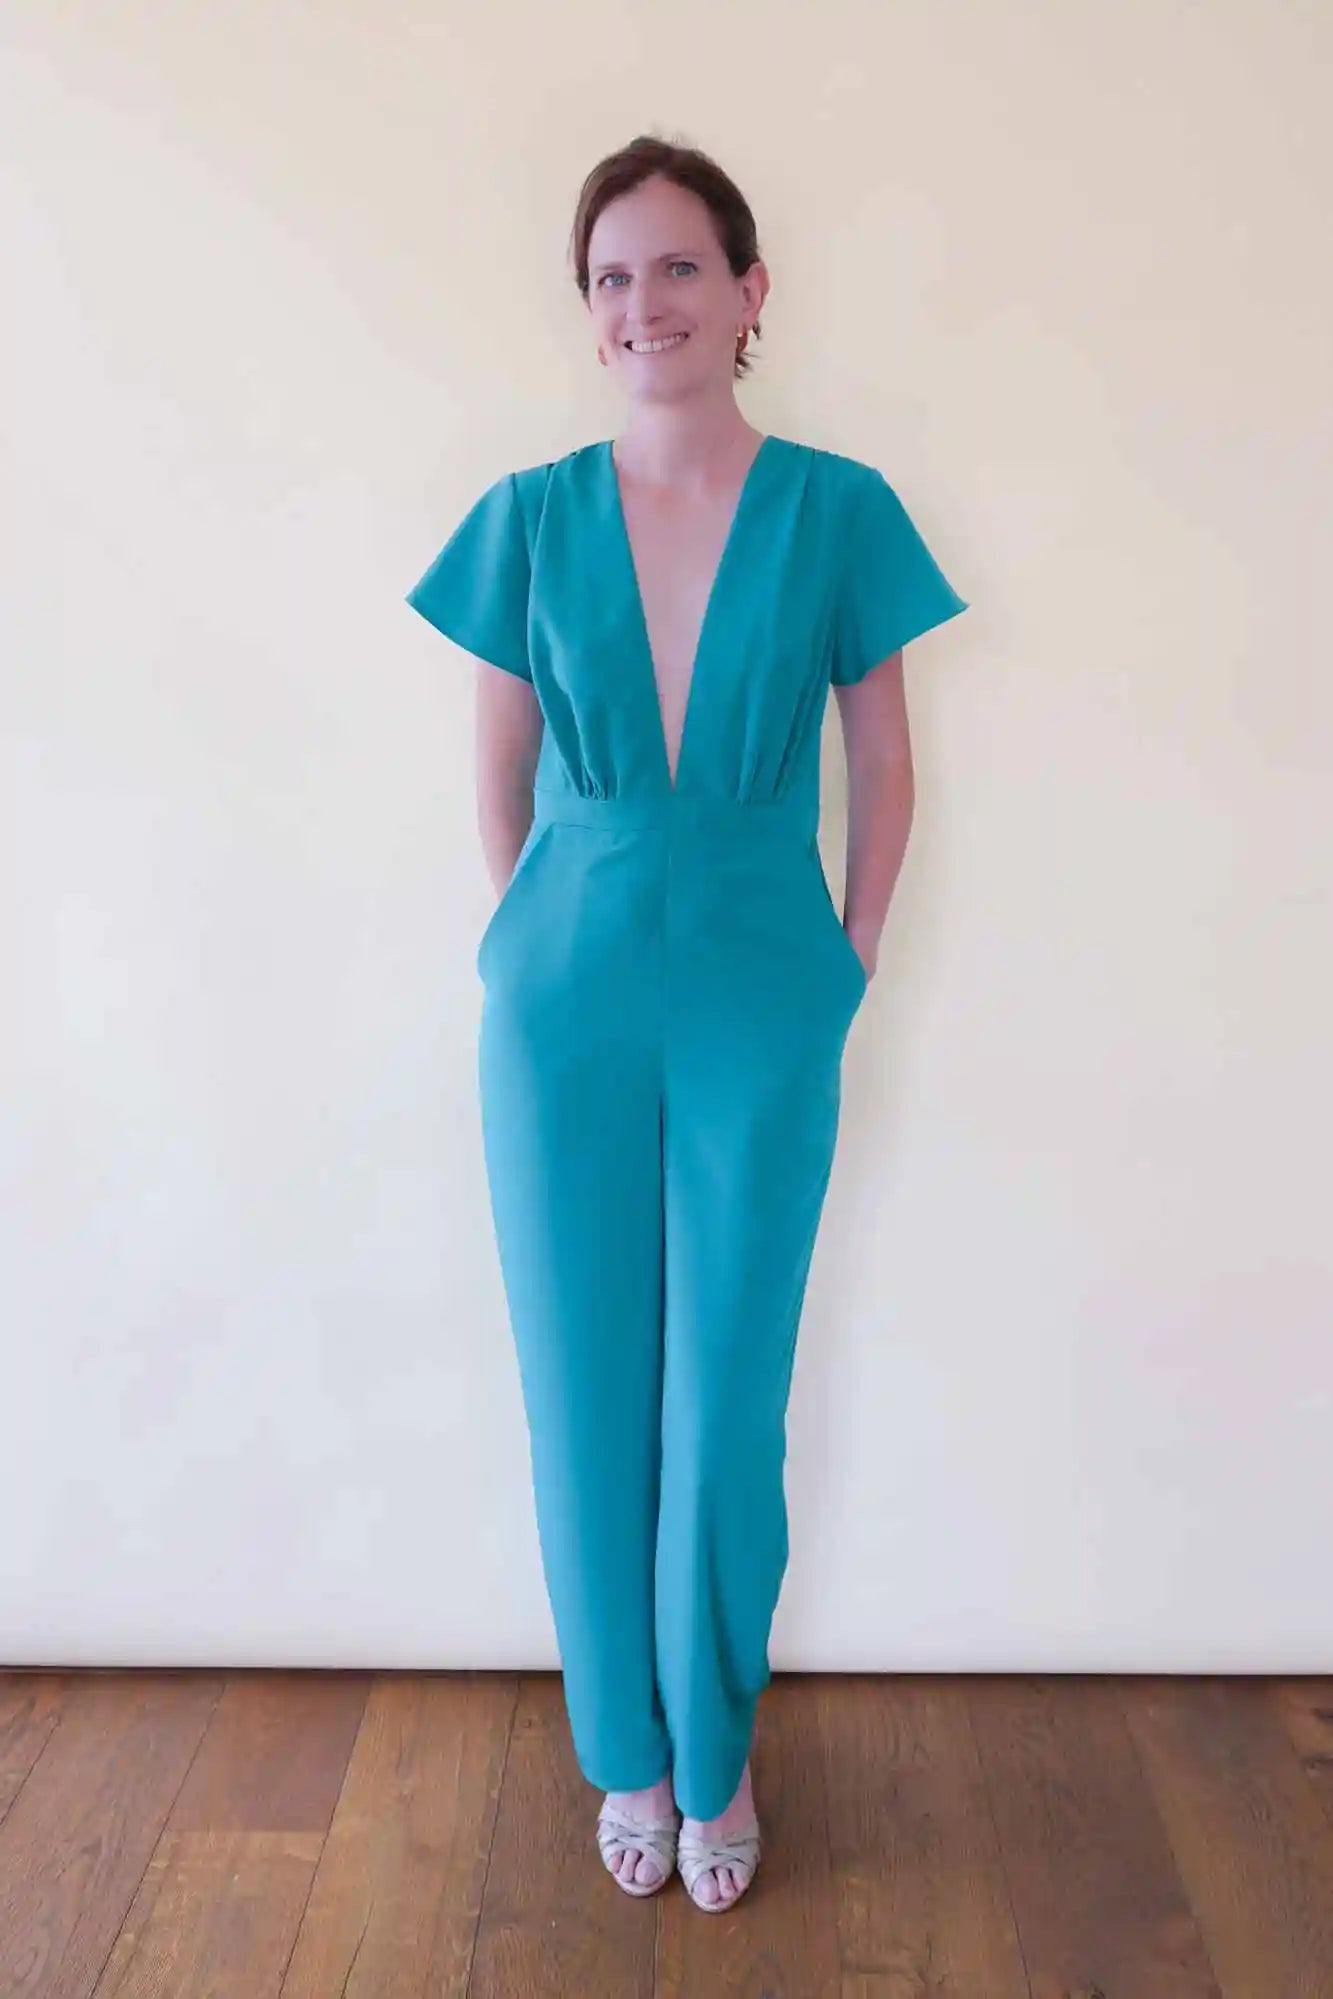
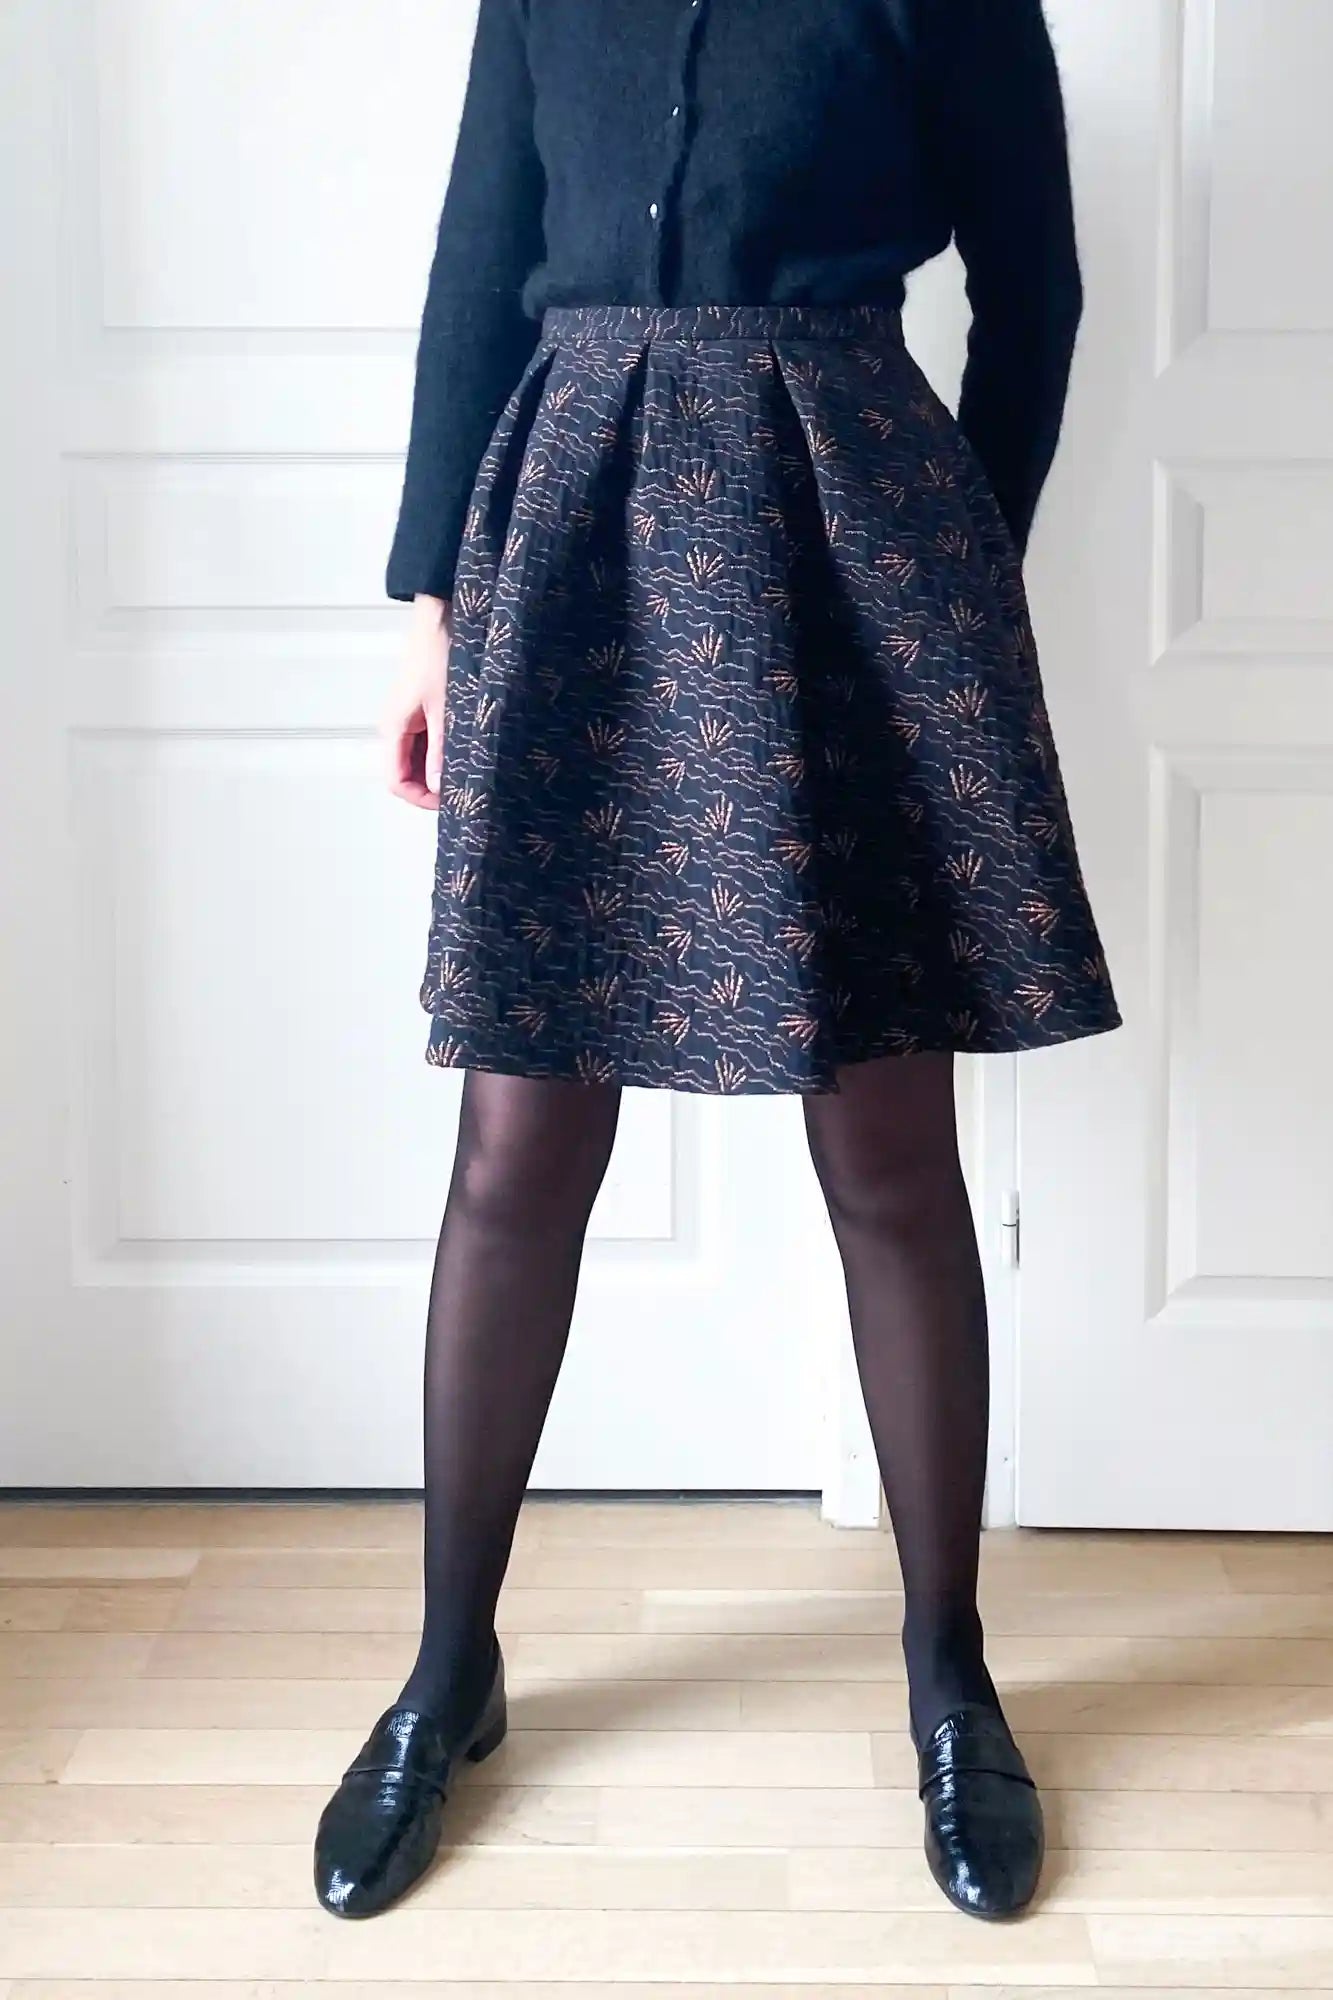
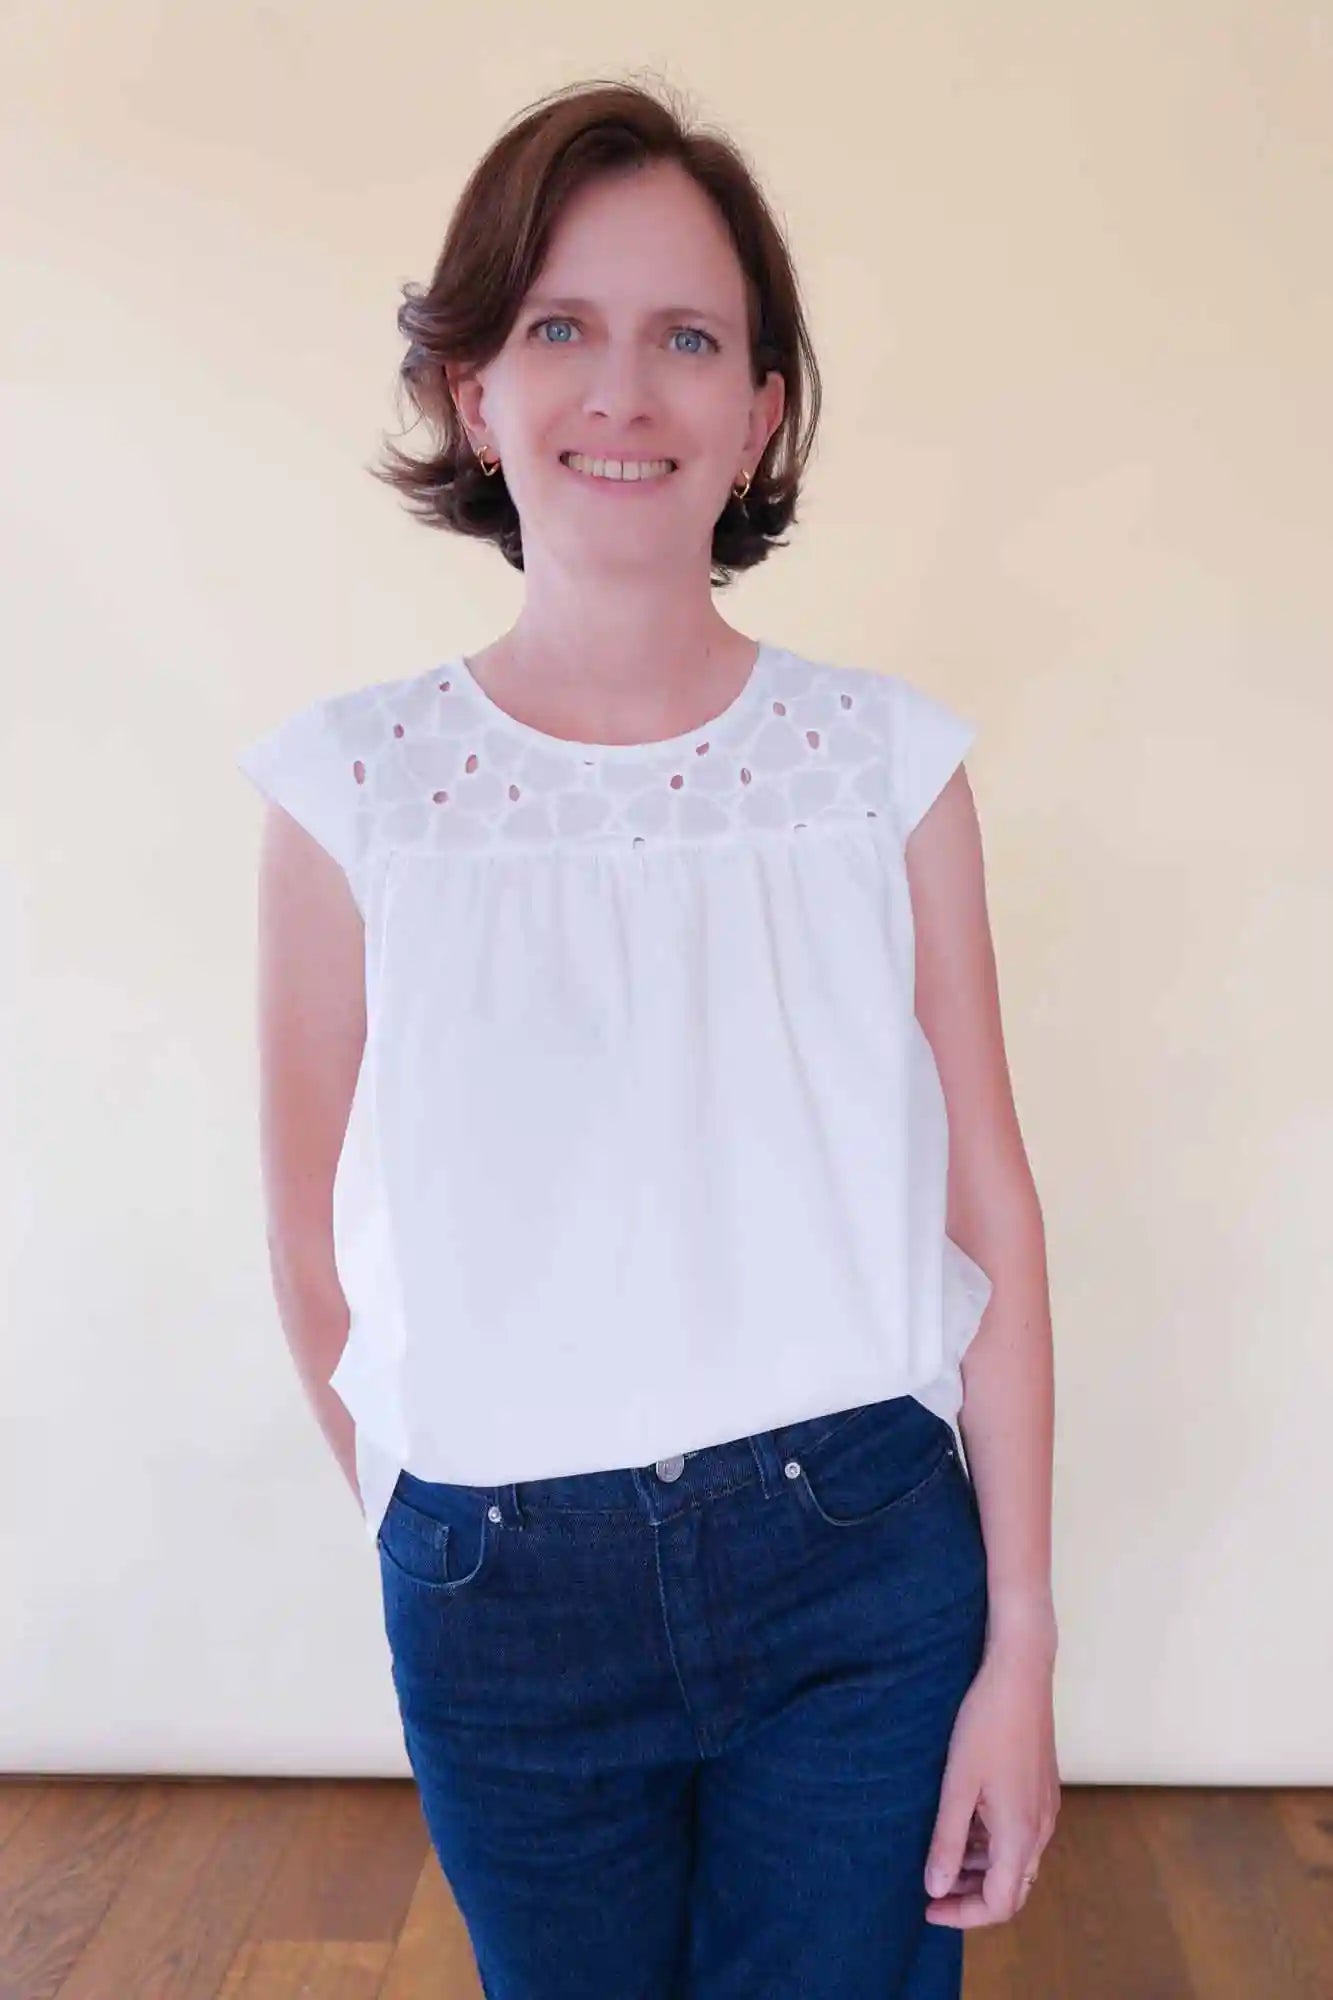
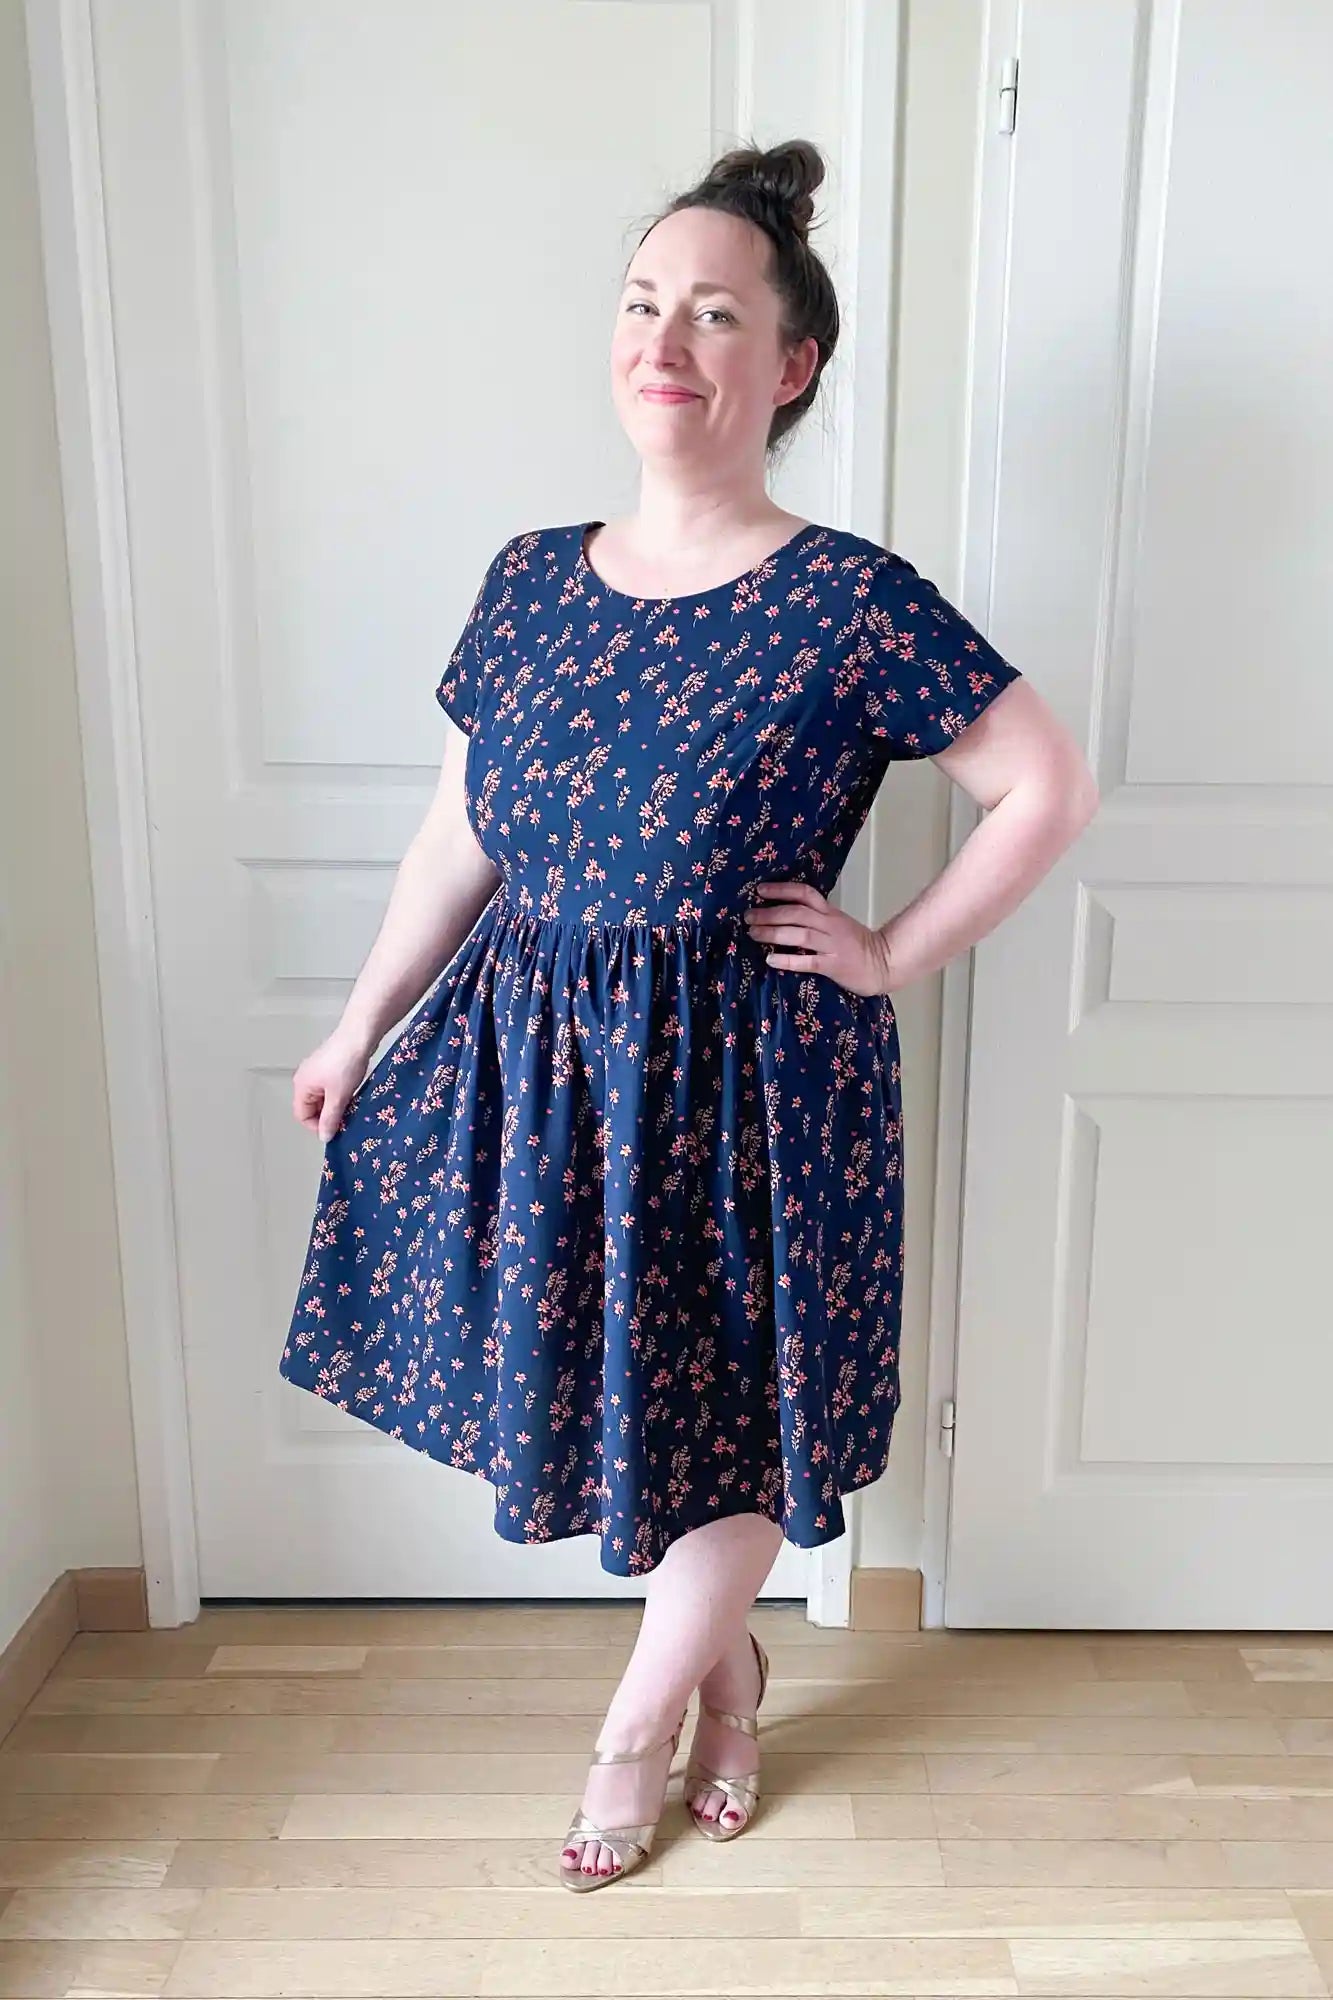
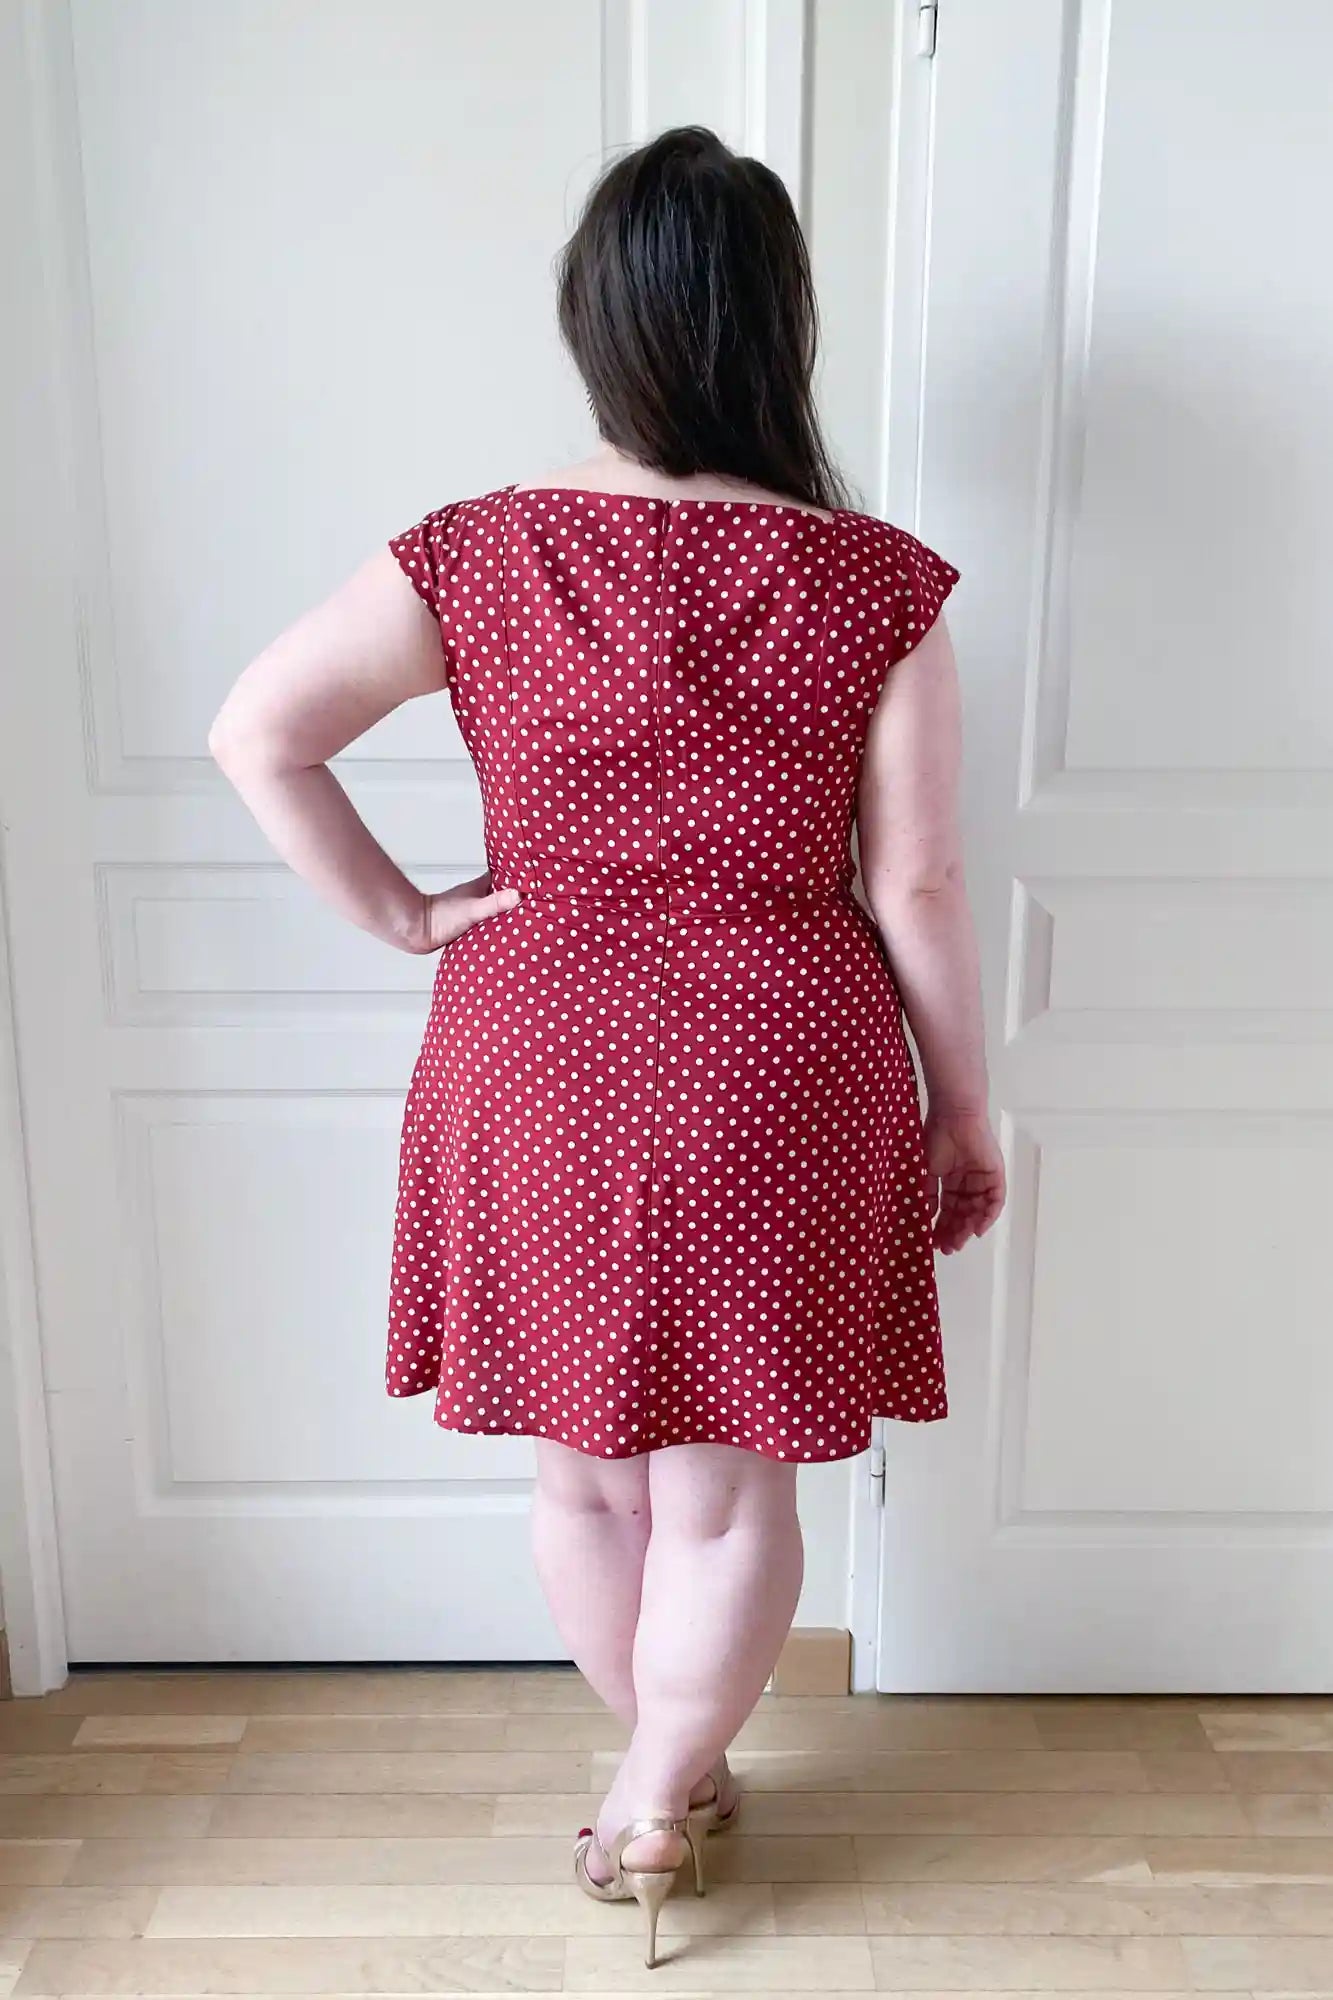
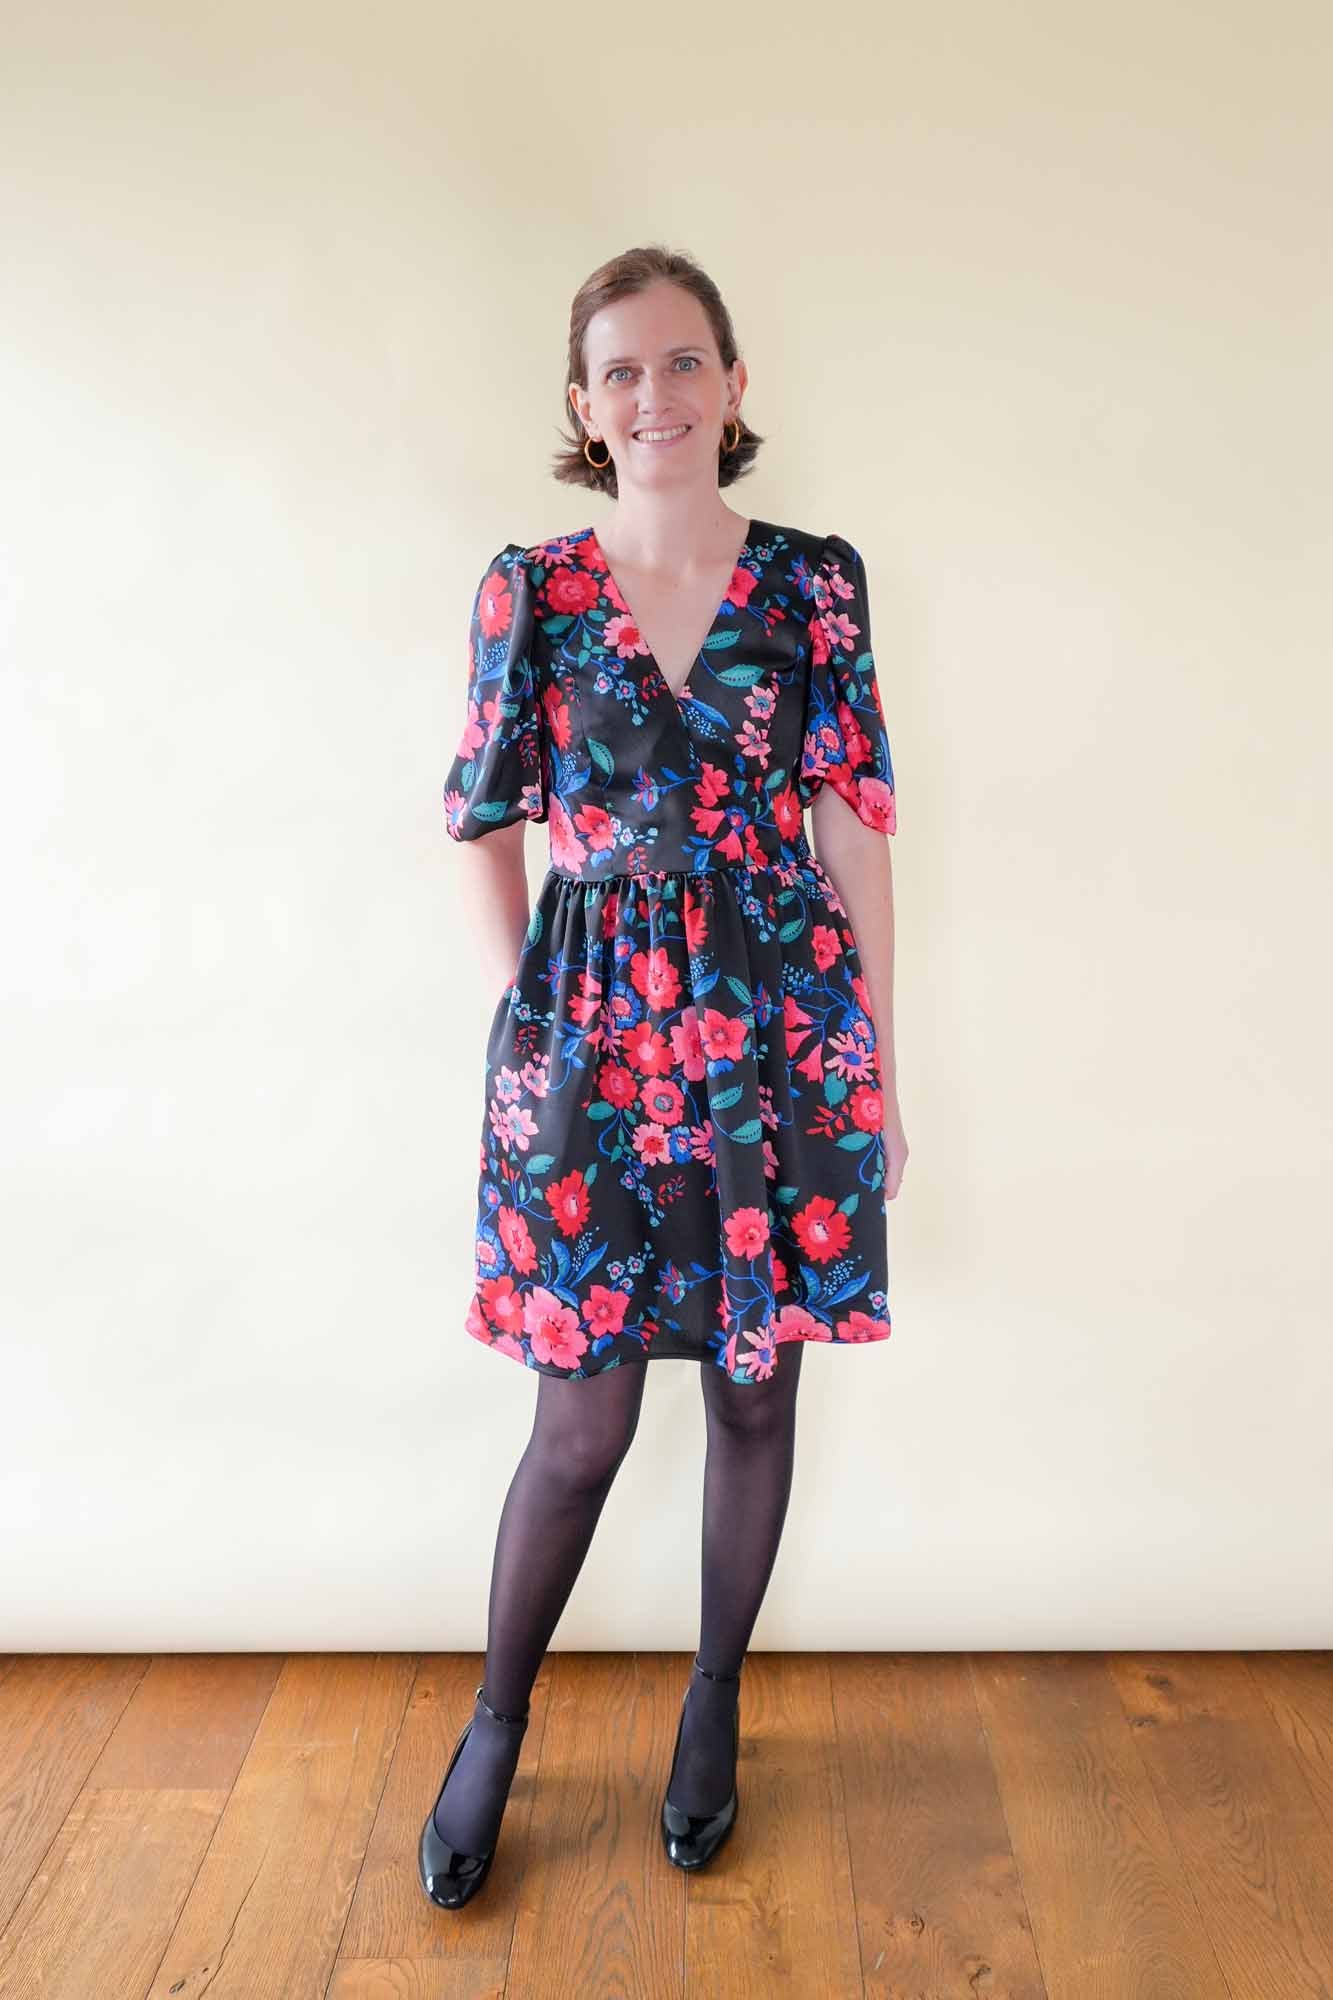
Sewing is a wonderful way to create unique pieces that truly reflect your personality. But it’s even better when those creations are made just for you.
Making your own clothes allows you to break free from ready-to-wear standards and dress for your unique shape and style.
To help you get the perfect fit, I’ve outlined four key steps for choosing your size. This is an essential part of the sewing process to ensure that your handmade piece not only fits beautifully but also feels great to wear.
Plus, all the mix-and-match patterns use the same size chart — so once you’ve found your size, you can use it for all of them!
1. Take your measurements
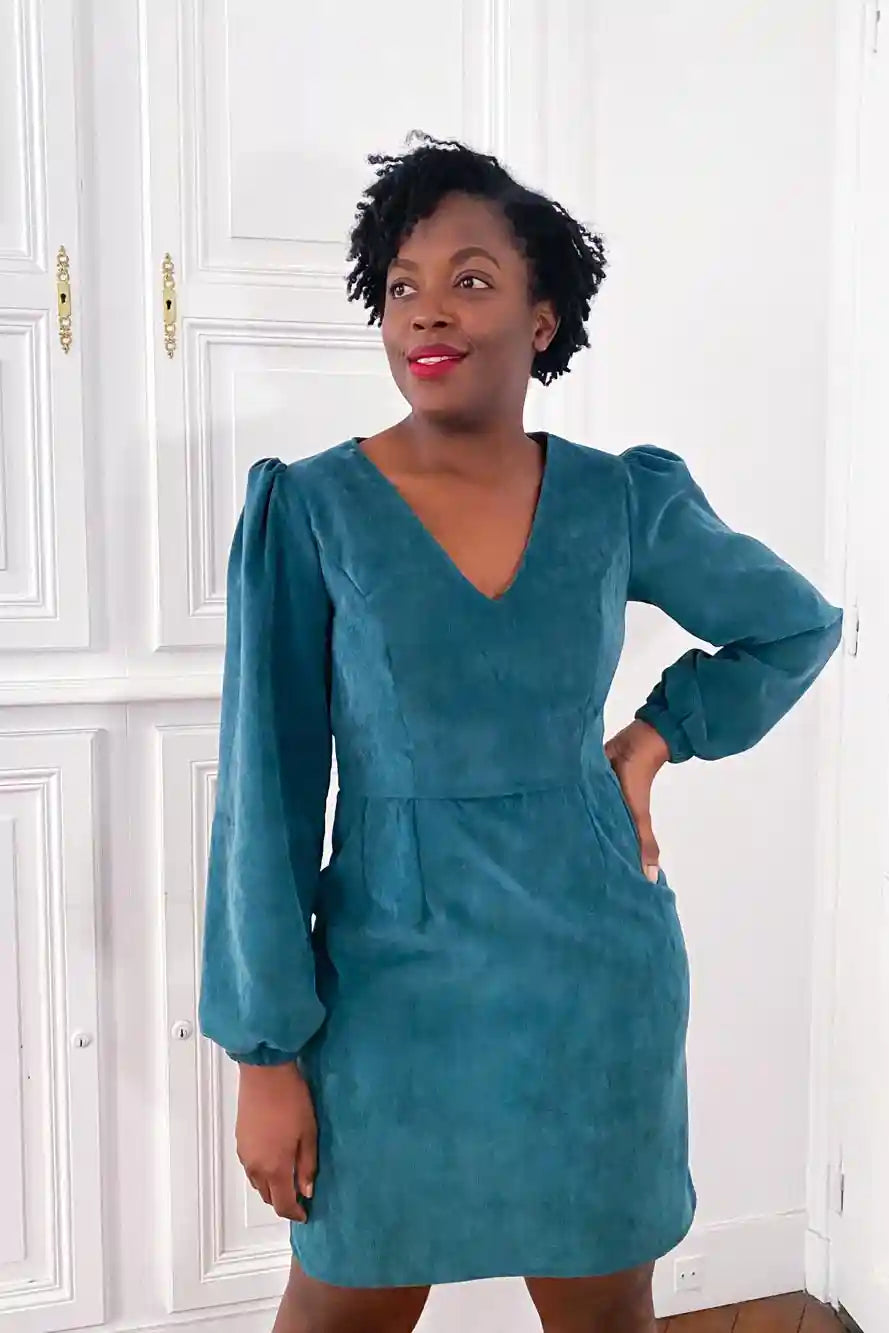
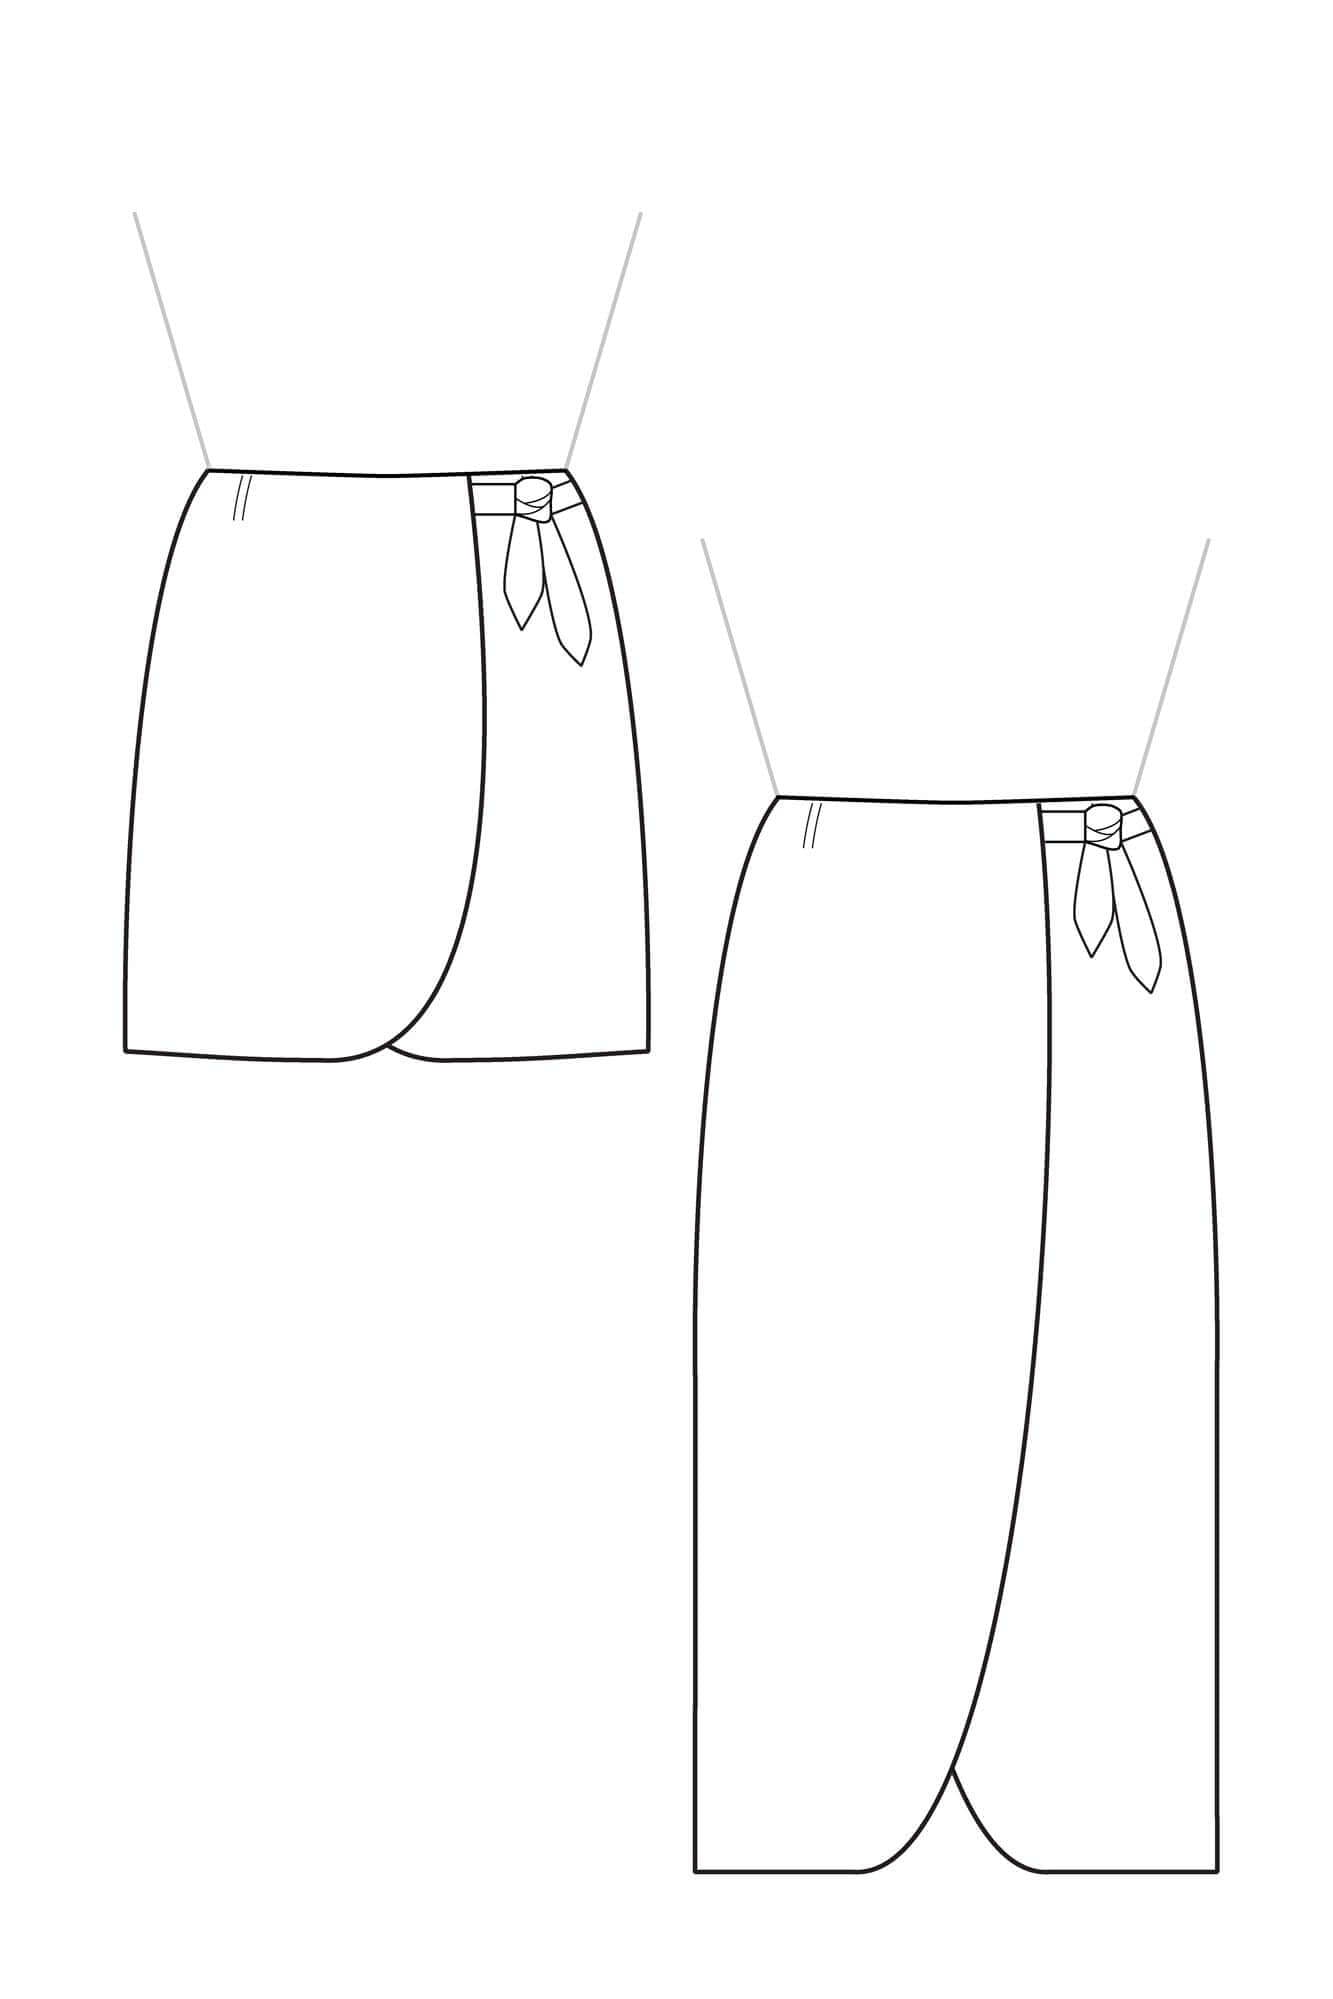
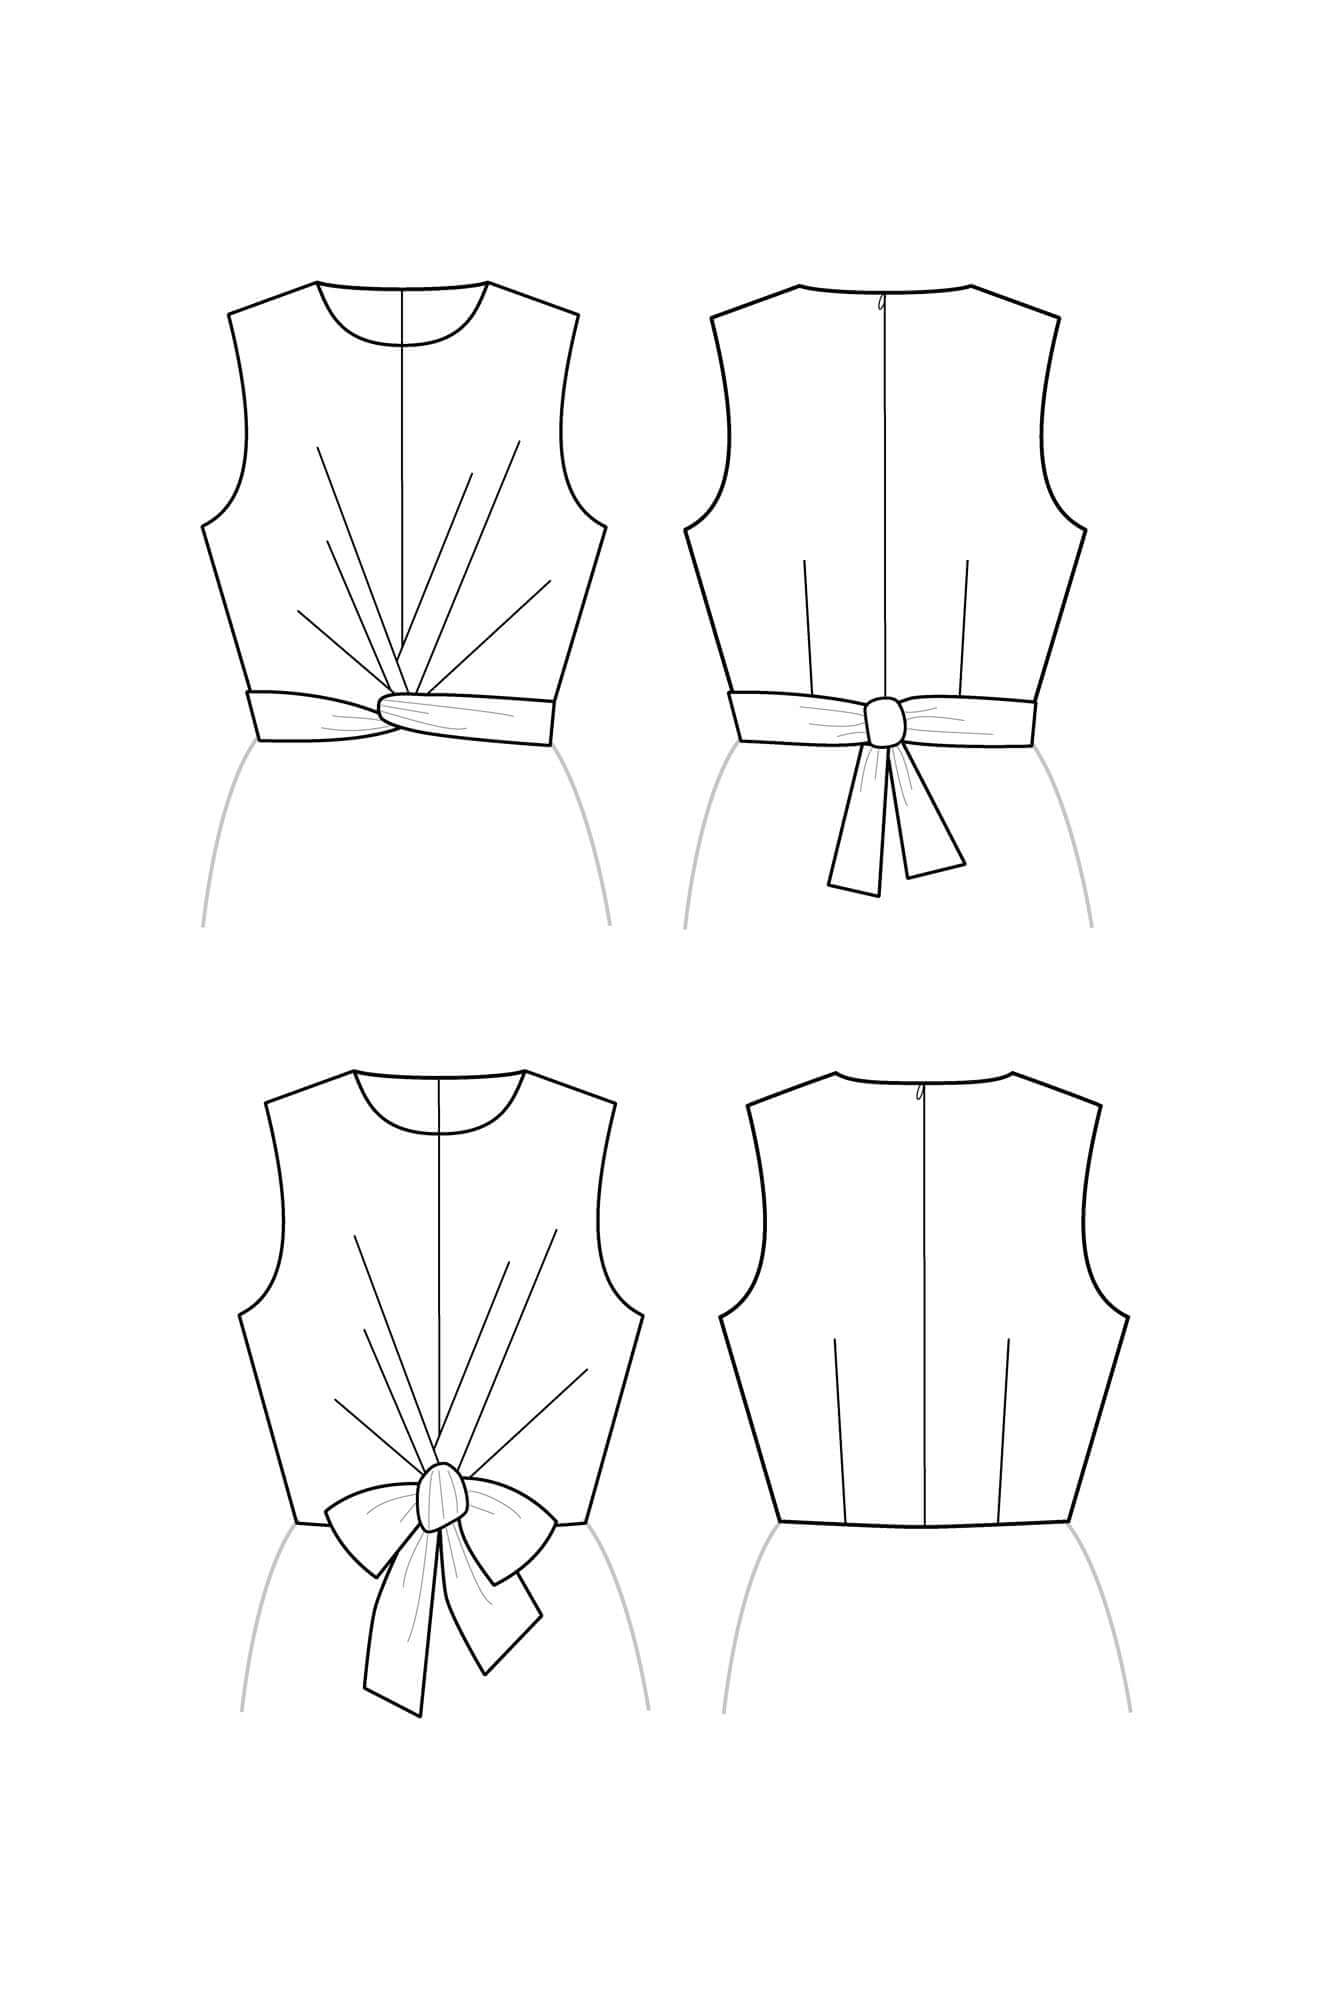
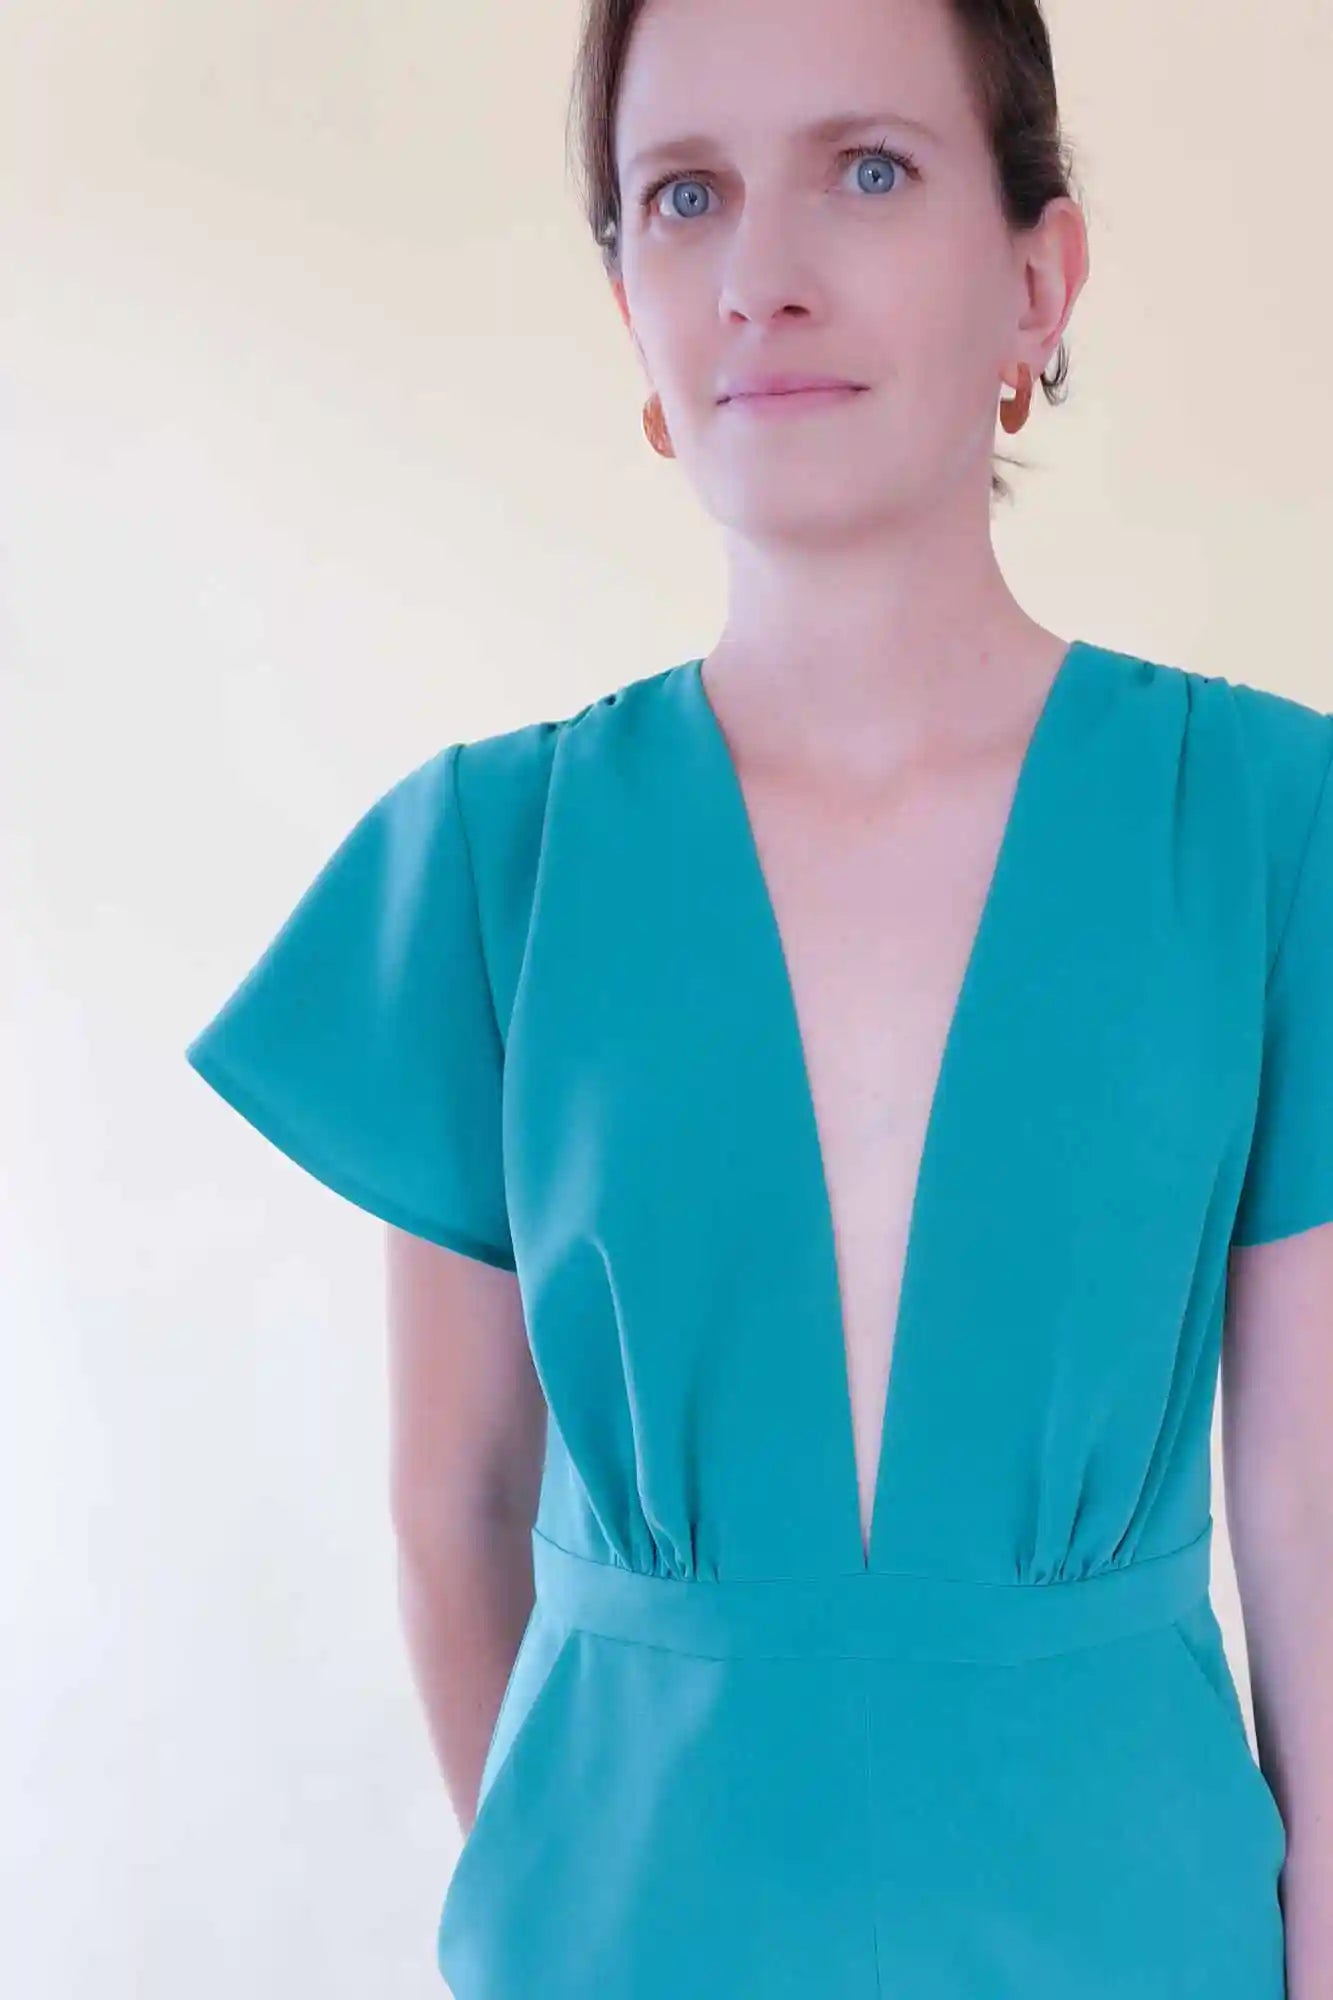
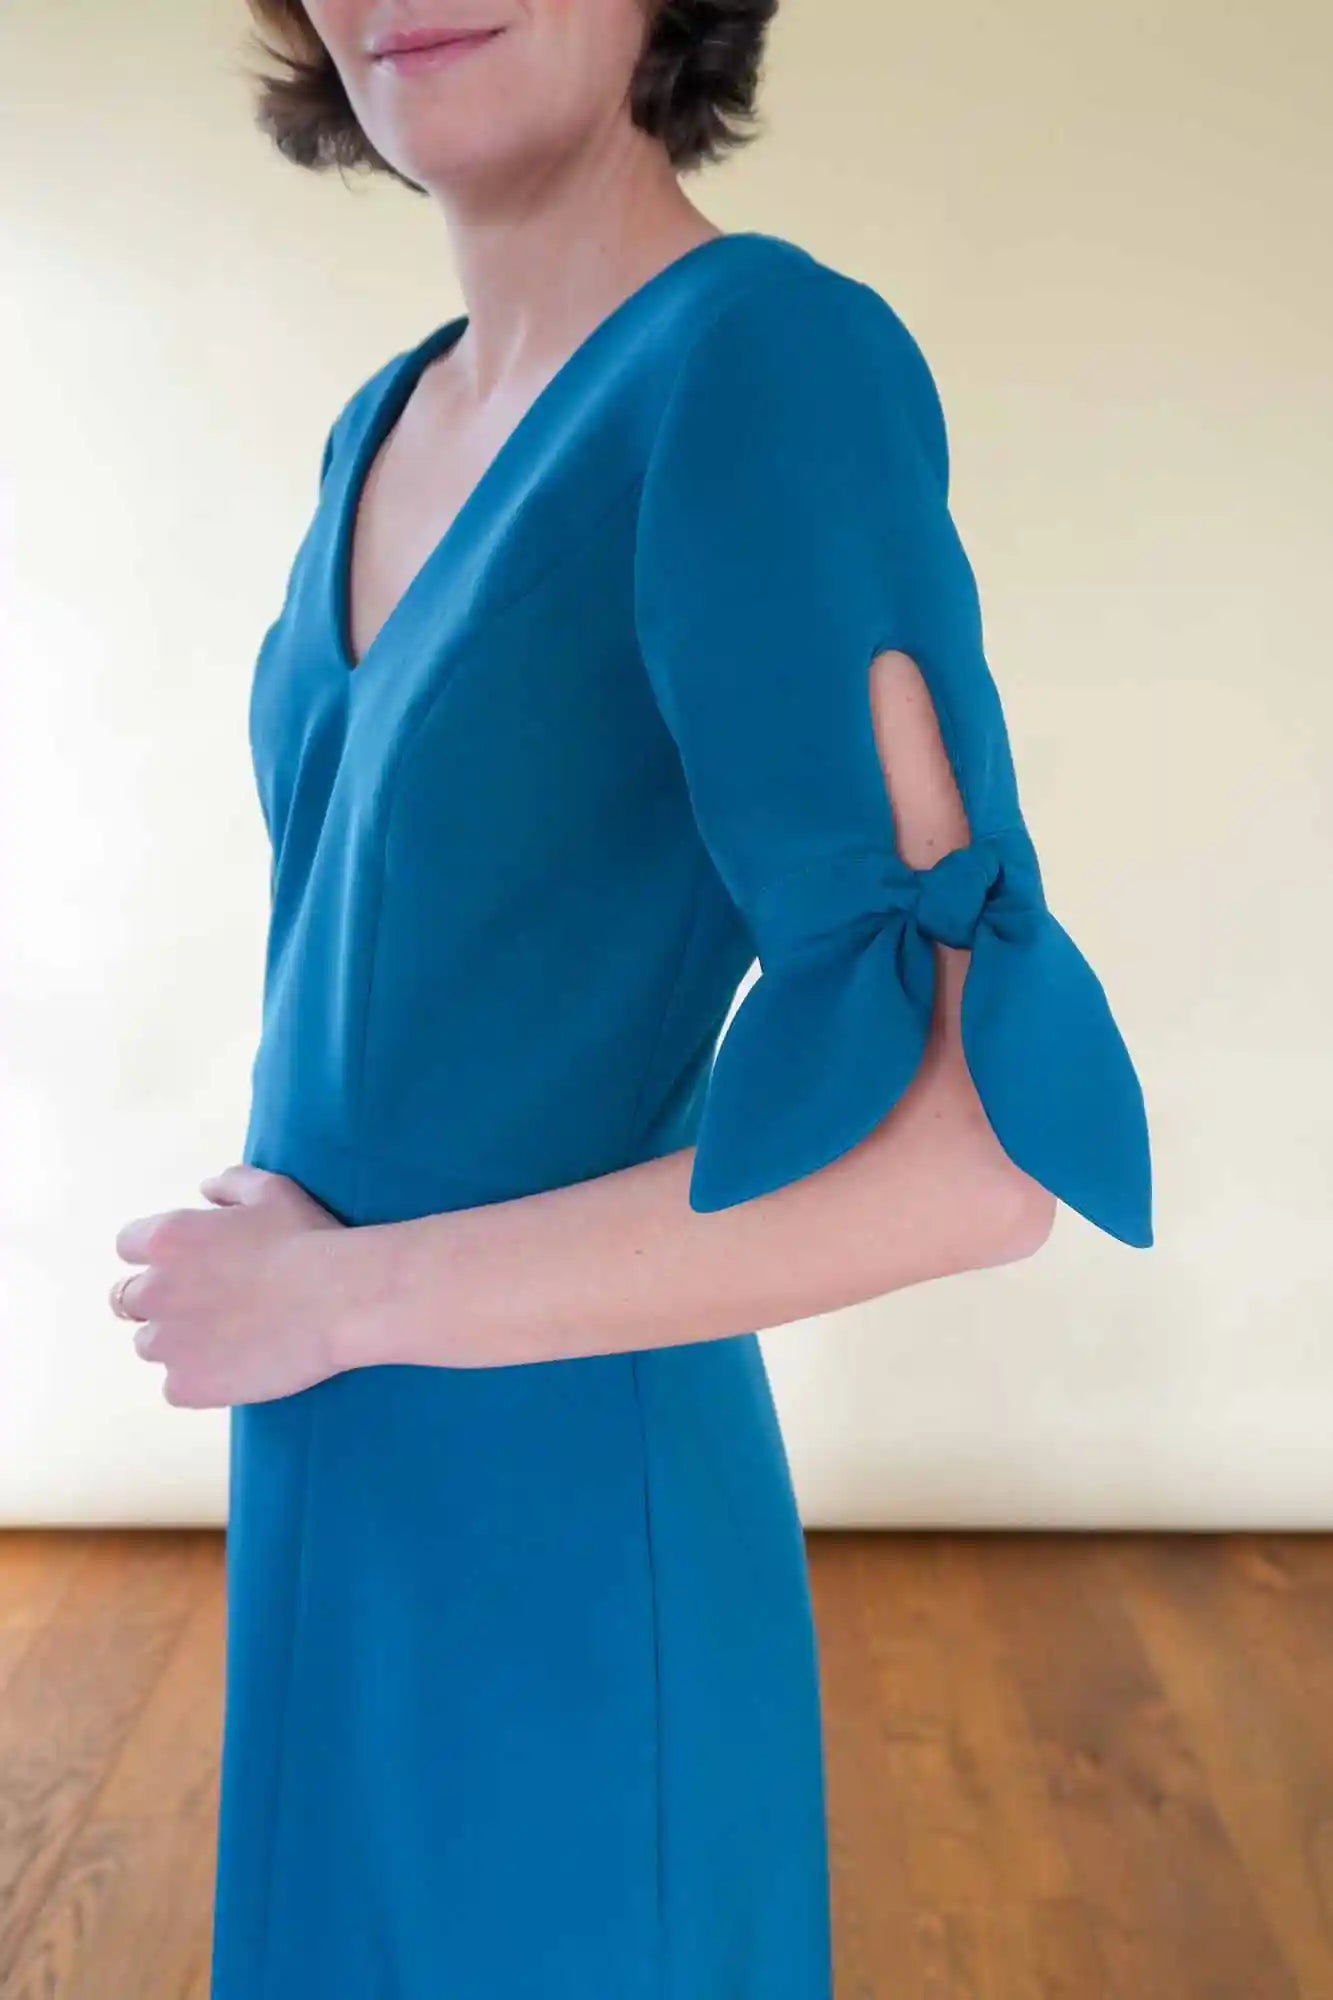
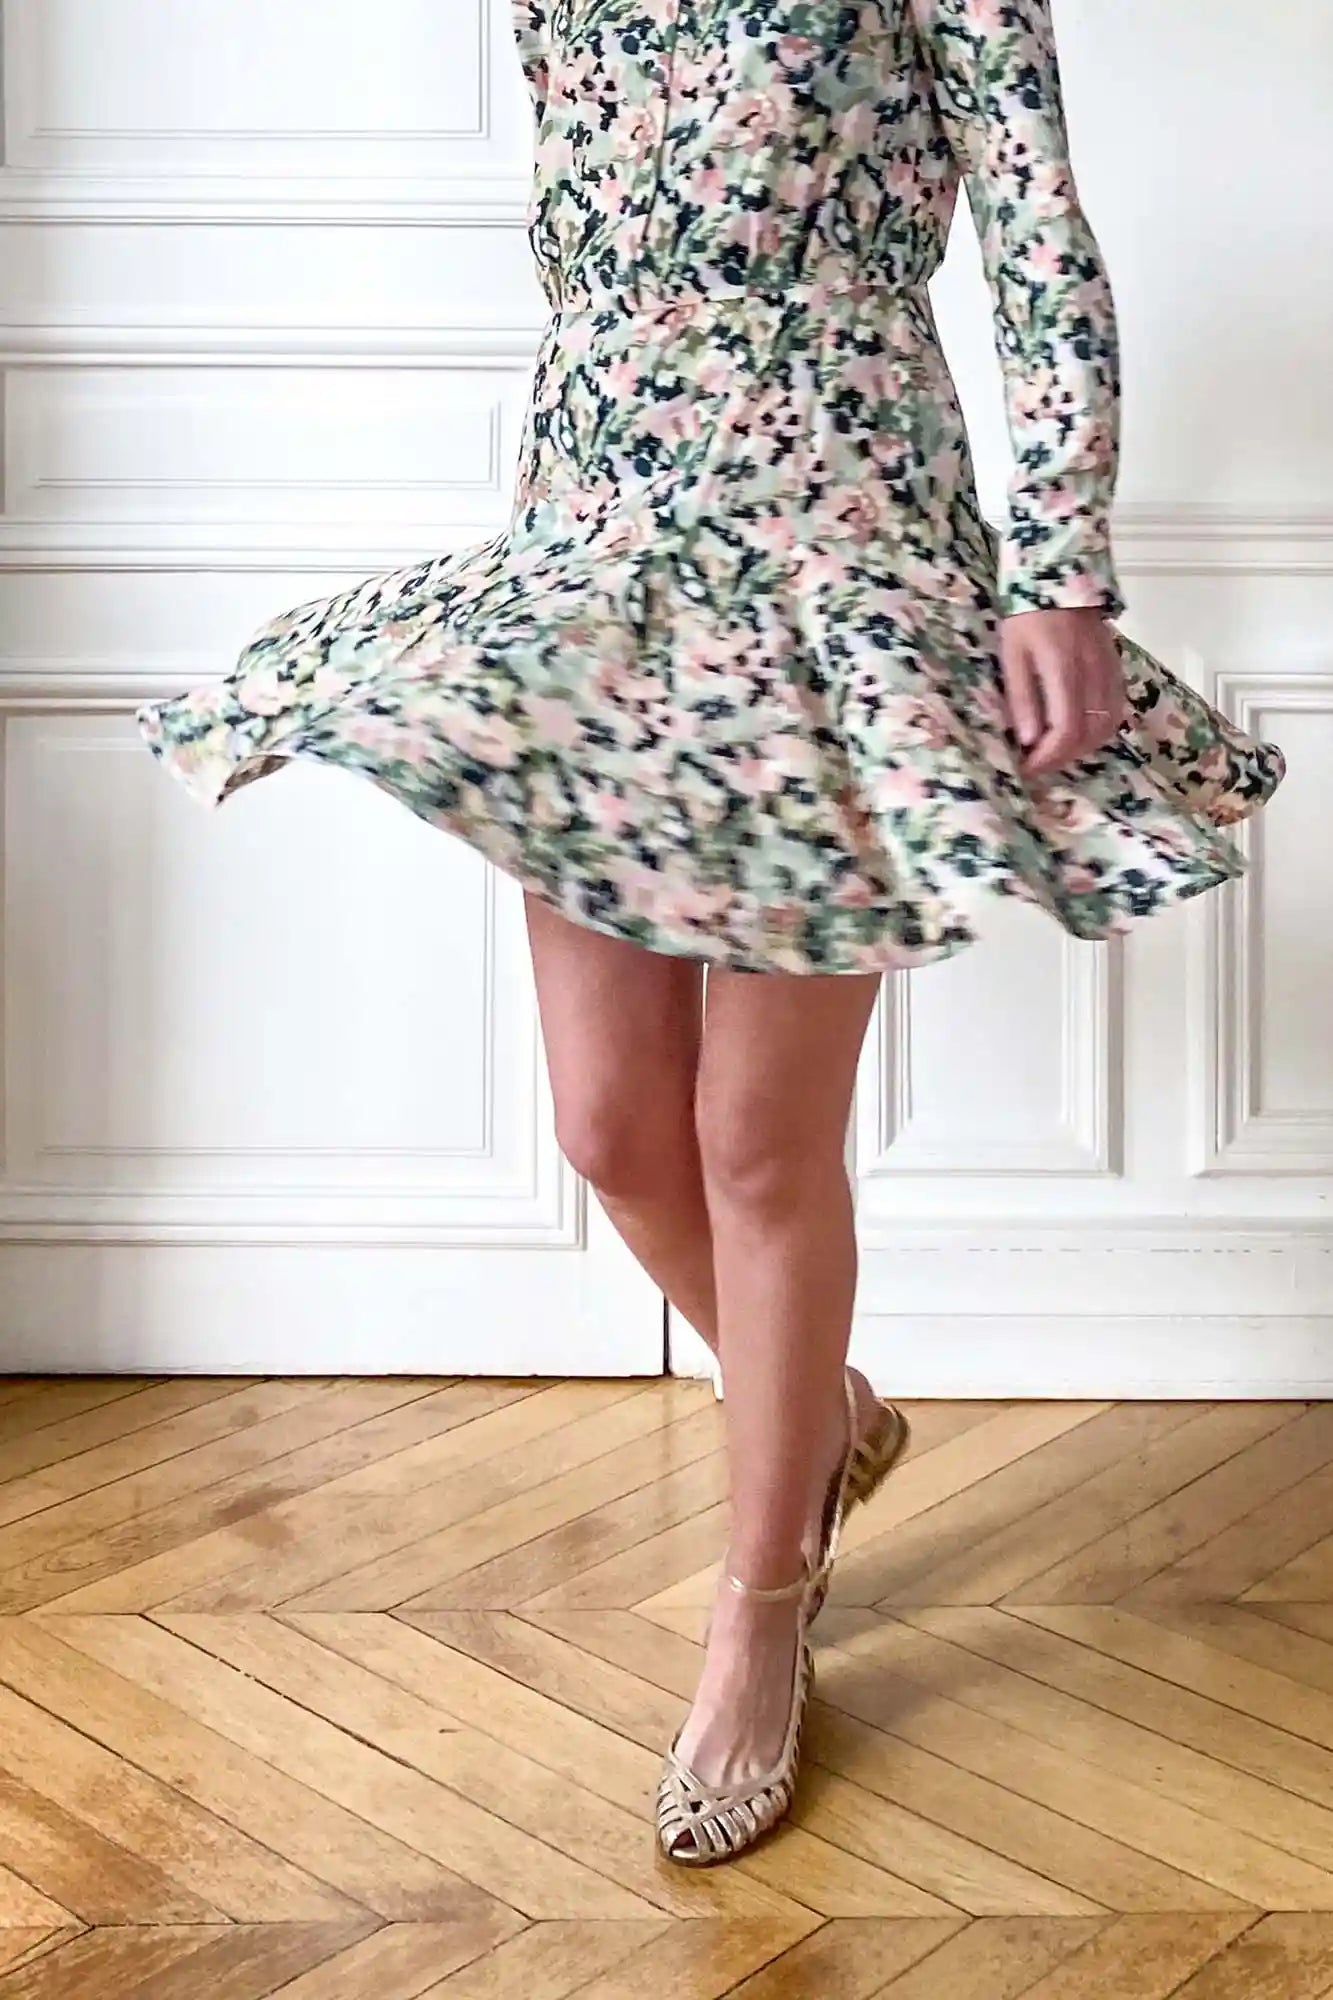
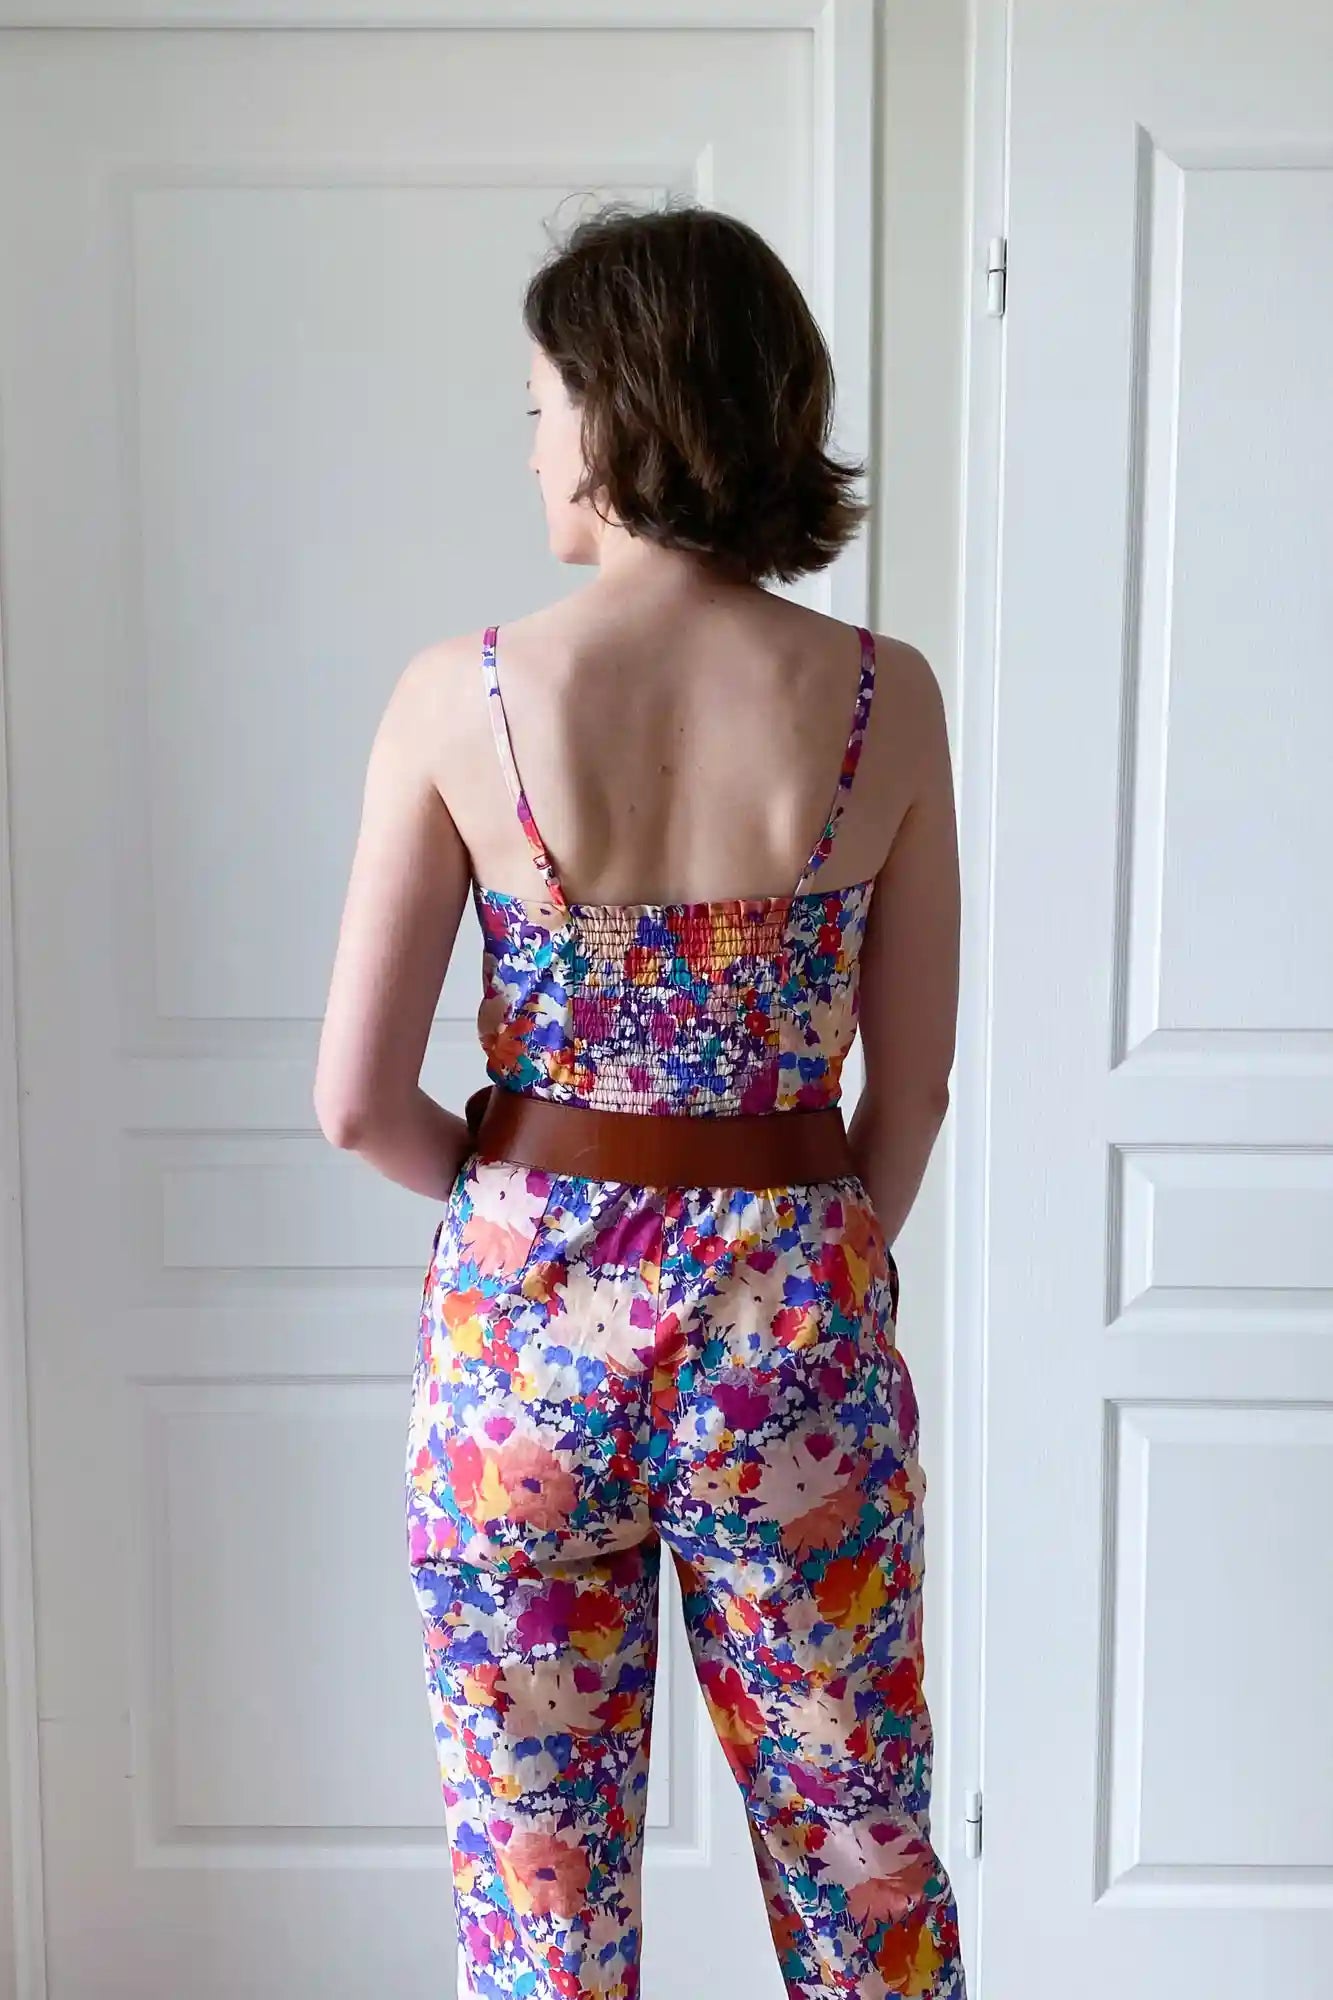
Mix-and-match patterns are designed for a close fit.
The ease at the bust and waist is minimal, and they are intended to be sewn with non-stretch fabrics. That’s why accurate measurements are essential!
• Don’t hesitate to ask for help when taking your measurements.
• Wear the underwear you plan to wear with your finished garment, a bra can affect your bust shape and size. If you’re making a piece you’ll wear over other clothing (like overalls or a winter dress), wear those layers as well while measuring.
• Avoid pulling the tape measure too tight.
• If your measurements tend to fluctuate during the day, it’s best to measure yourself in the evening. For waist and hip measurements, you can also take them while seated.
• Recheck your measurements regularly to track any changes over time.
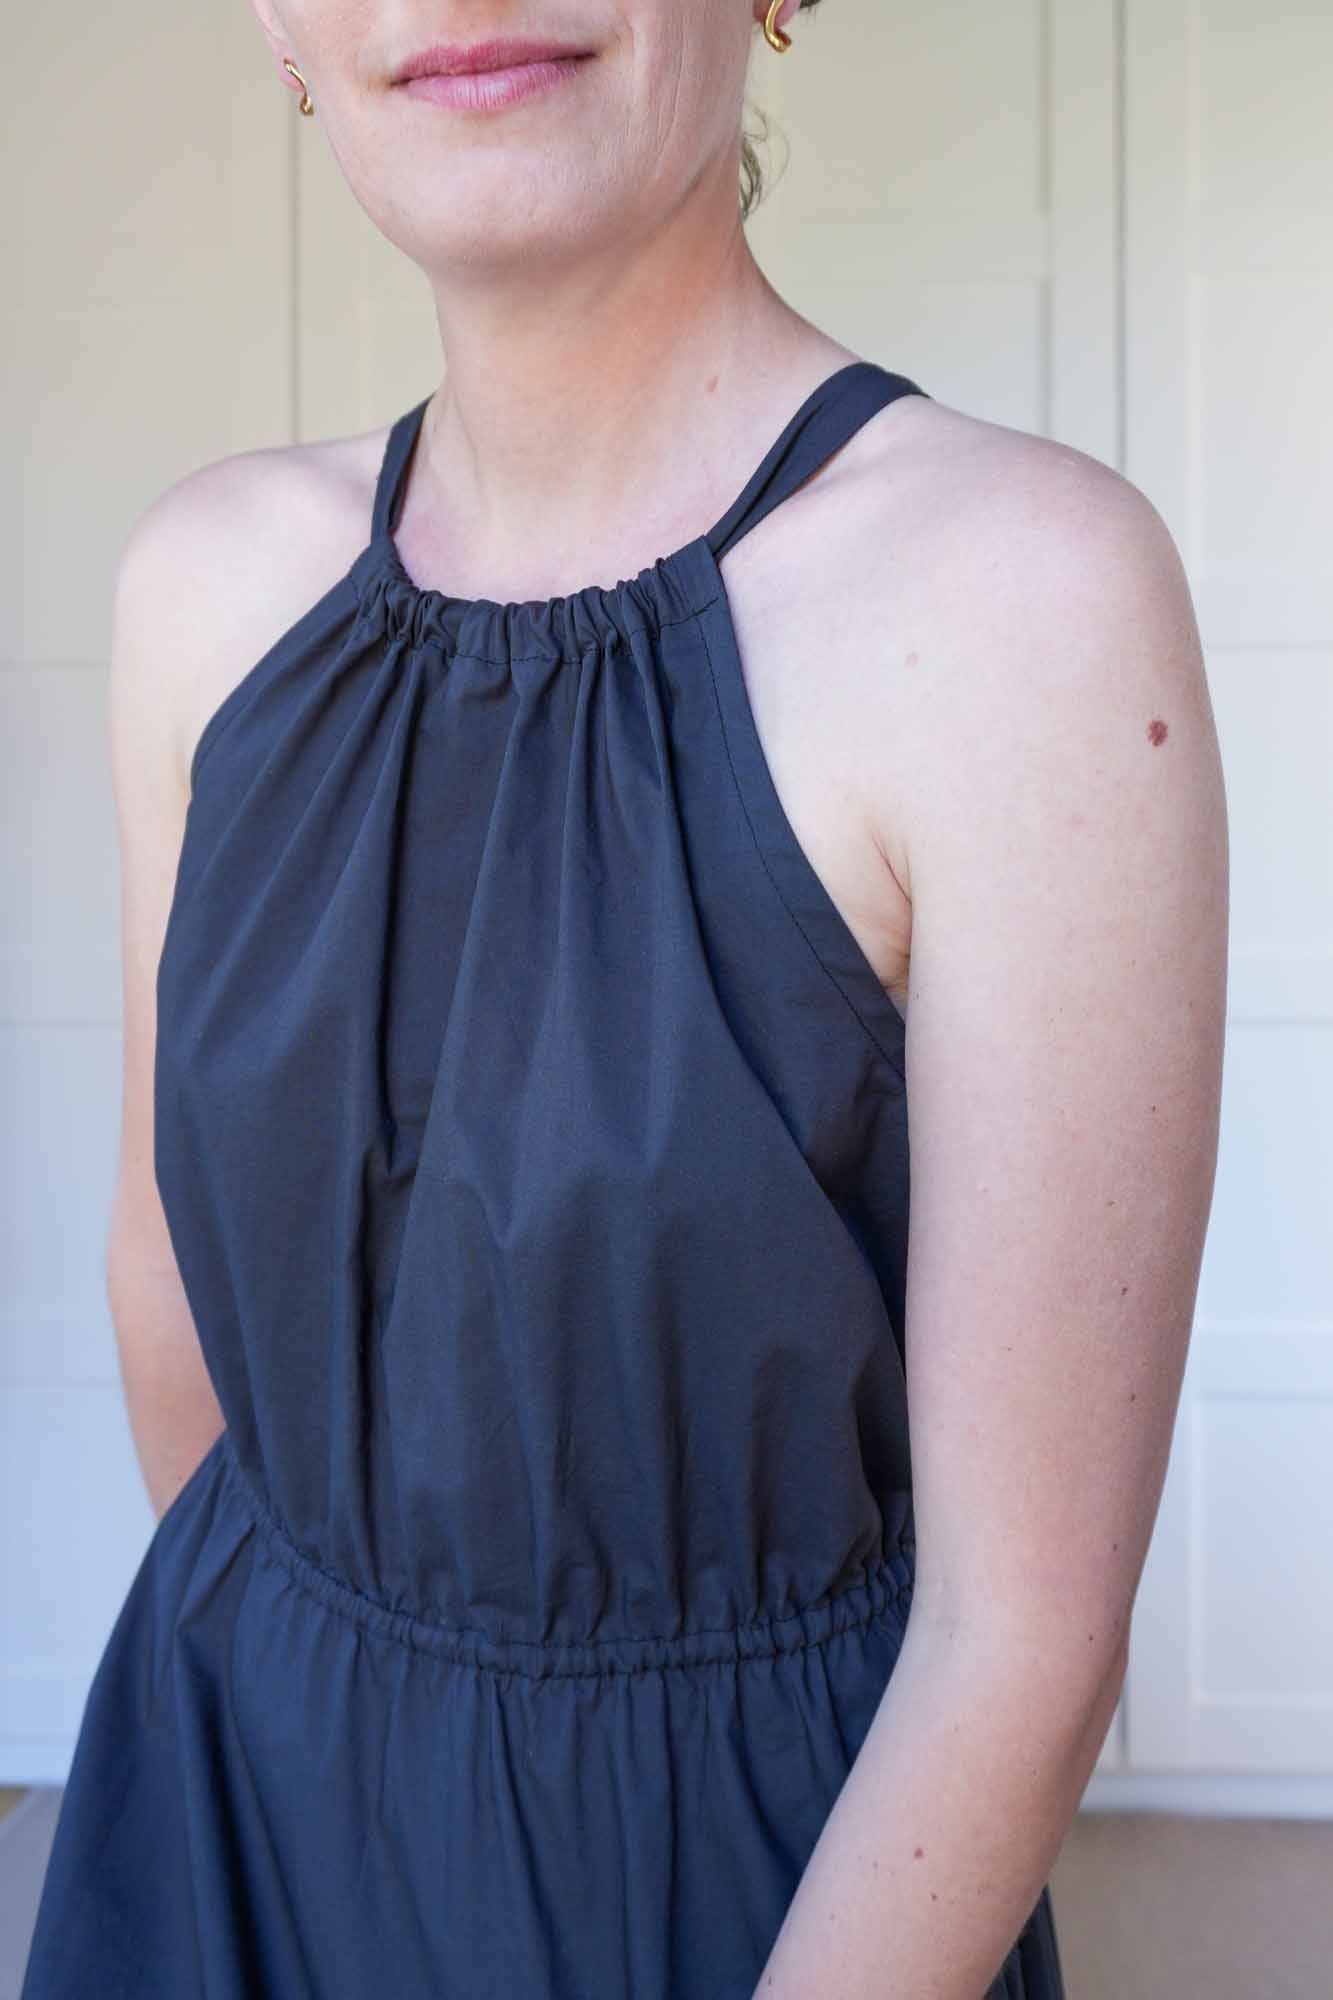
FRONT WIDTH
It is measured under the collarbones, from one arm to the other, across the hollow at the shoulder joint. This measurement will help you determine whether you should choose the small bust or full bust pattern.
Bust
It is measured at the fullest part of the bust, with your arms relaxed at your sides, making sure the tape measure stays perfectly horizontal. Take this measurement with or without a bra, depending on what you plan to wear with your dress.
Waist
It is measured at the narrowest part of your waist, a few centimeters above the navel, without pulling the tape too tight. You can tie an elastic around your waist to help you see exactly where it is.
Hips
It is measured at the fullest part of the buttocks, also known as the widest part of the hips. If you’re unsure, take this measurement at several points and keep the largest value.
2. Find your size
The table below shows body measurements. The finished garment measurements are obtained by adding the pattern’s ease to your body measurements. You’ll find this information in the instruction booklets.
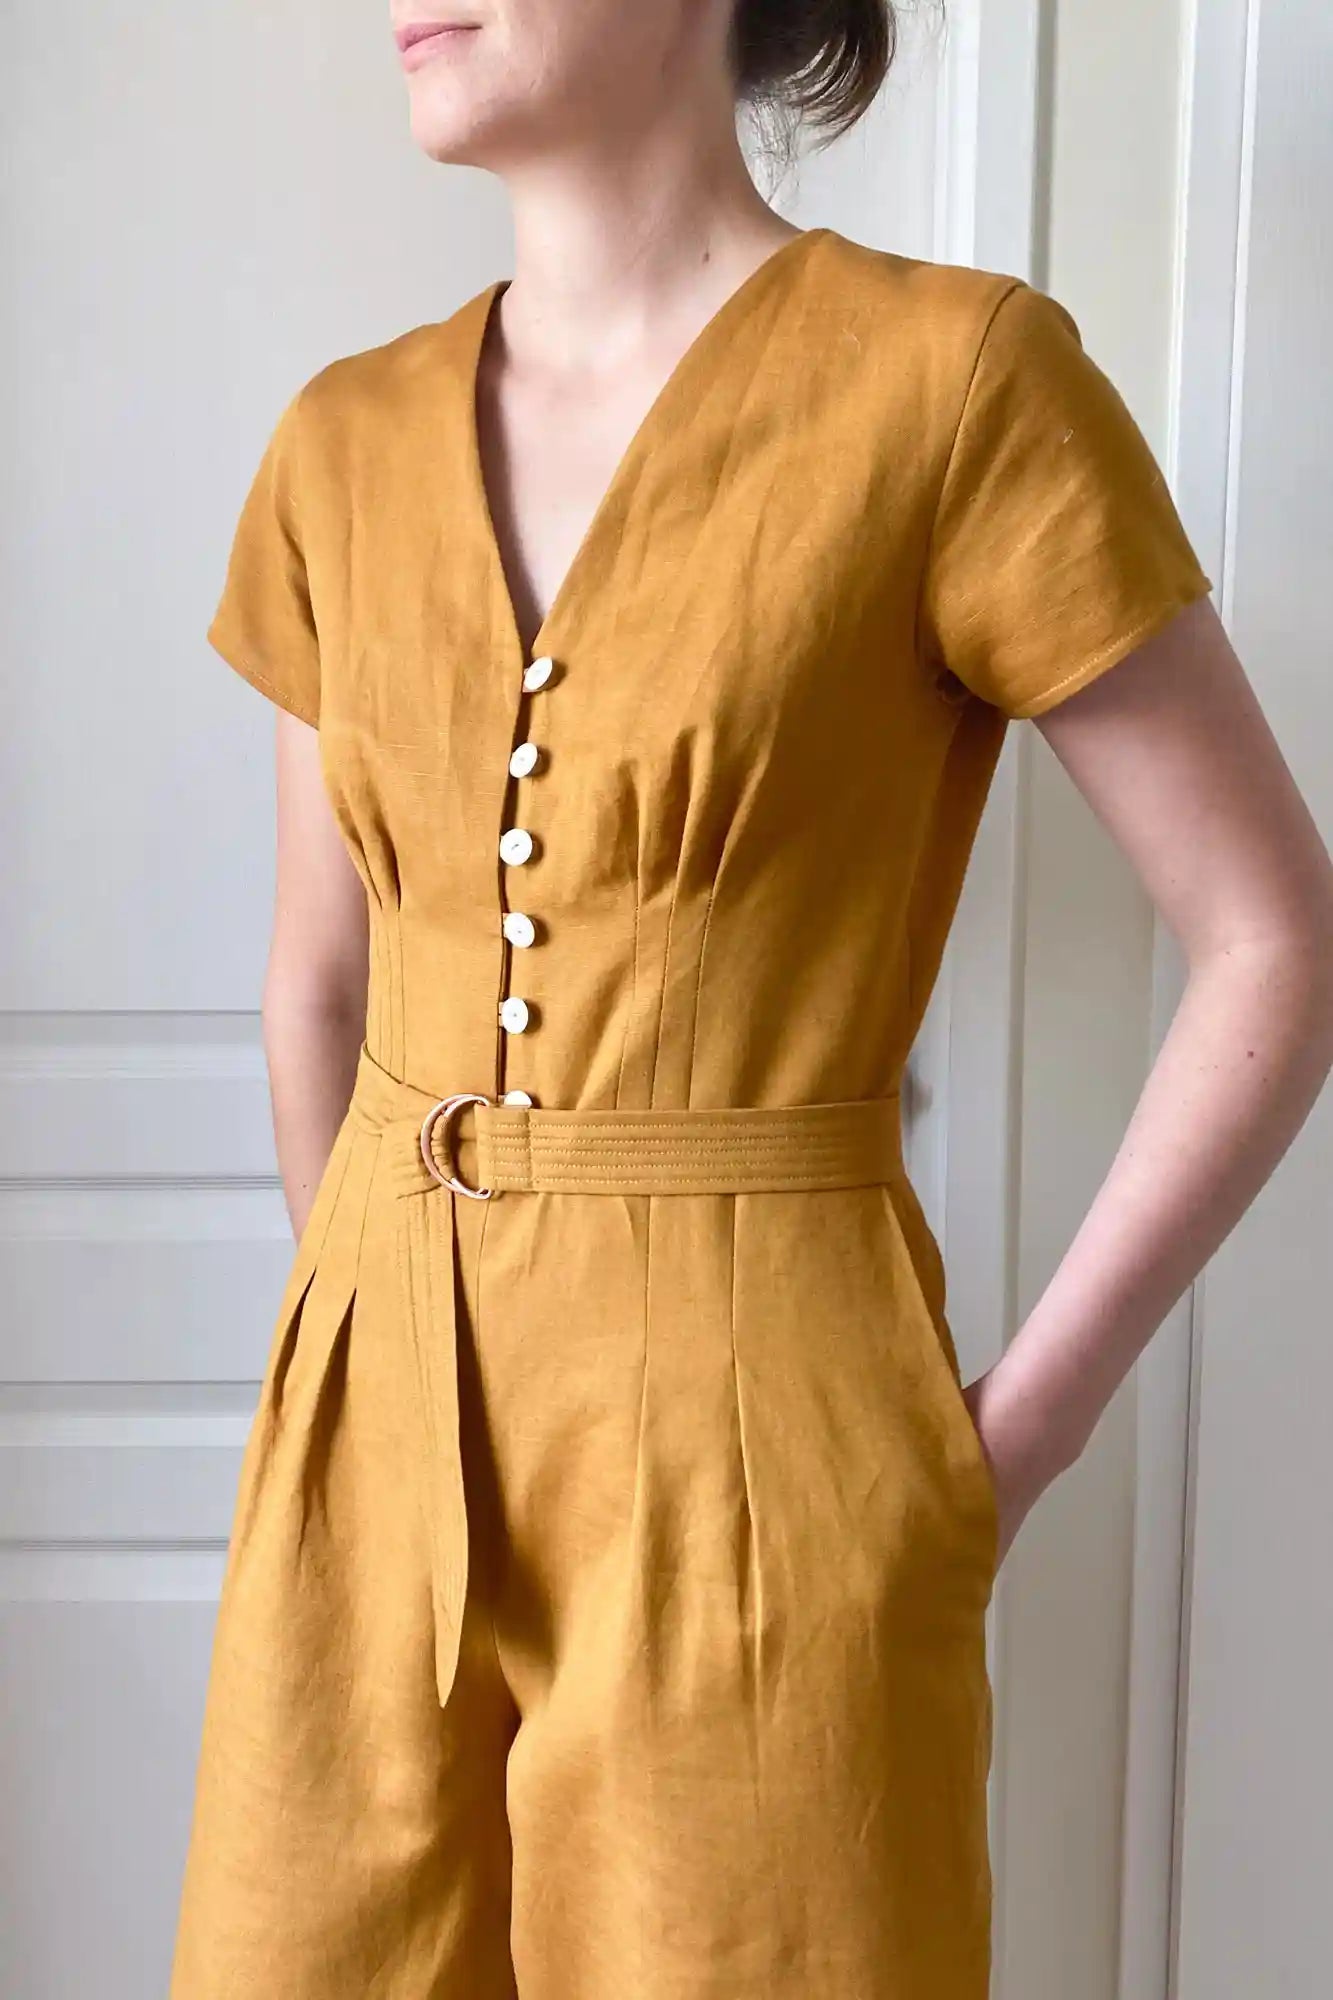
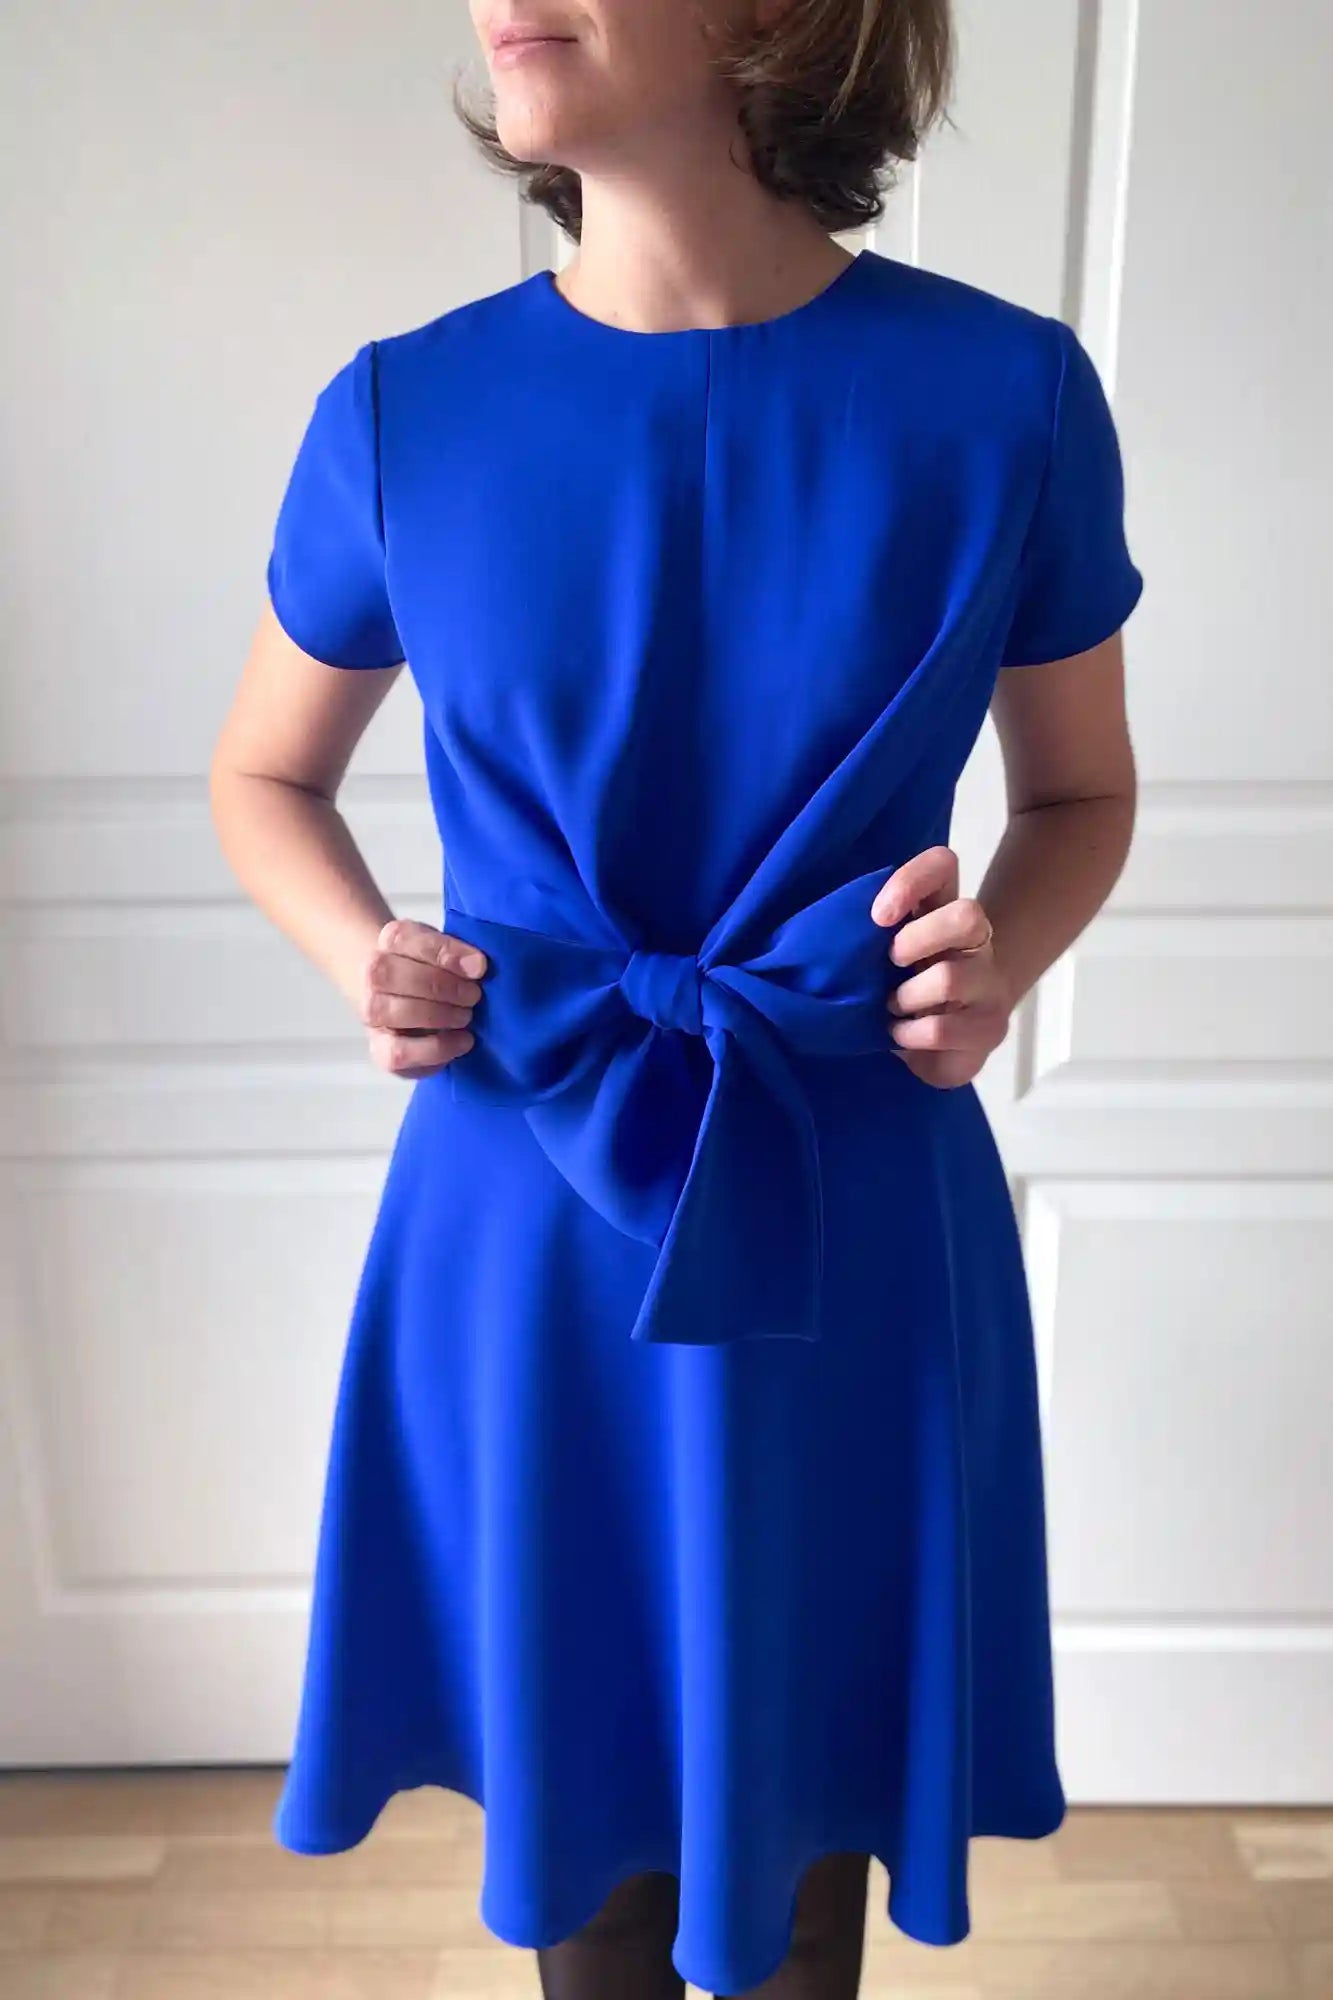
The customizable patterns are designed for a close fit, which means the included ease is minimal. The feeling of ease can vary depending on personal preference — some people like their clothes more fitted, while others prefer a looser fit.
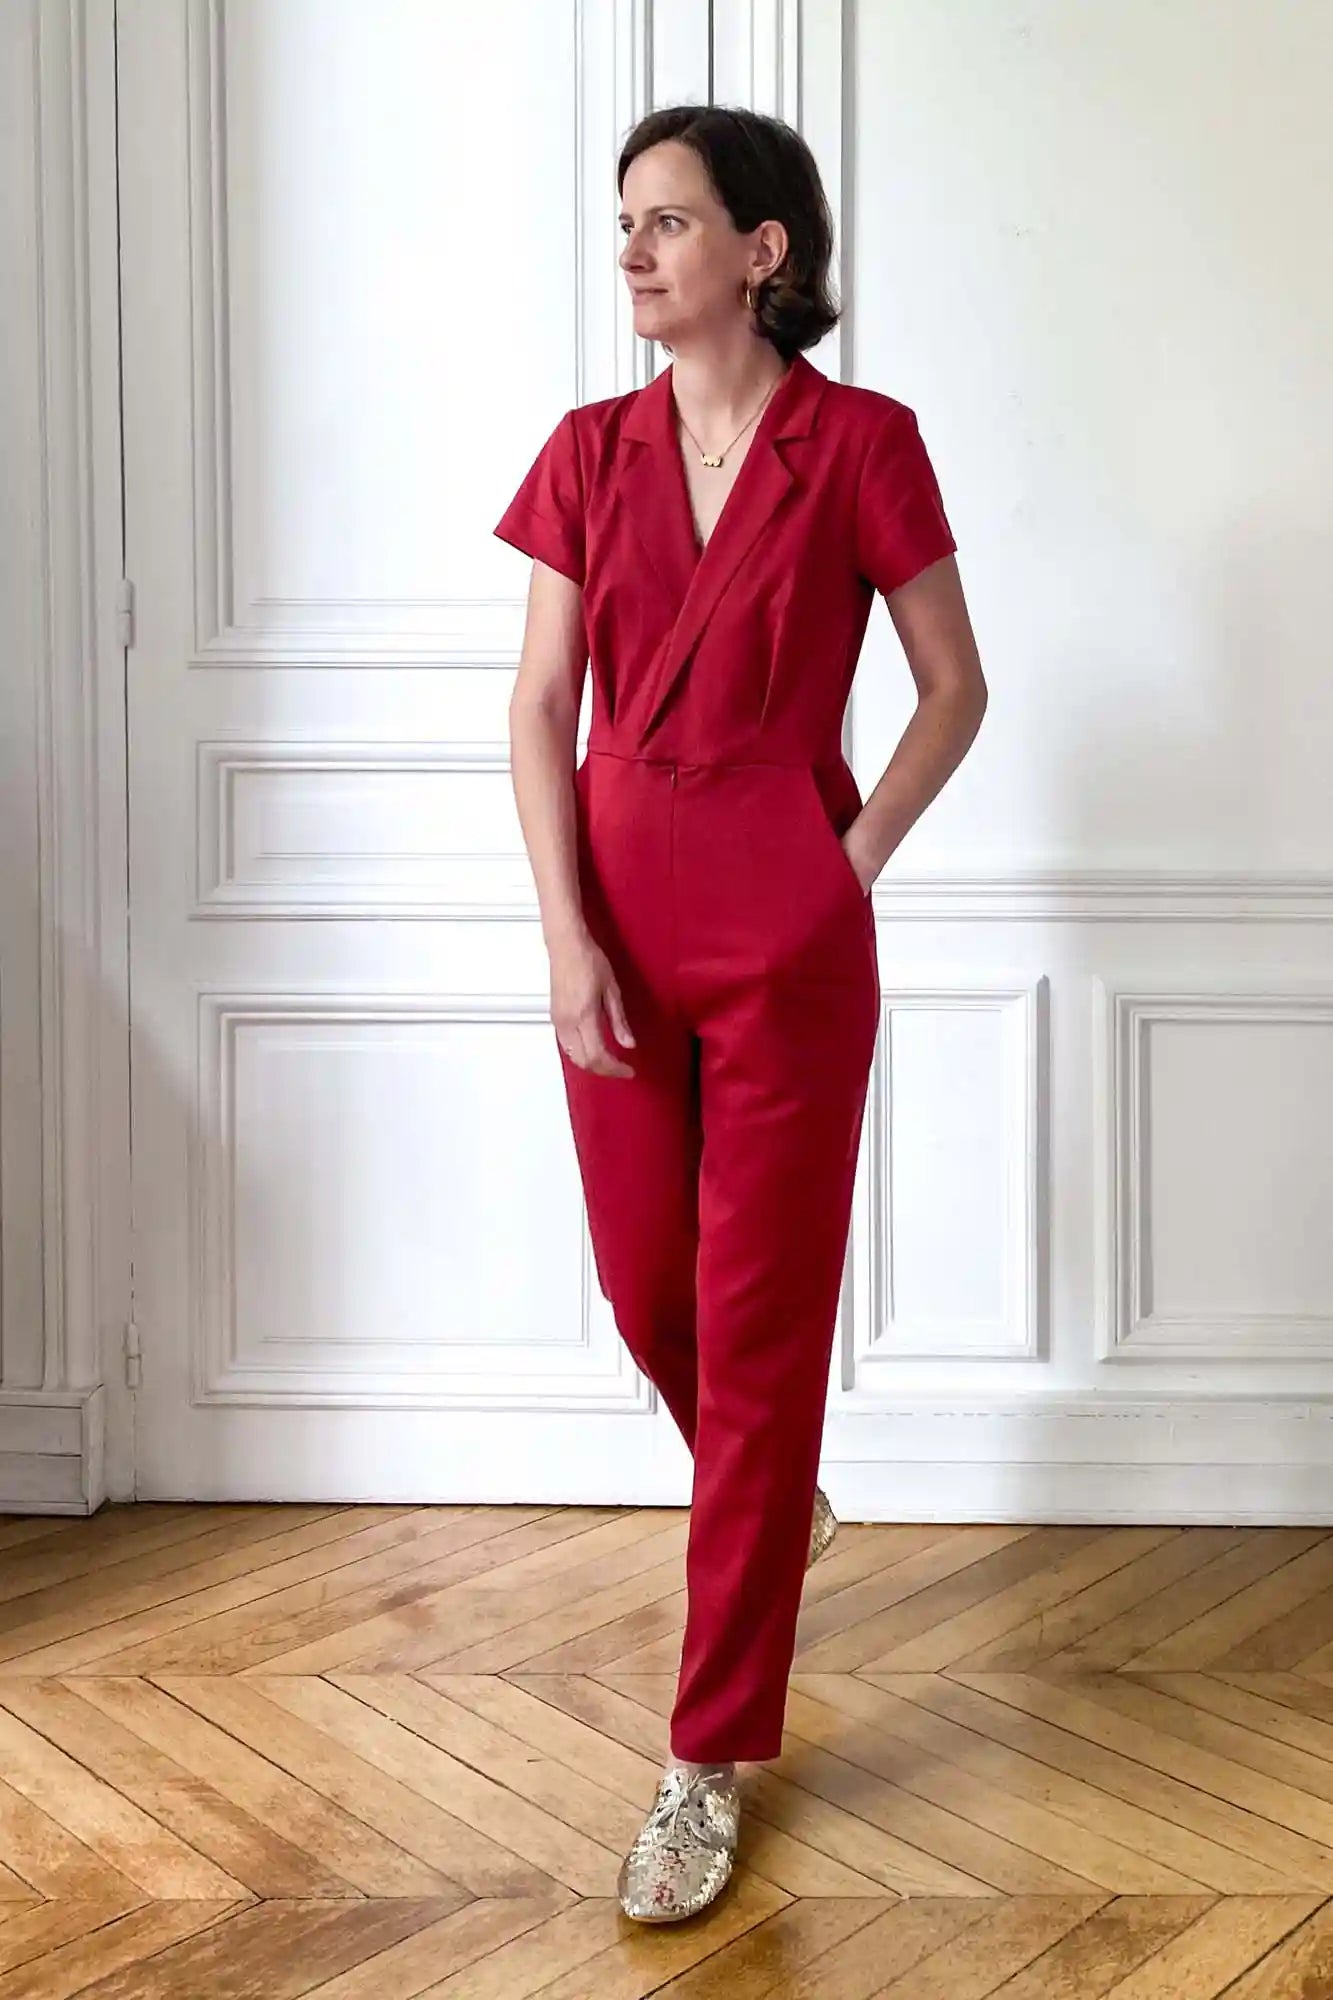
In addition, the sensation may also vary depending on the fabric. These patterns are intended for light, drapey fabrics (such as viscose or polyester crepes, silk, cotton voile, or viscose/tencel twill or twill blends), especially if you’re sewing a design with sleeves or a jumpsuit. You may need to size up if you’re using a heavier or more structured fabric.
Keep these points in mind when choosing your size.
| cm | 34 | 36 | 38 | 40 | 42 | 44 | 46 | 48 | 50 | 52 | 54 | 56 | |
|---|---|---|---|---|---|---|---|---|---|---|---|---|---|
| Front Width | 30 | 31 | 32 | 33 | 34 | 35 | 36 | 37 | 37,75 | 38,5 | 39,25 | 40 | |
| Bust | Small bust | 80 | 84 | 88 | 92 | 96 | 100 | 104 | 108 | 114 | 120 | 126 | 132 |
| Full bust | 84 | 88 | 92 | 96 | 100 | 104 | 108 | 112 | 118 | 124 | 130 | 136 | |
| Waist | 62 | 66 | 70 | 74 | 78 | 82 | 86 | 90 | 96 | 102 | 108 | 114 | |
| Hips | 86 | 90 | 94 | 98 | 102 | 106 | 110 | 114 | 120 | 126 | 132 | 138 |
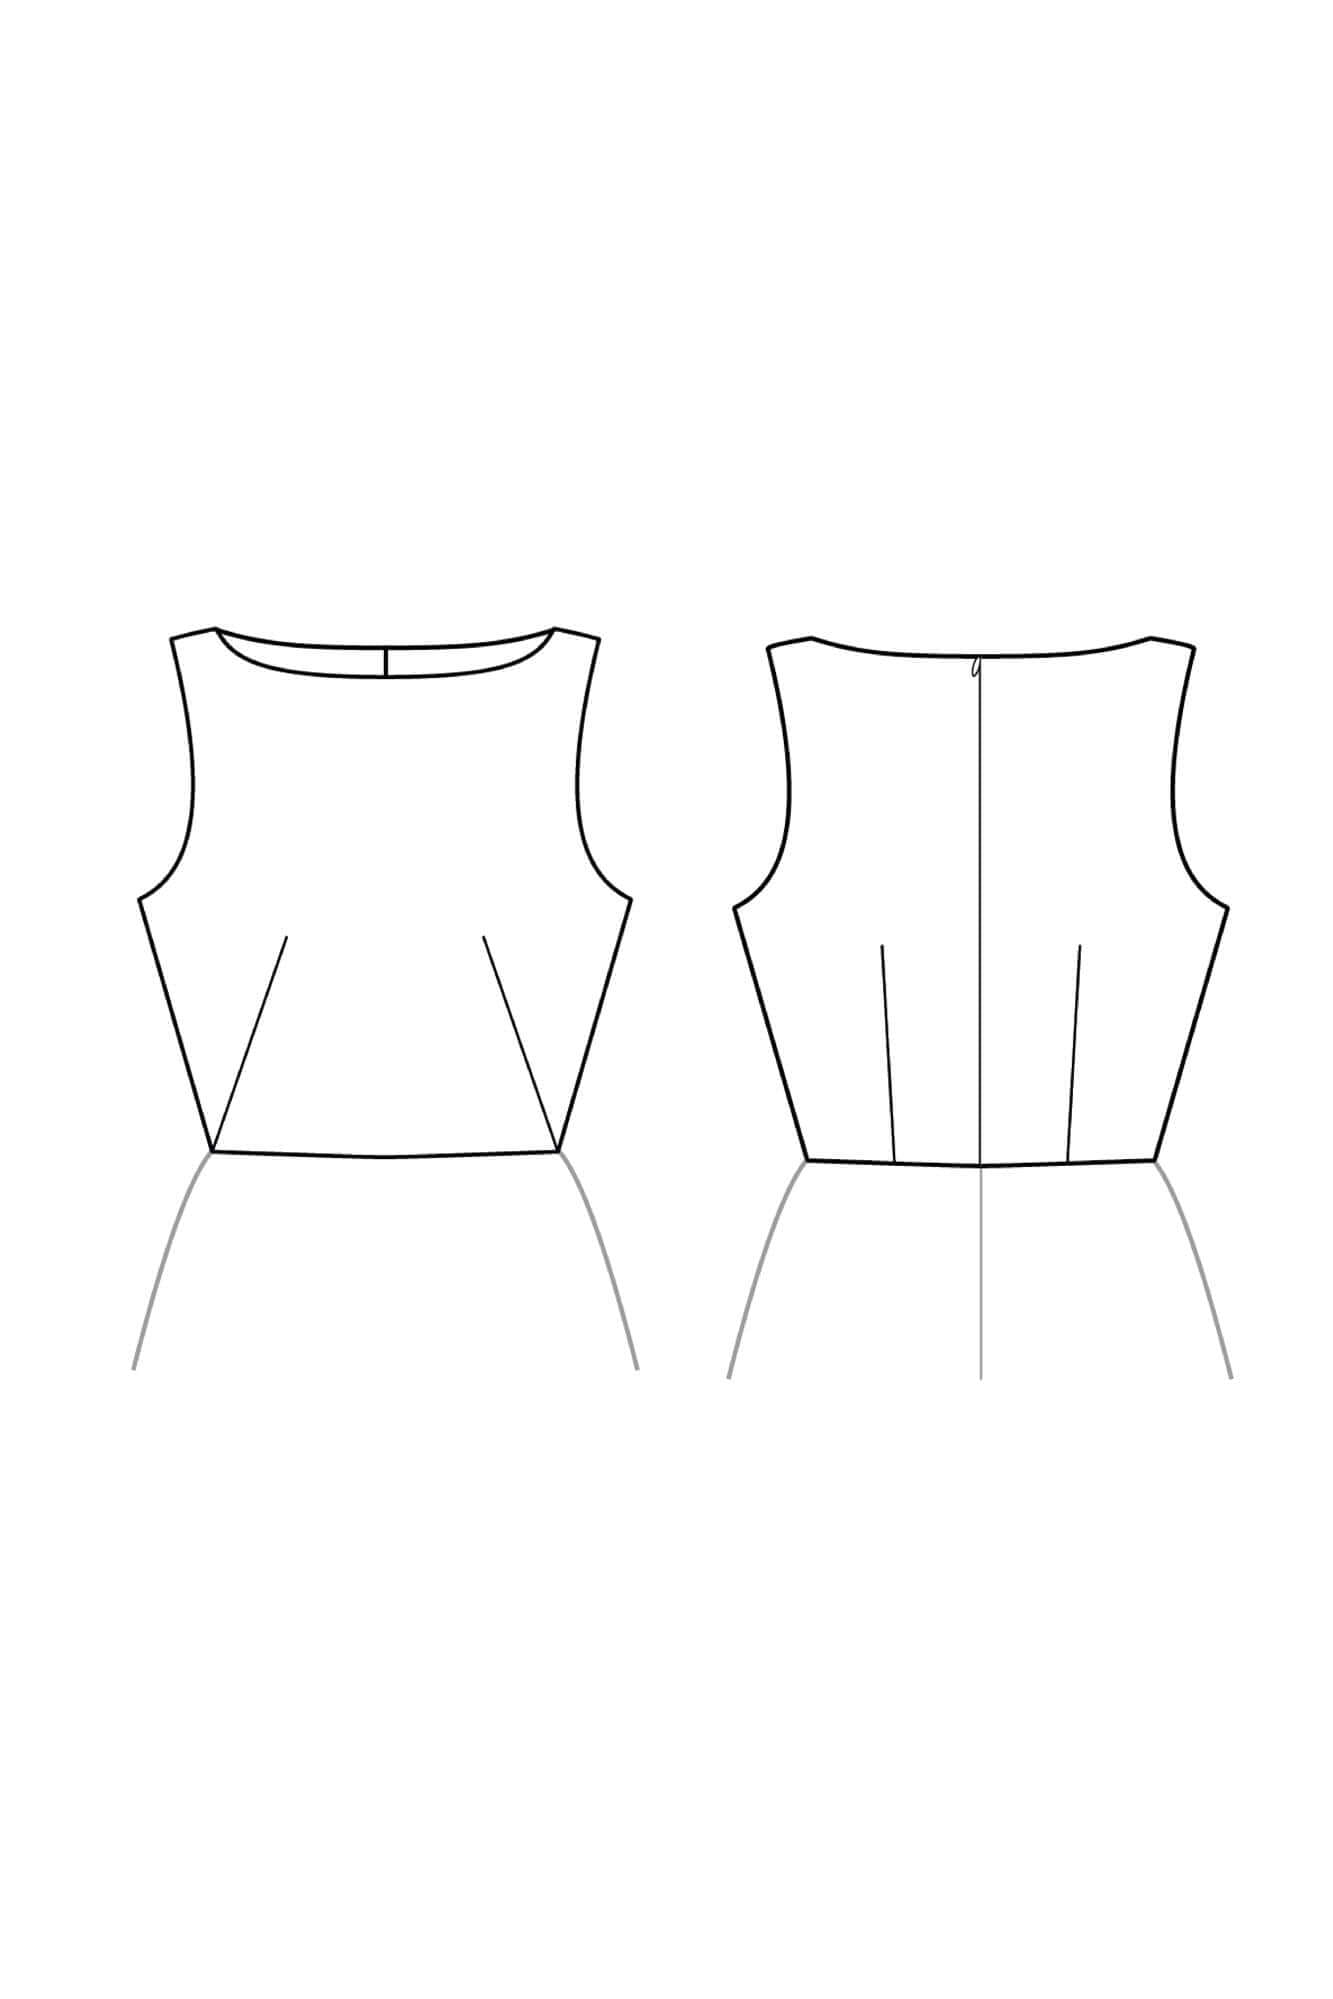
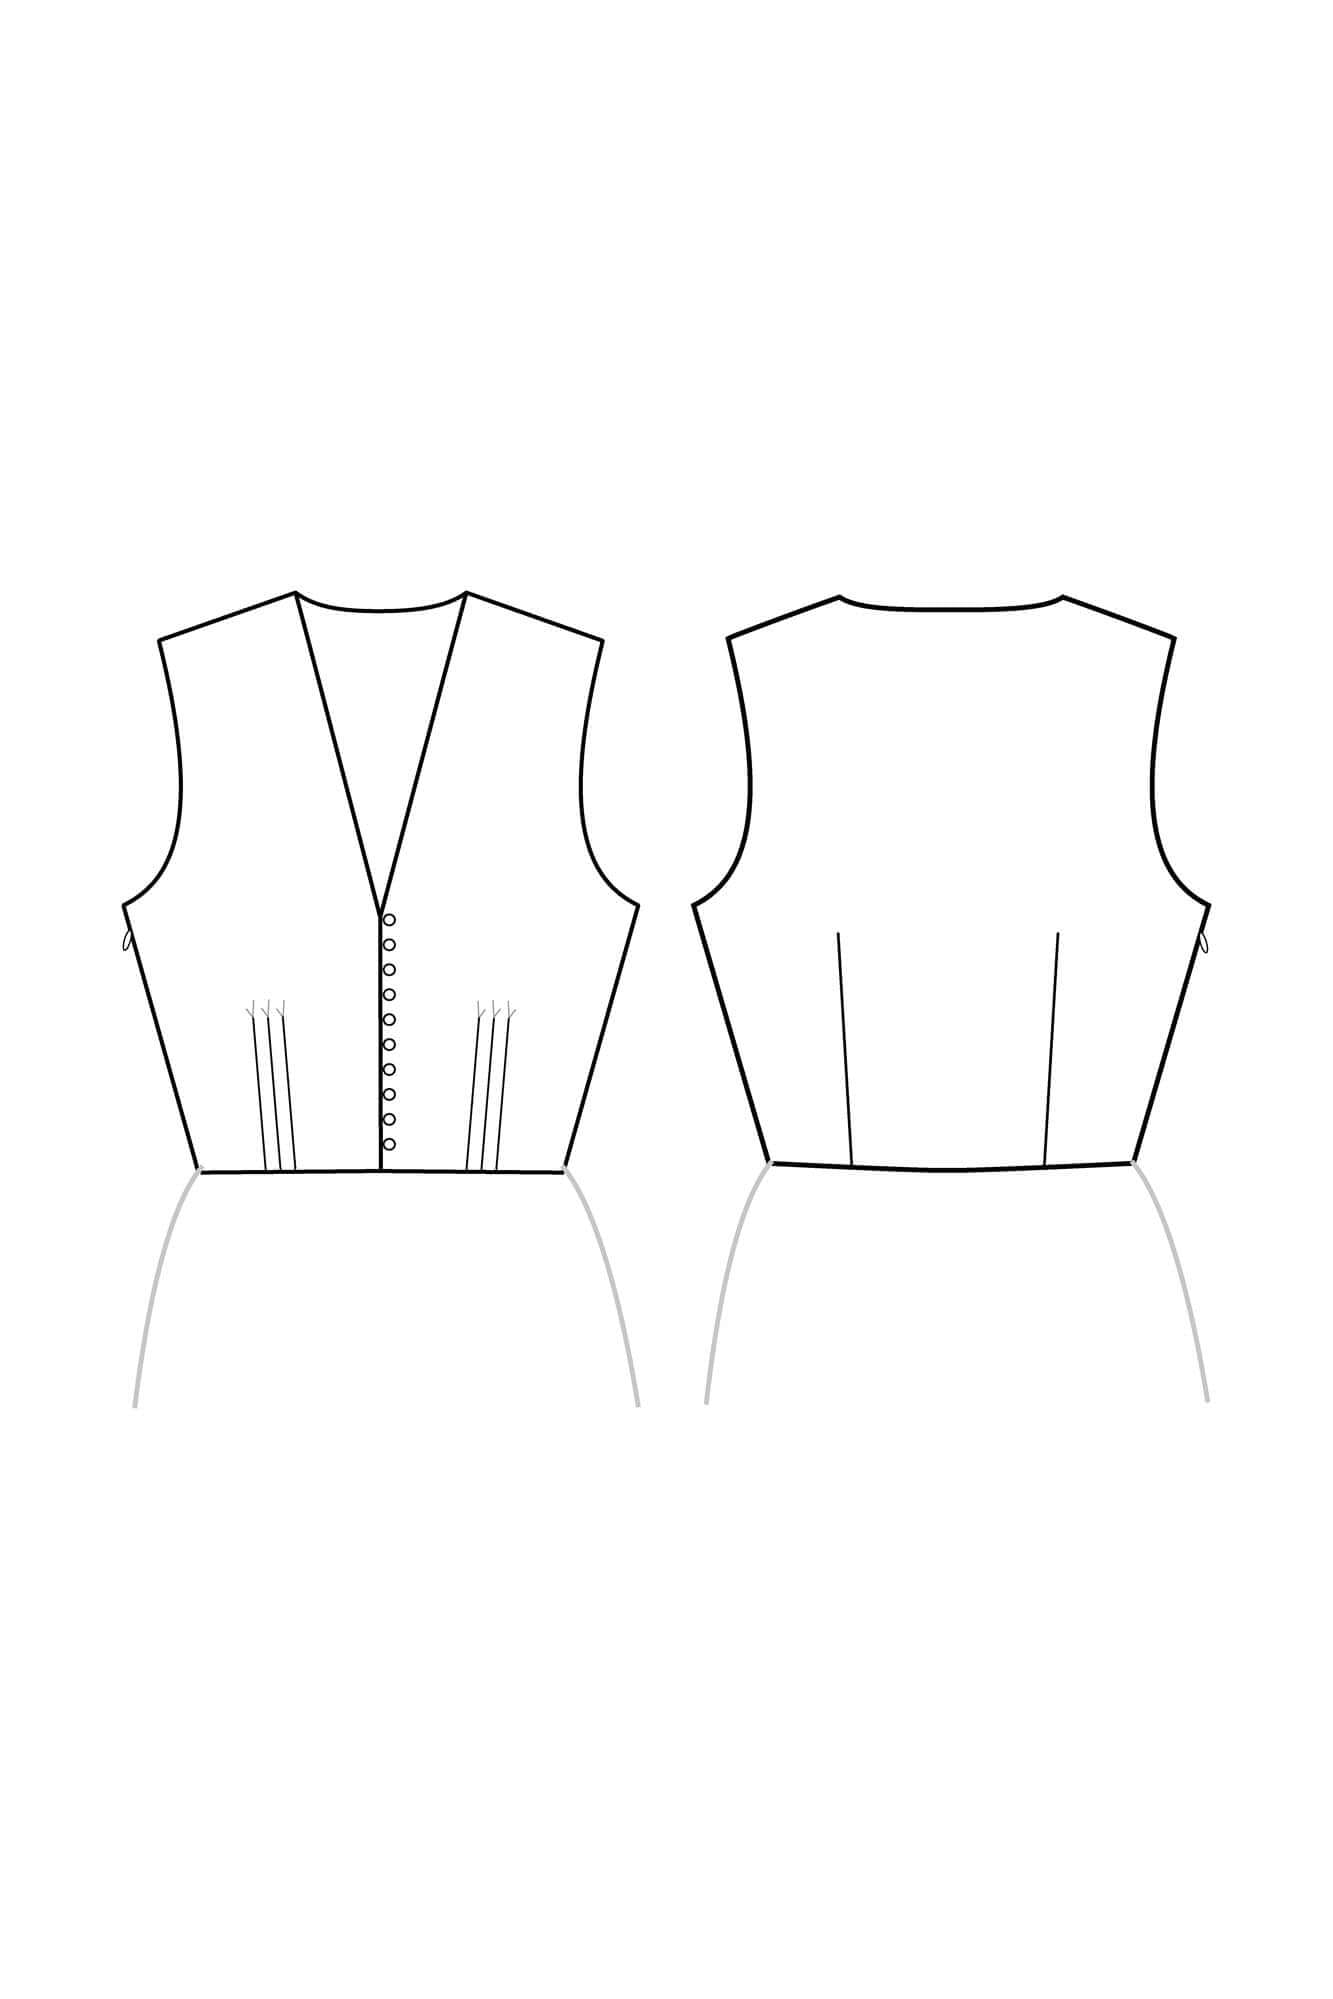
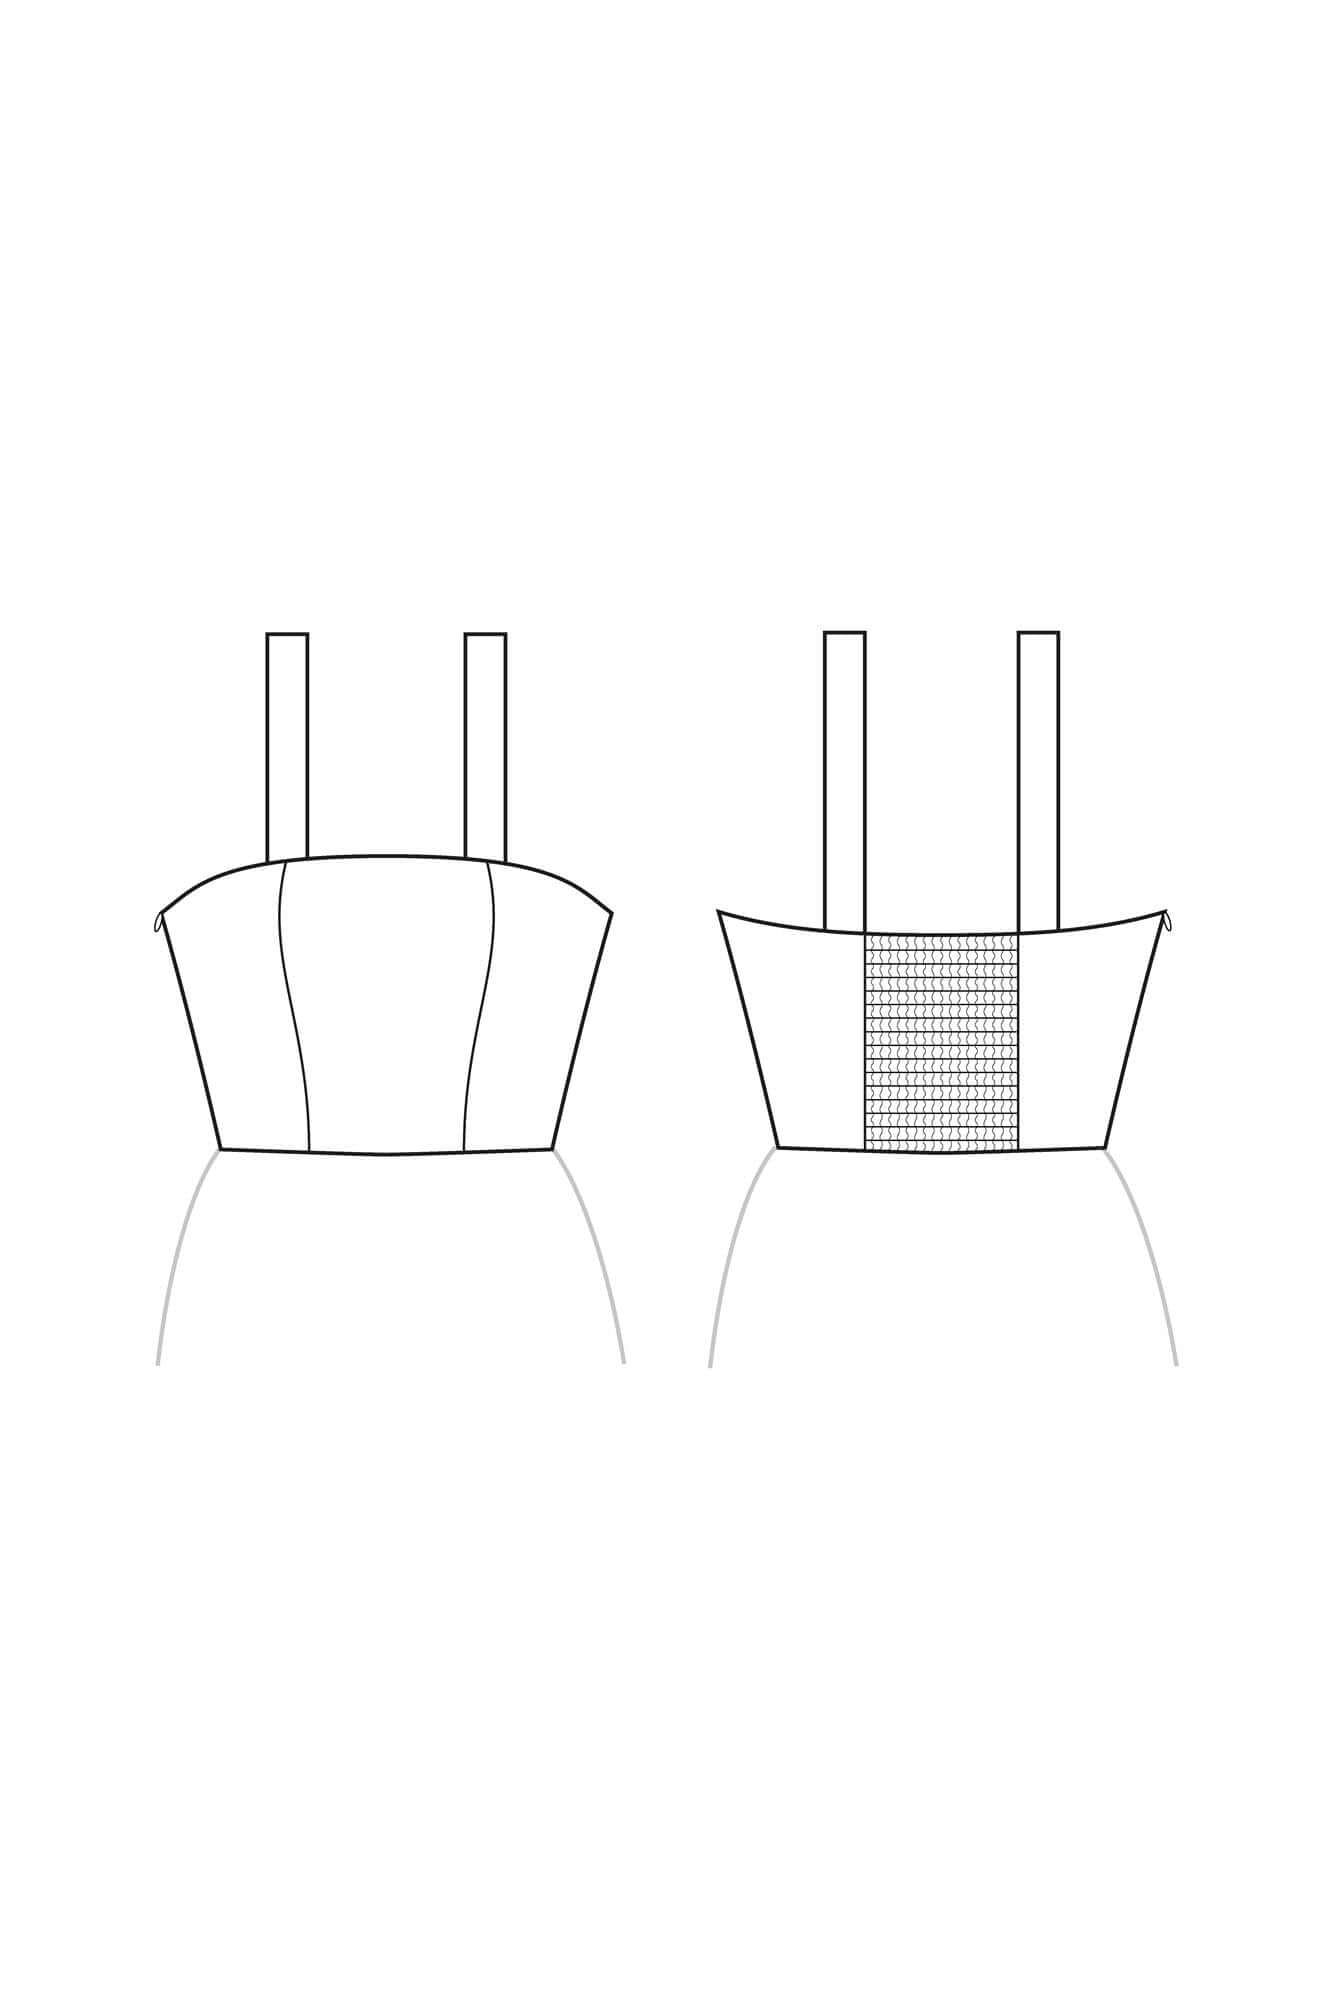
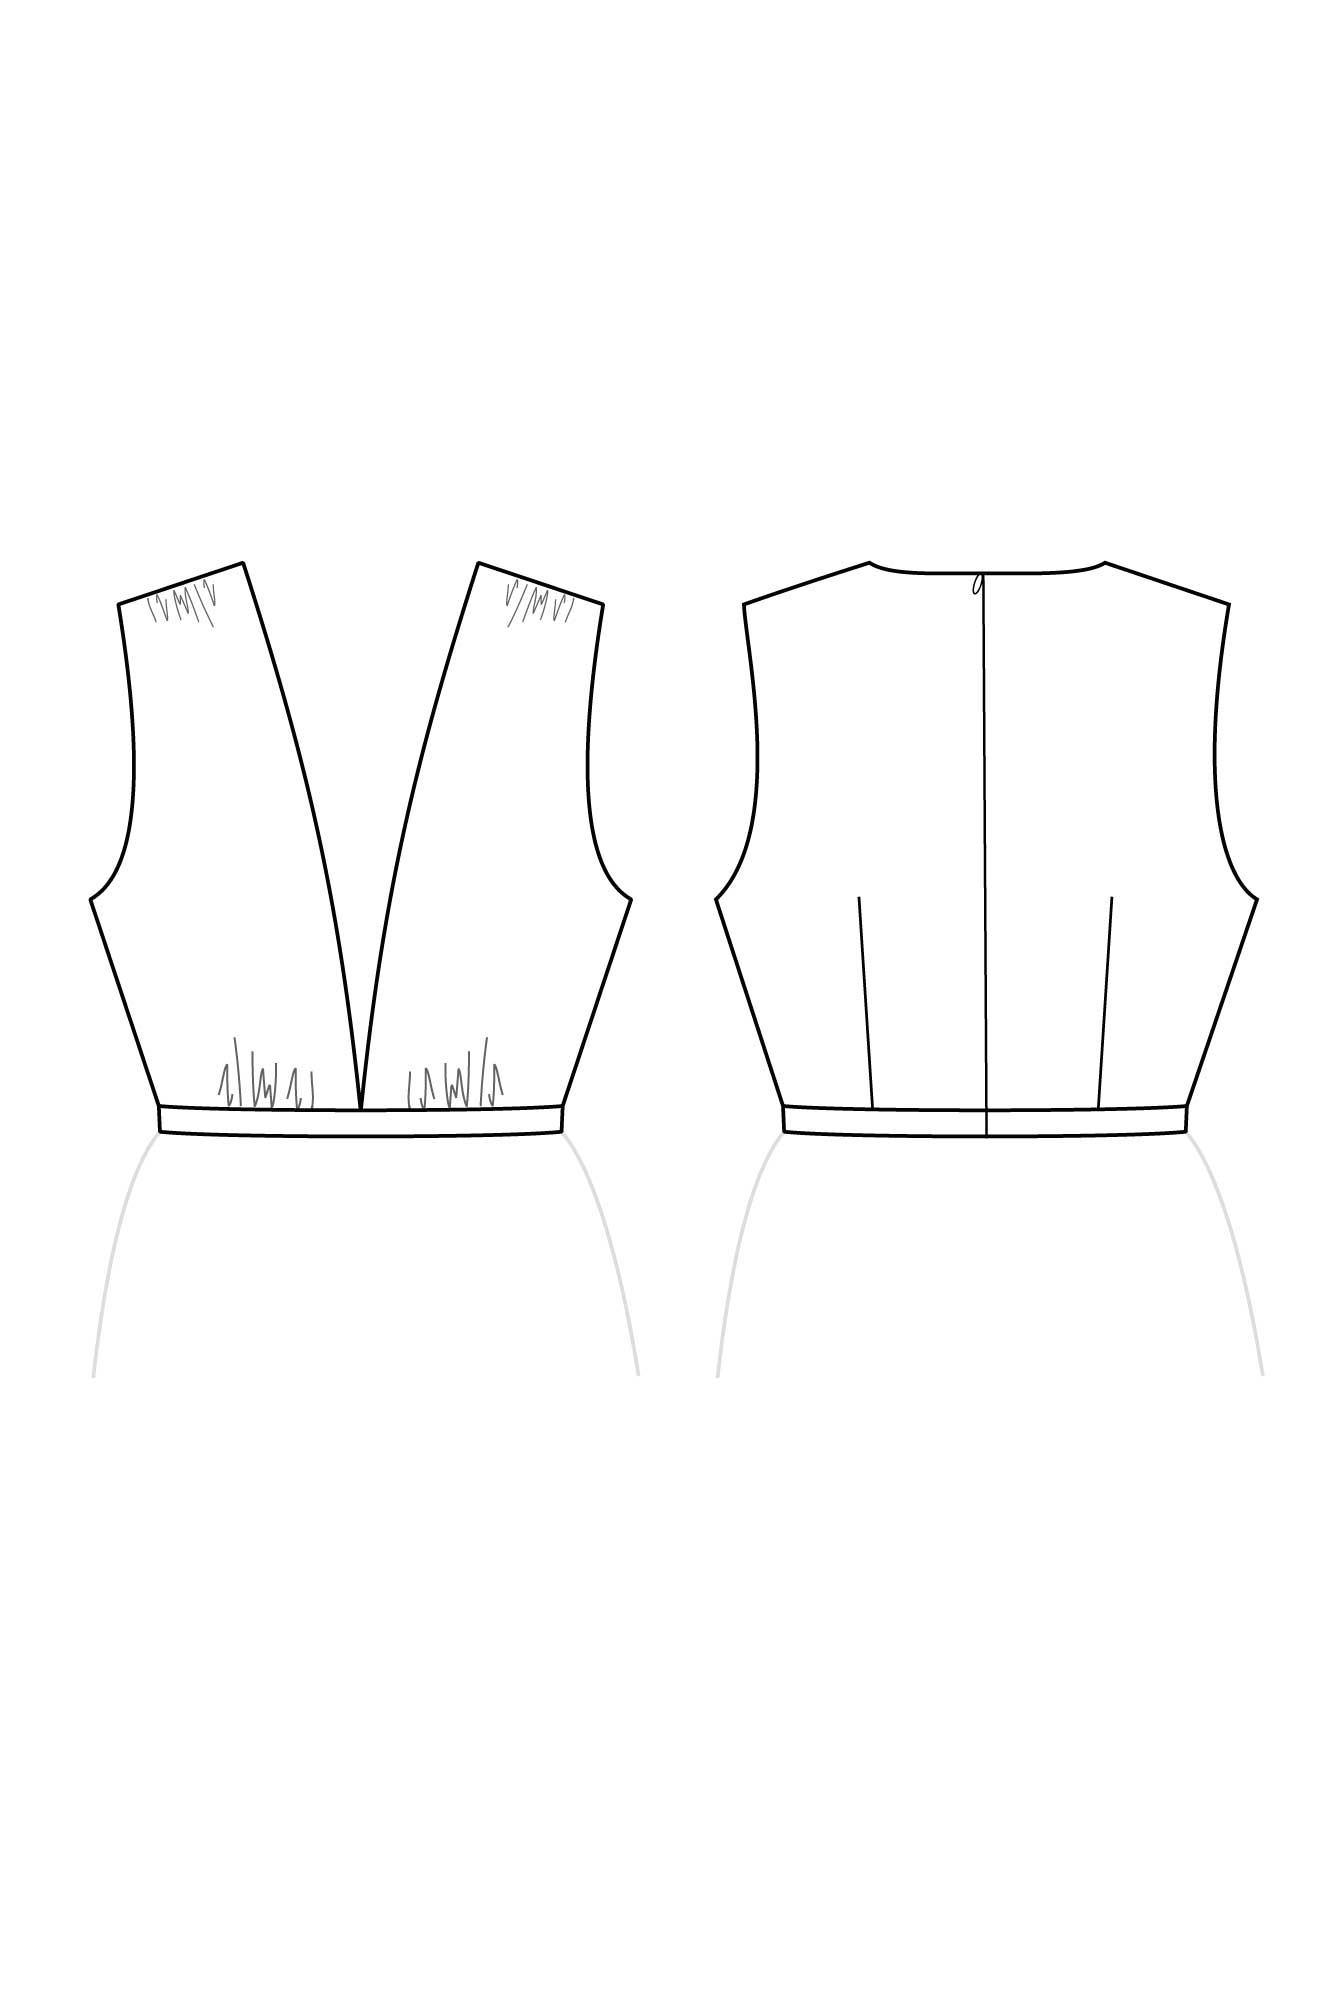
3. GRADING BETWEEN SIZES
In each pattern, you’ll find a guide showing you how to “grade between sizes.” This method allows you to use different sizes for the bust, waist, and hips, helping you achieve a truly custom fit.
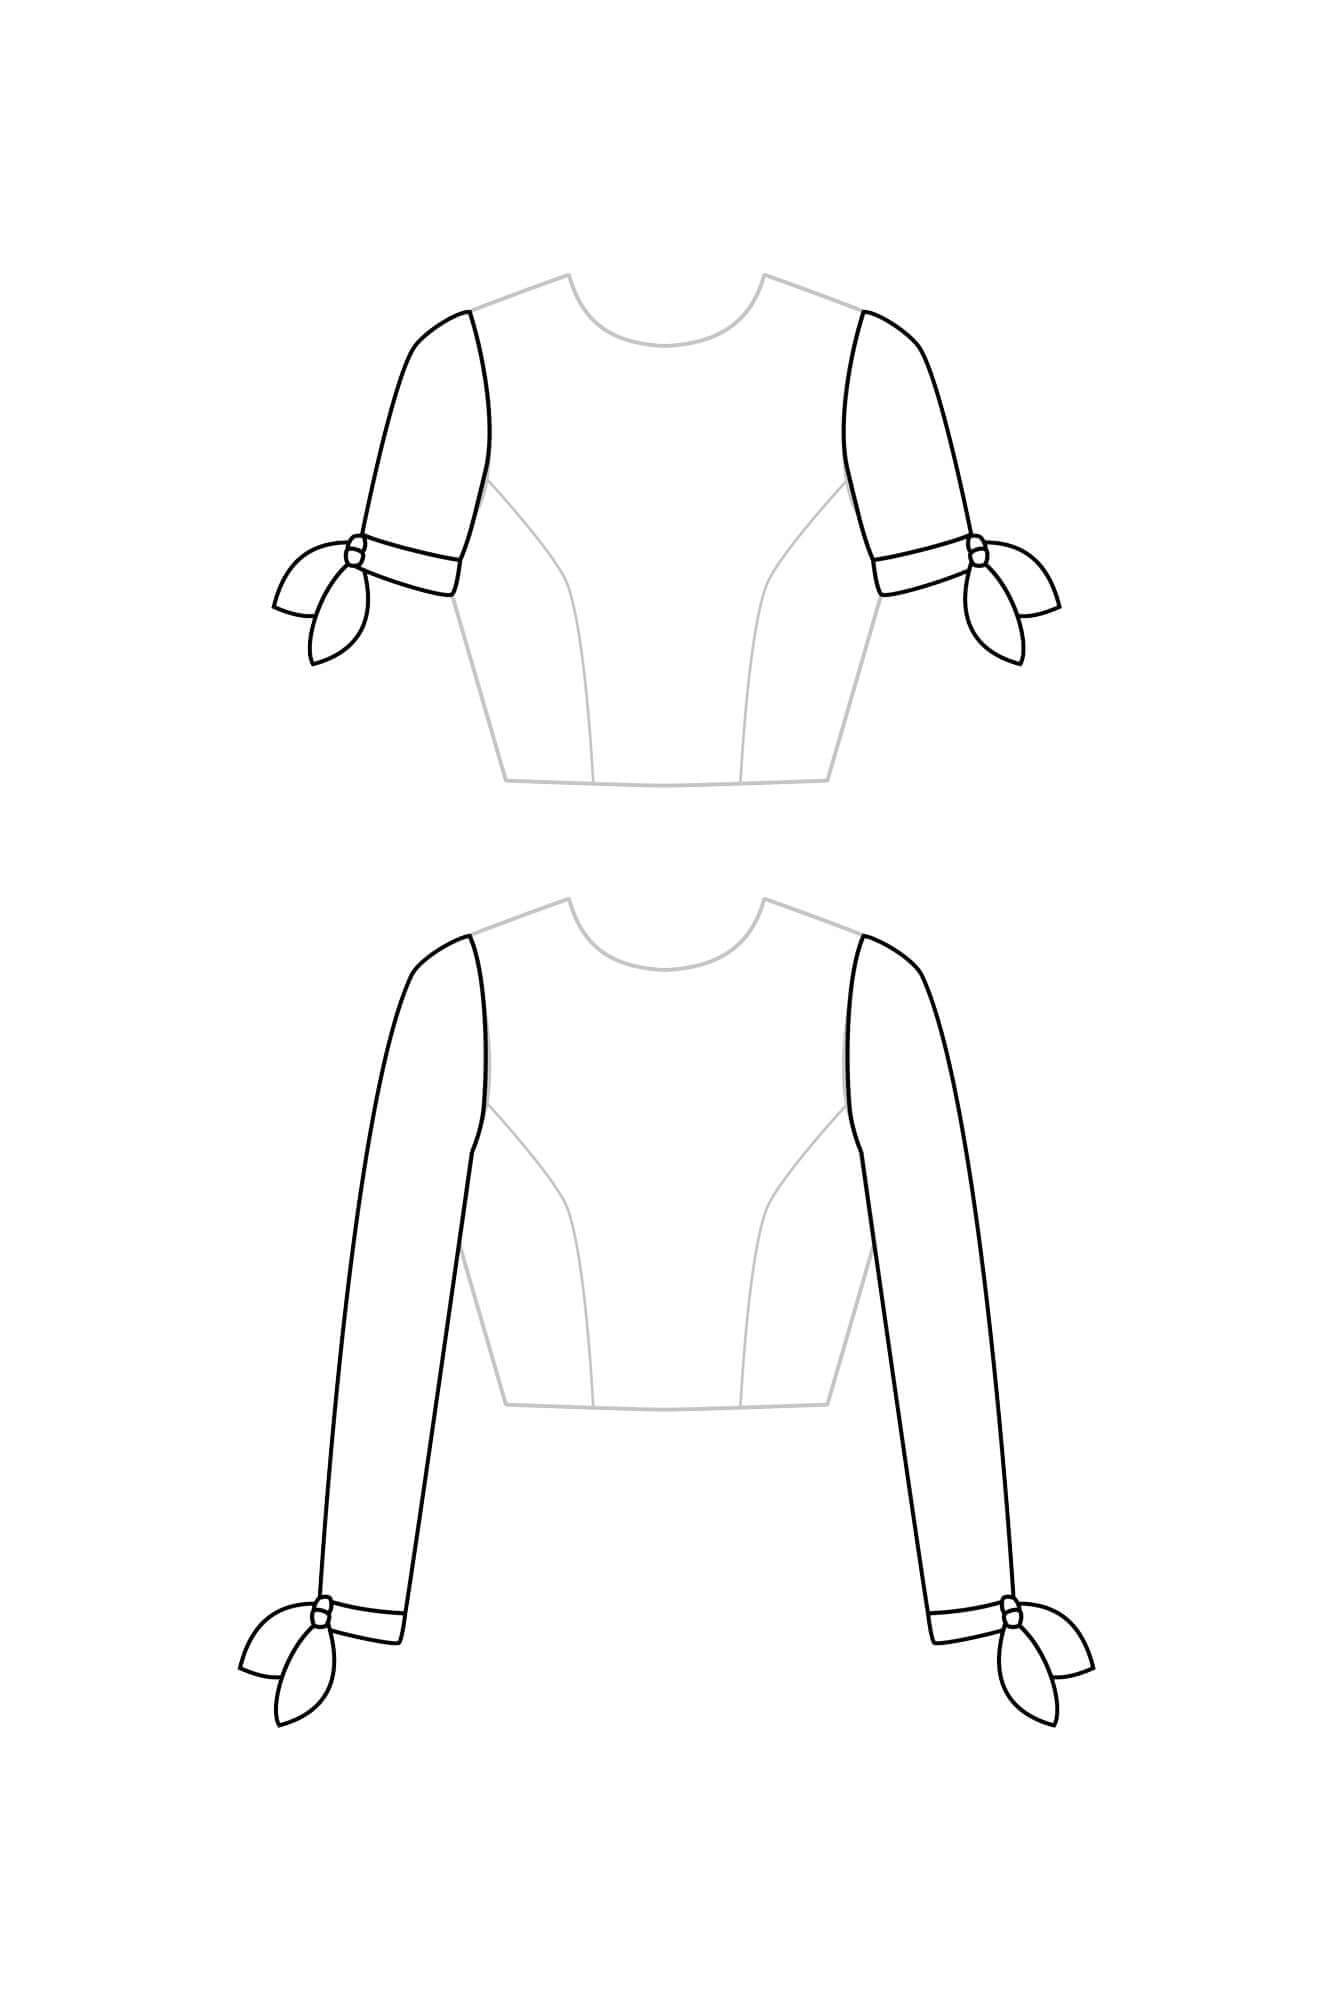
Here’s an example using the “Basic Bodice” customizable pattern.
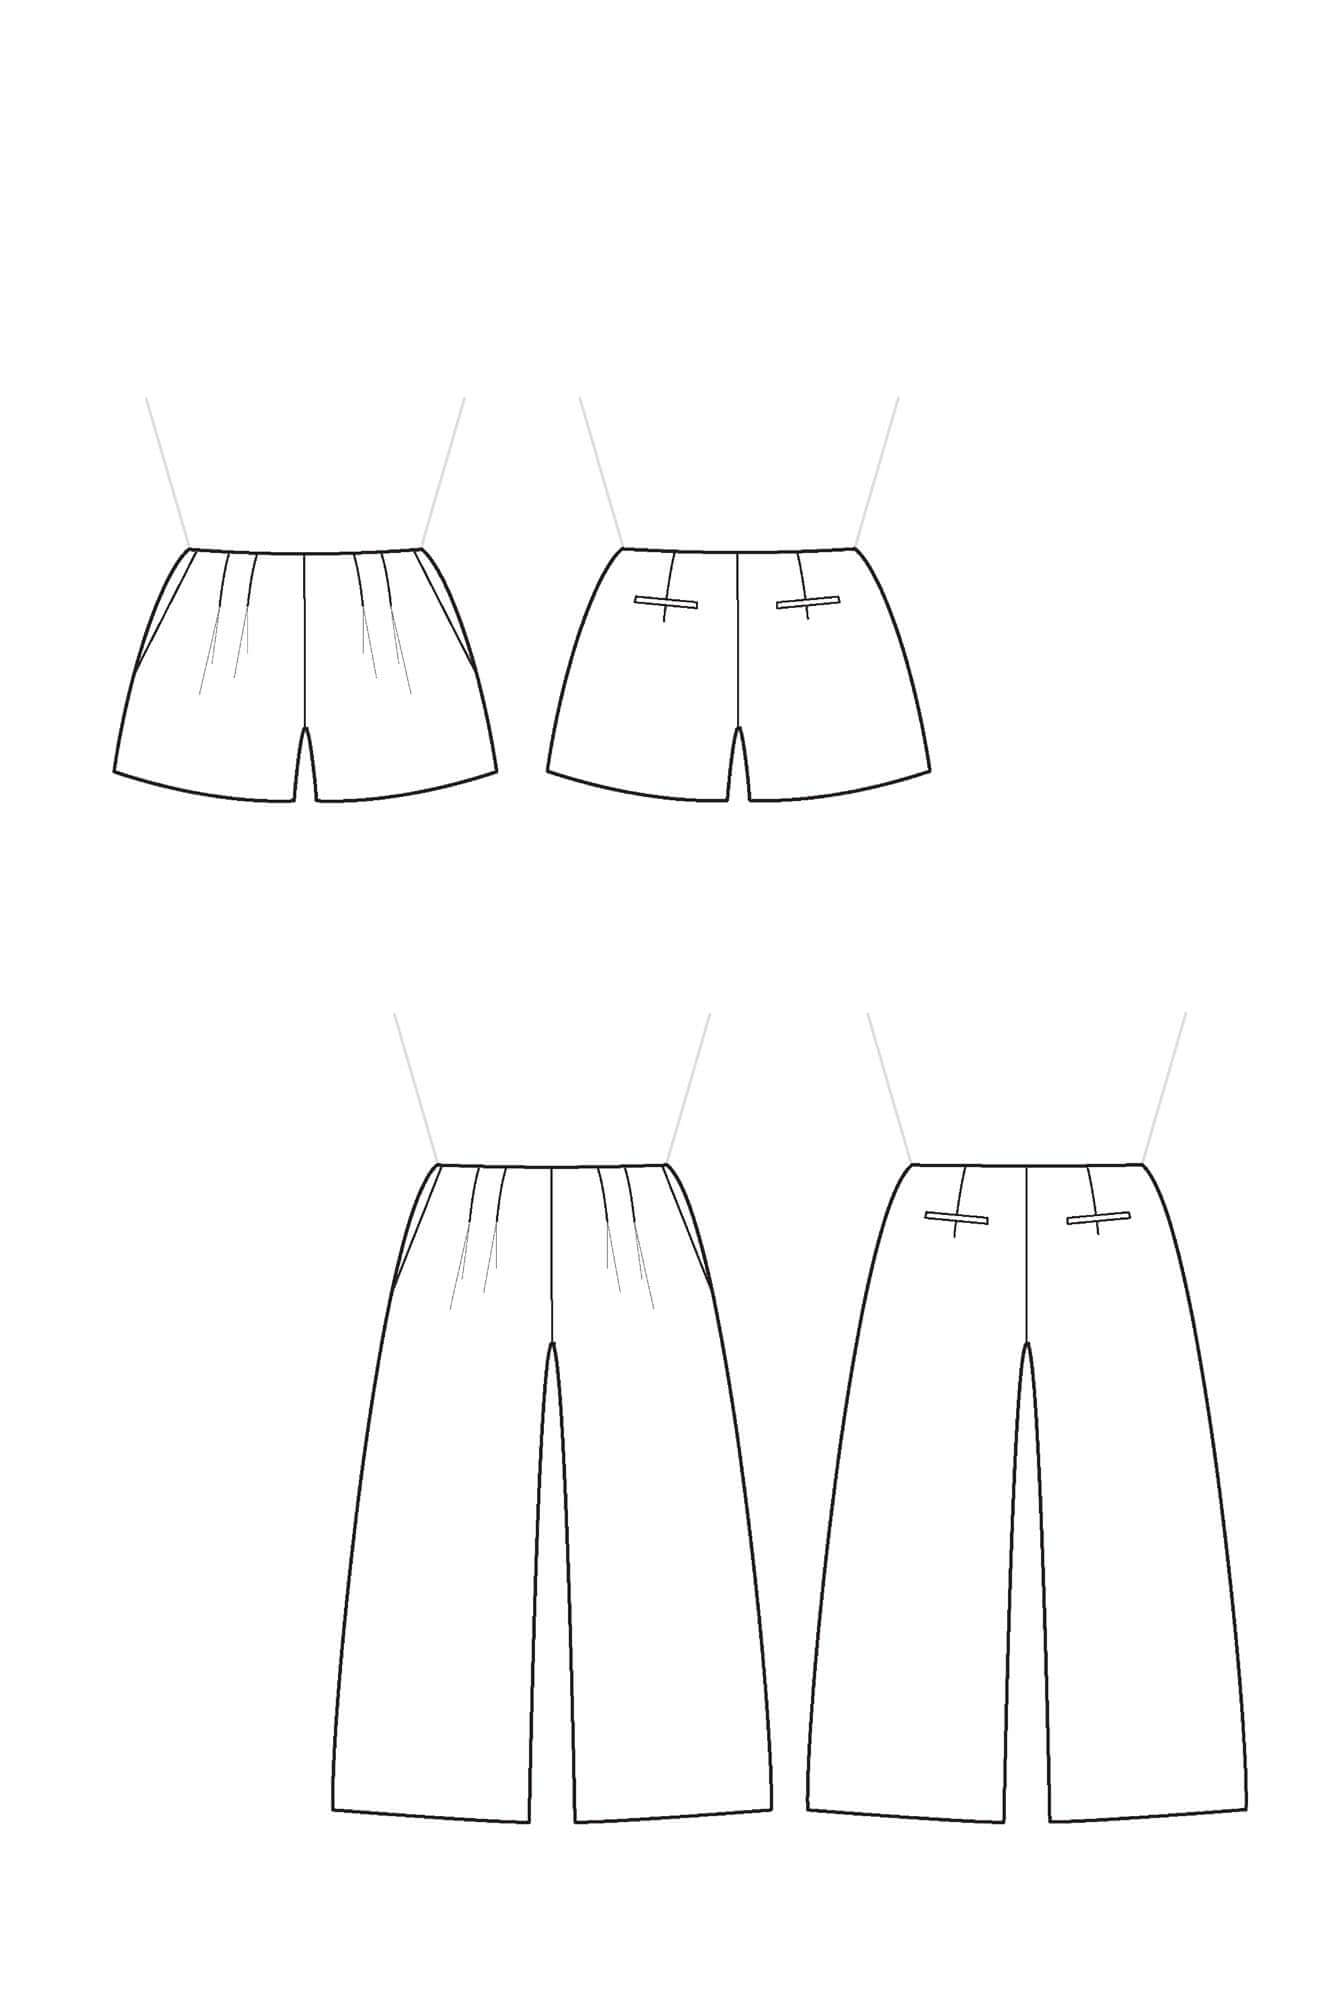
For some patterns (such as pants or sleeves), additional size measurements — like arm circumference or thigh circumference — are provided to help you make an even more precise size choice.
4. Test with a toile
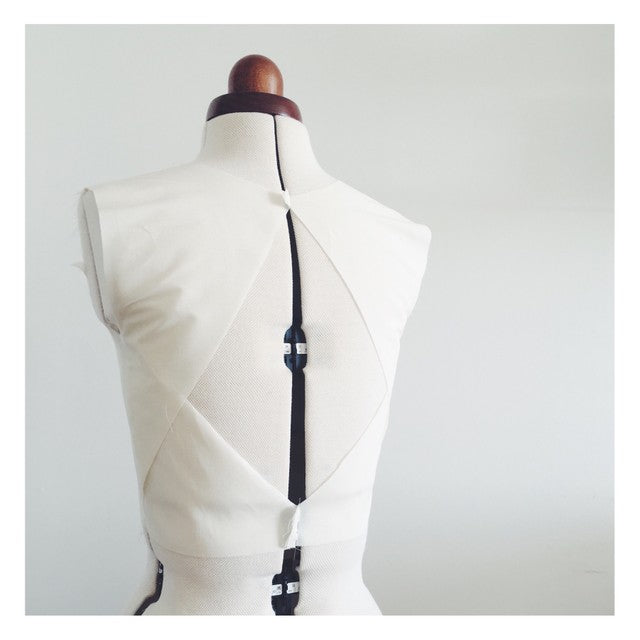
The best way to make sure you’ve chosen the right size is to sew a toile (or muslin).
A toile is a test garment made from an inexpensive fabric with a similar drape to your final fabric. It allows you to try on the garment and identify any necessary pattern adjustments before sewing the final version.
FAQ
When you fall between two sizes, it’s always best to choose the larger one — it’s much easier to adjust a garment that’s a little too big than one that’s too small :-)
It’s also completely normal to have different sizes for the bust, waist, and hips. In that case, you’ll need to grade between sizes, as explained in the instruction booklet for each pattern.
Don’t rely on the size you usually wear in ready-to-wear clothing. One of the great things about sewing is that it allows you to break free from standardized sizing :-)
Take your body measurements carefully and follow the size chart for the best fit.
For your first project with the customizable patterns, it is highly recommended to sew a toile. This will help you determine the ideal size for your body.
For future projects, once you’ve found your size, it will be the same for all patterns in the customizable range! I strive to maintain consistent sizing across all my patterns to ensure a smooth and enjoyable sewing experience.
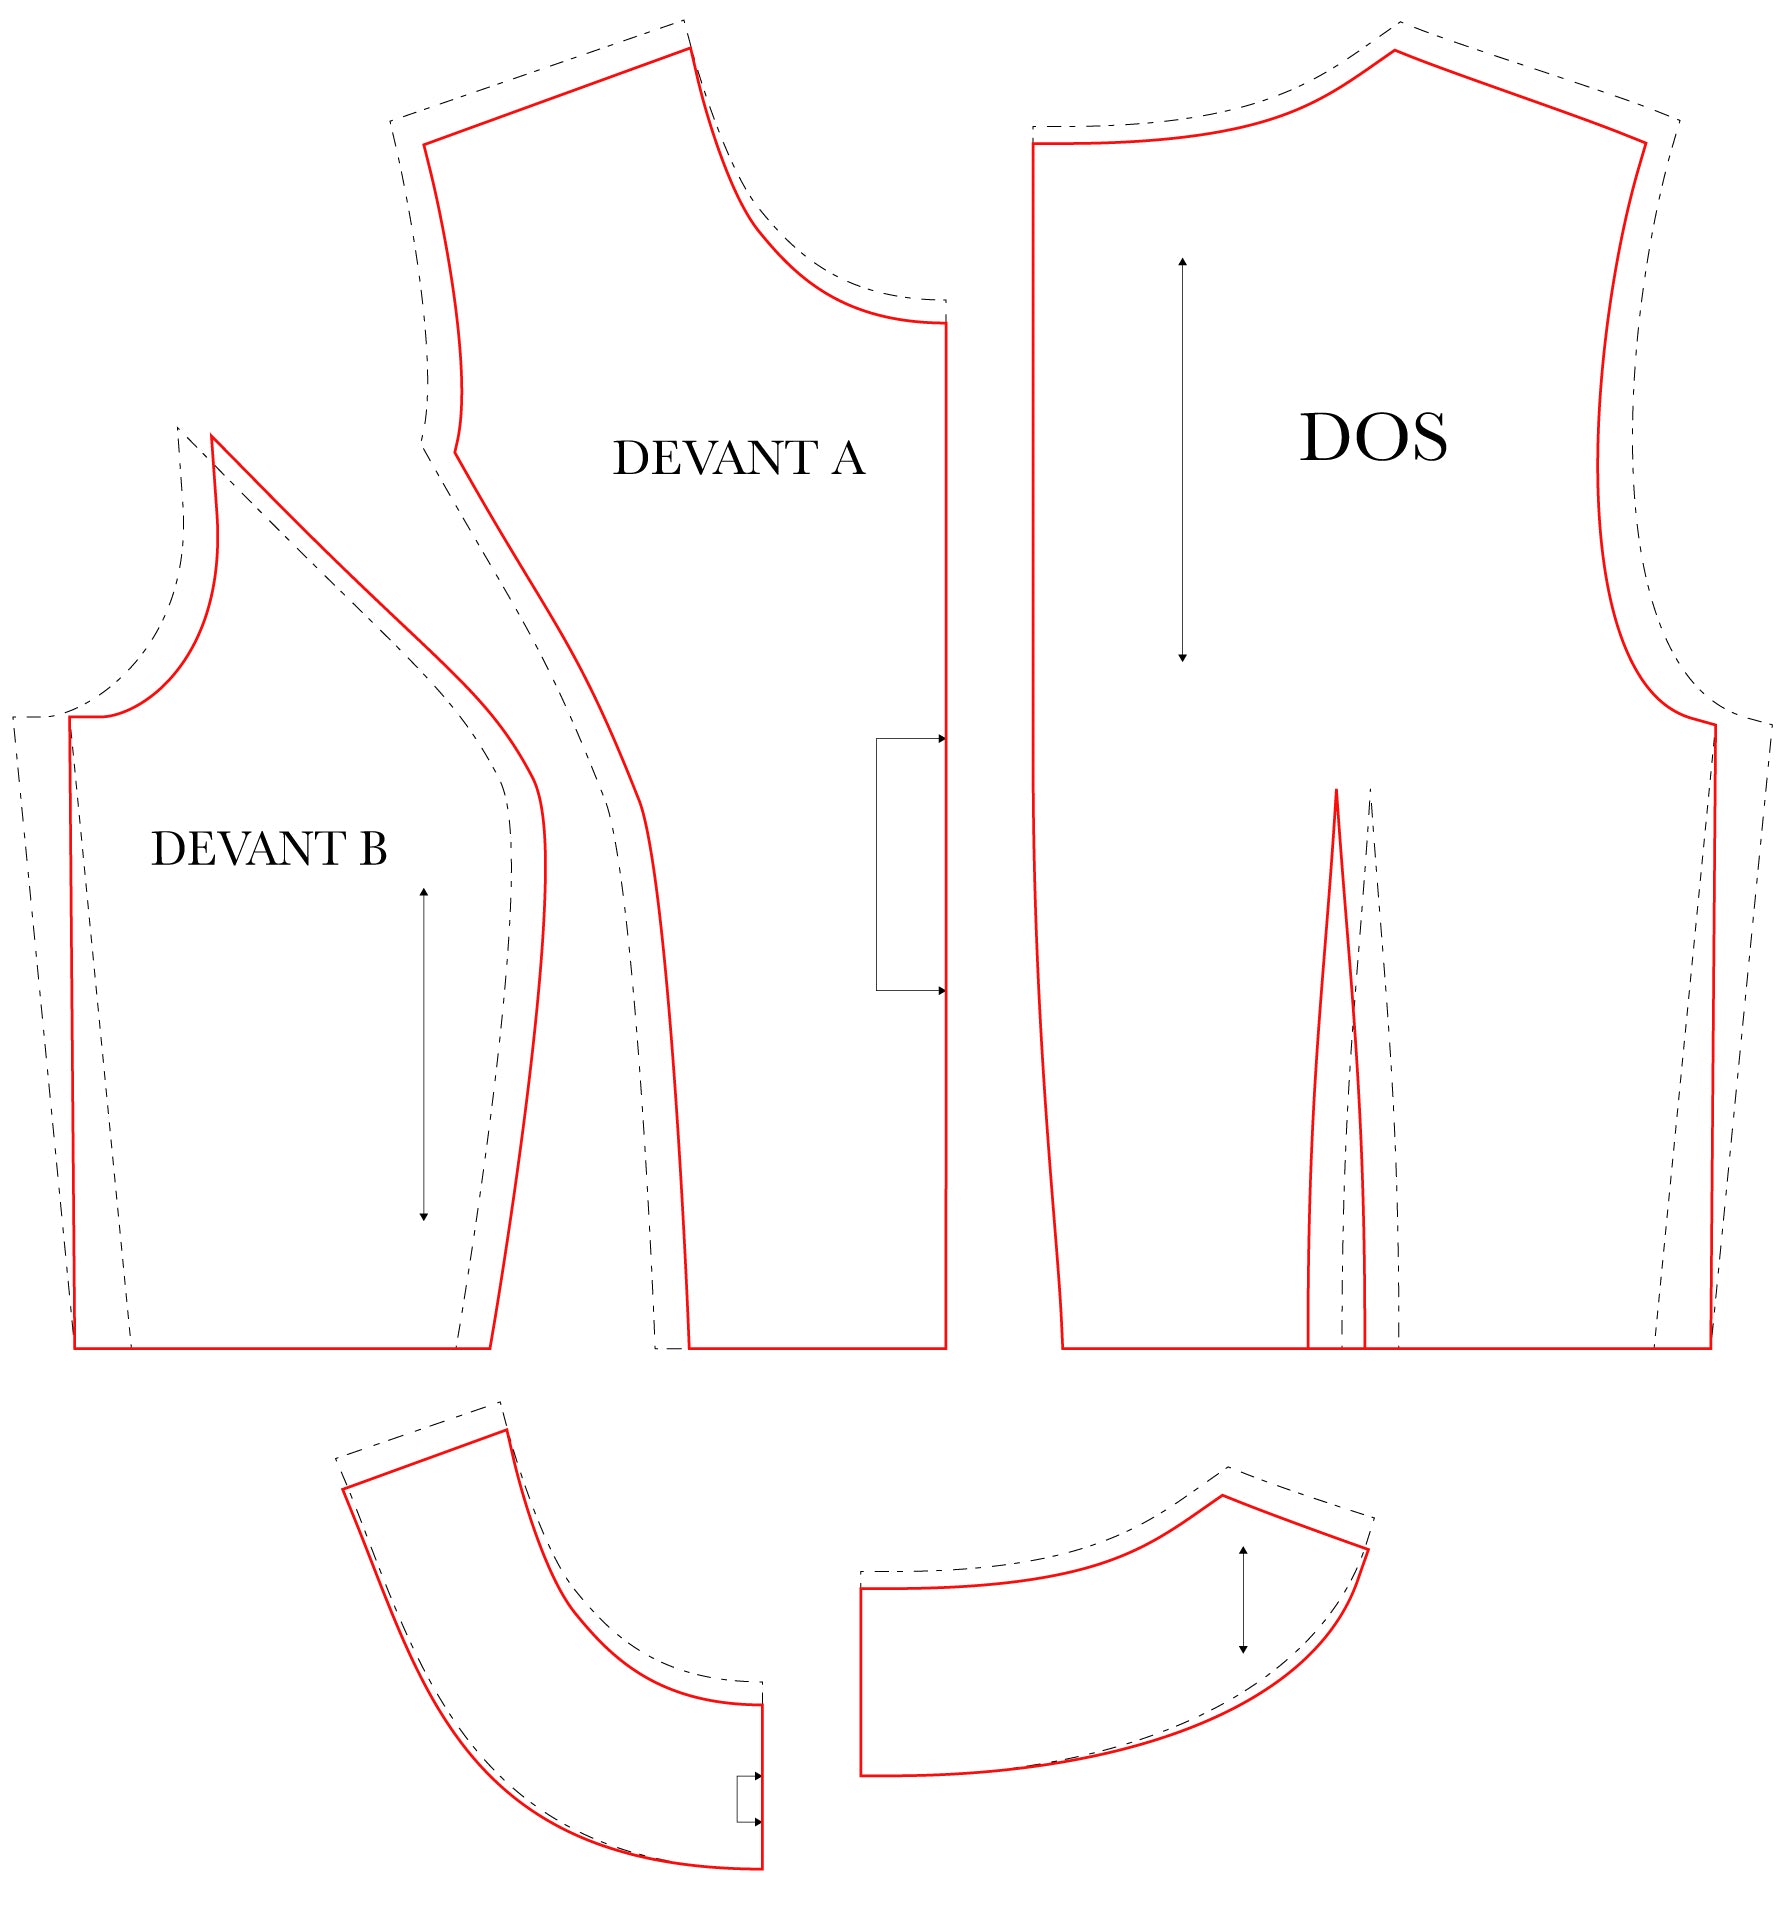
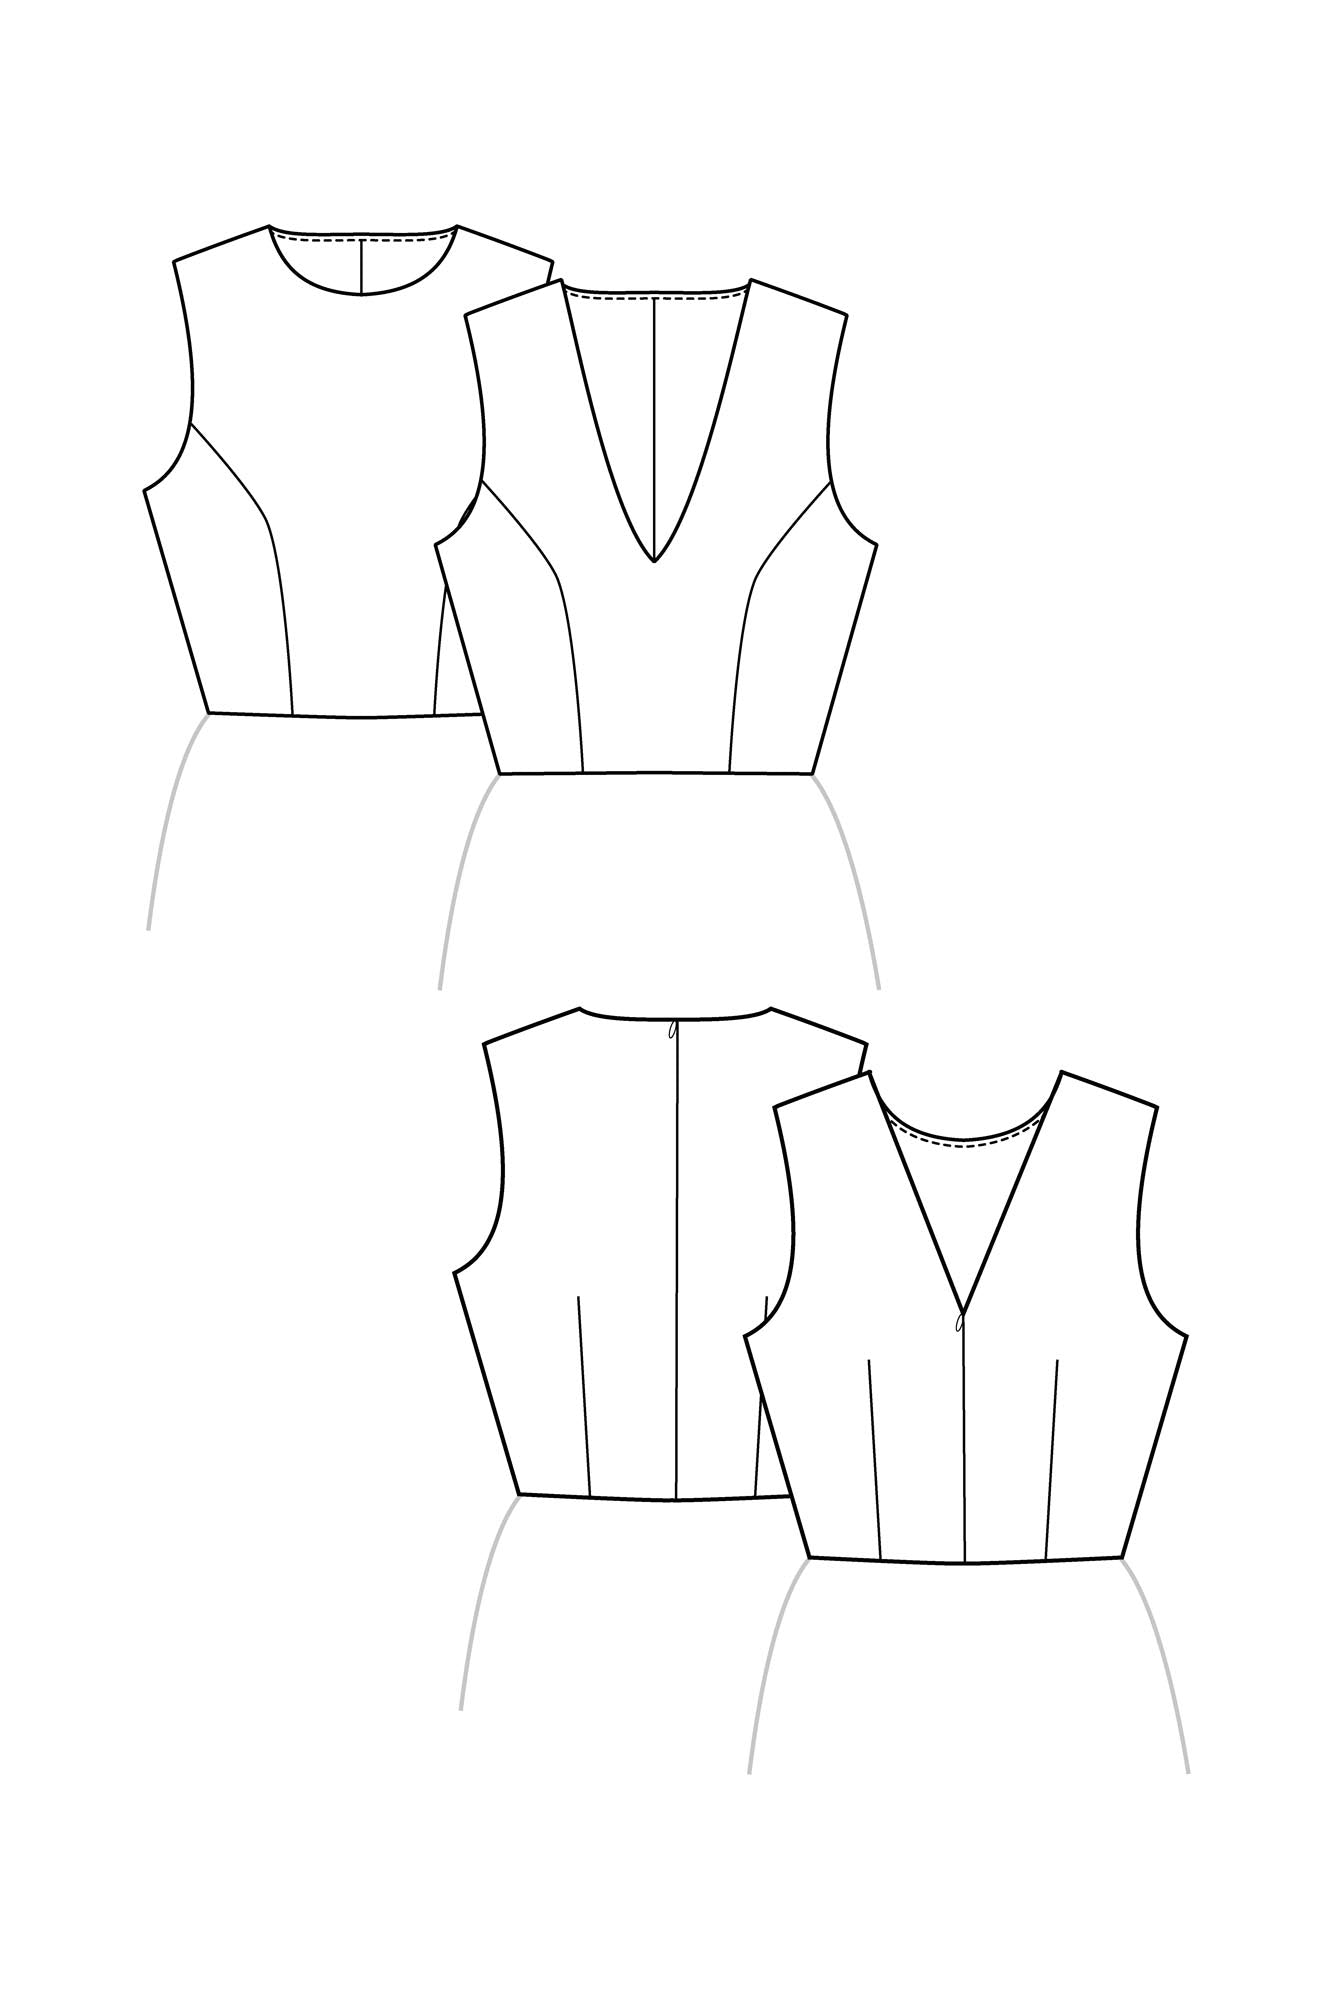
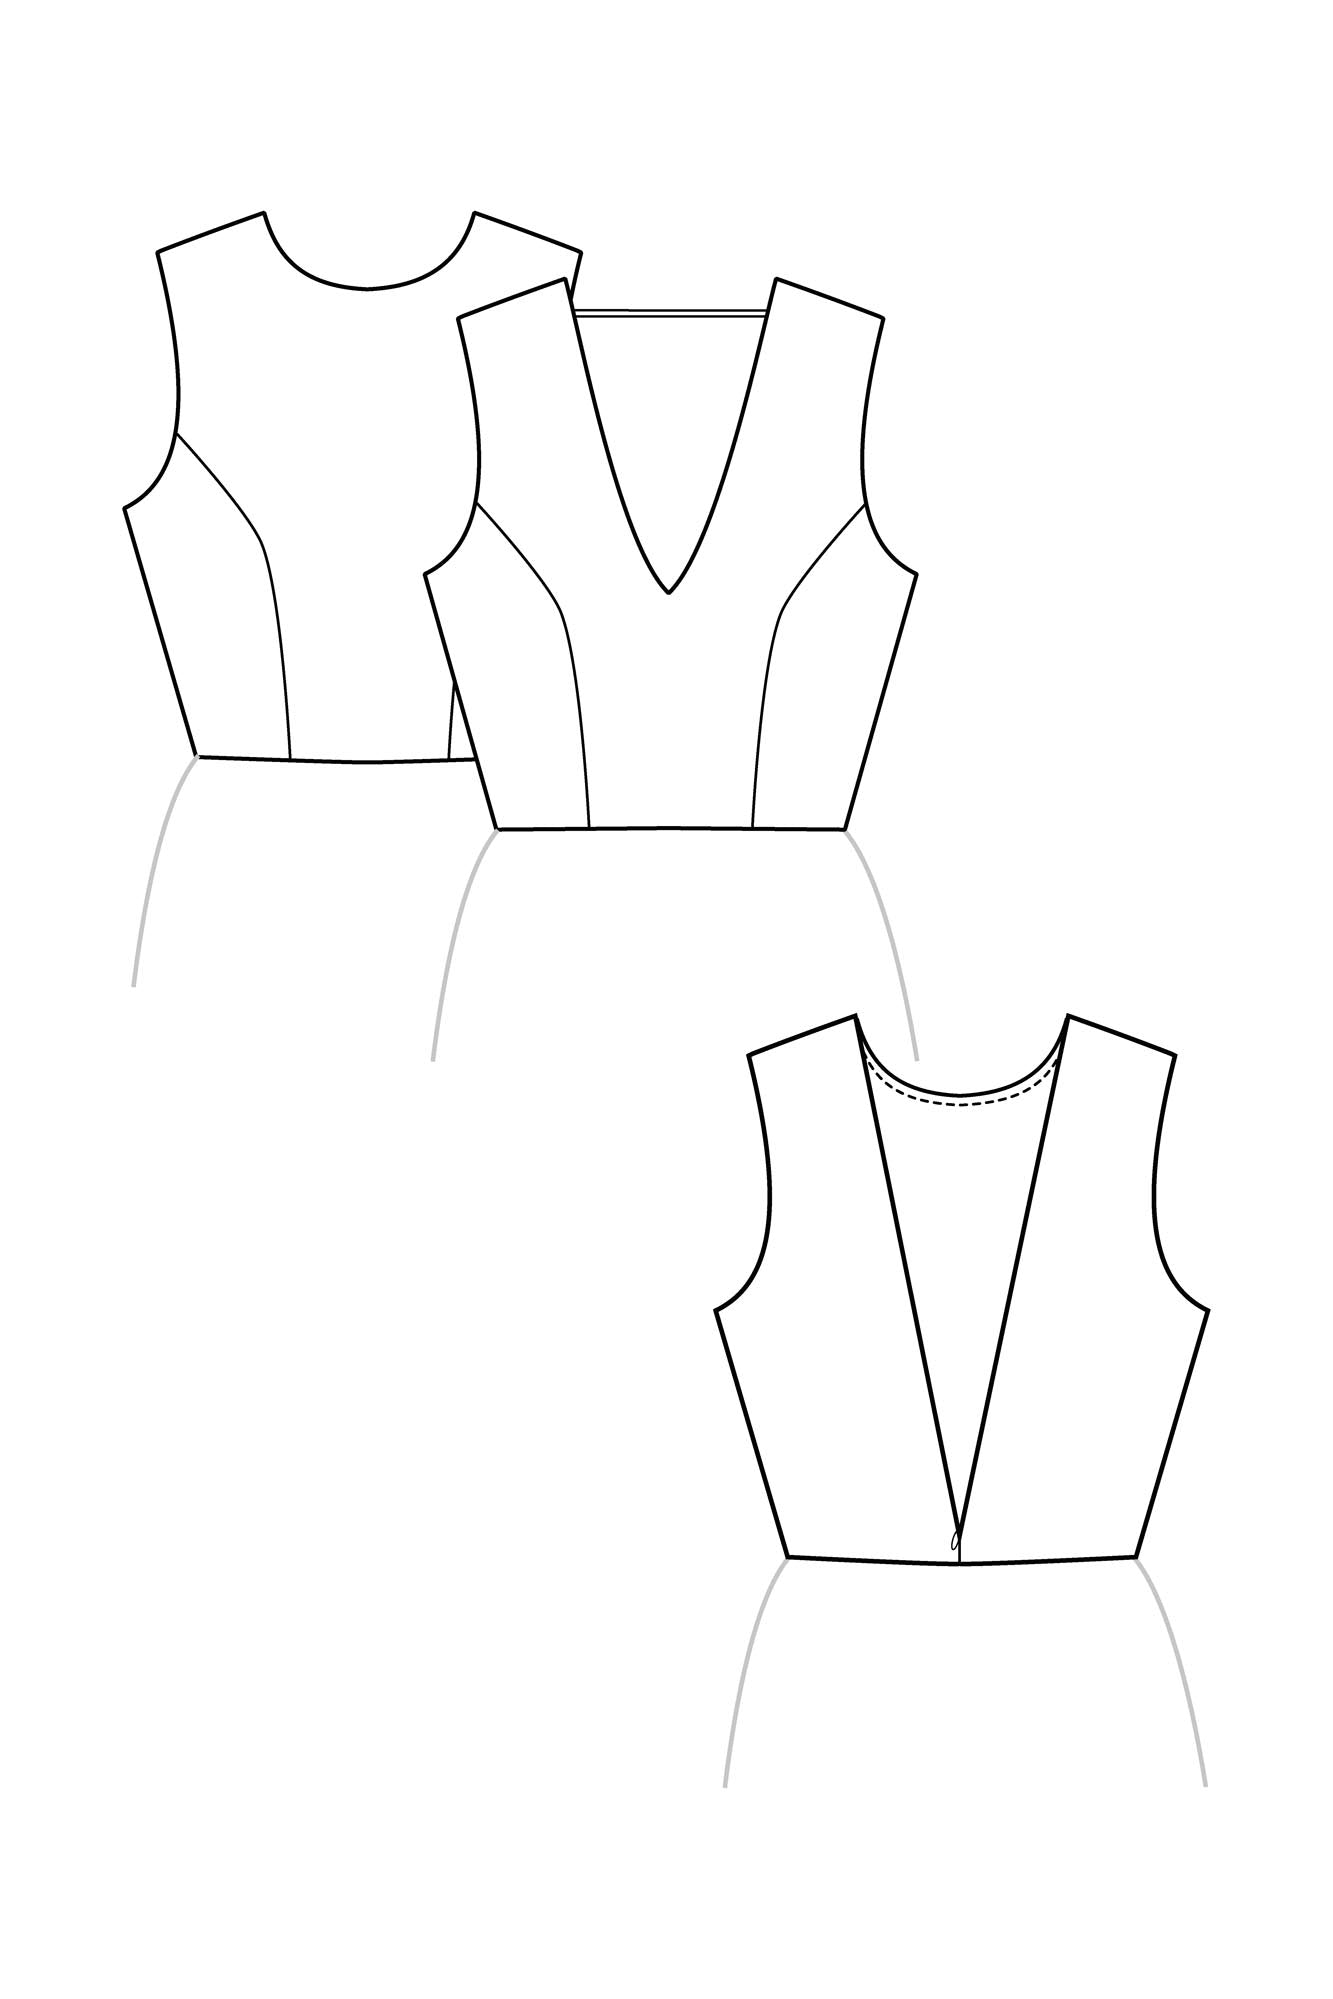
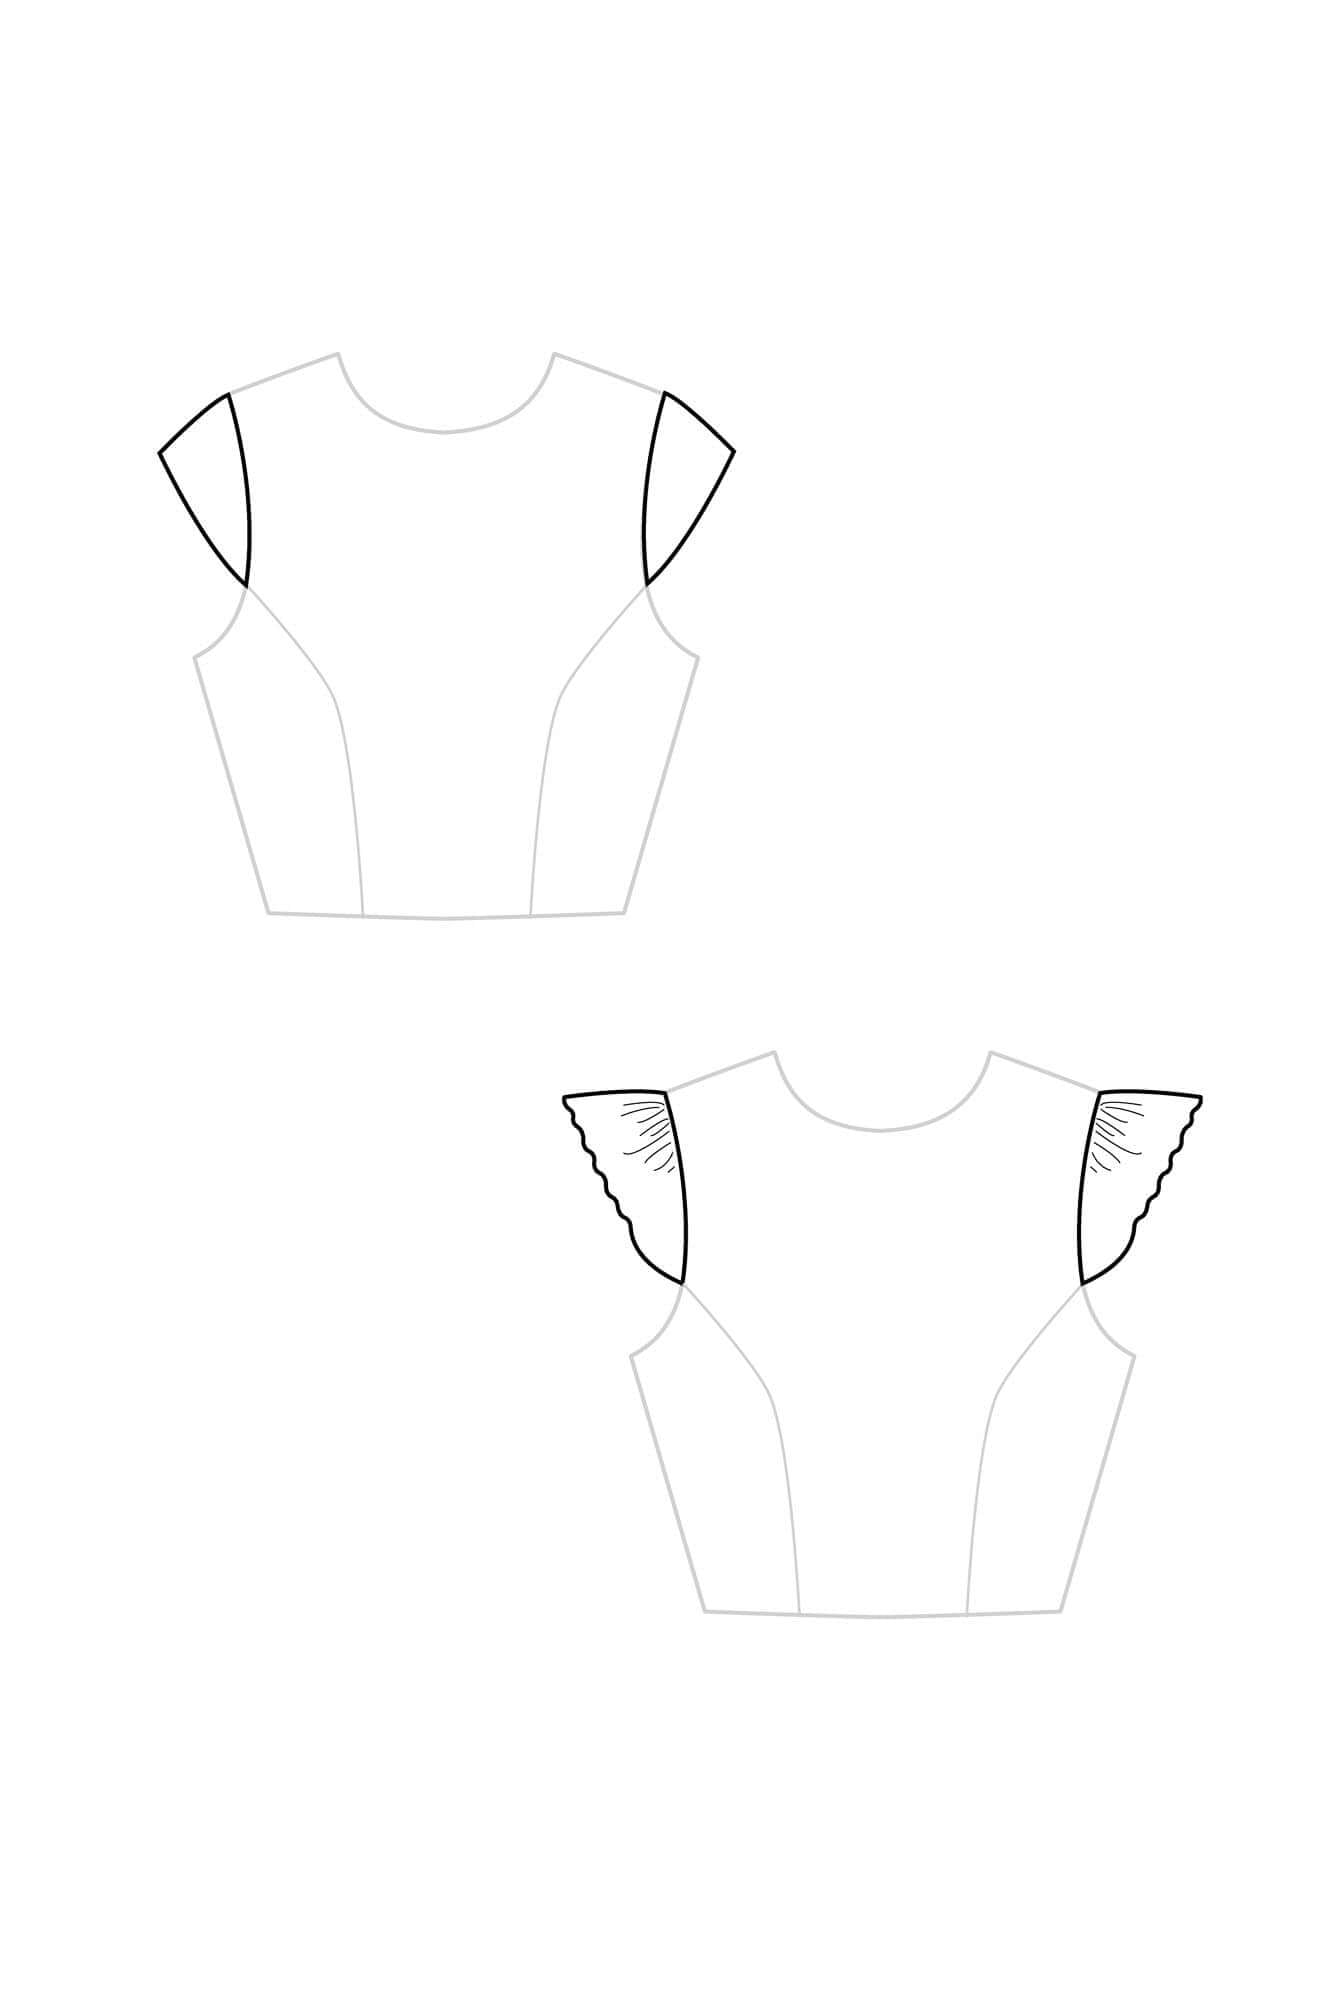
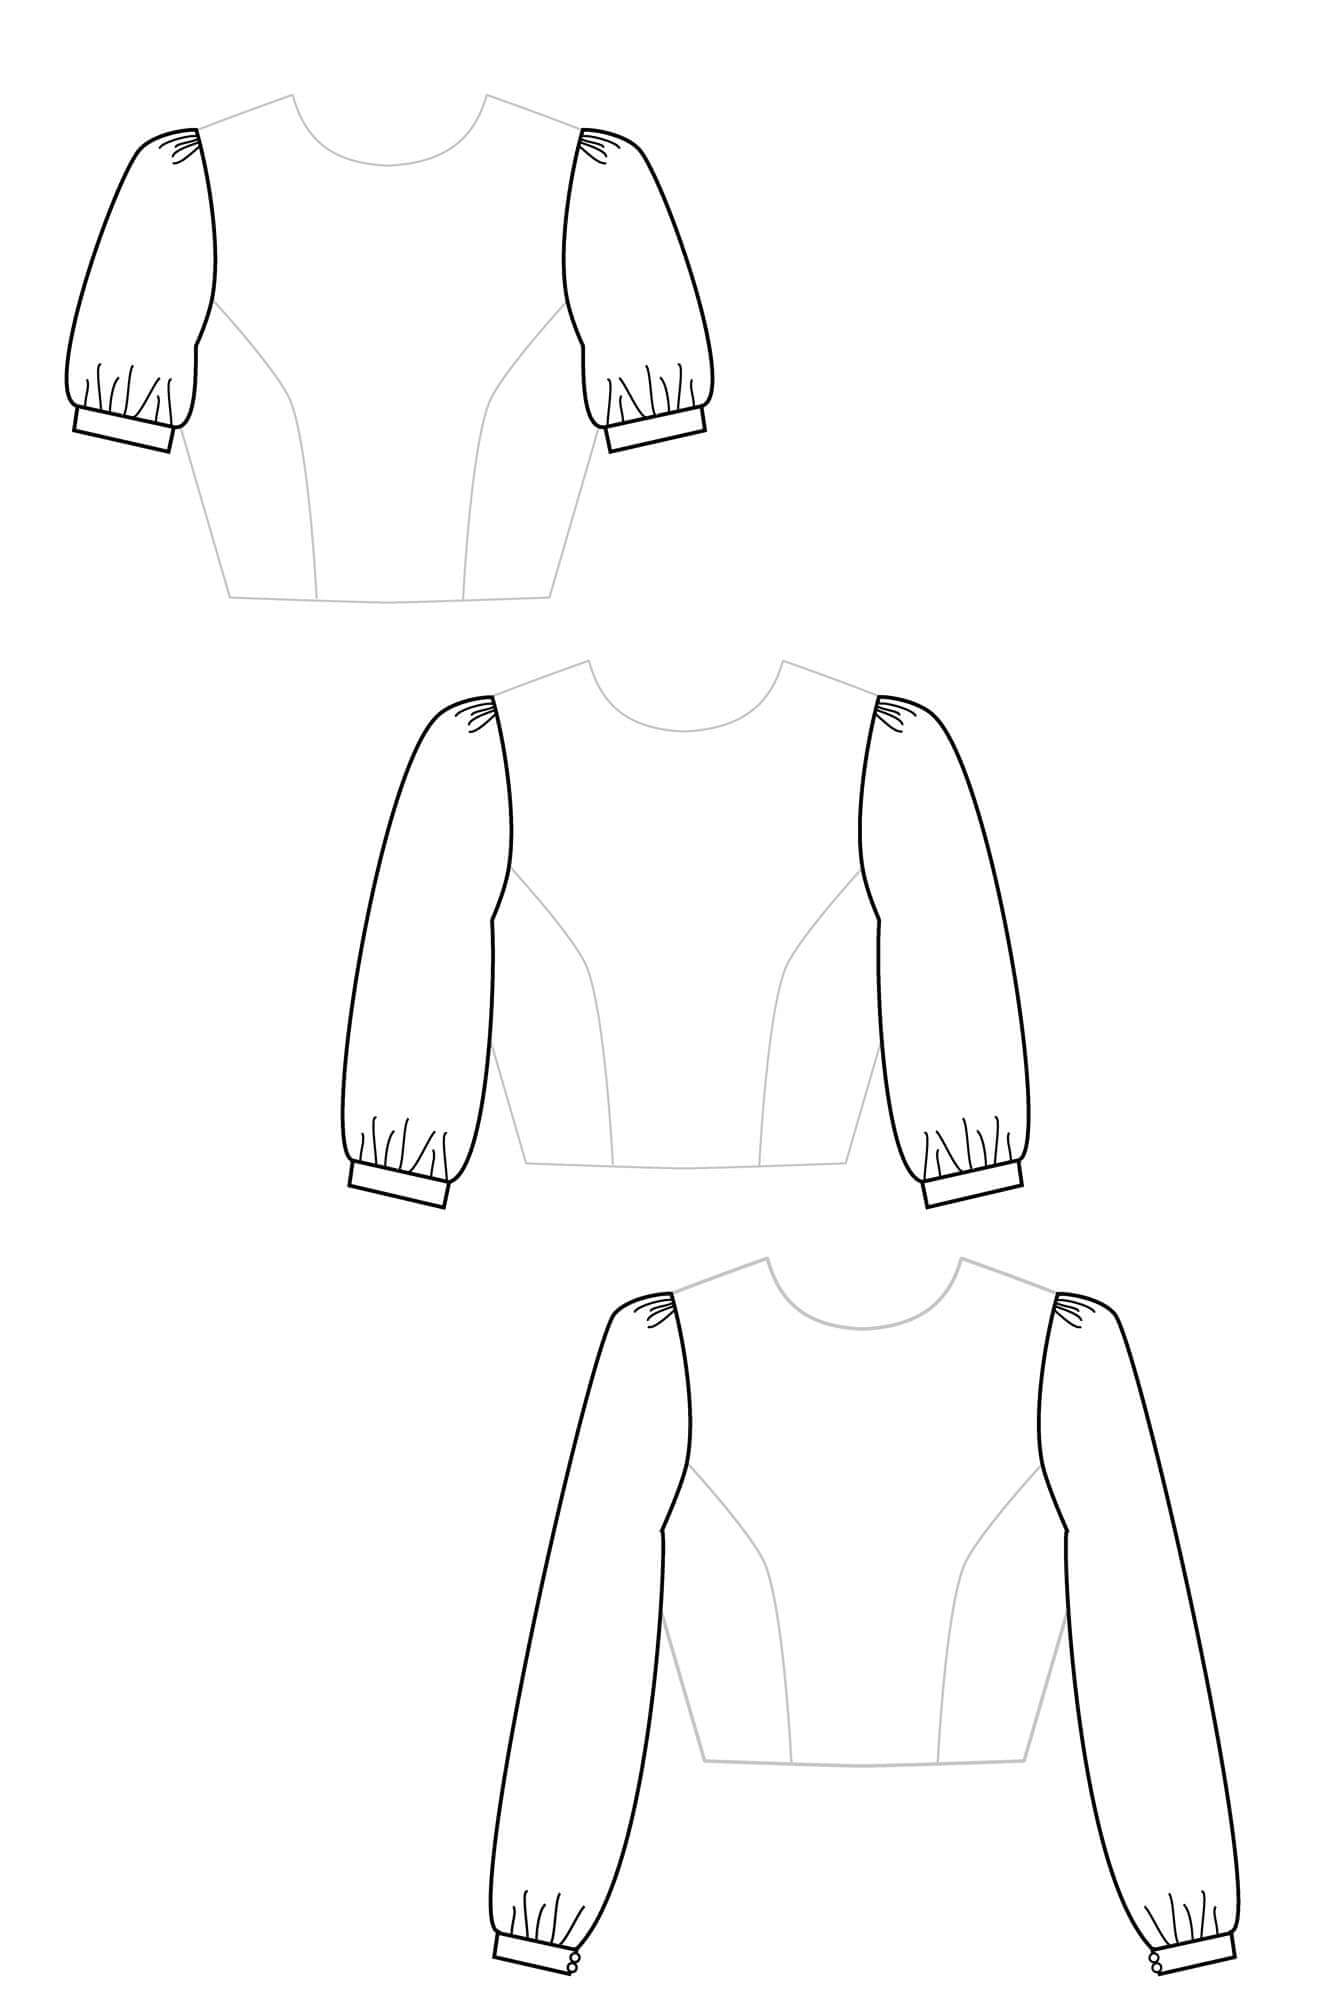
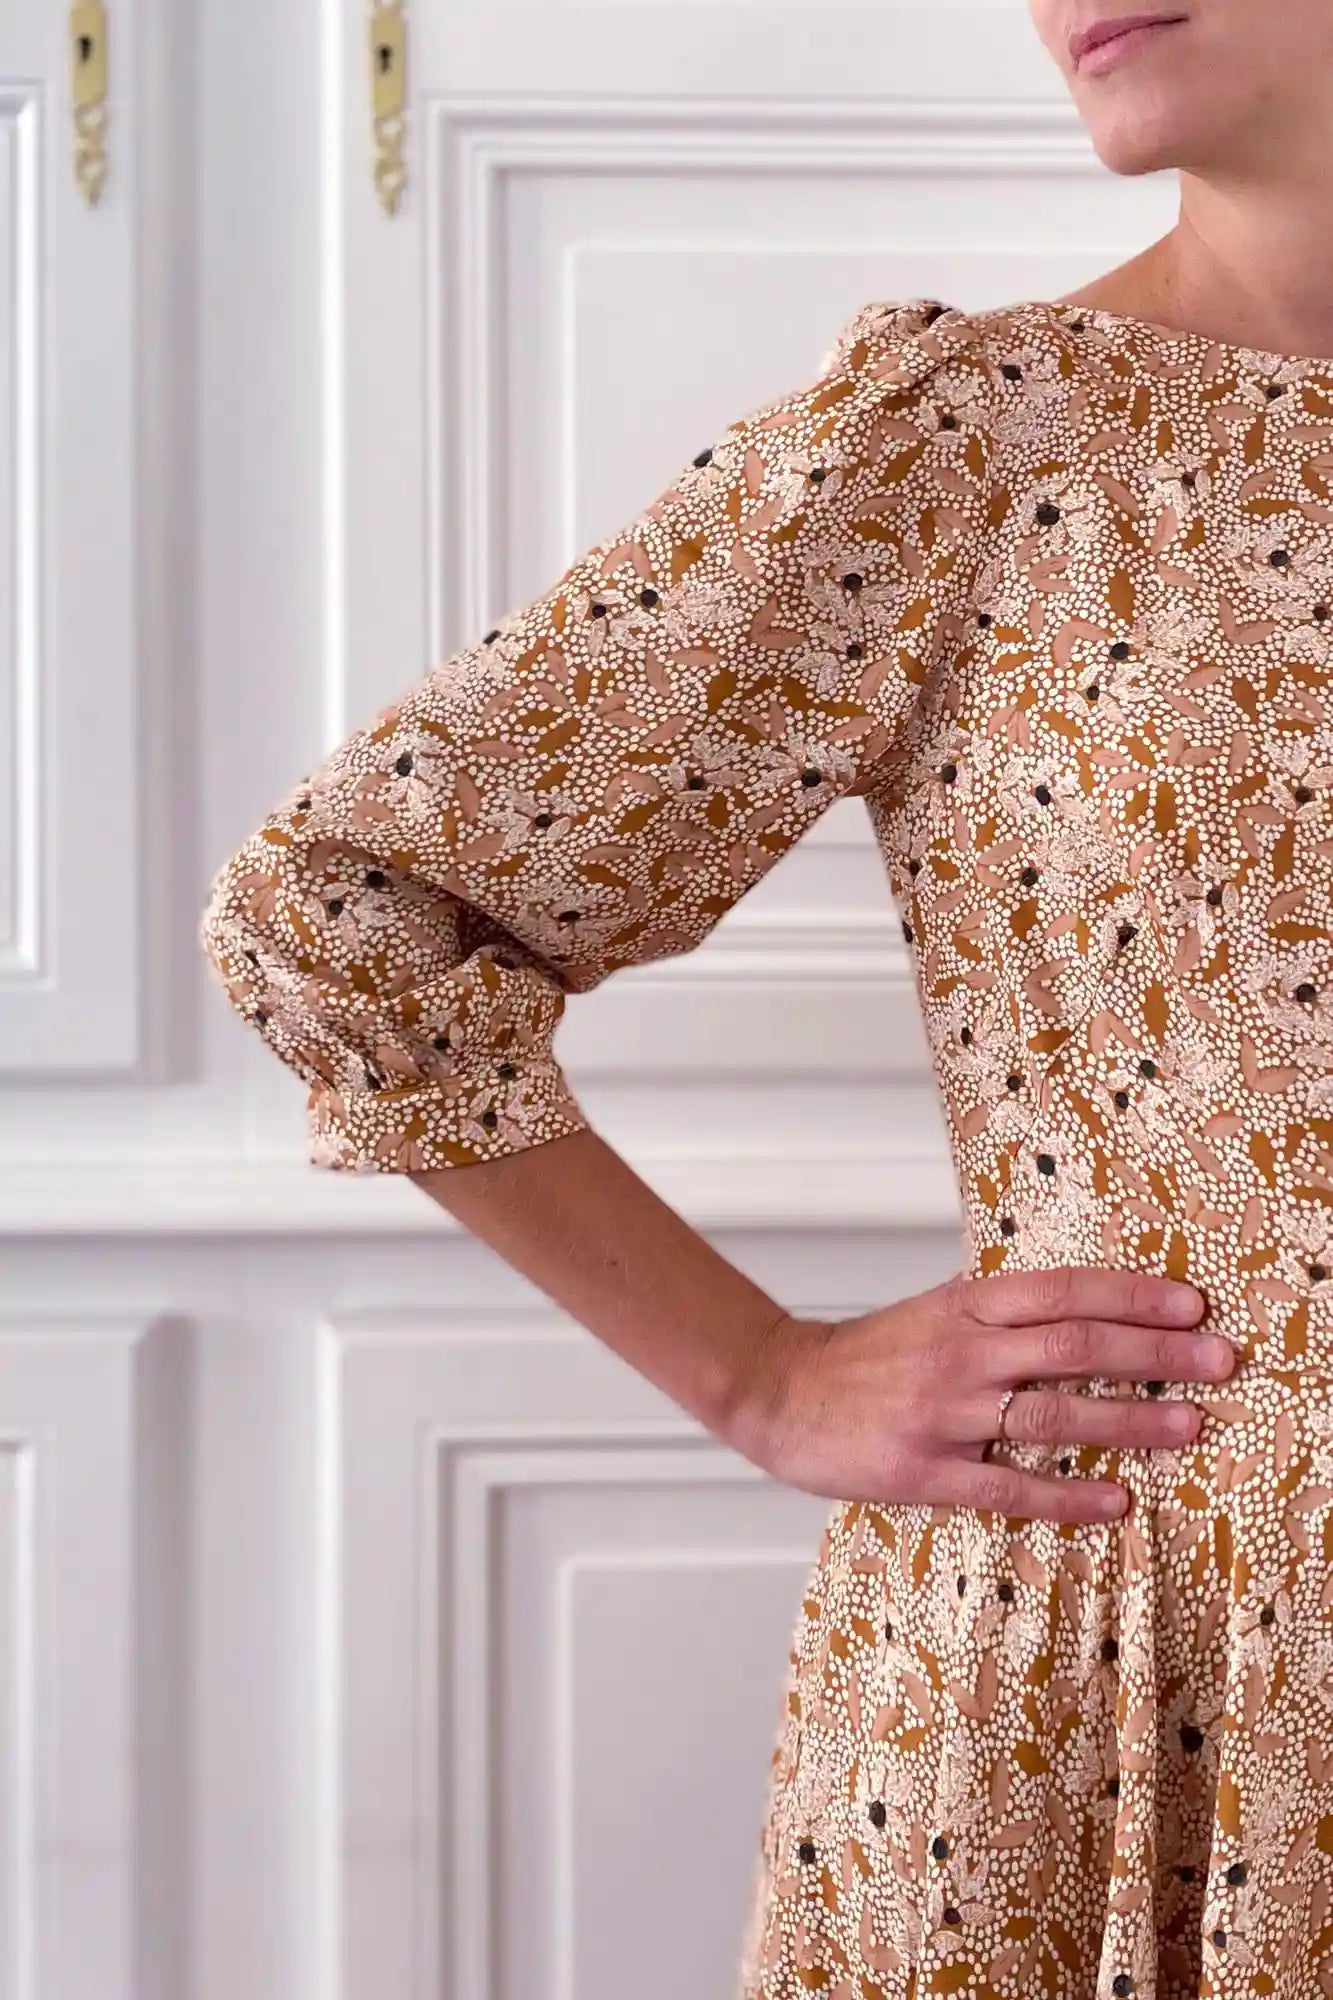
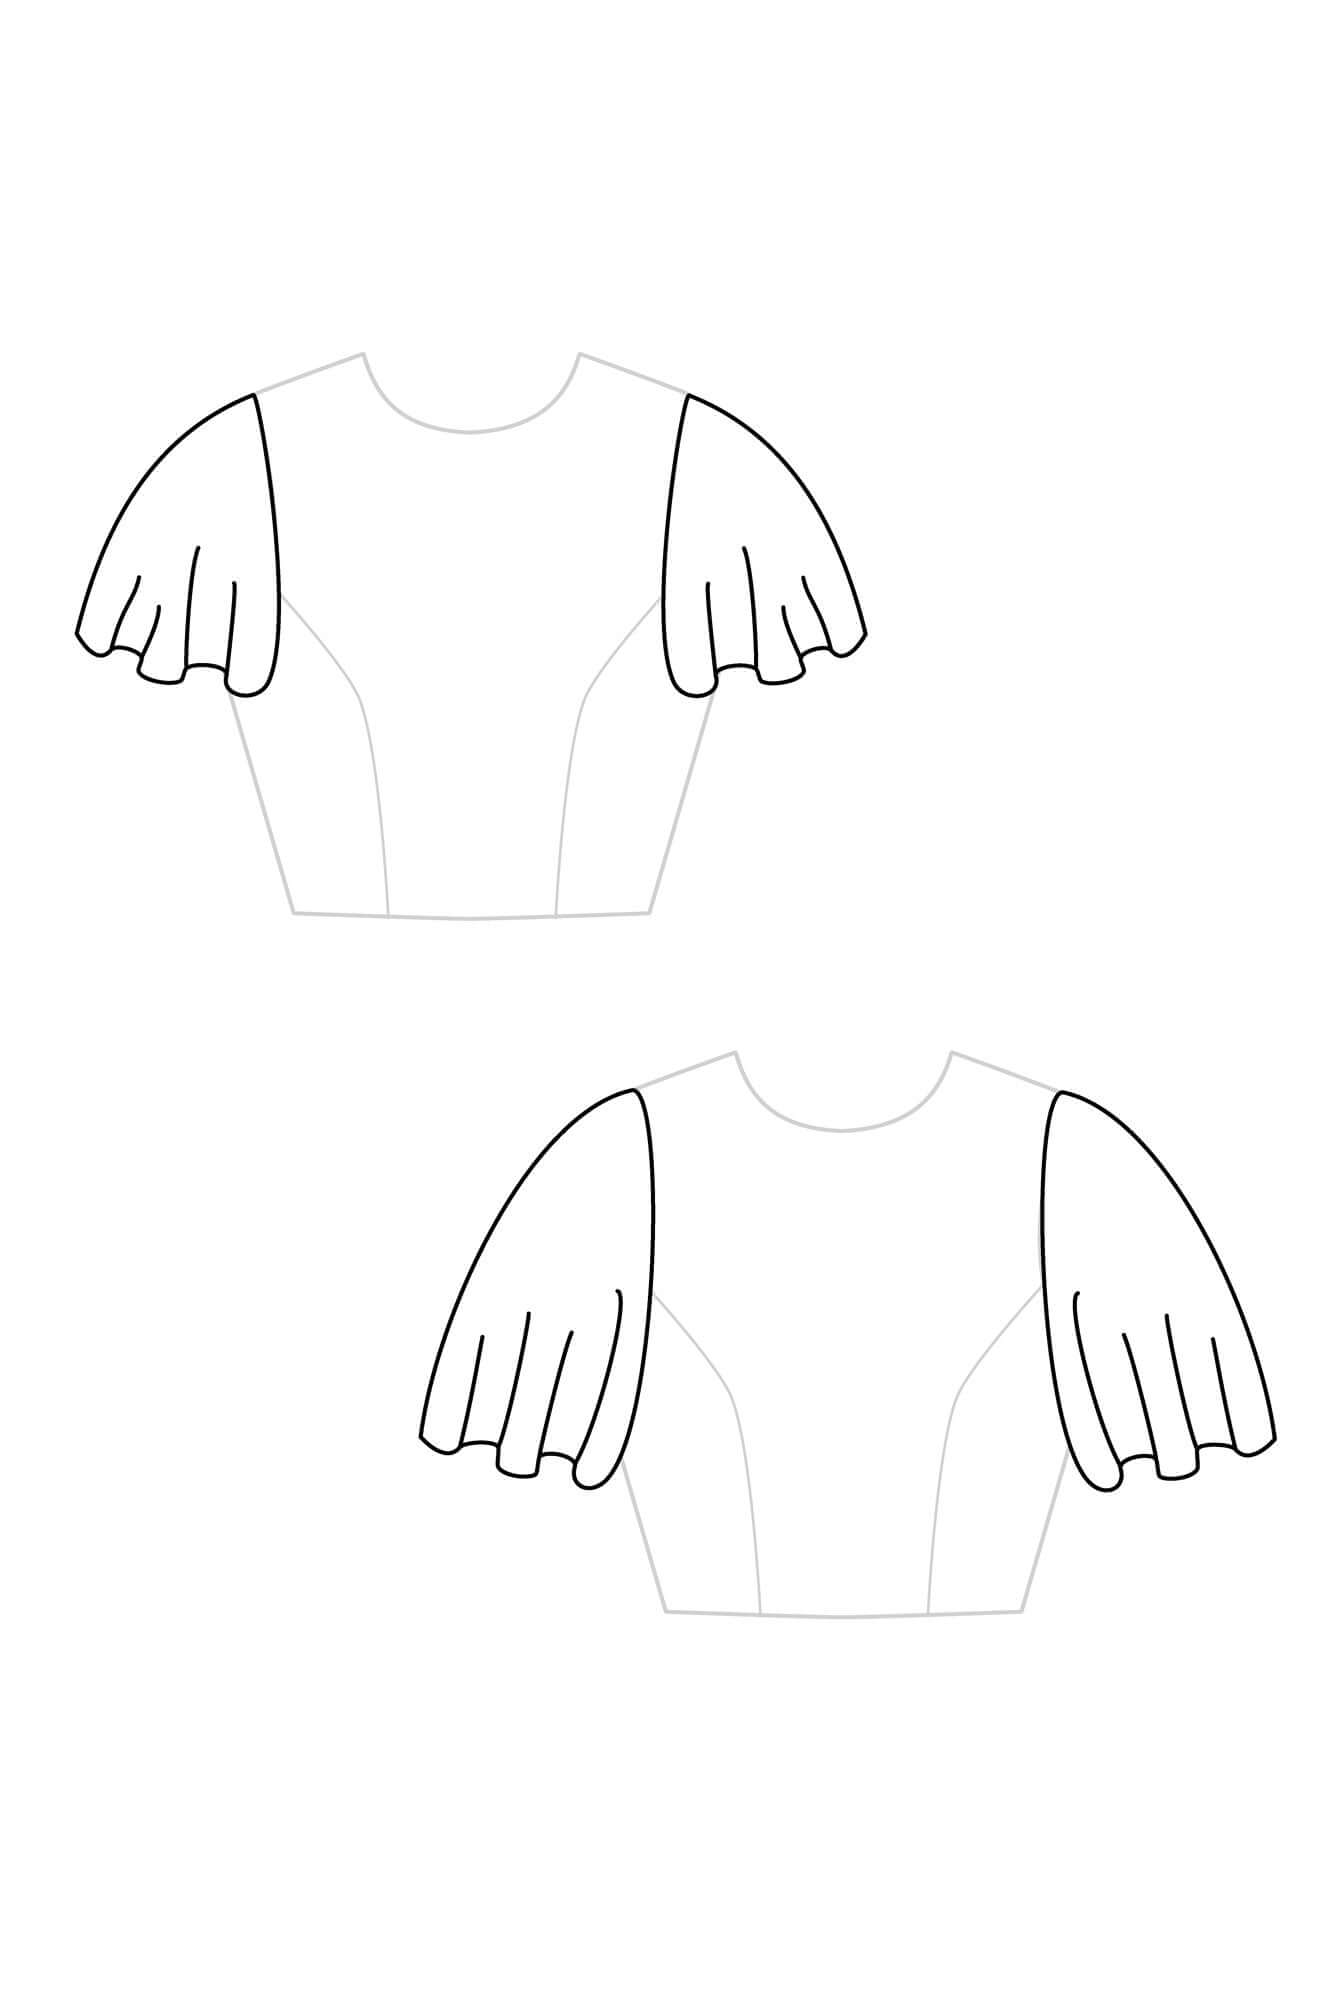
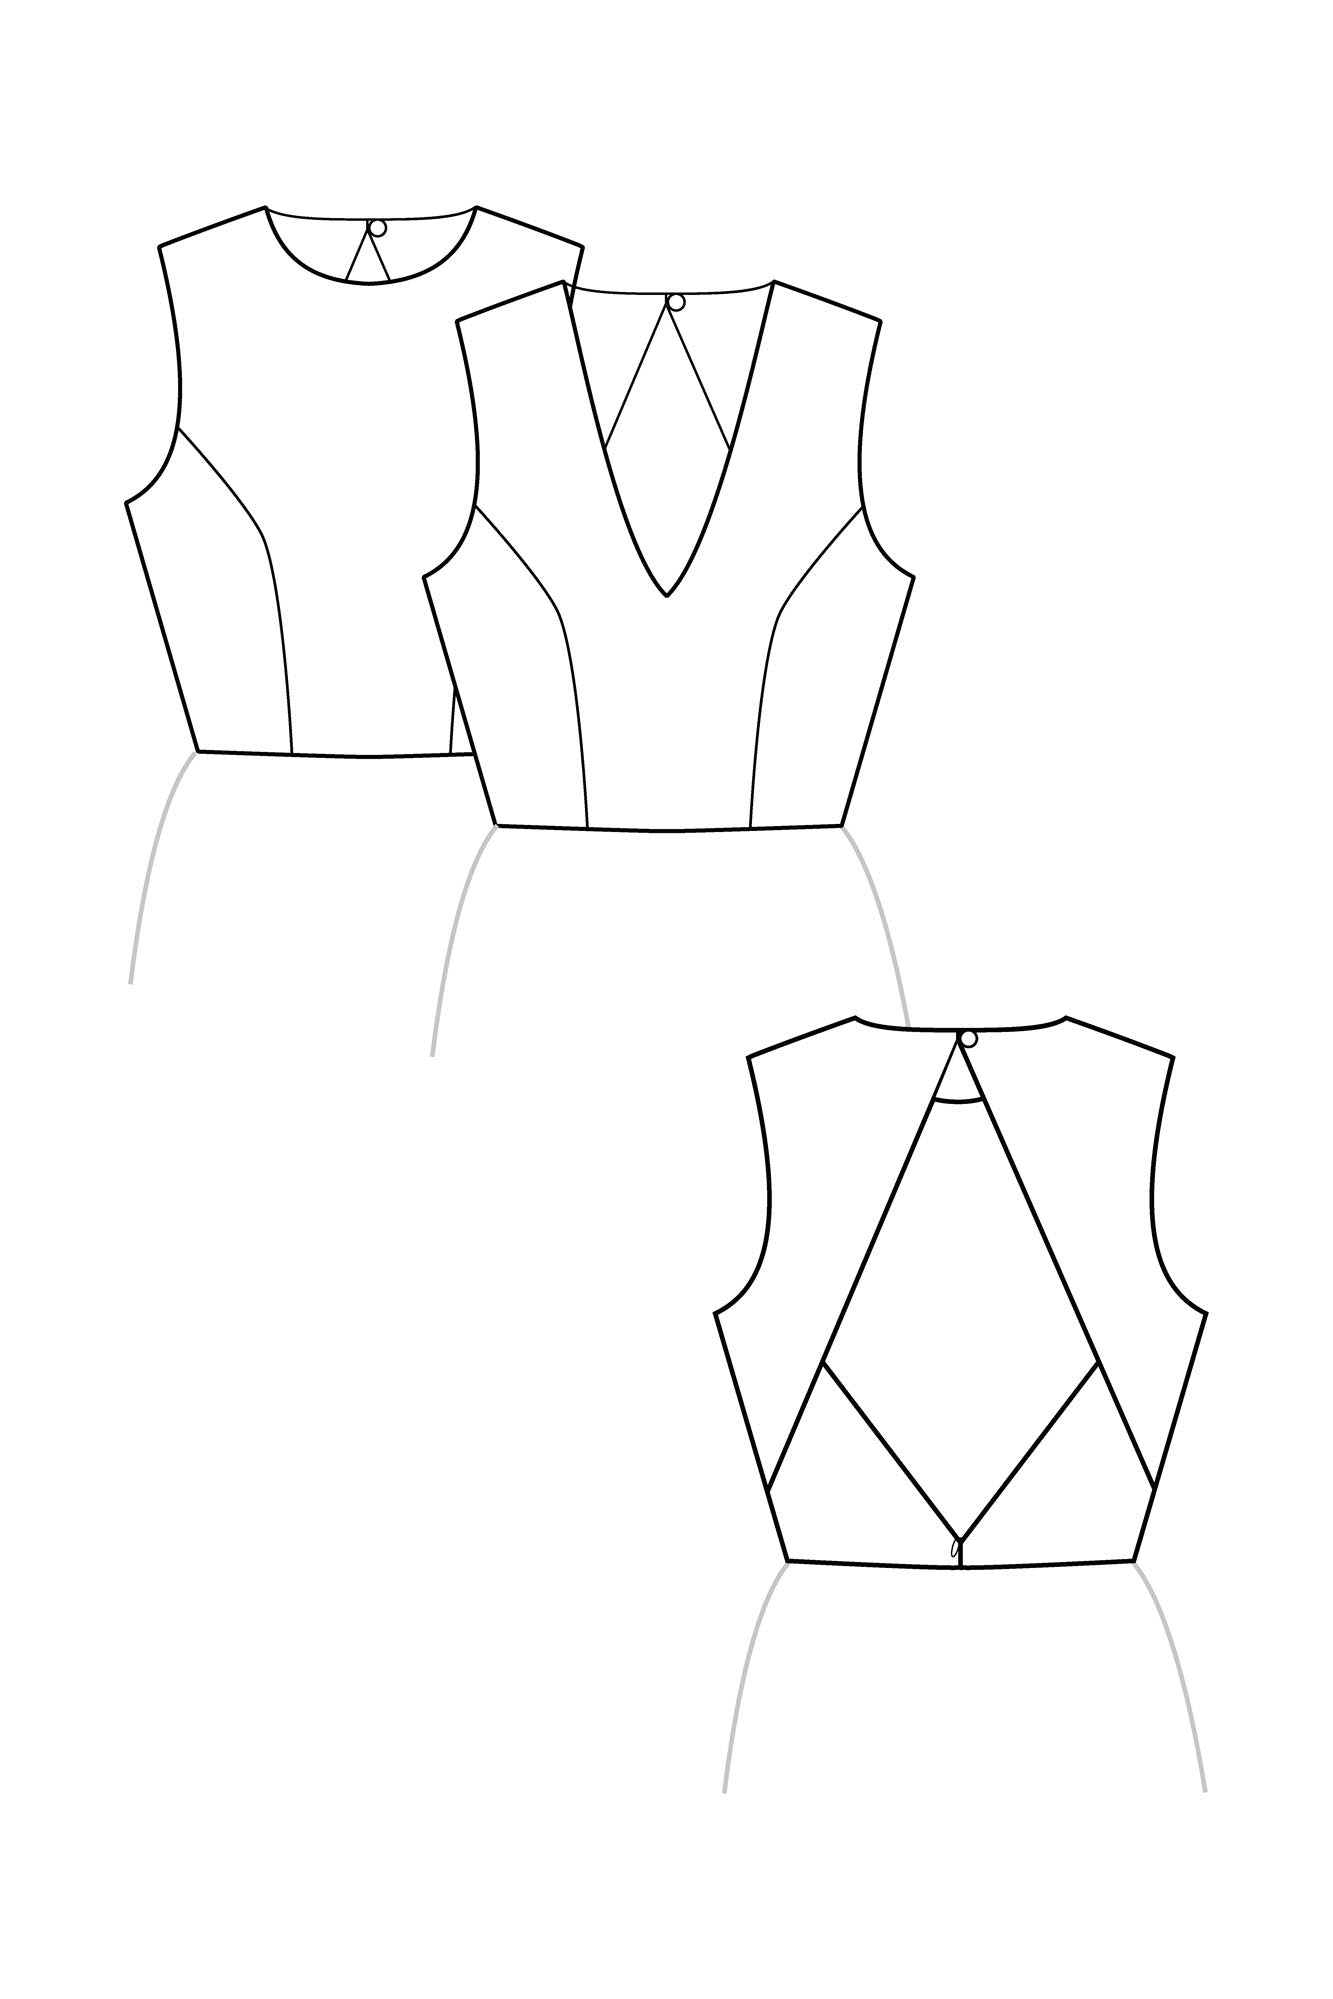
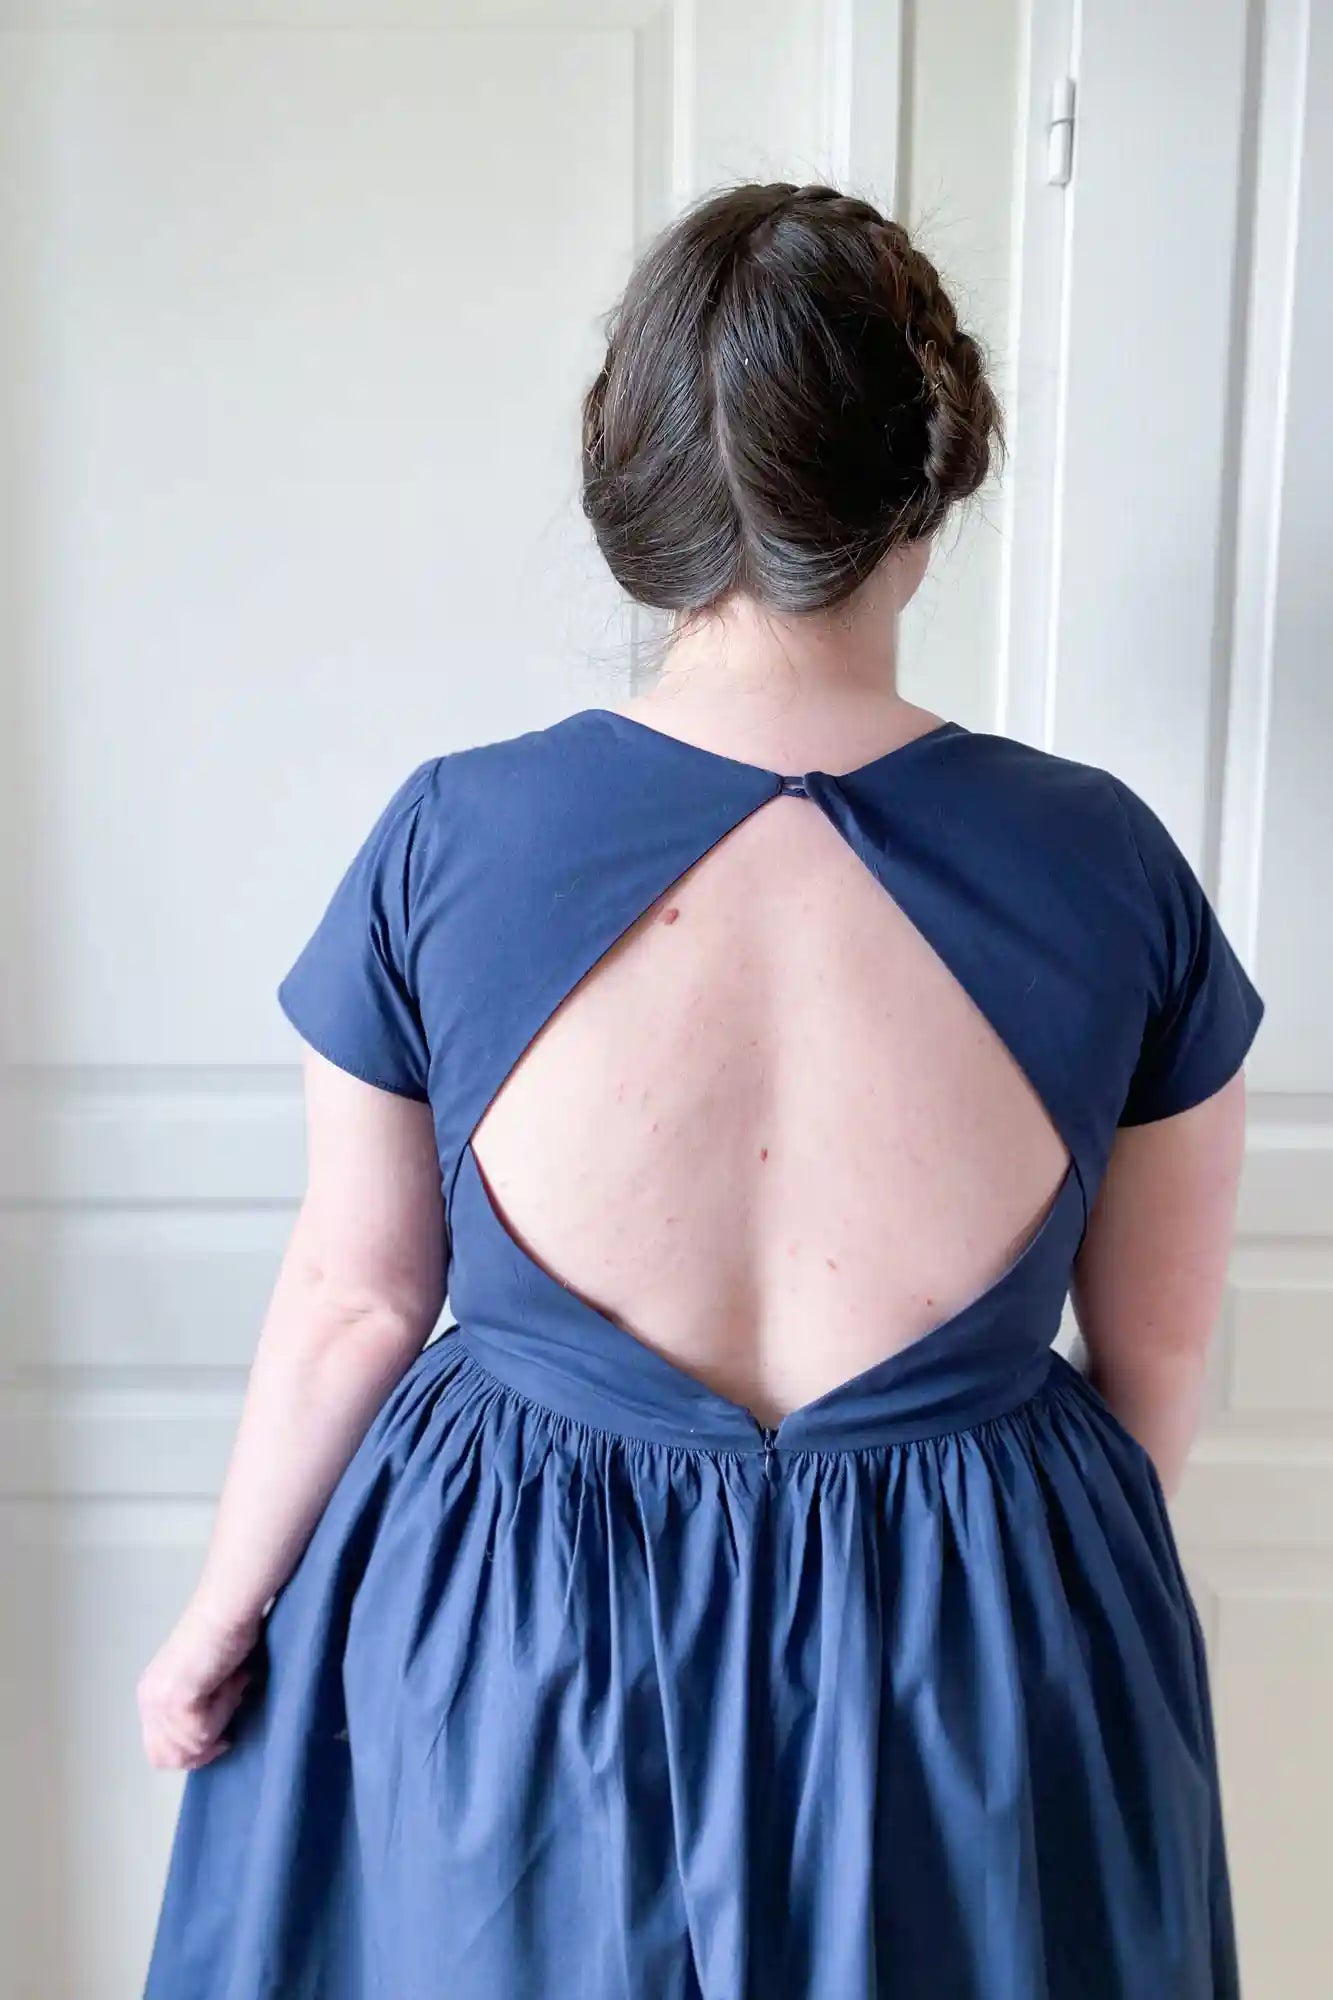
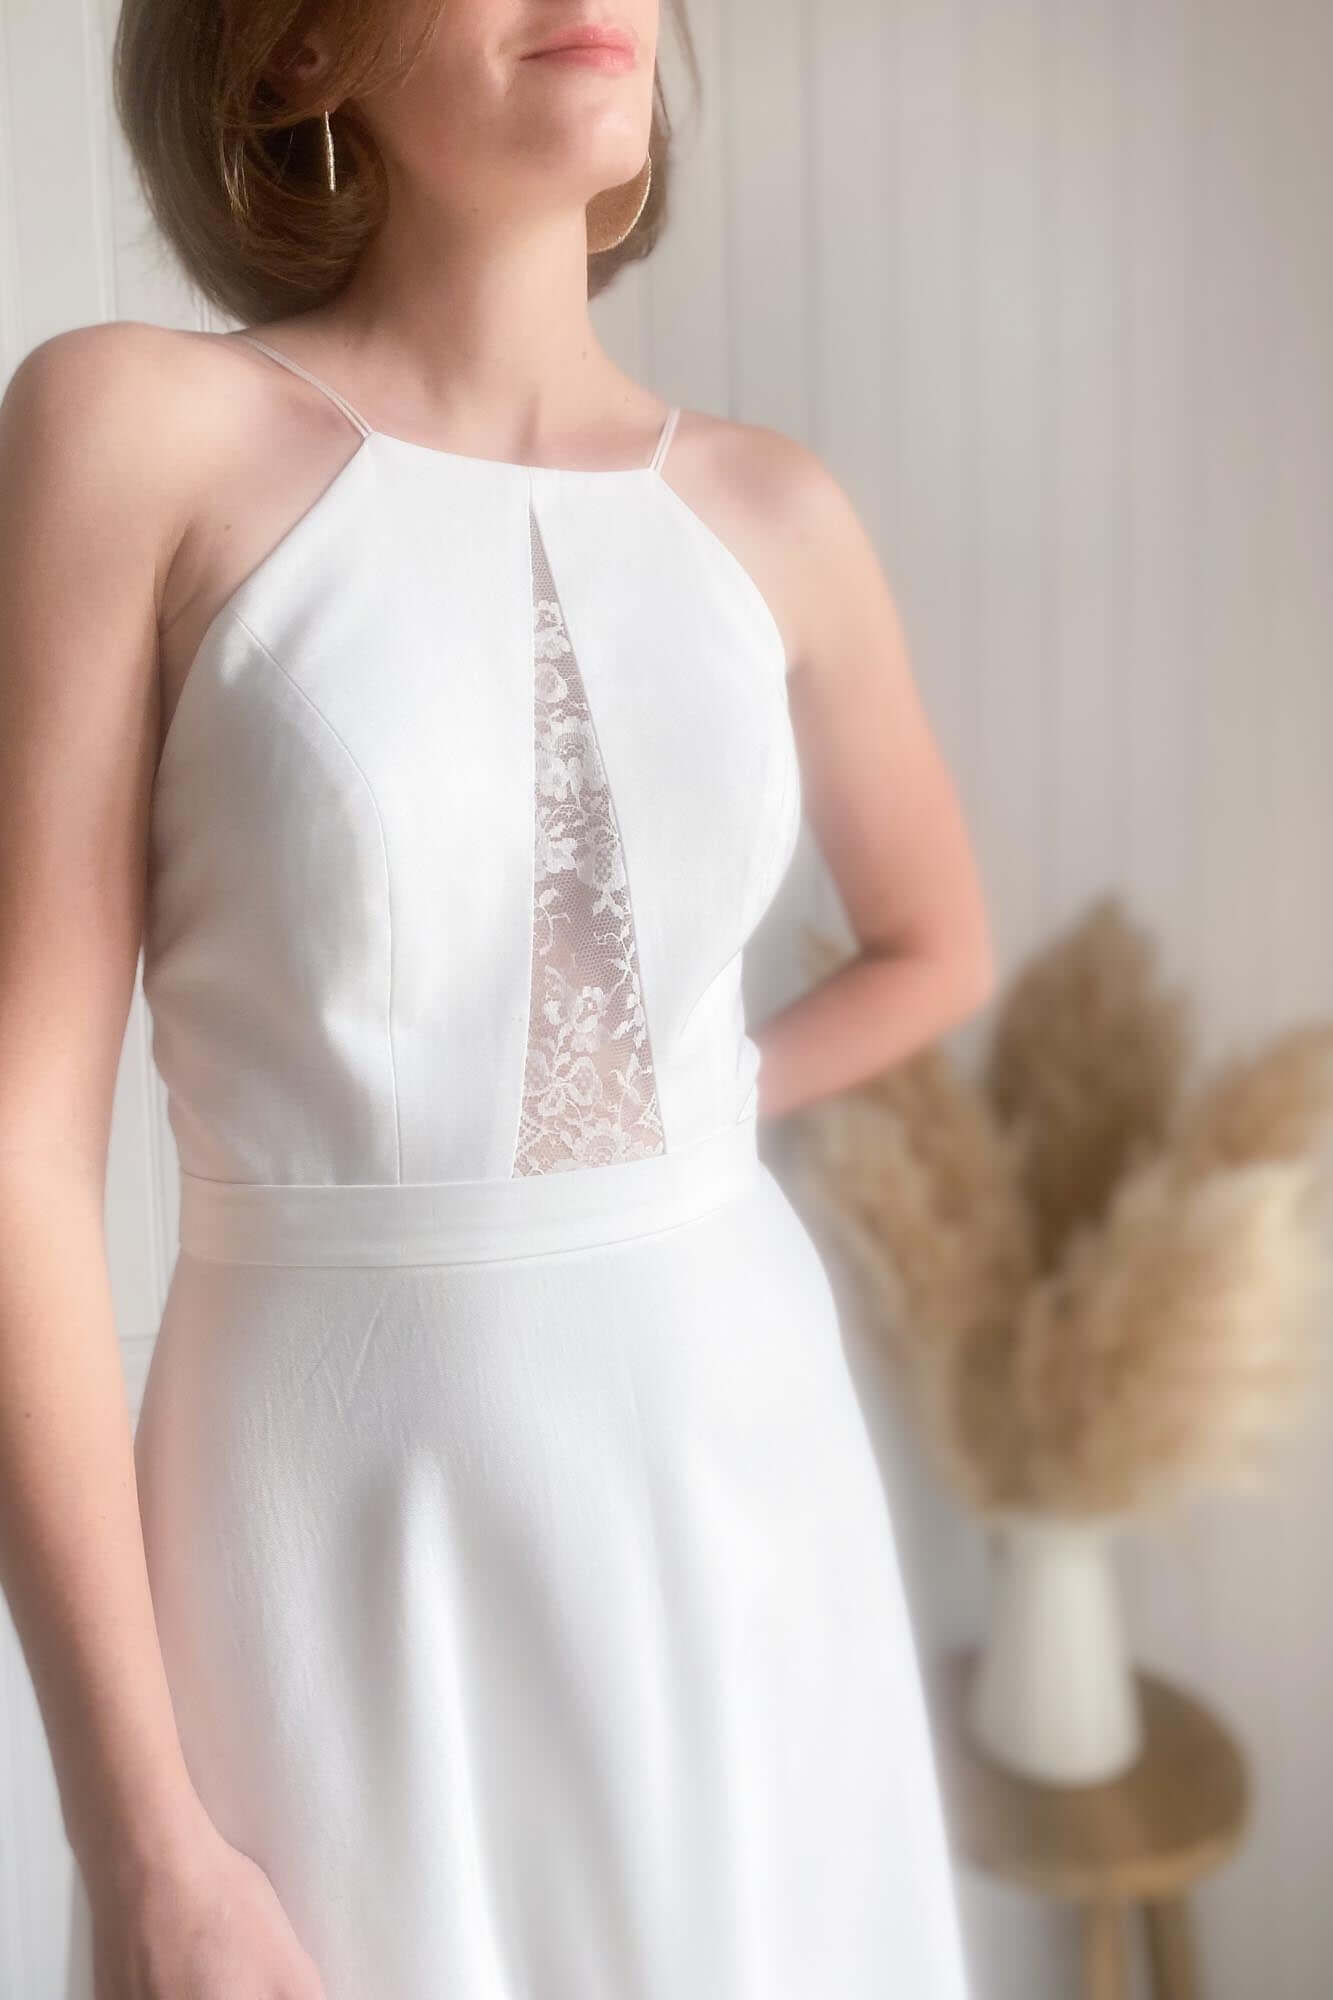
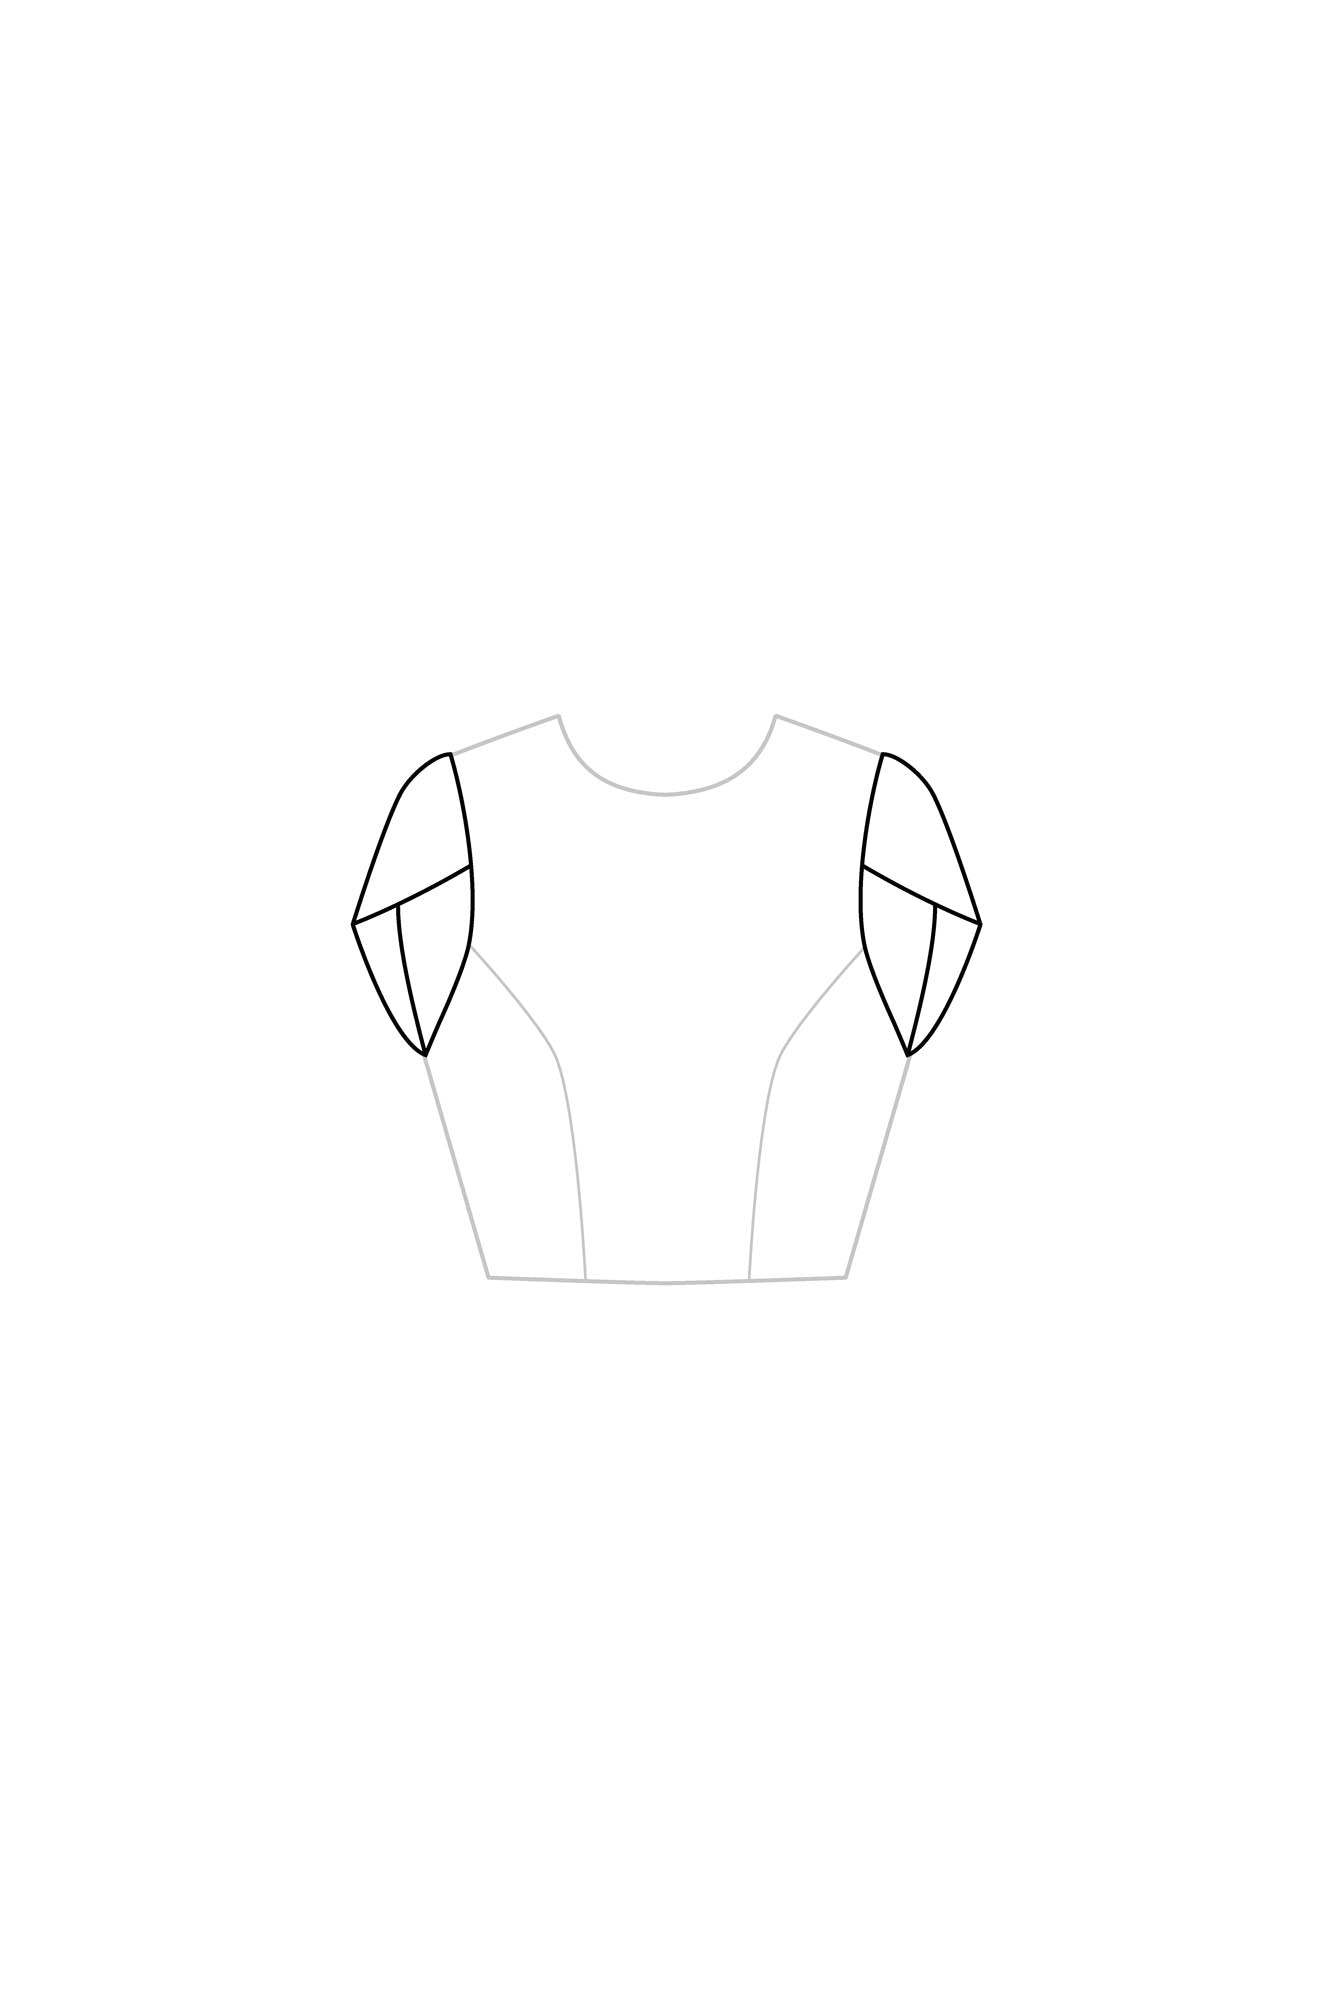
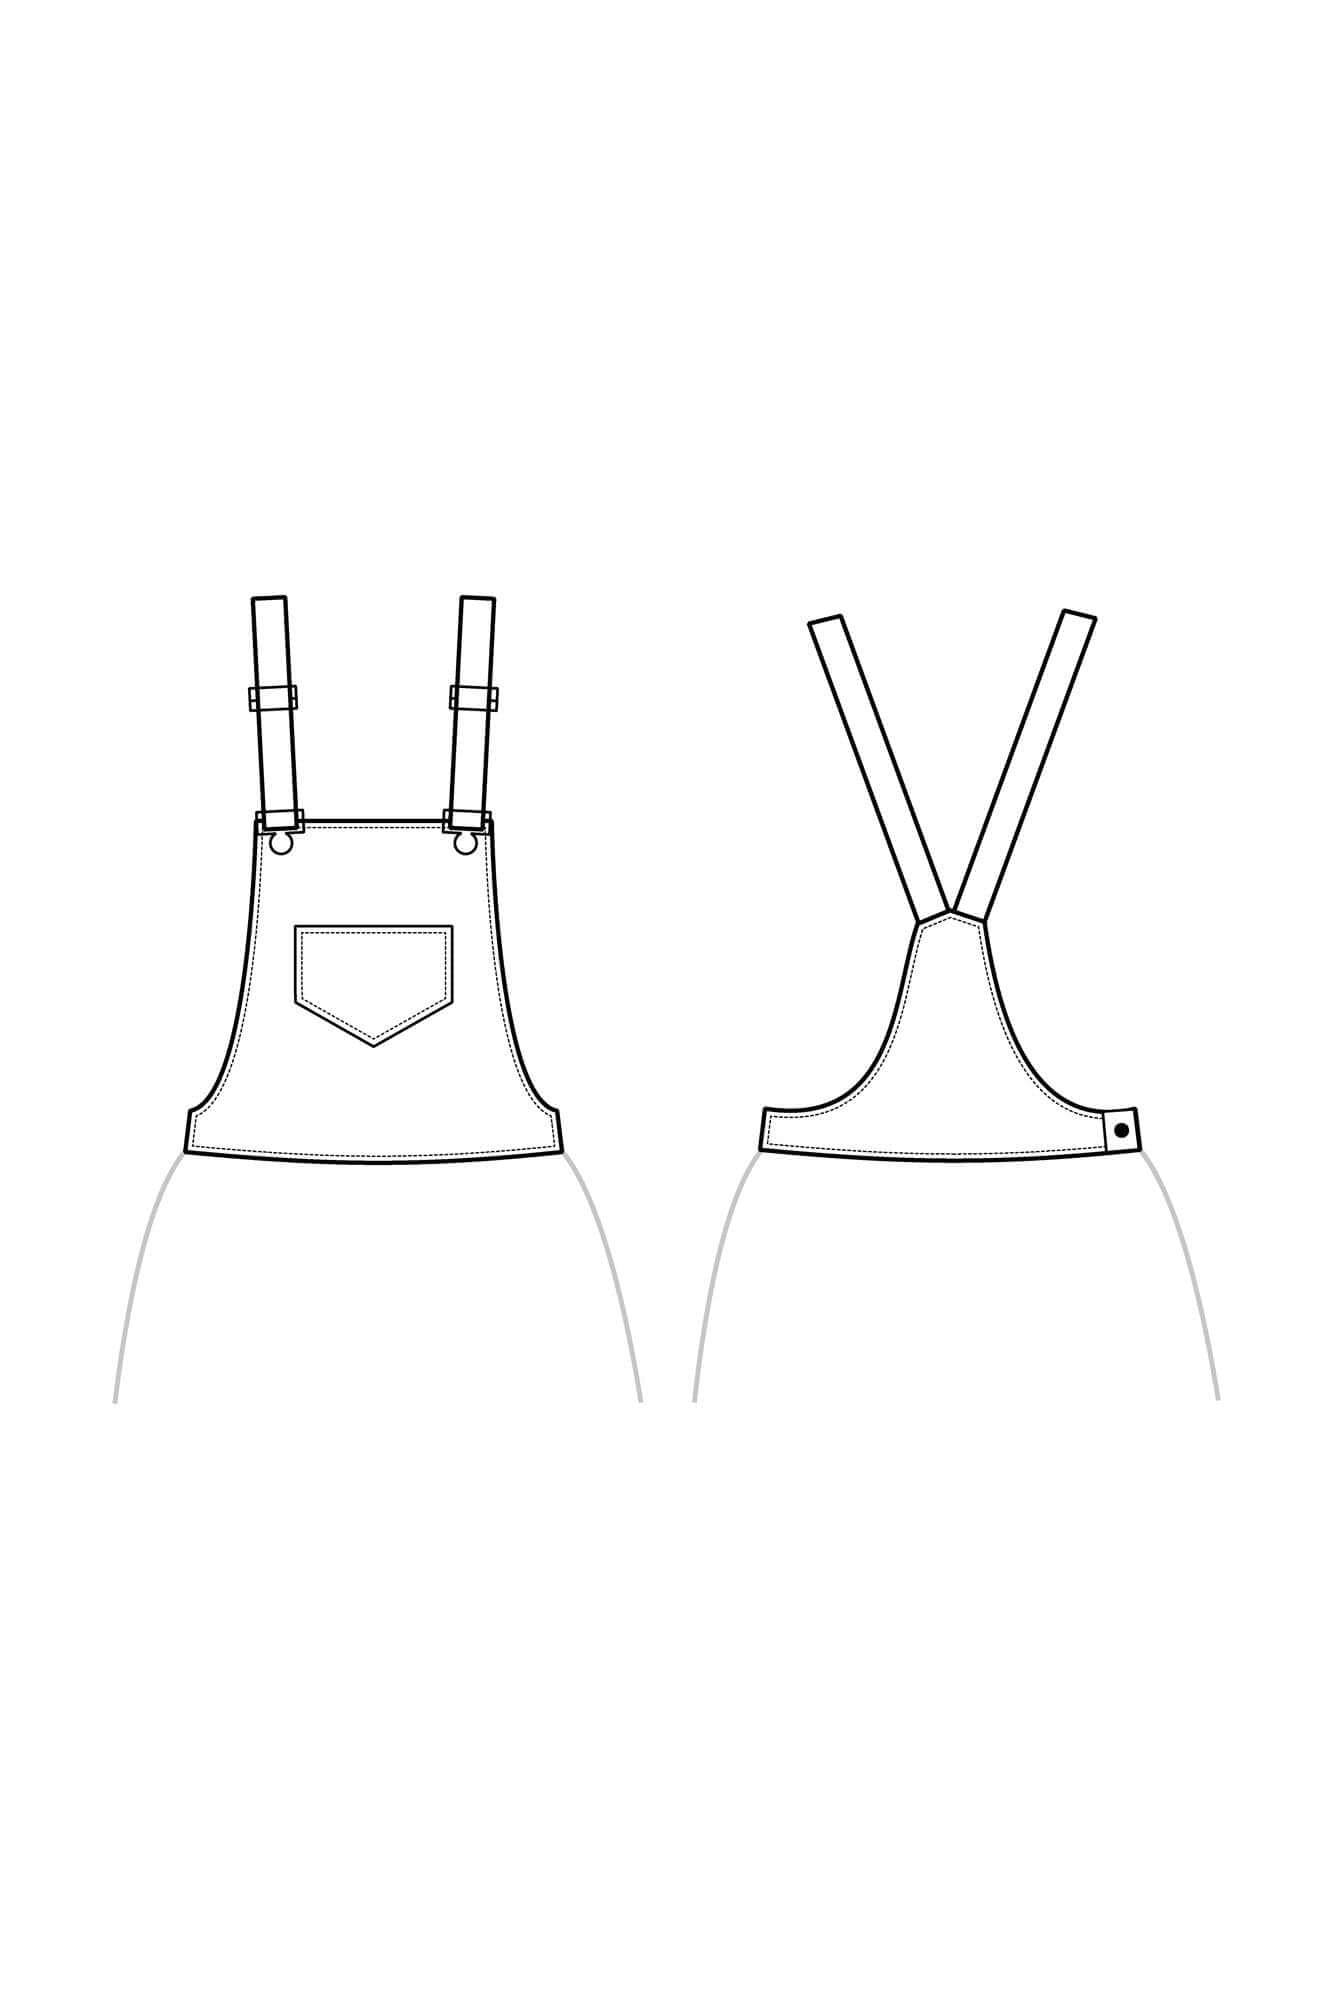
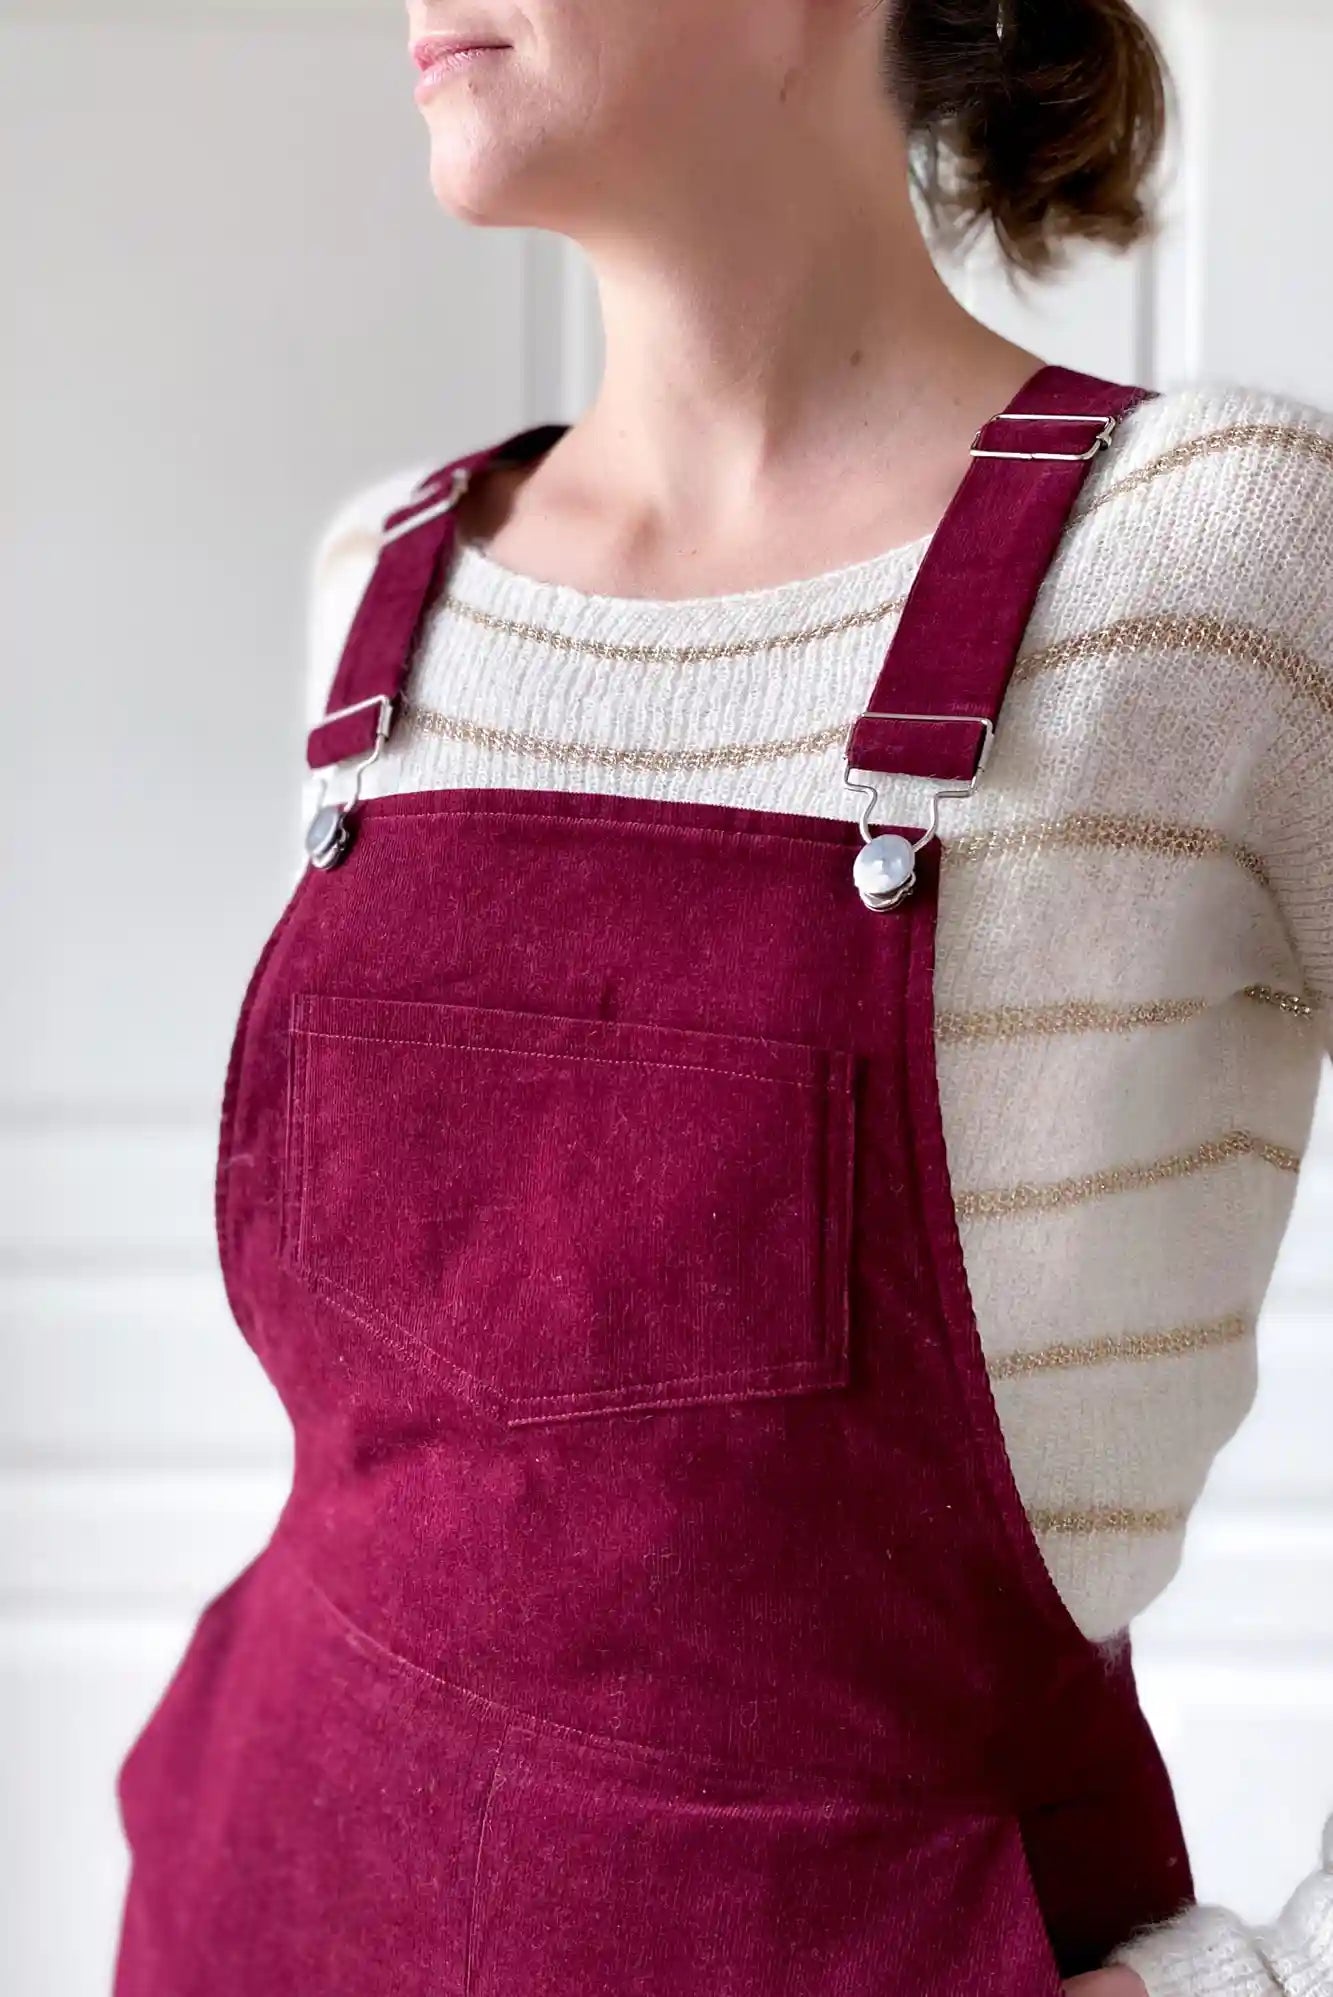
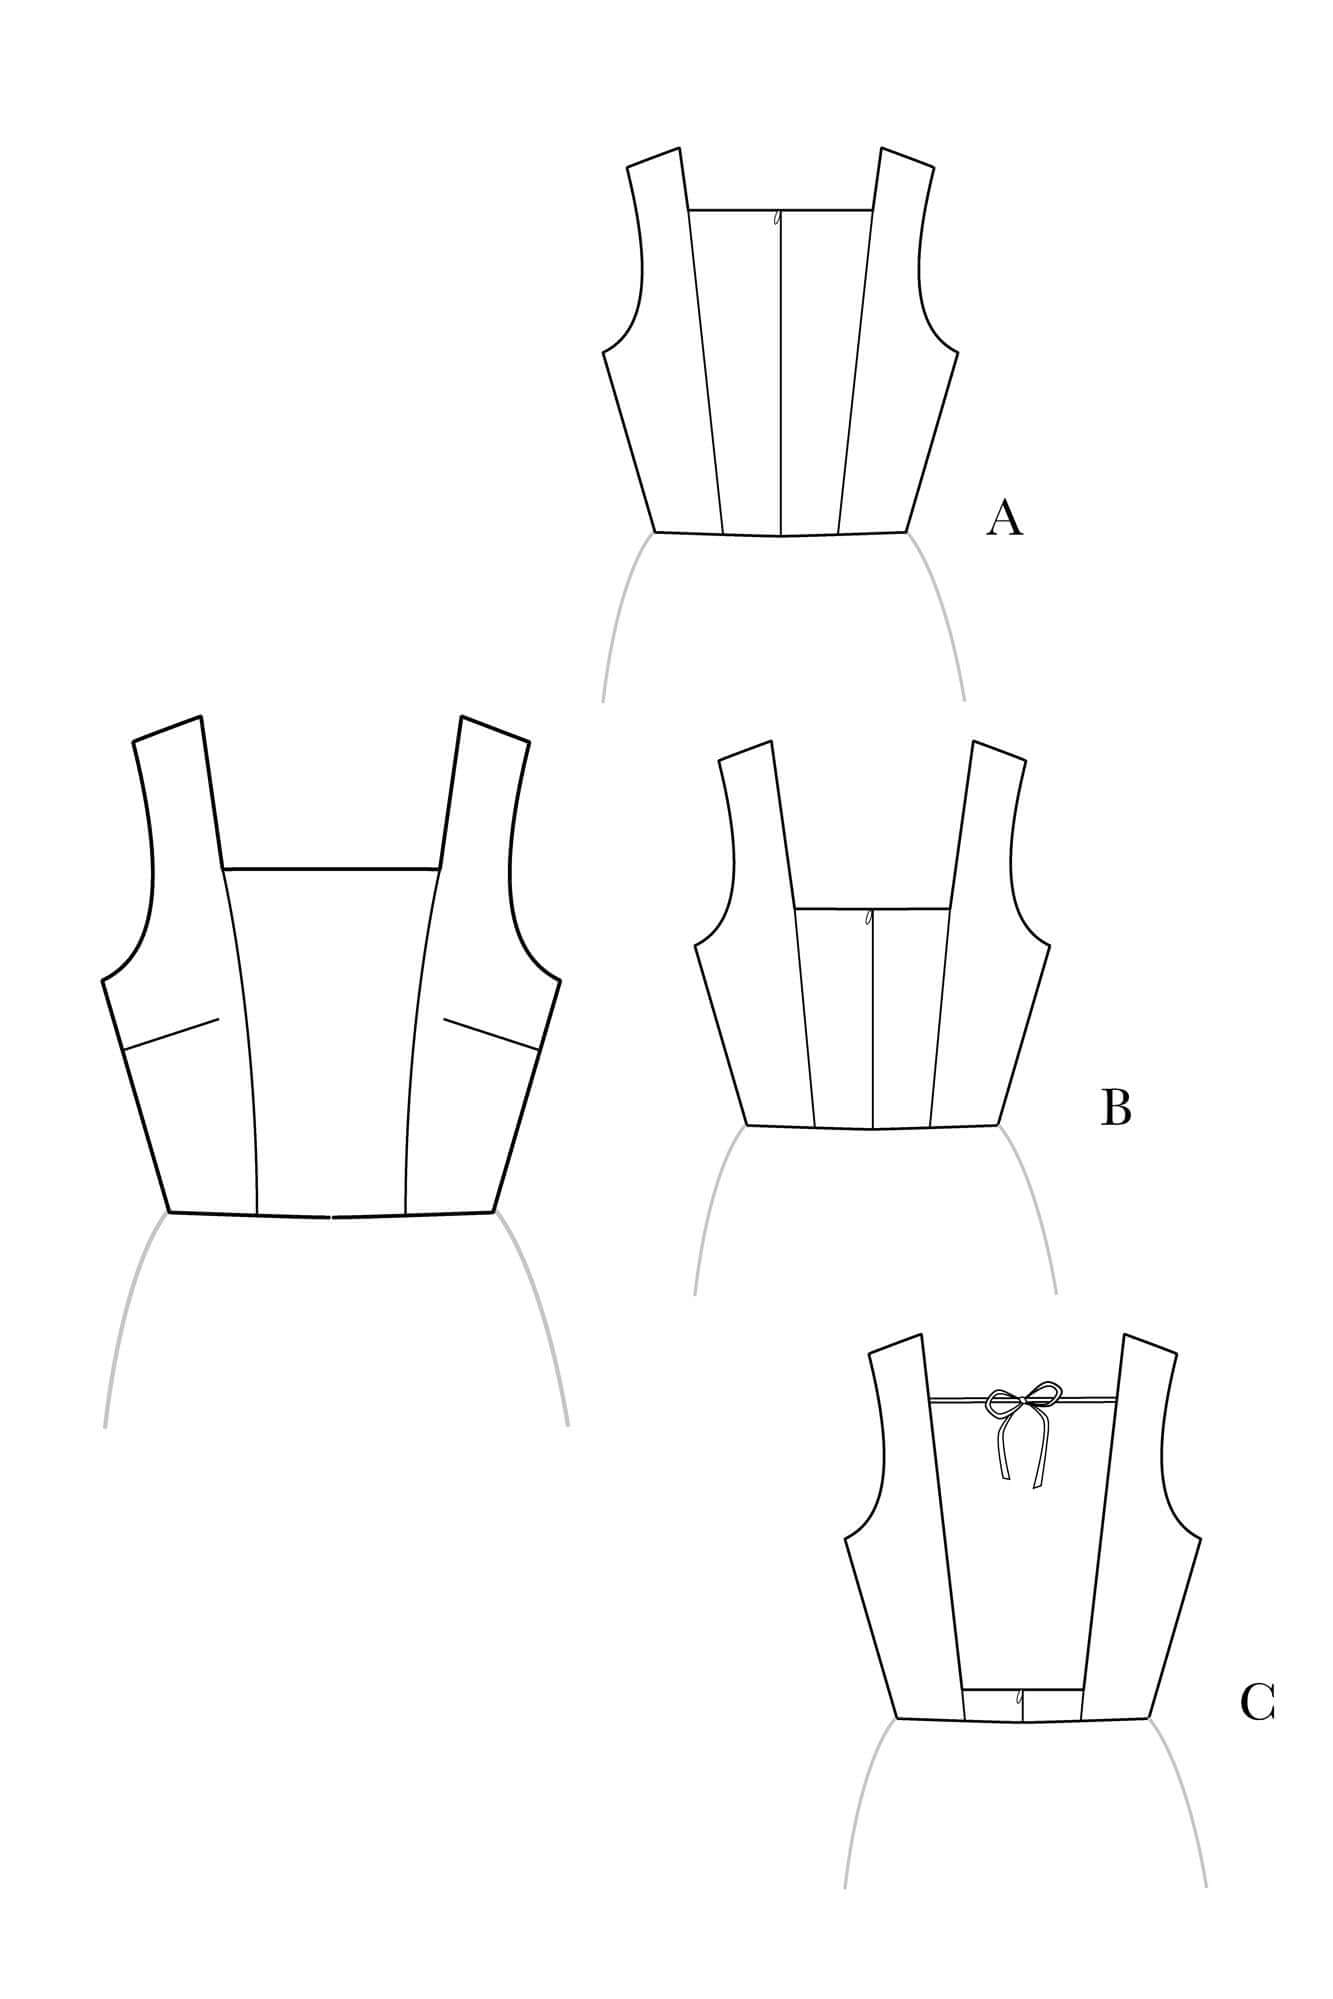
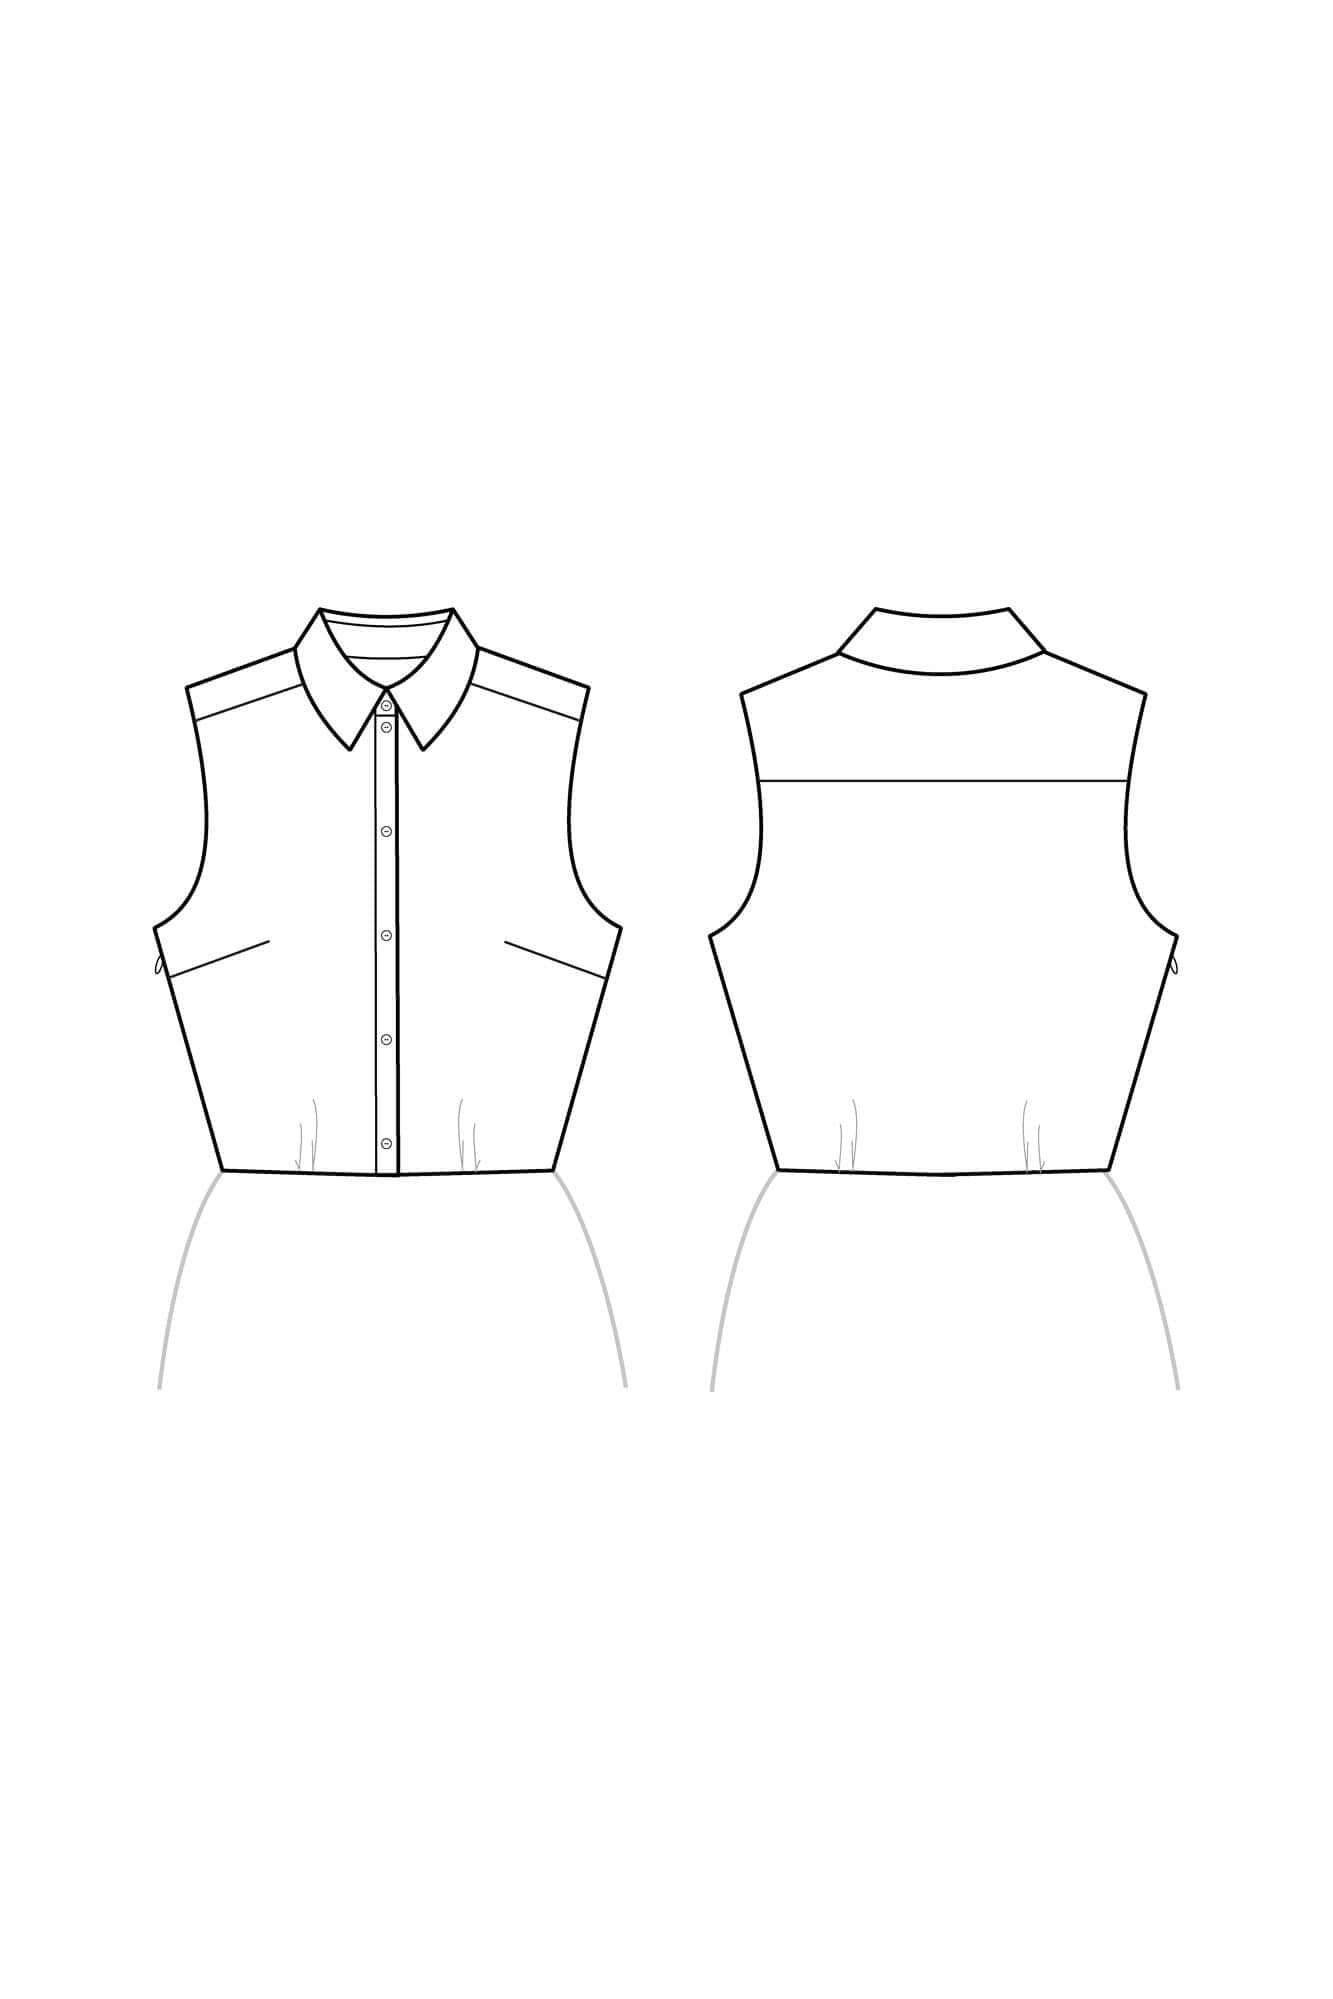
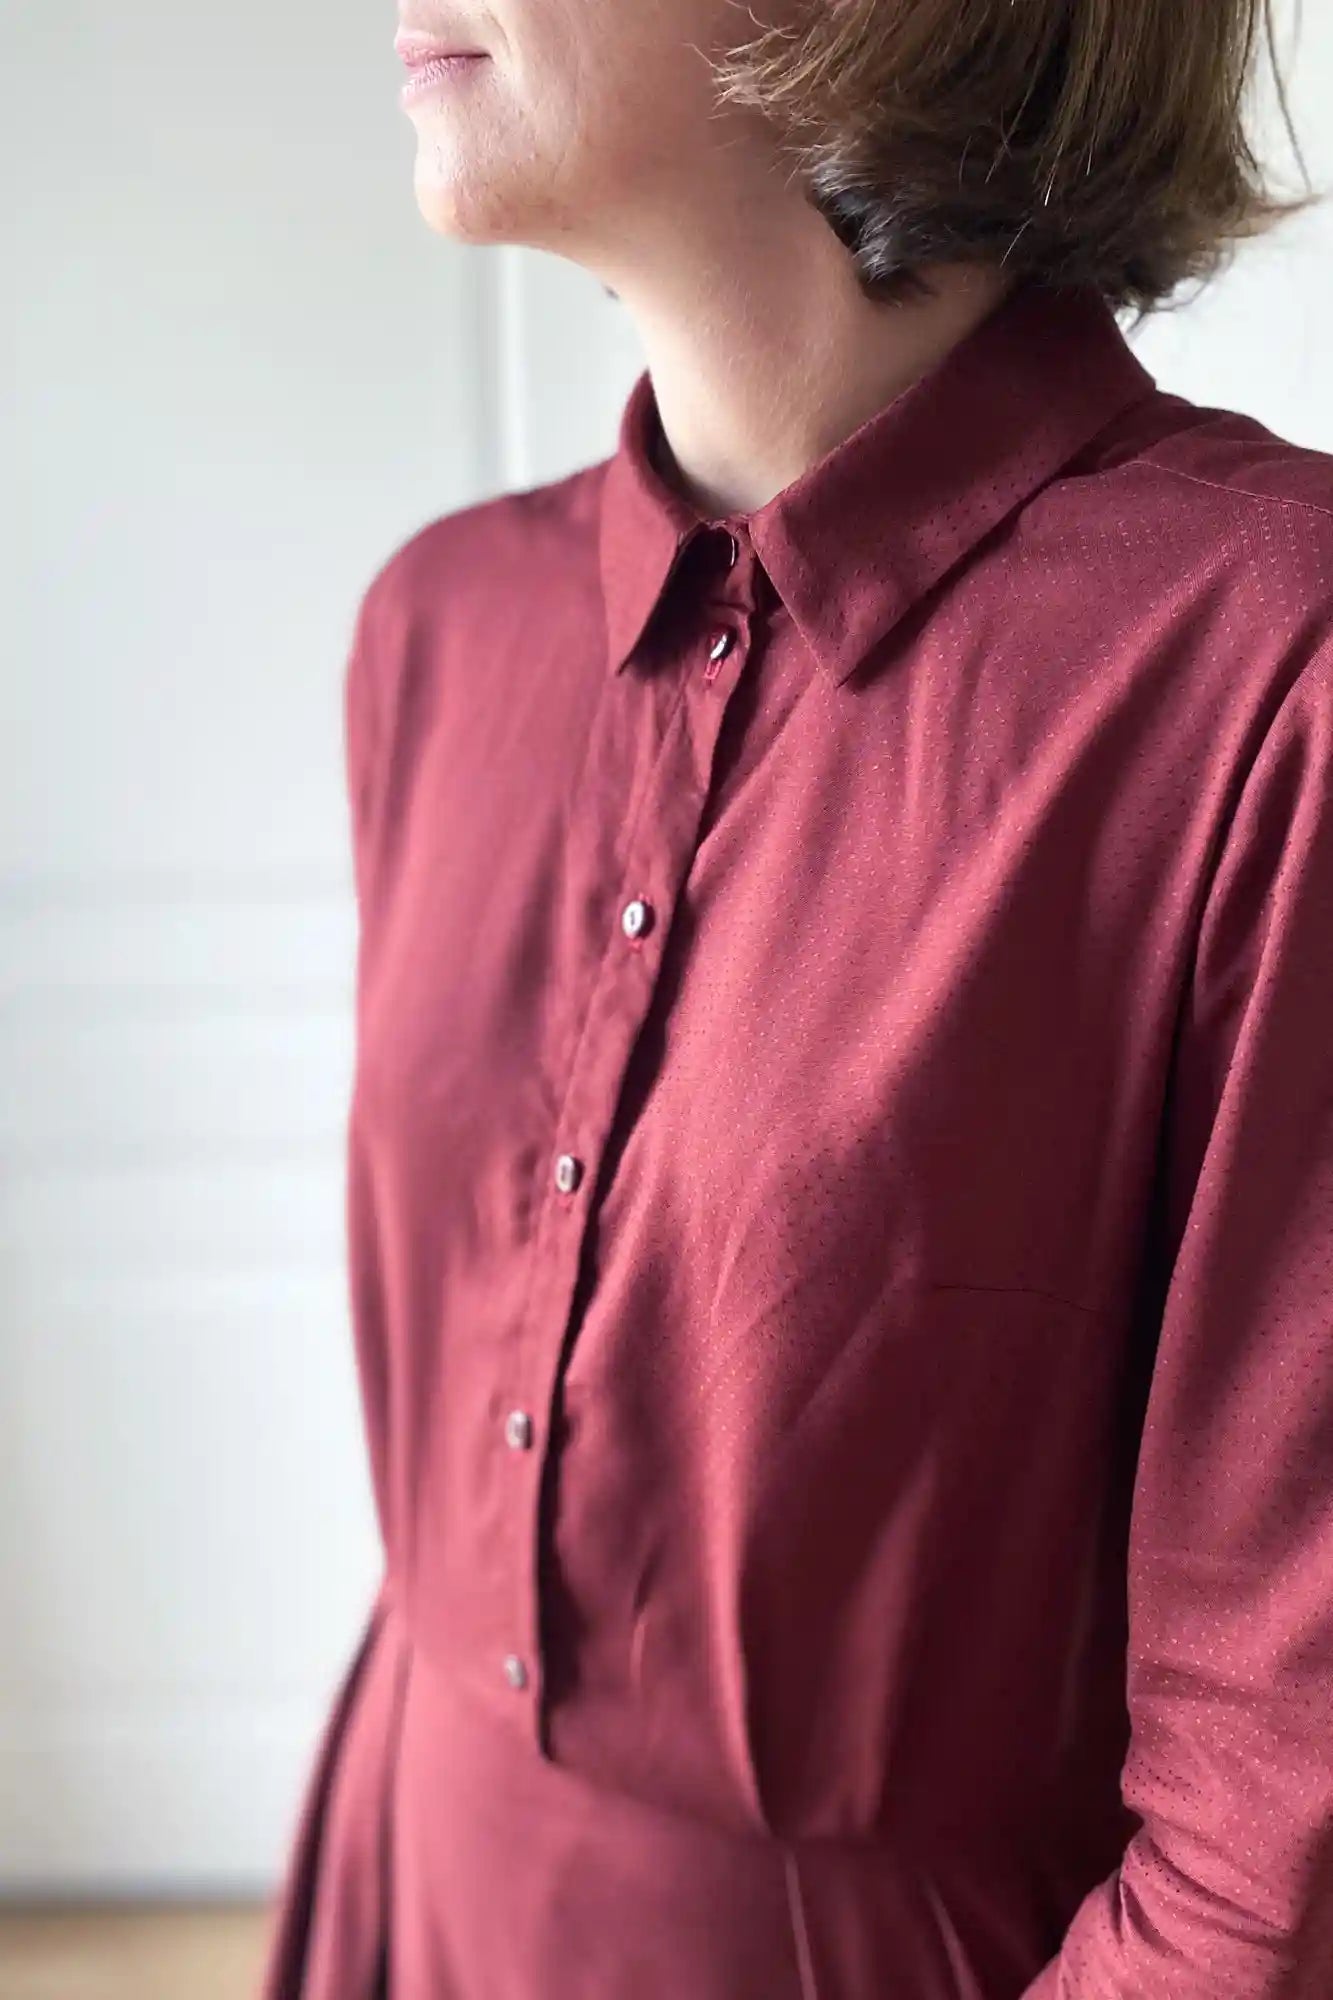
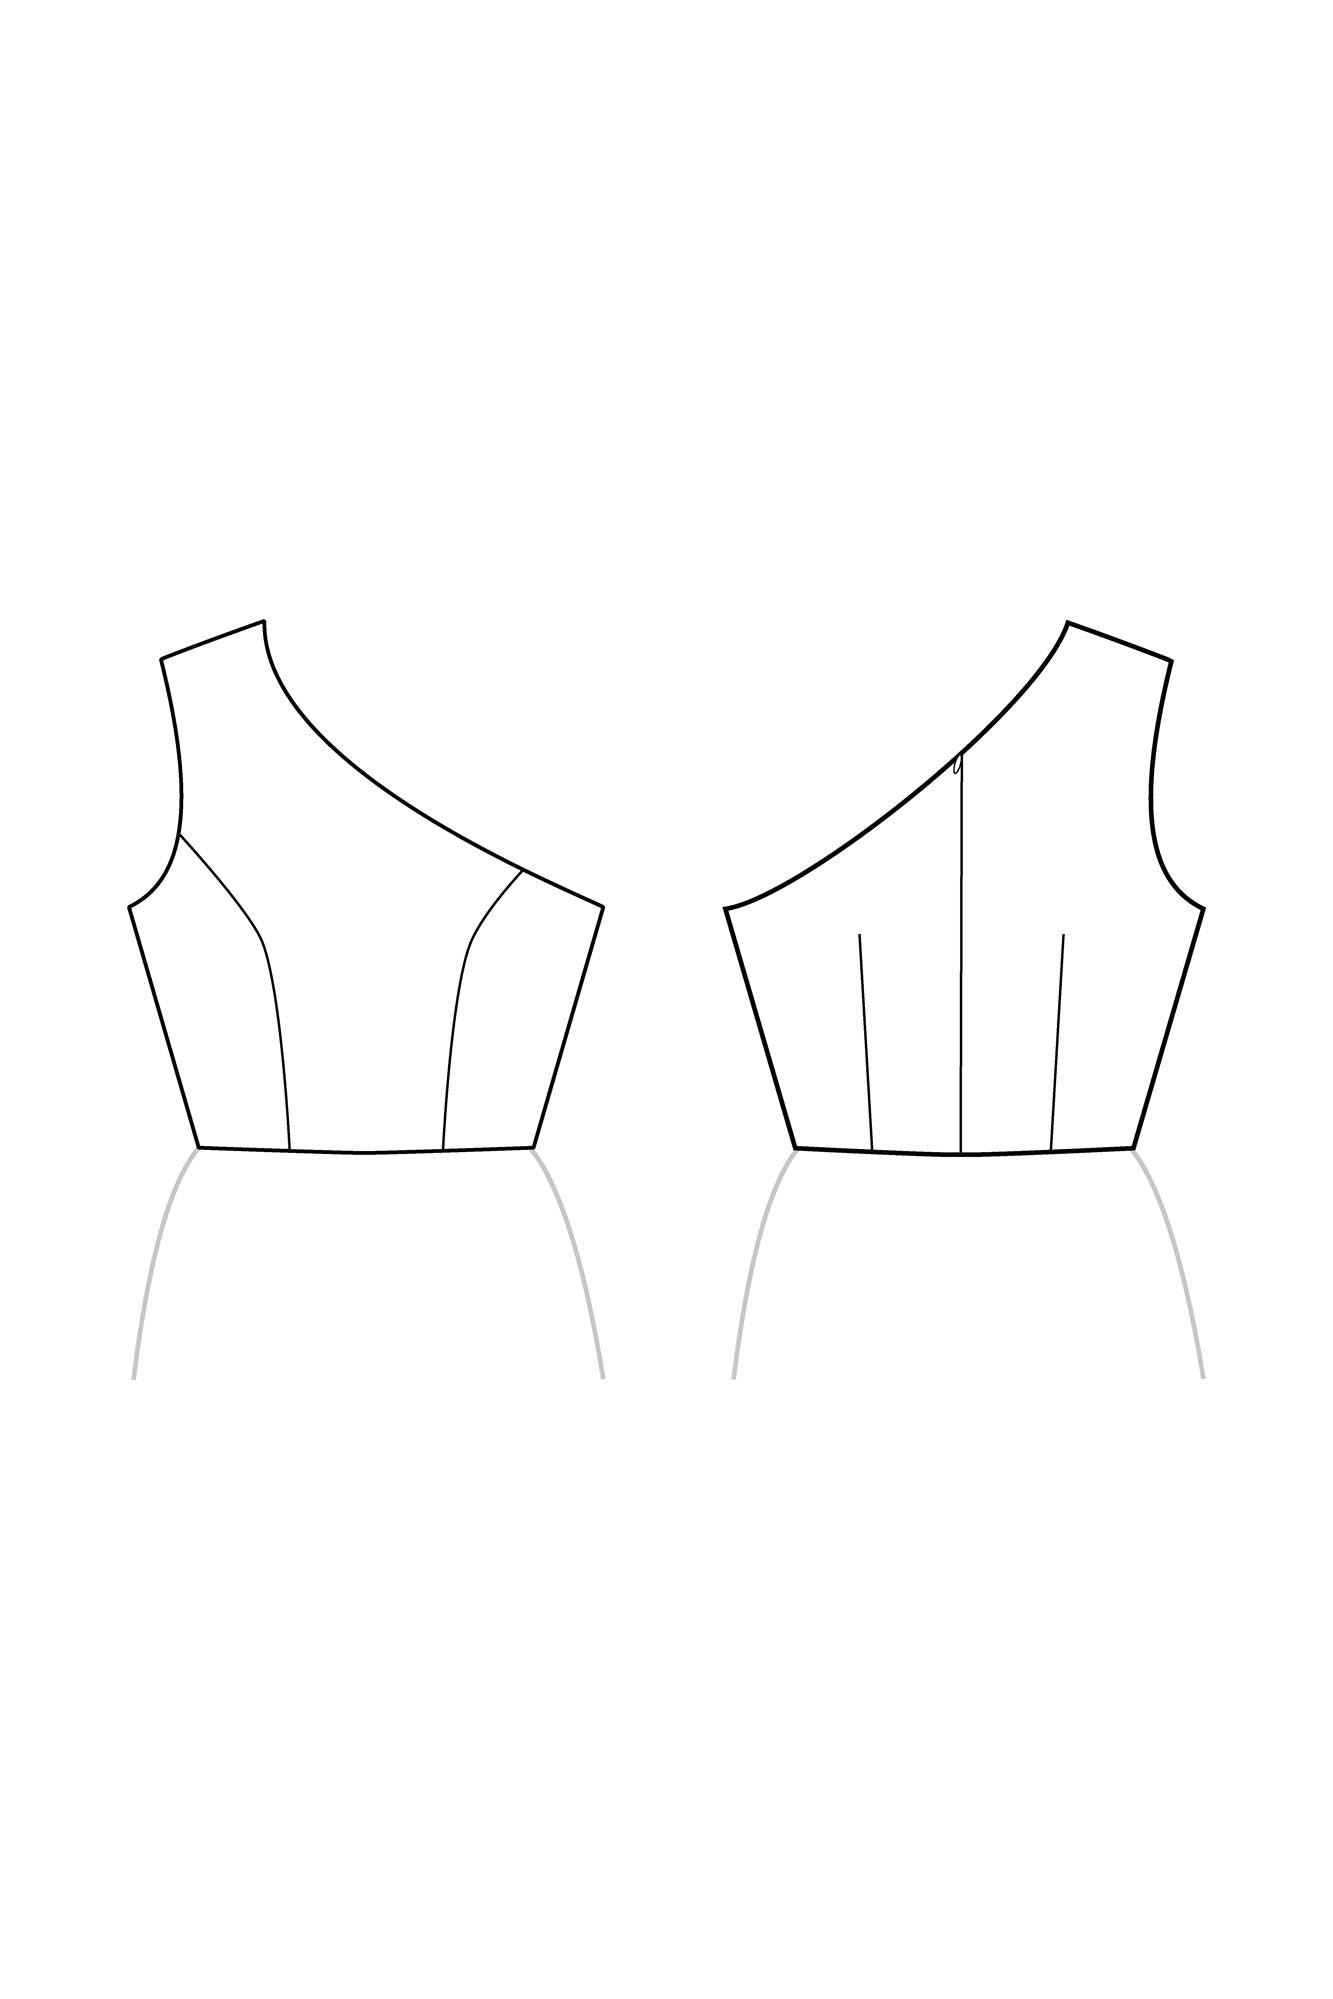
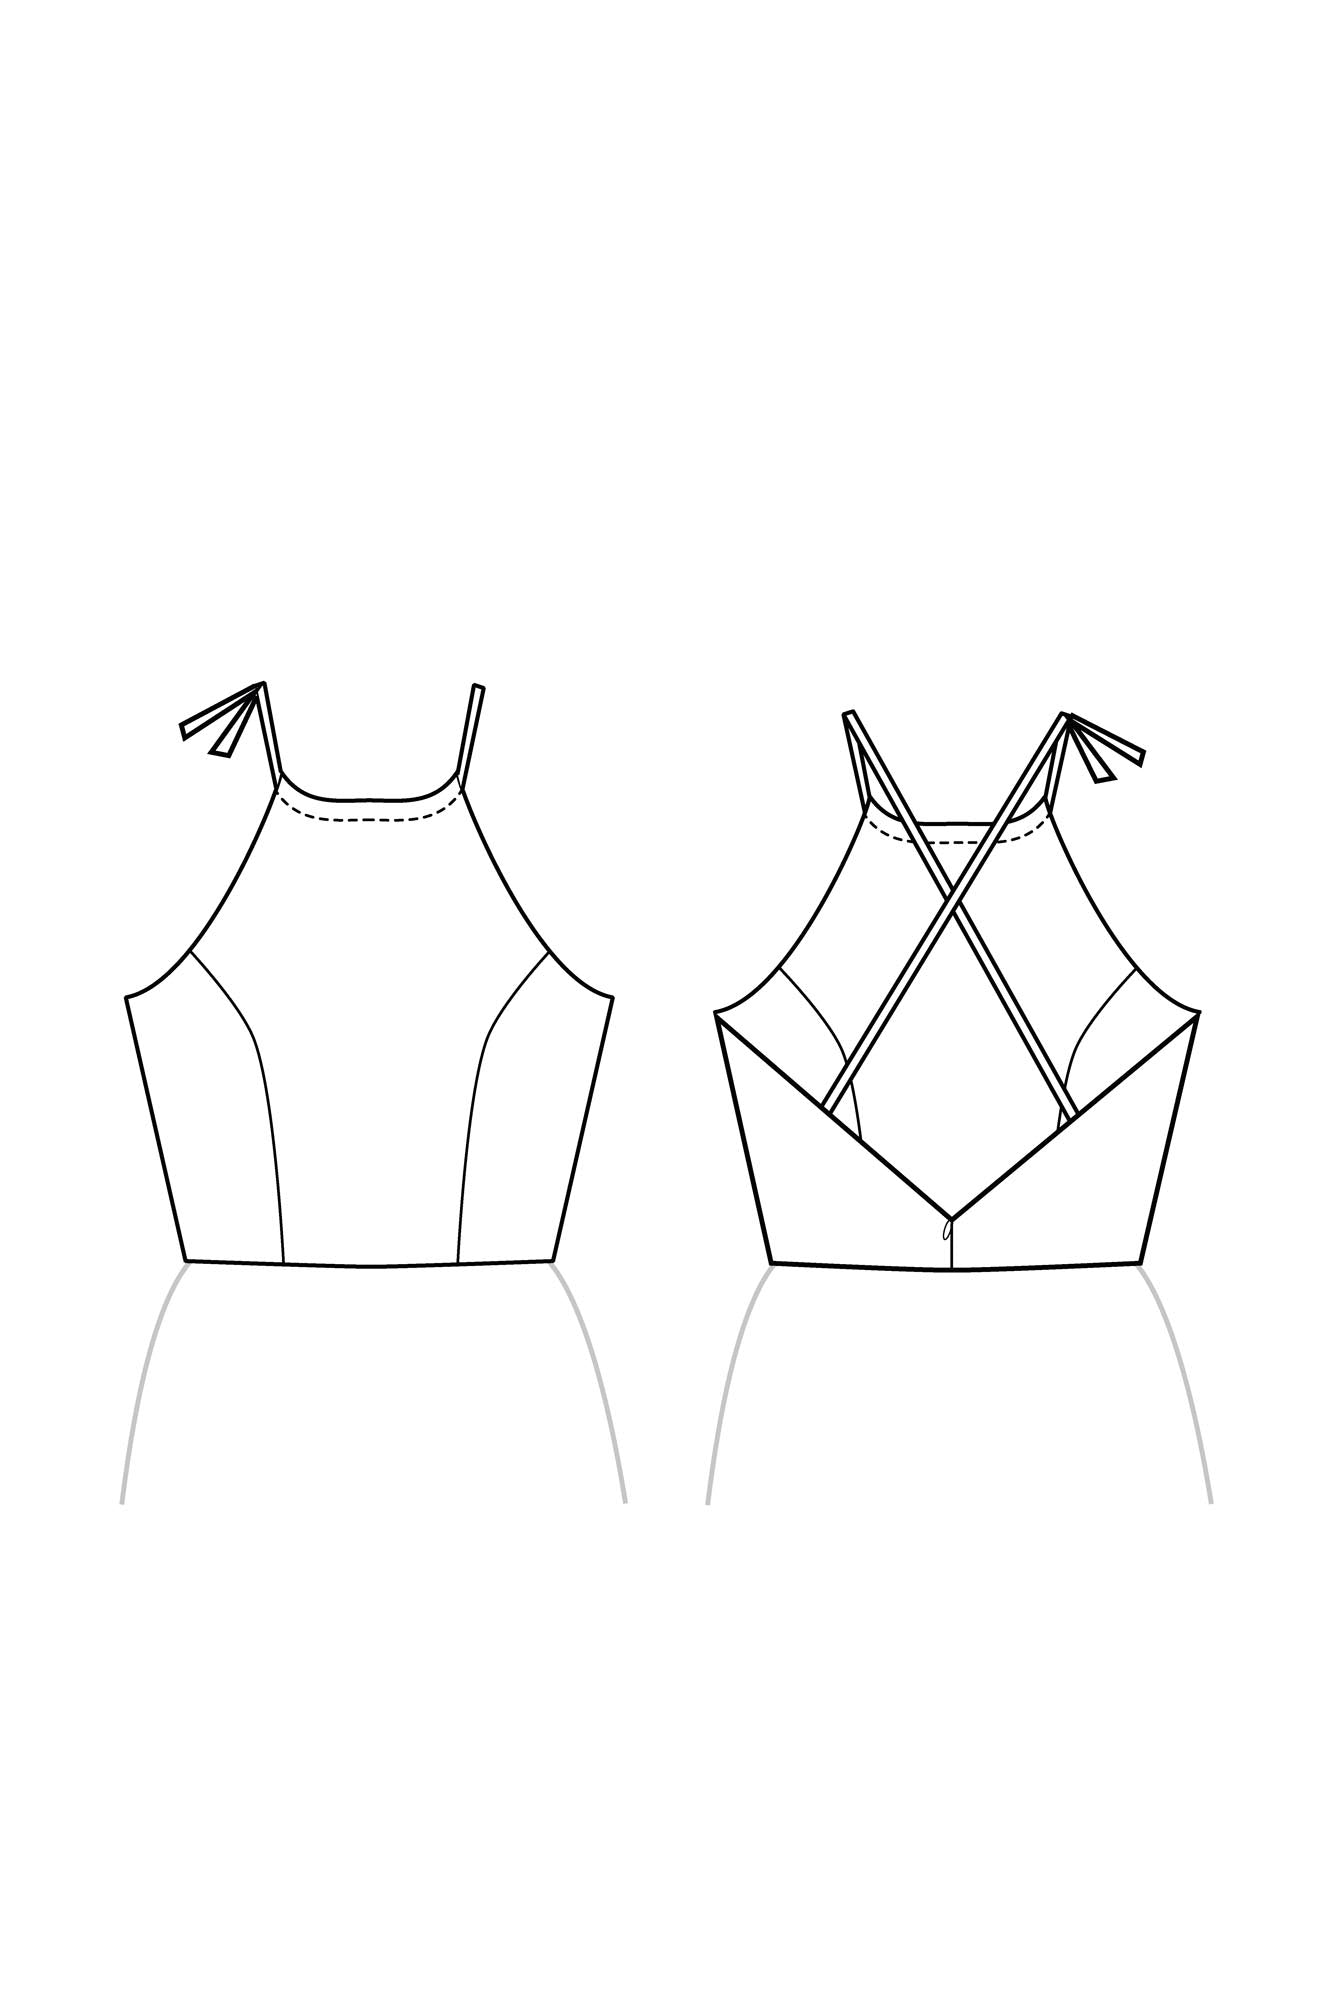
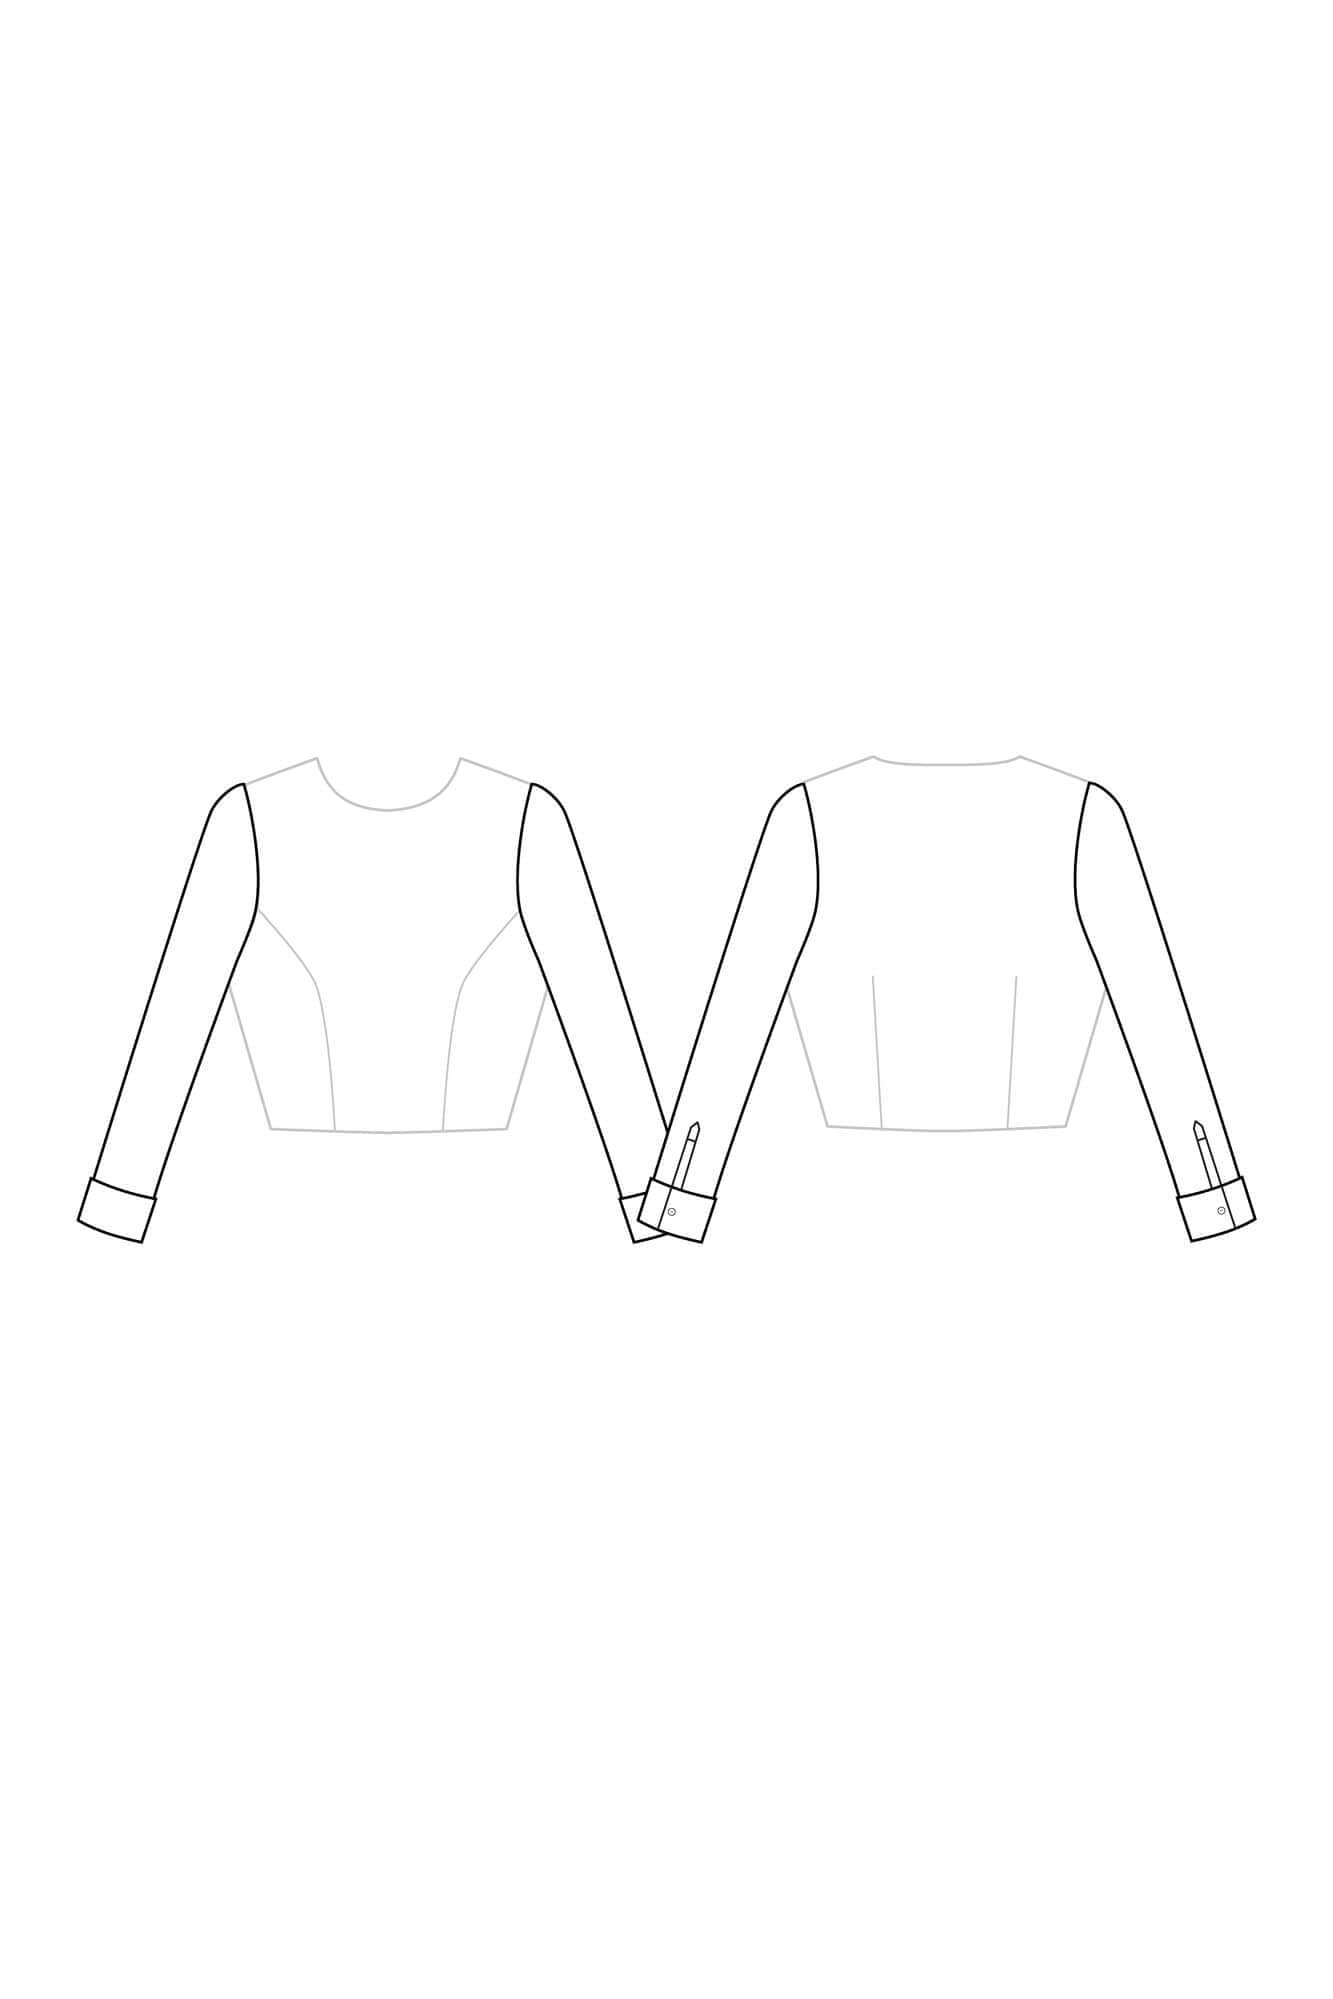
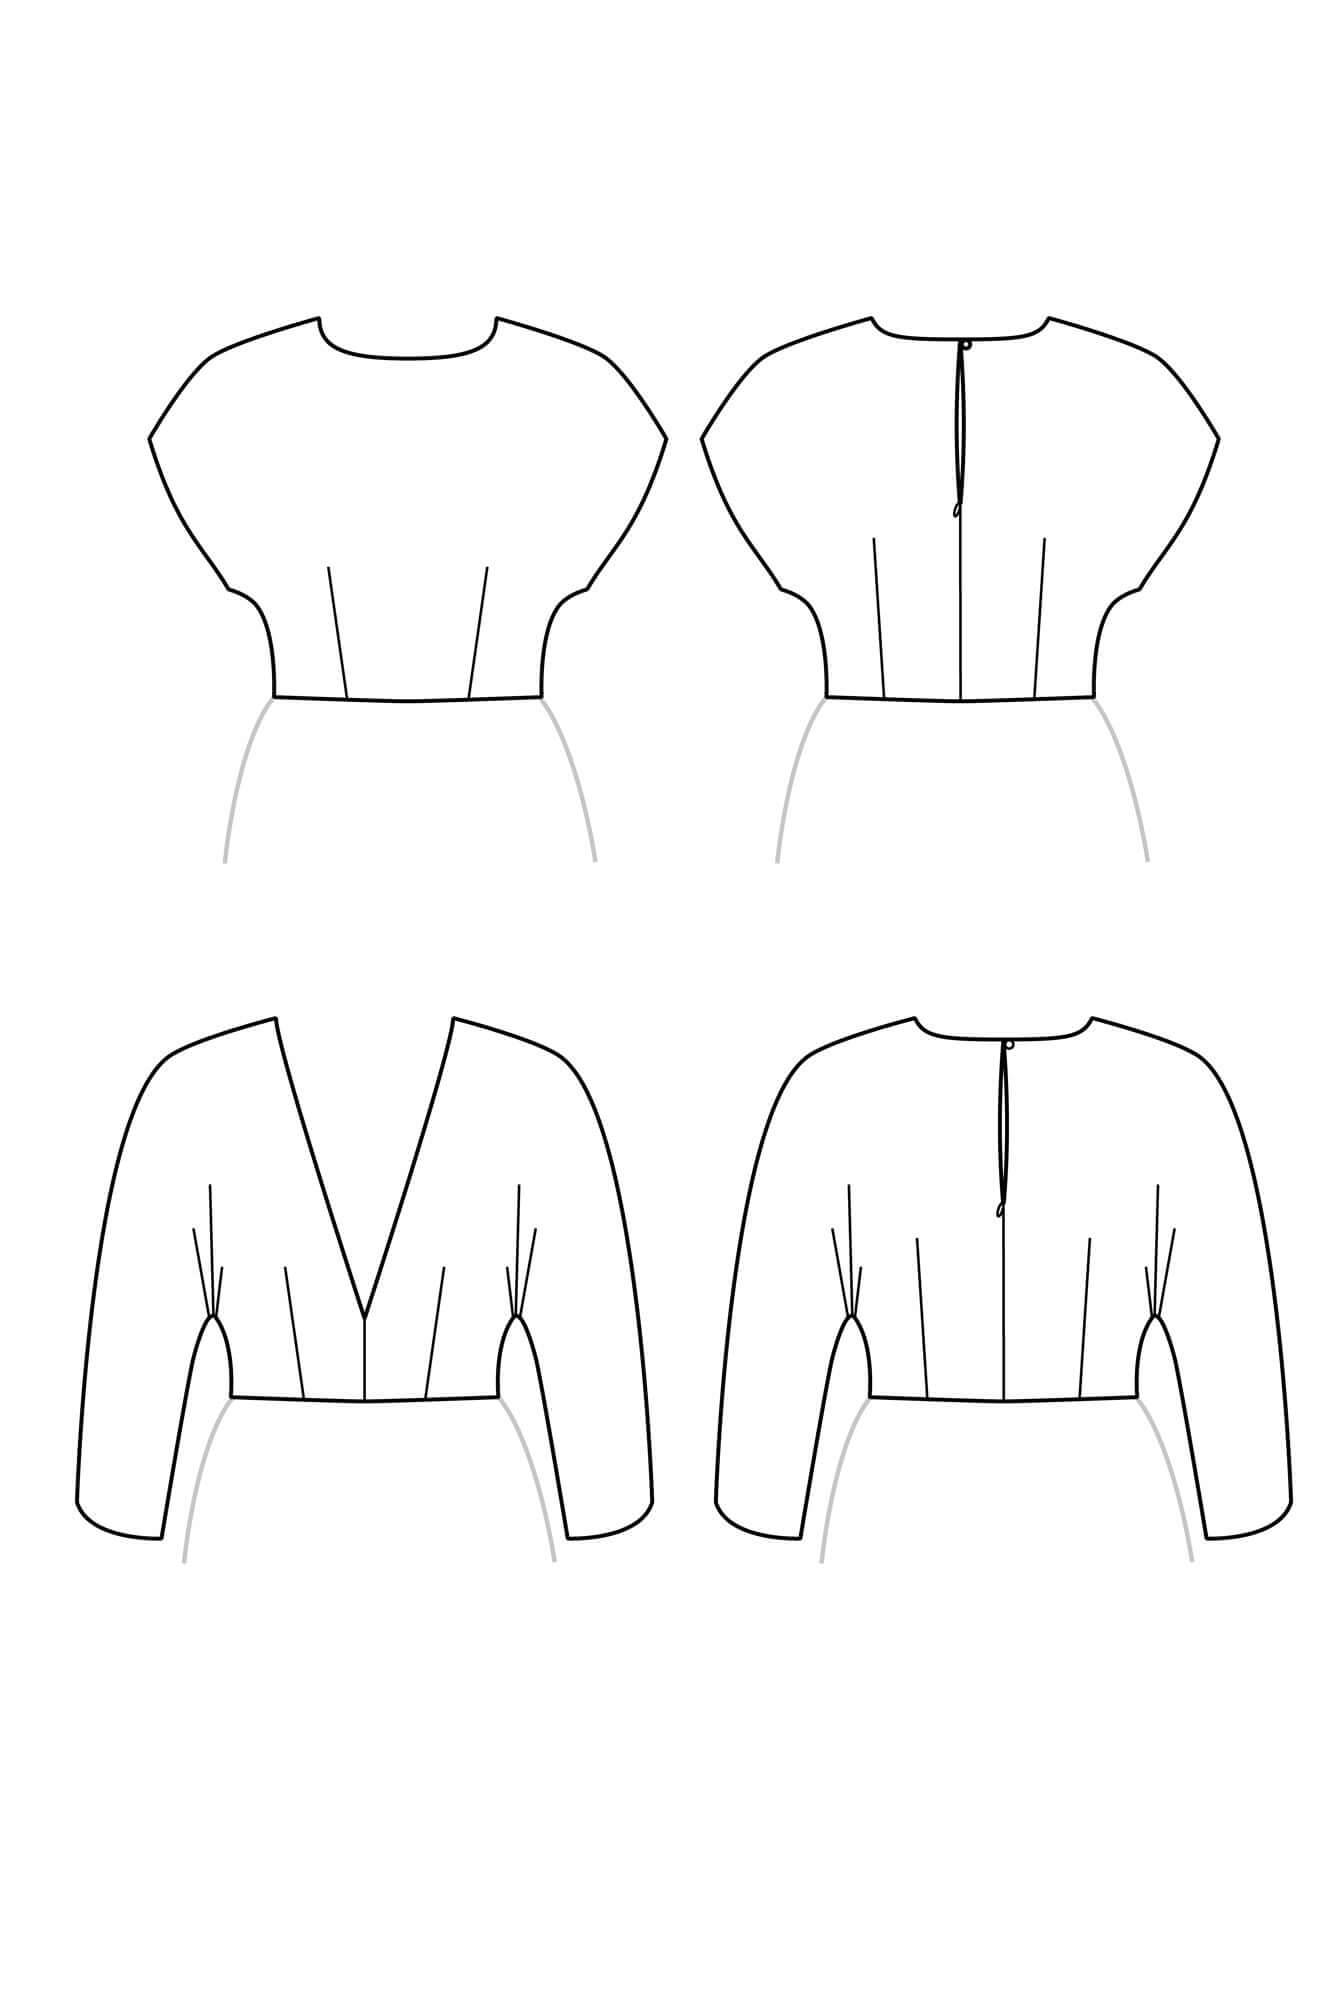
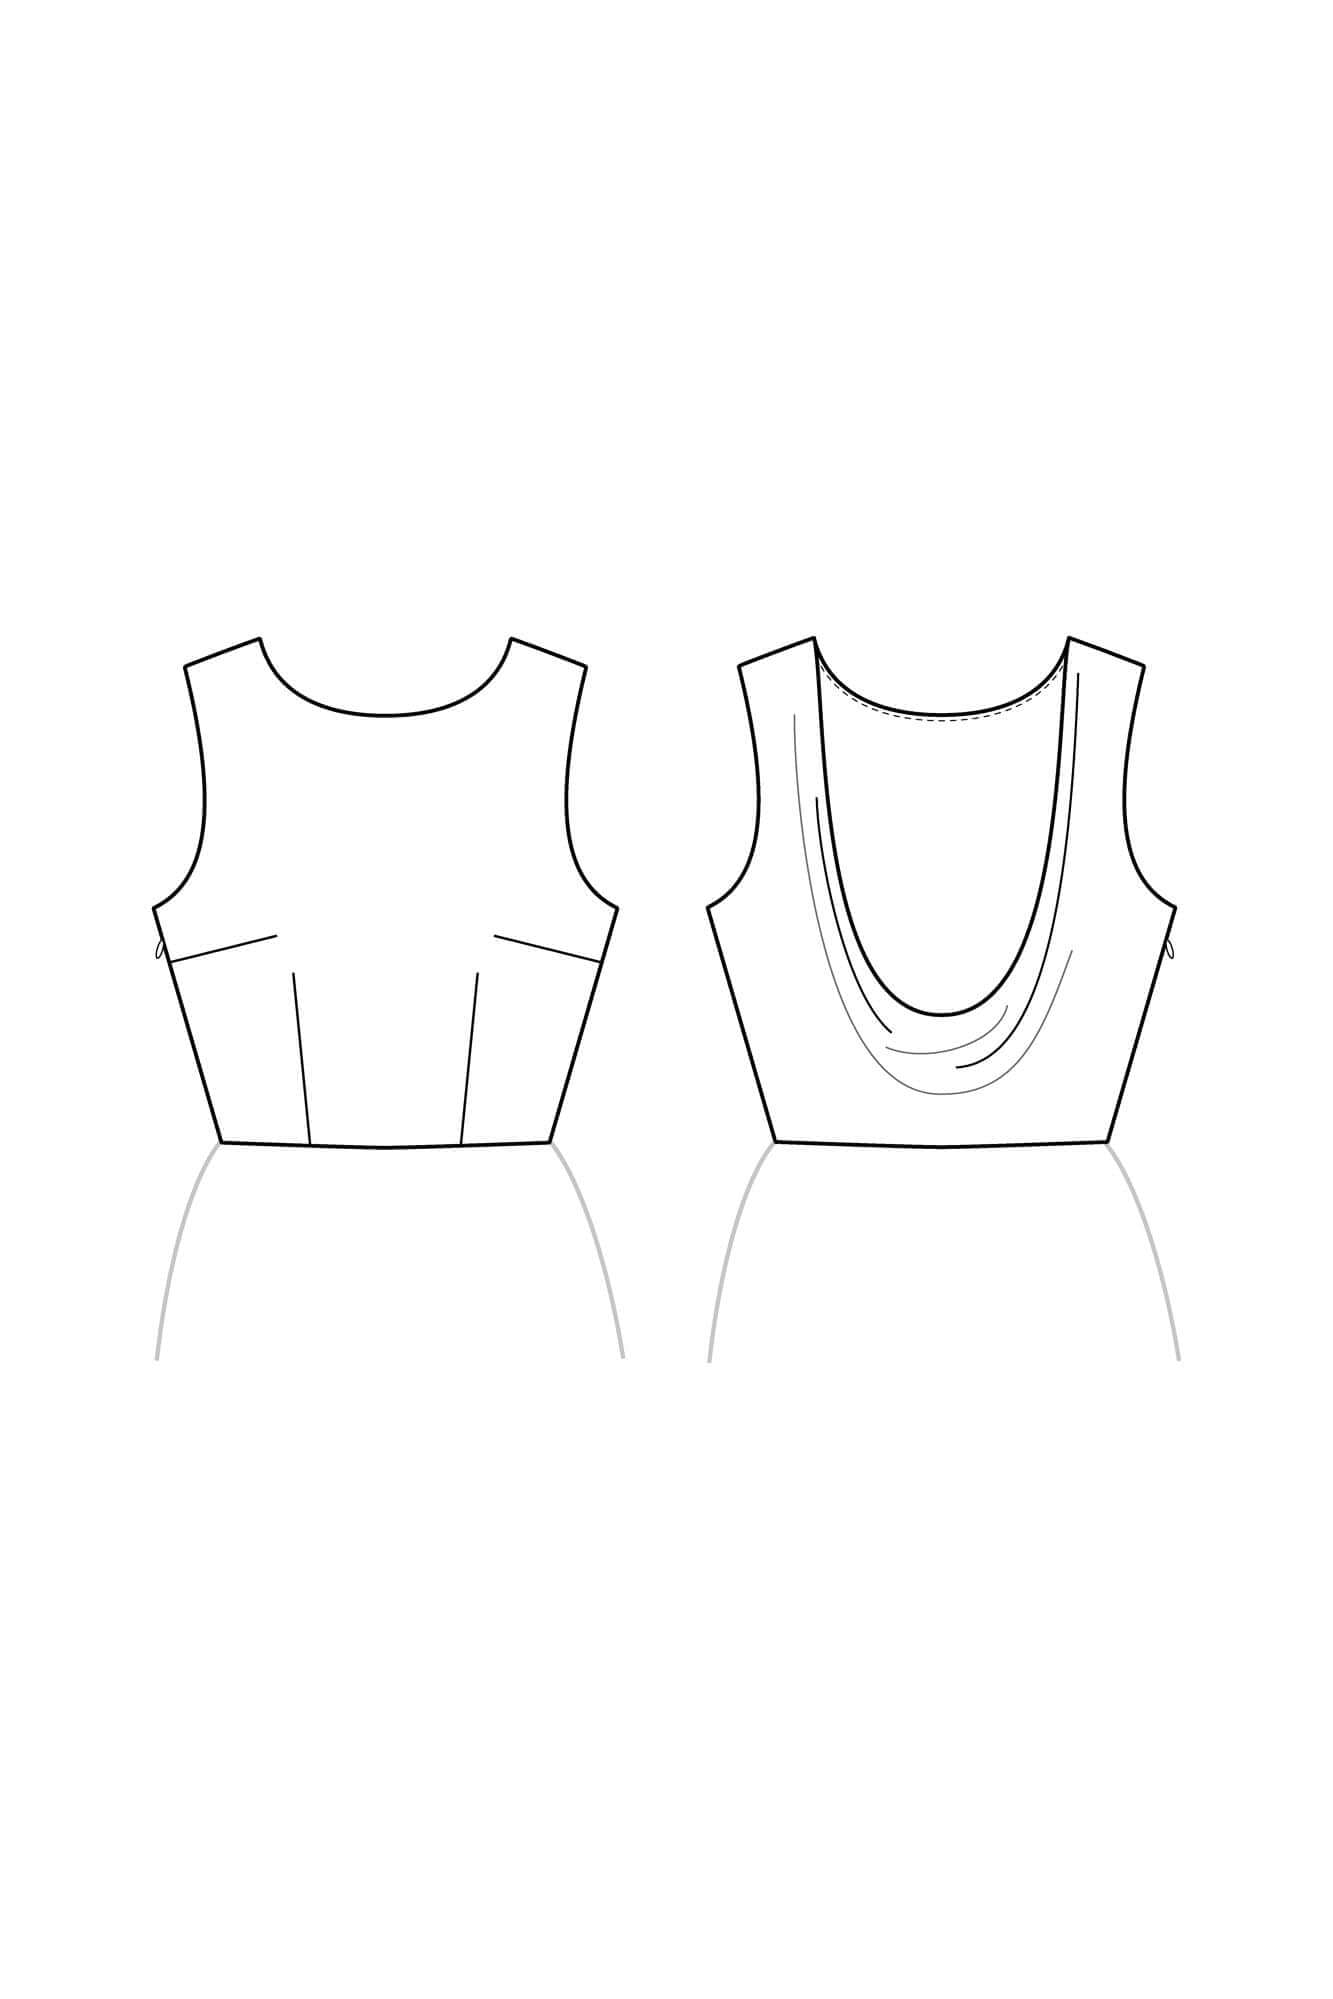
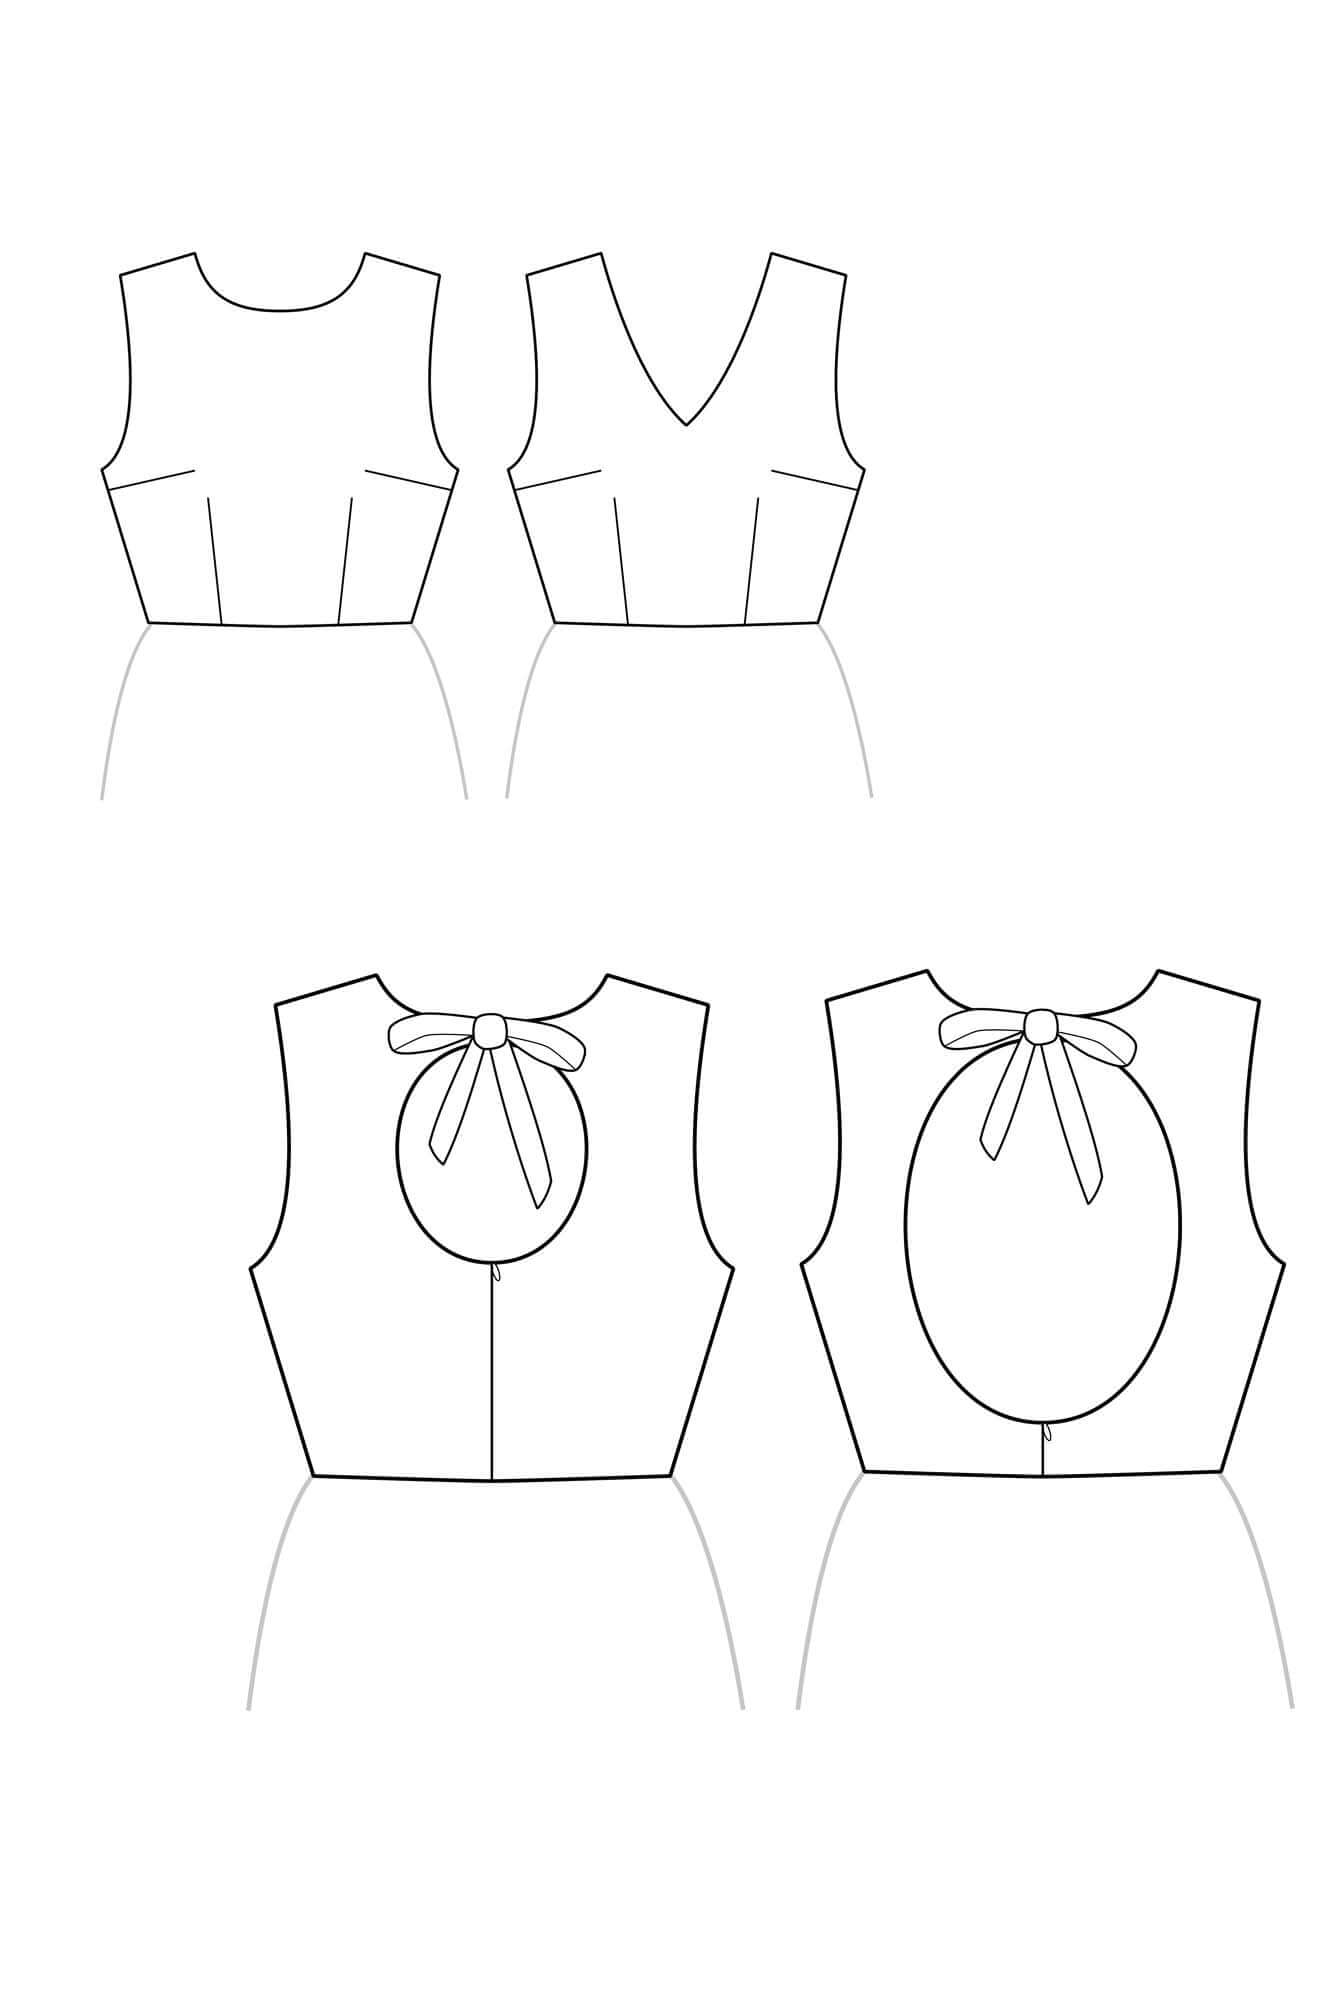
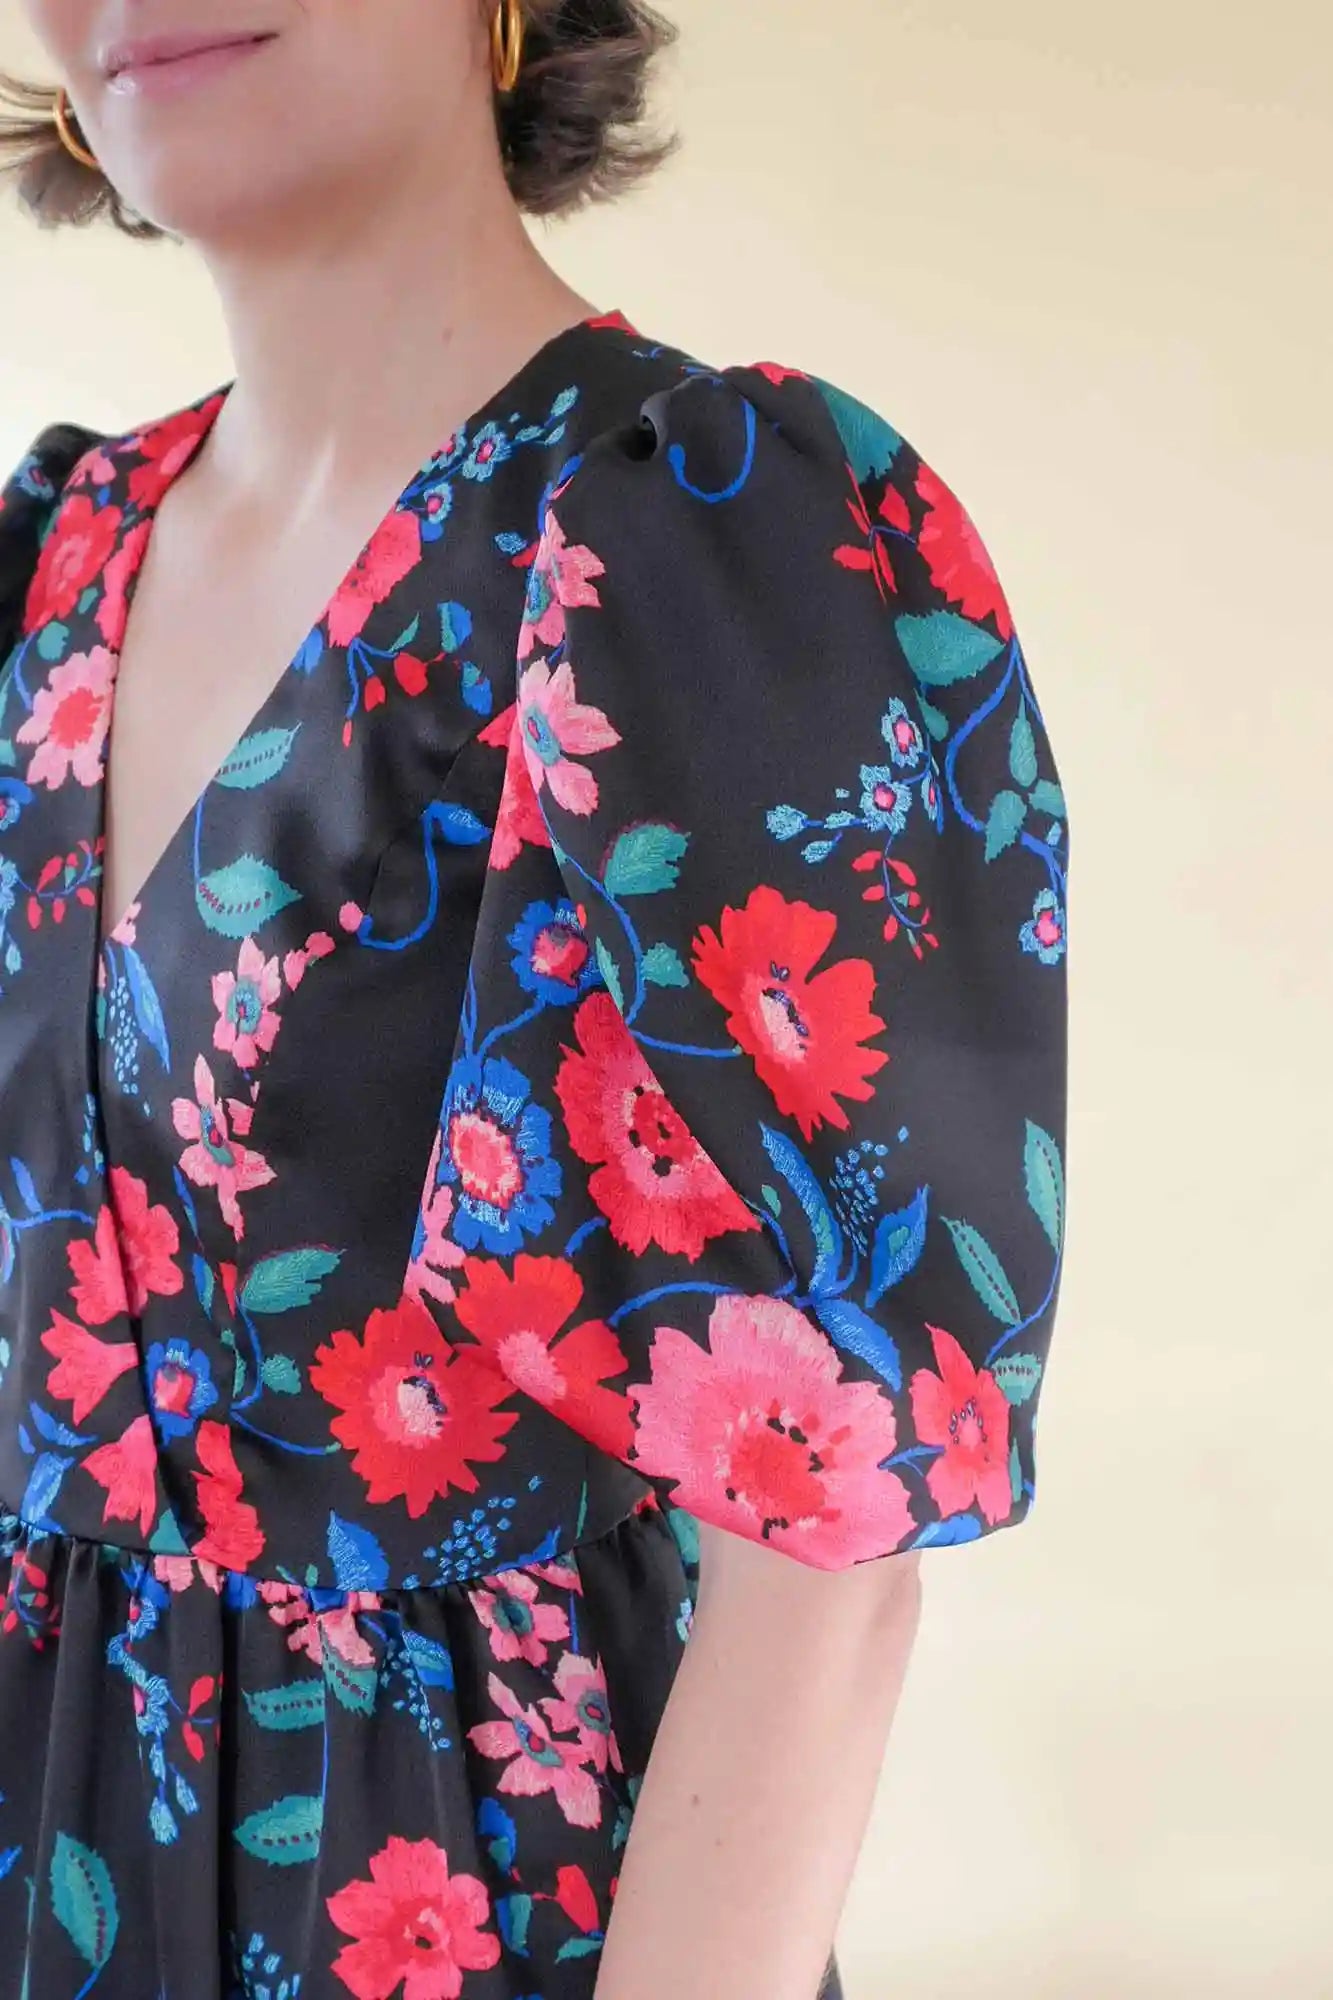
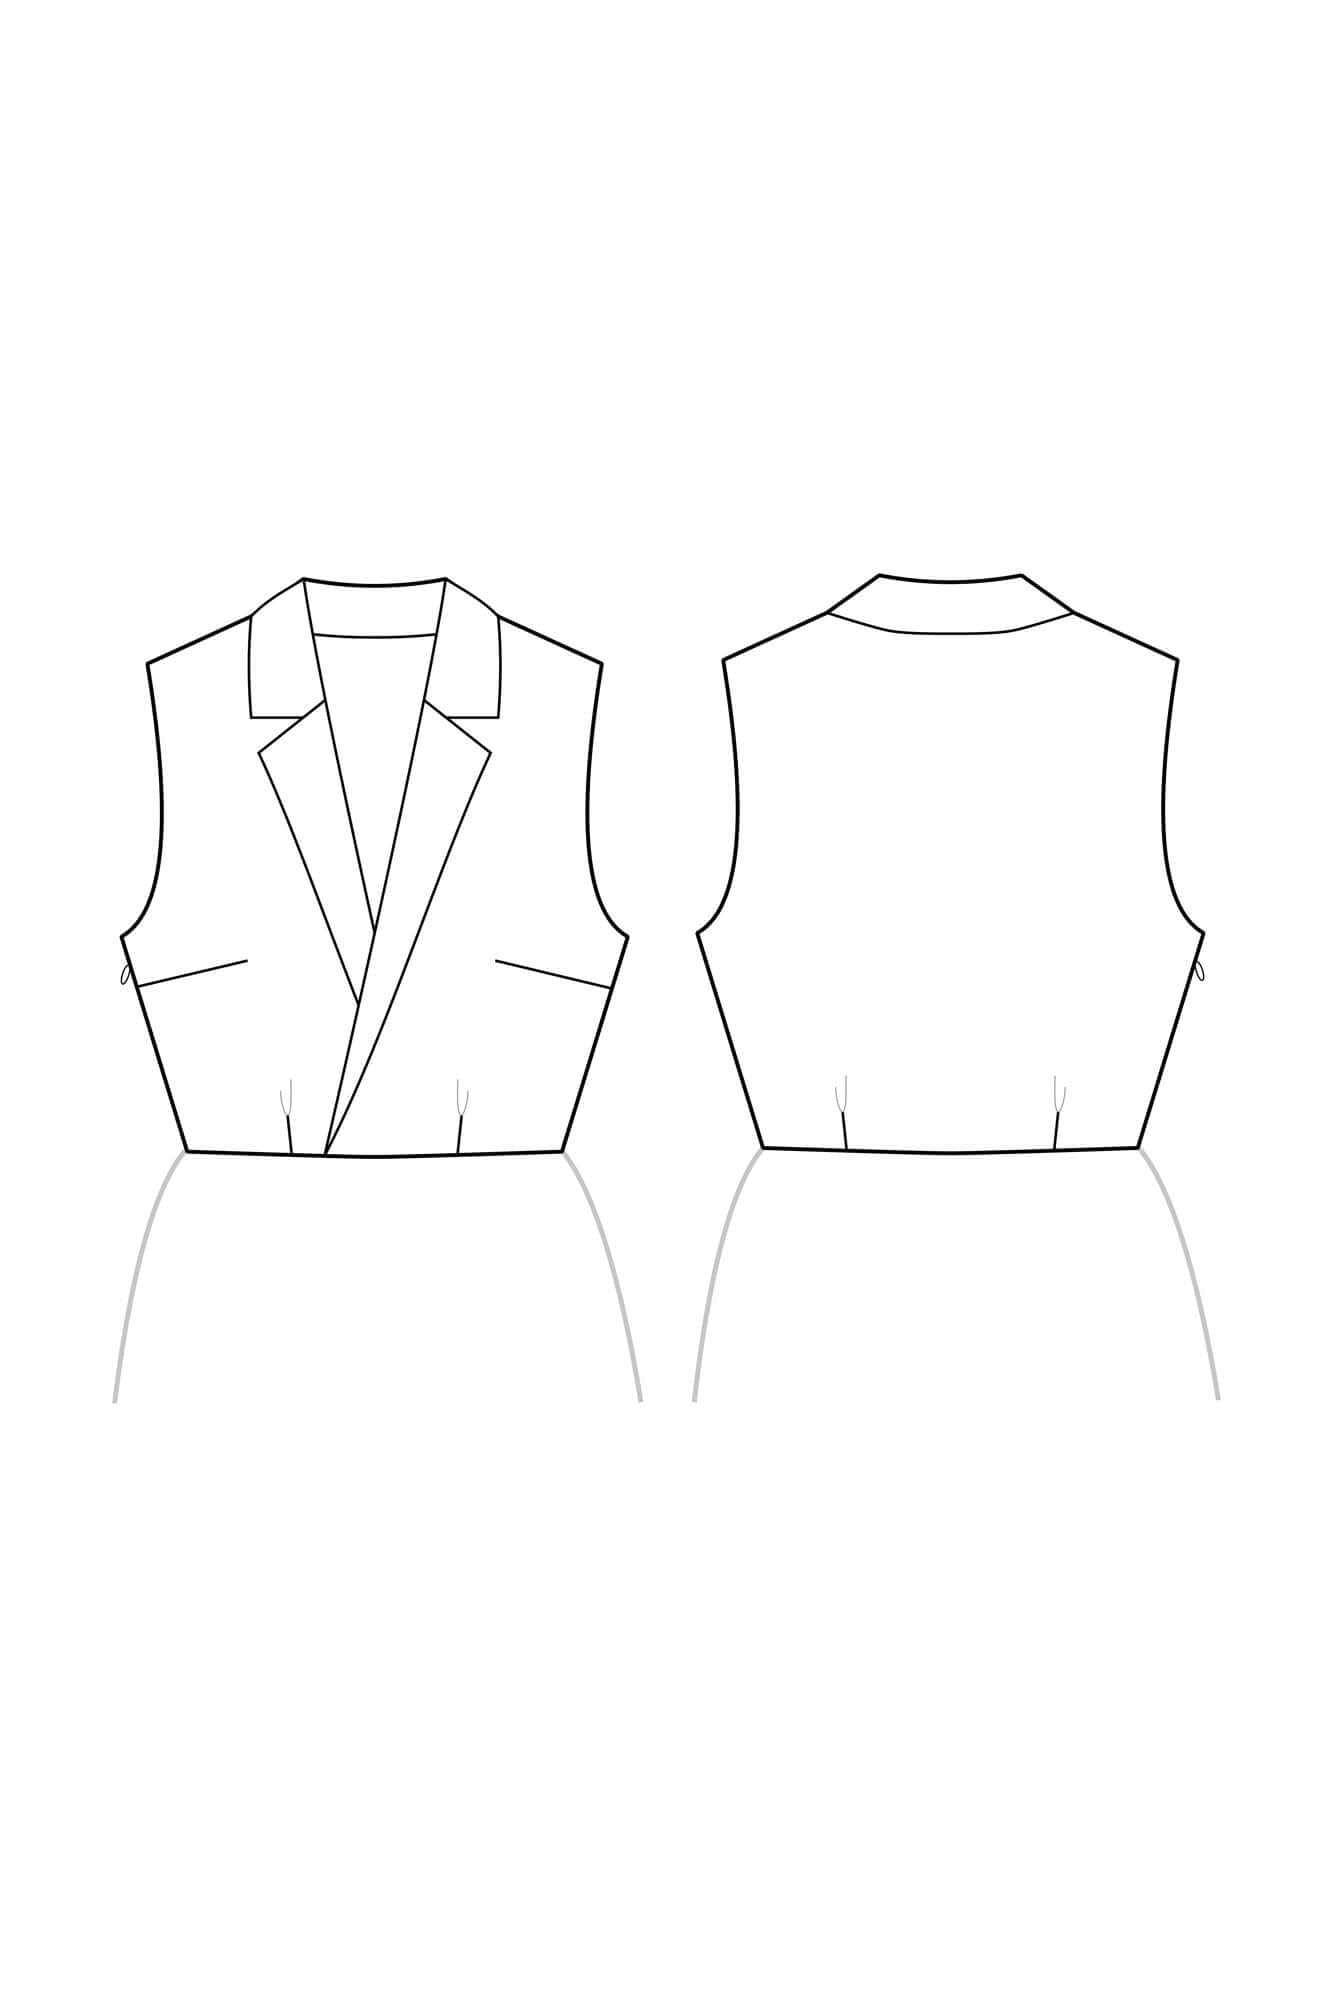
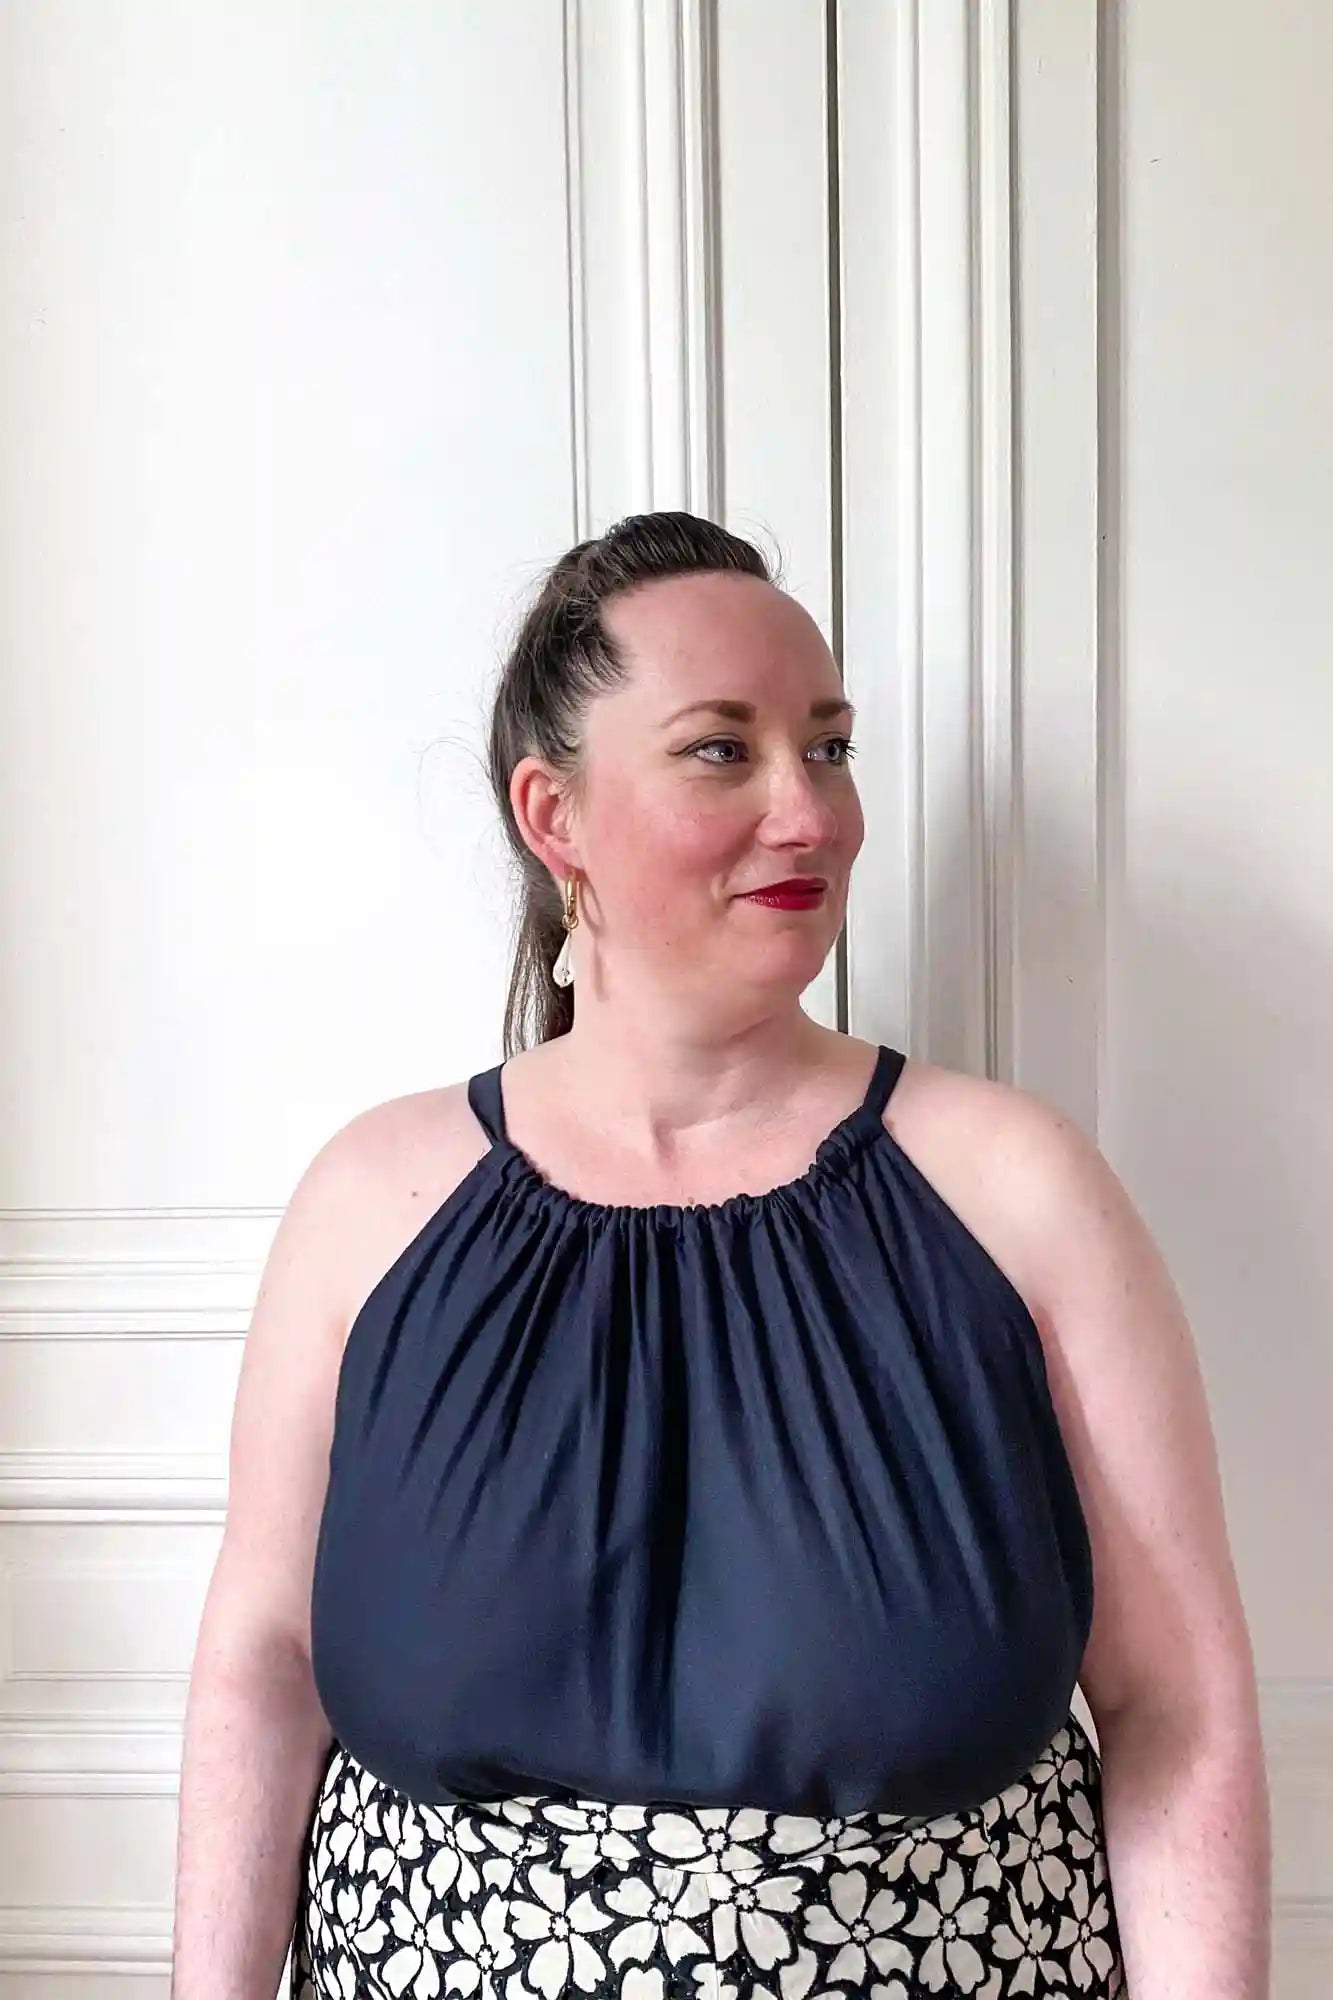
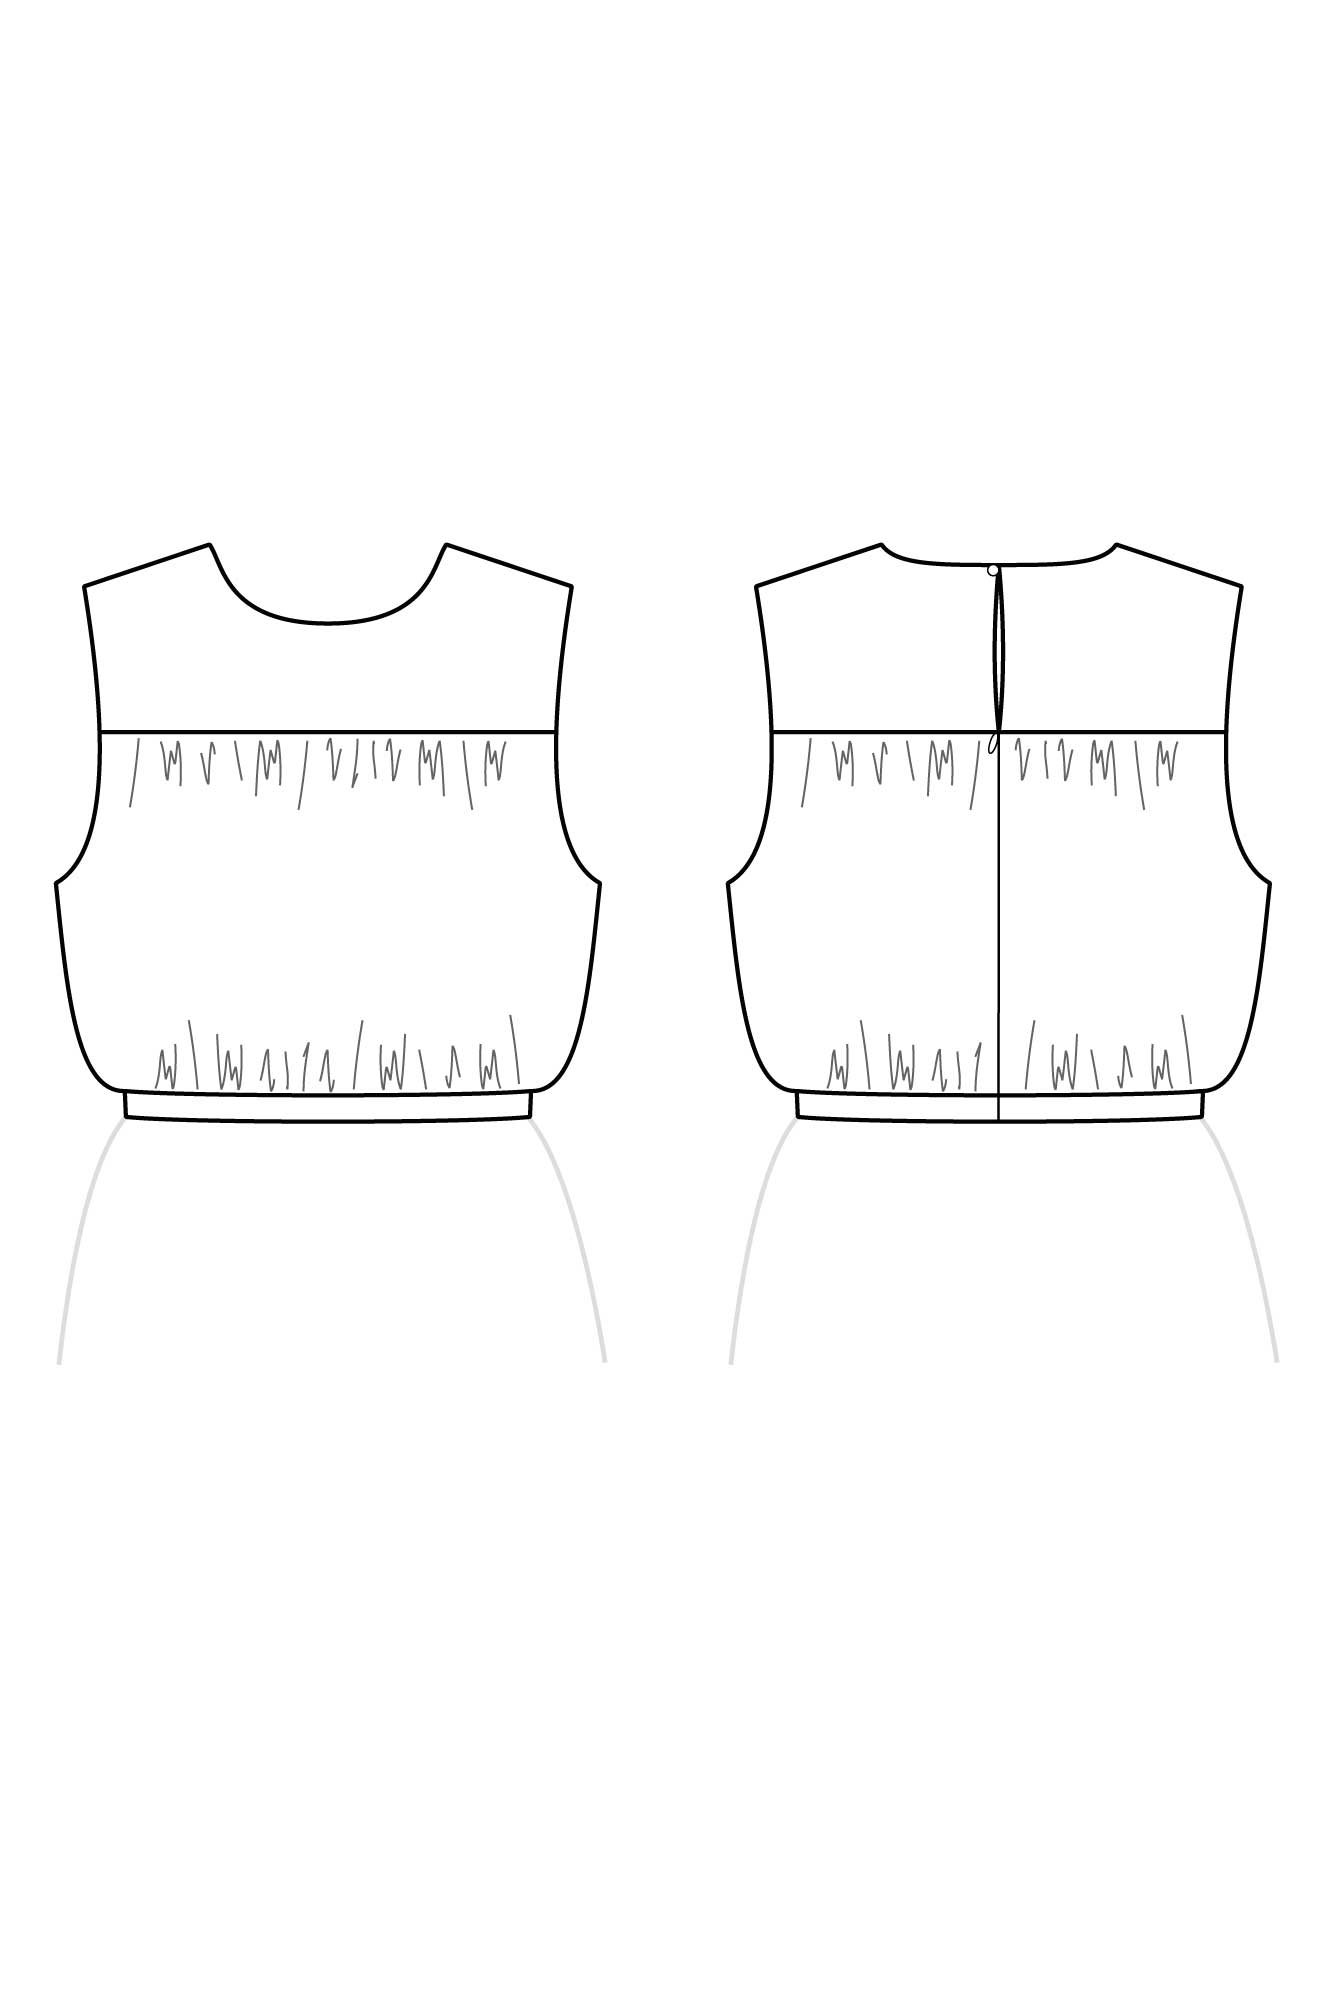
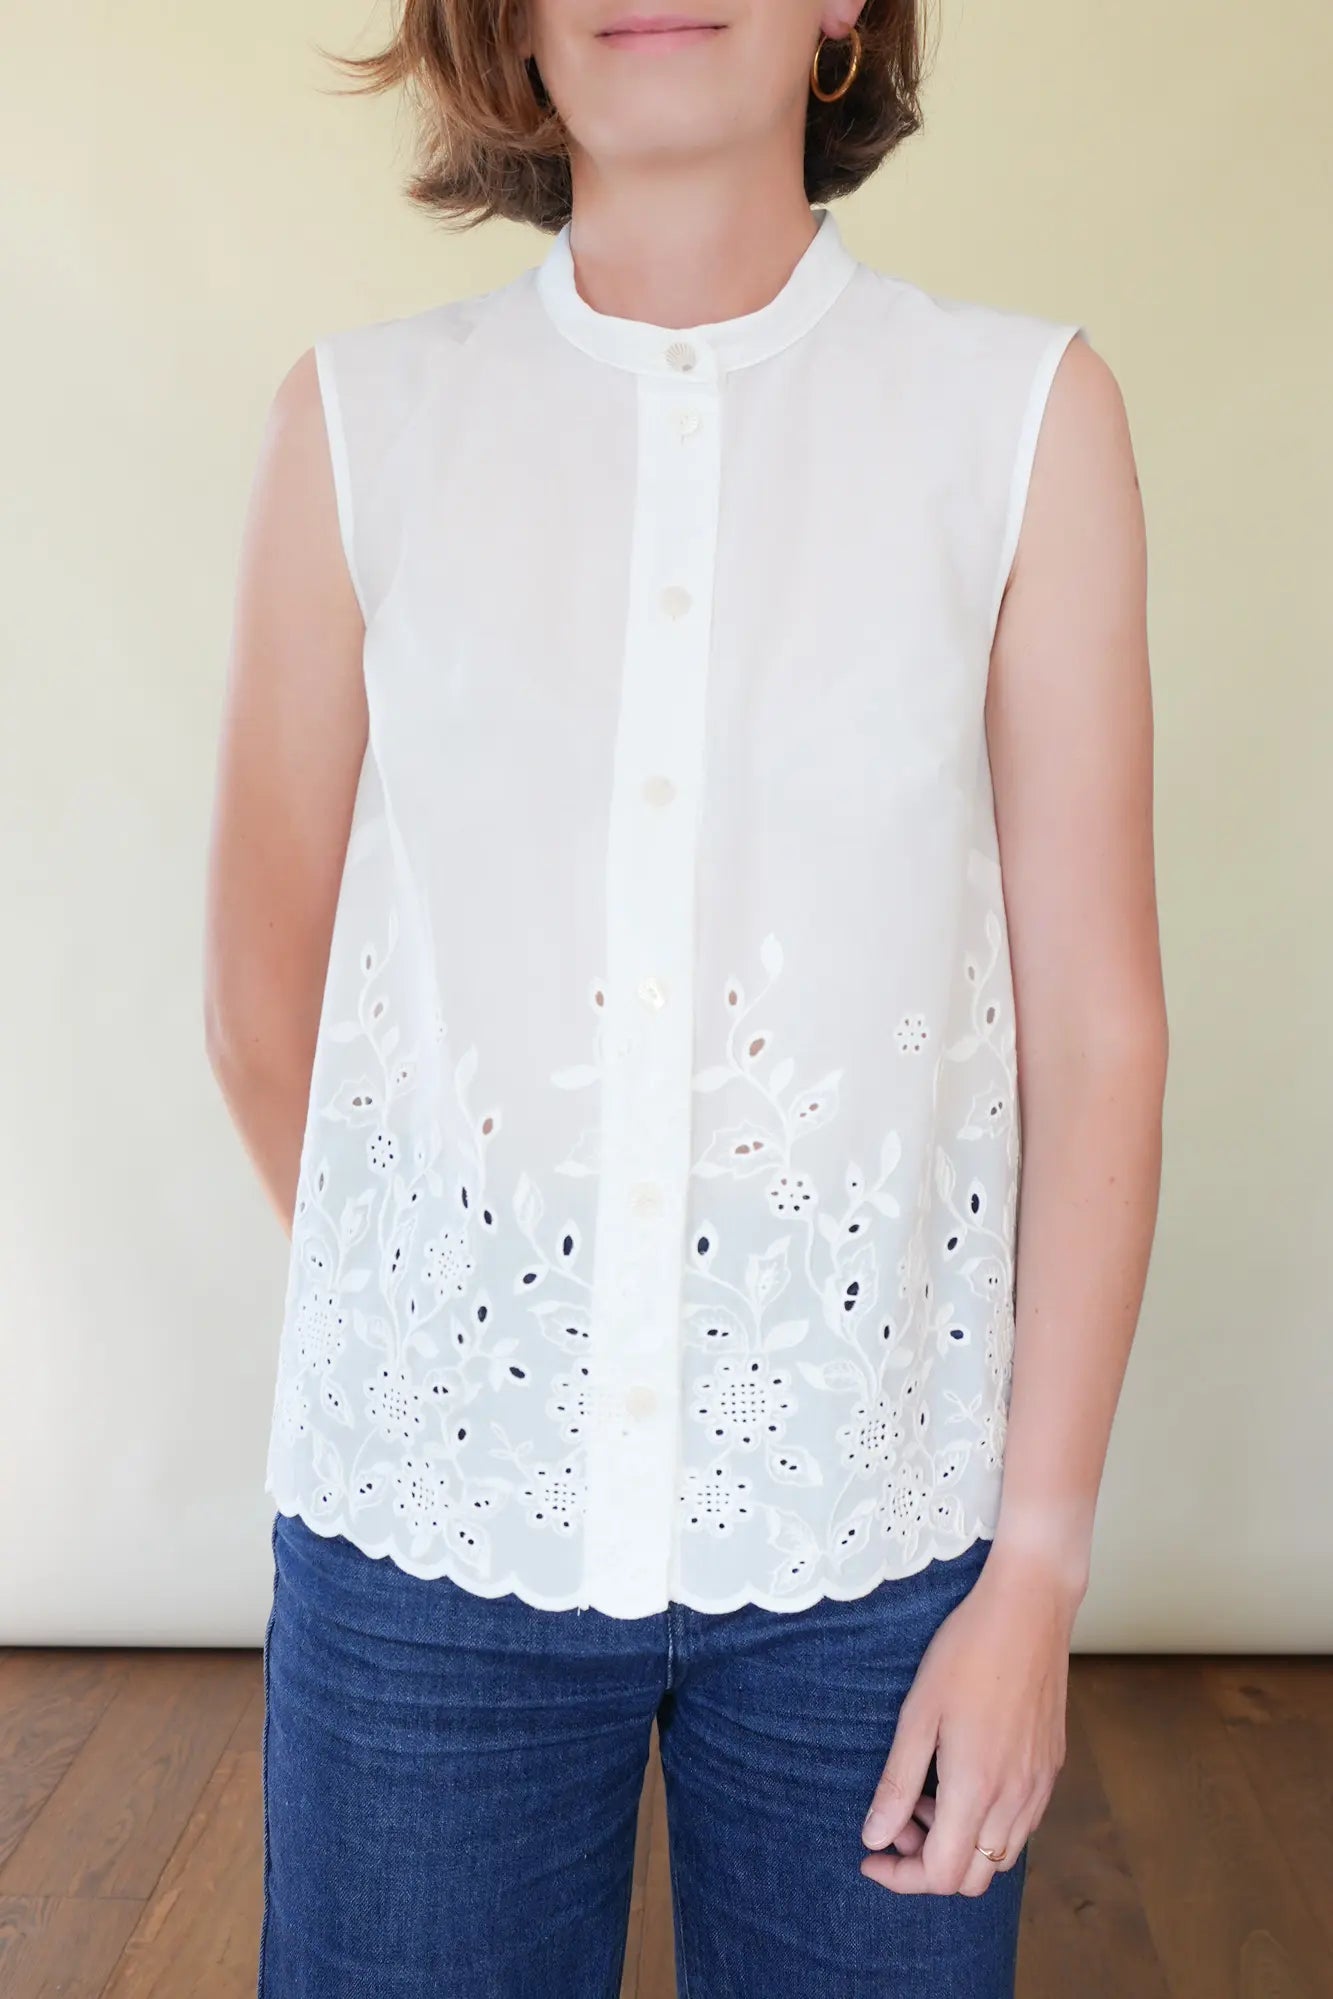
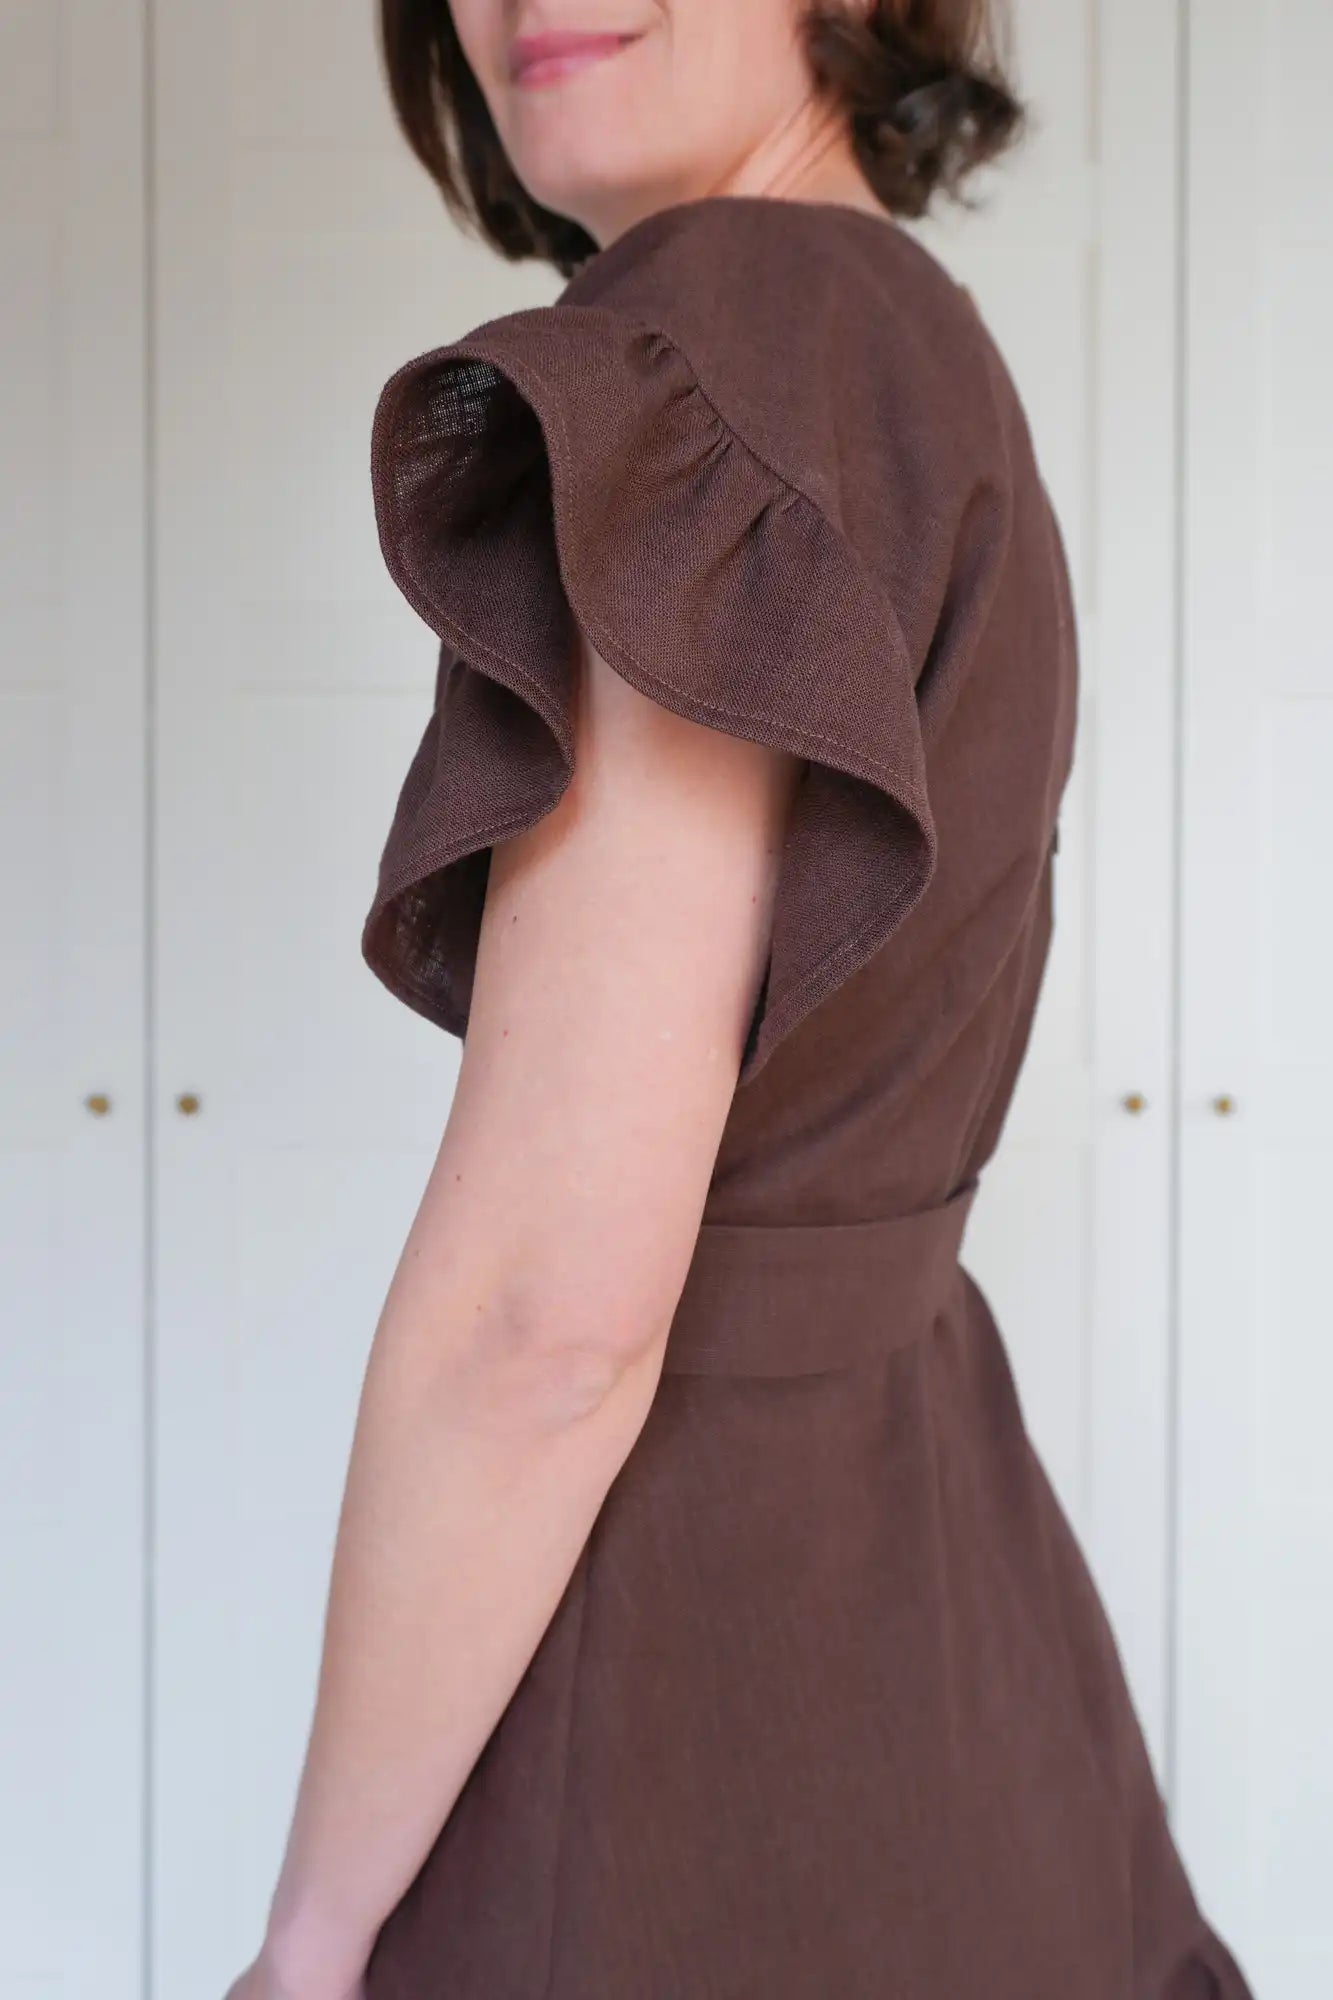
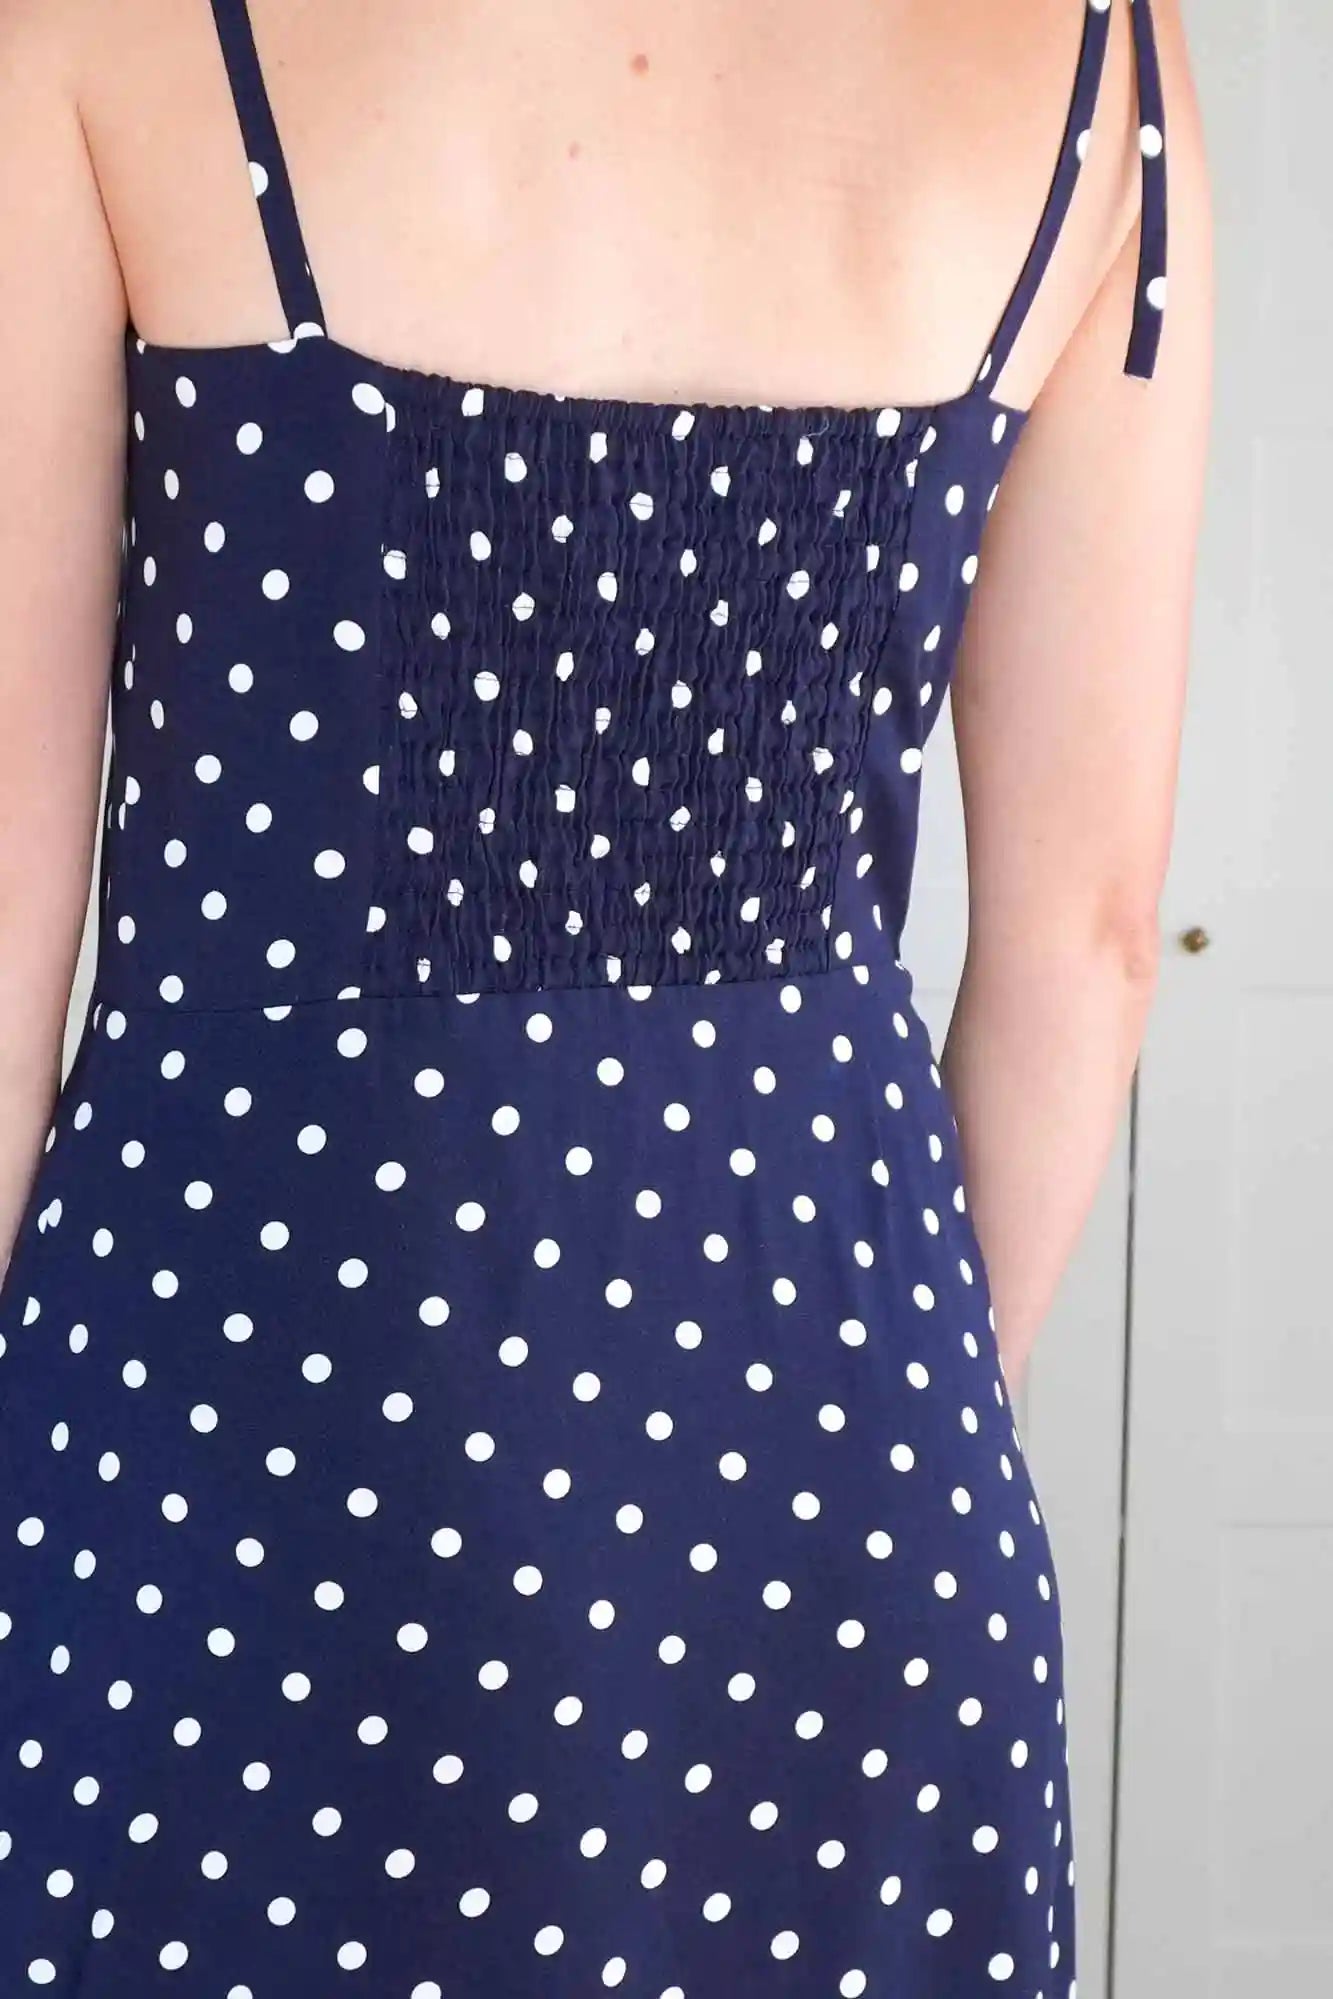
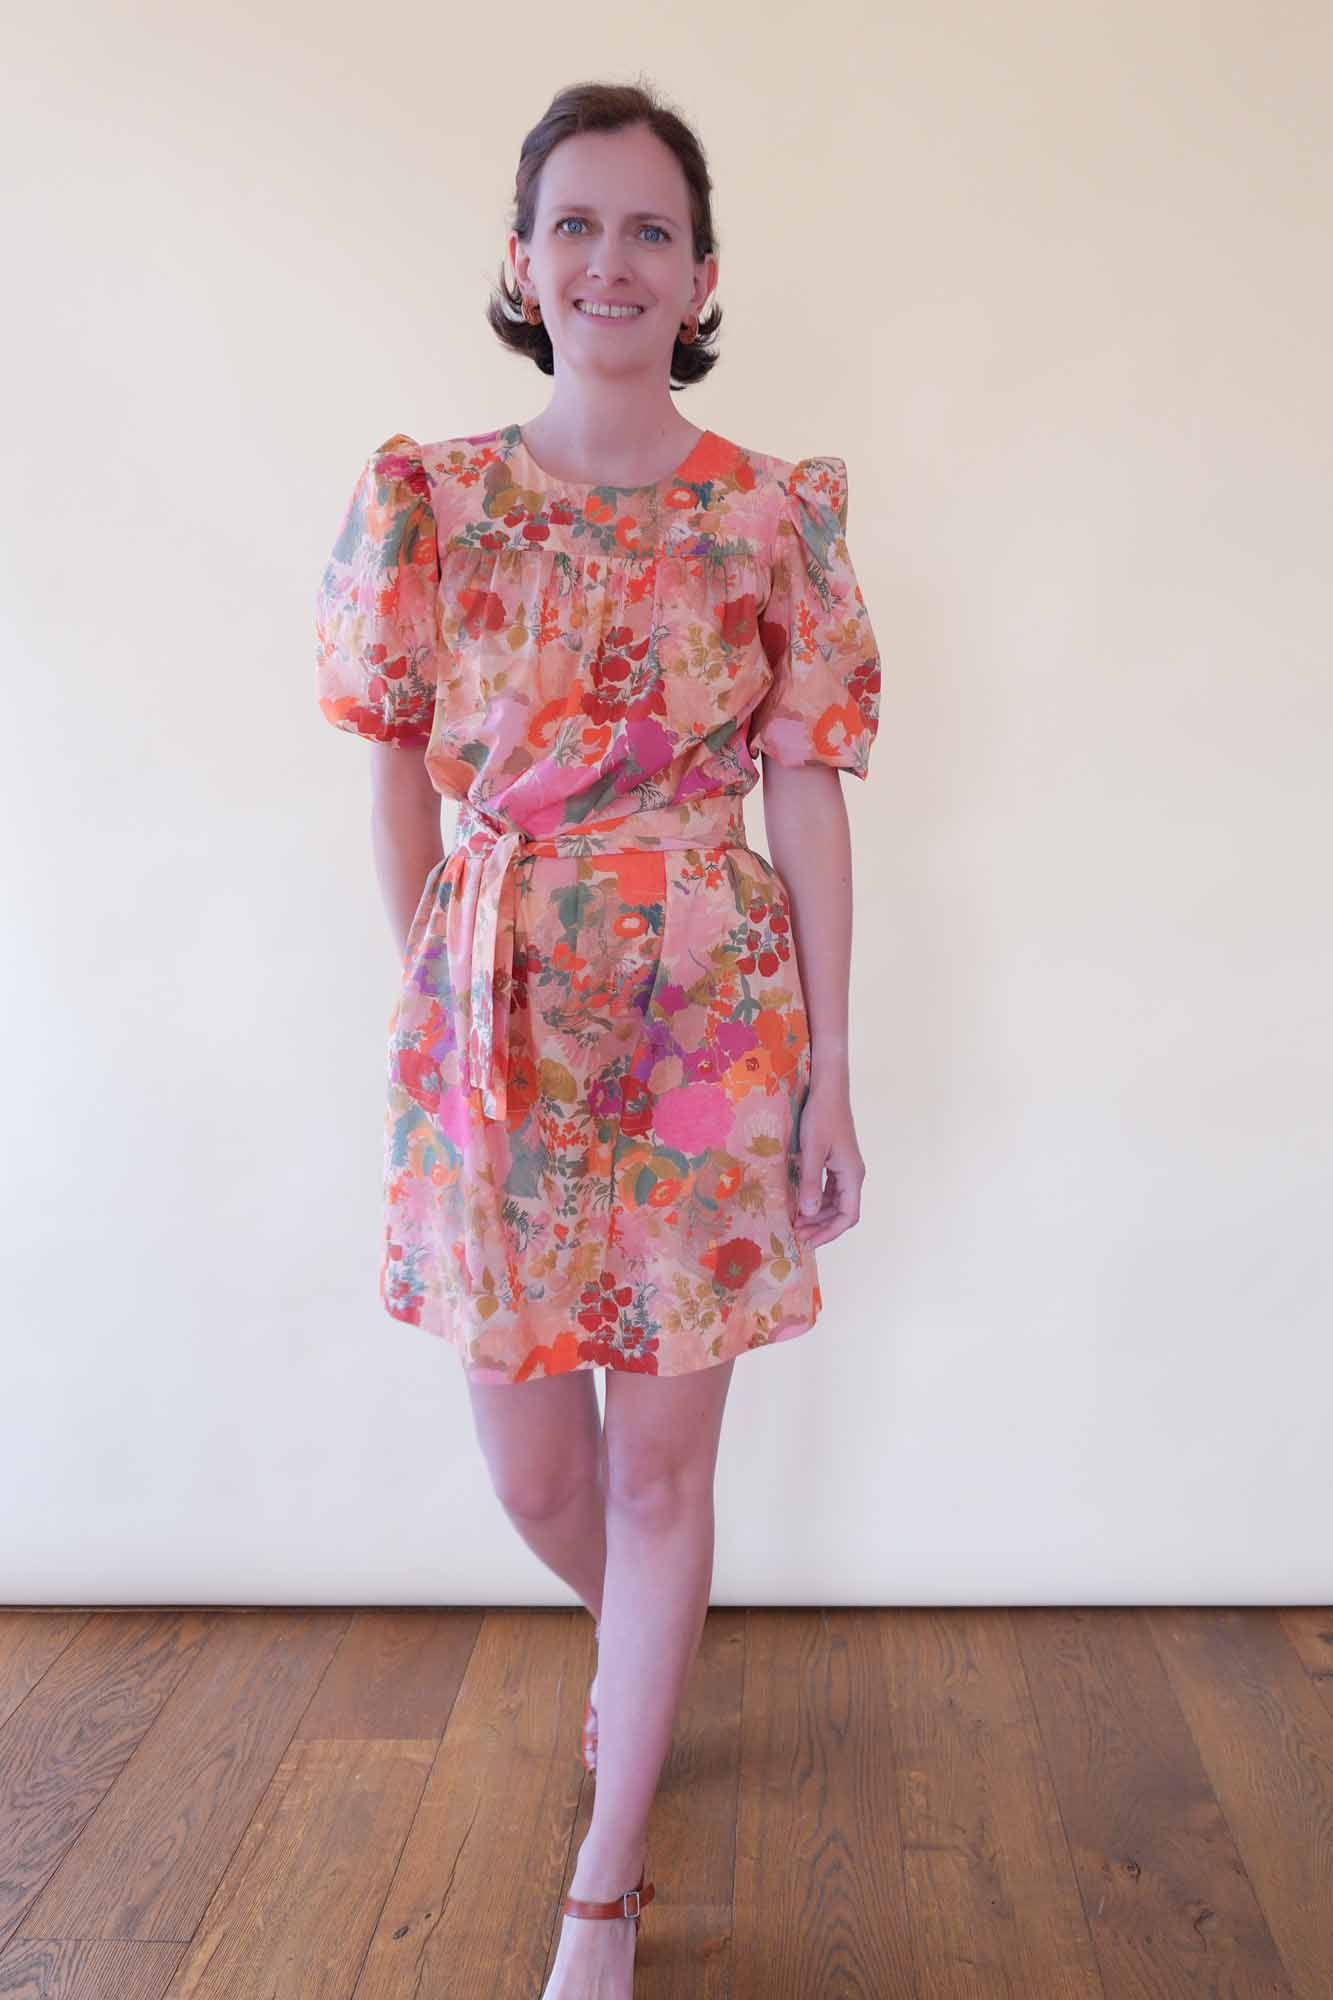
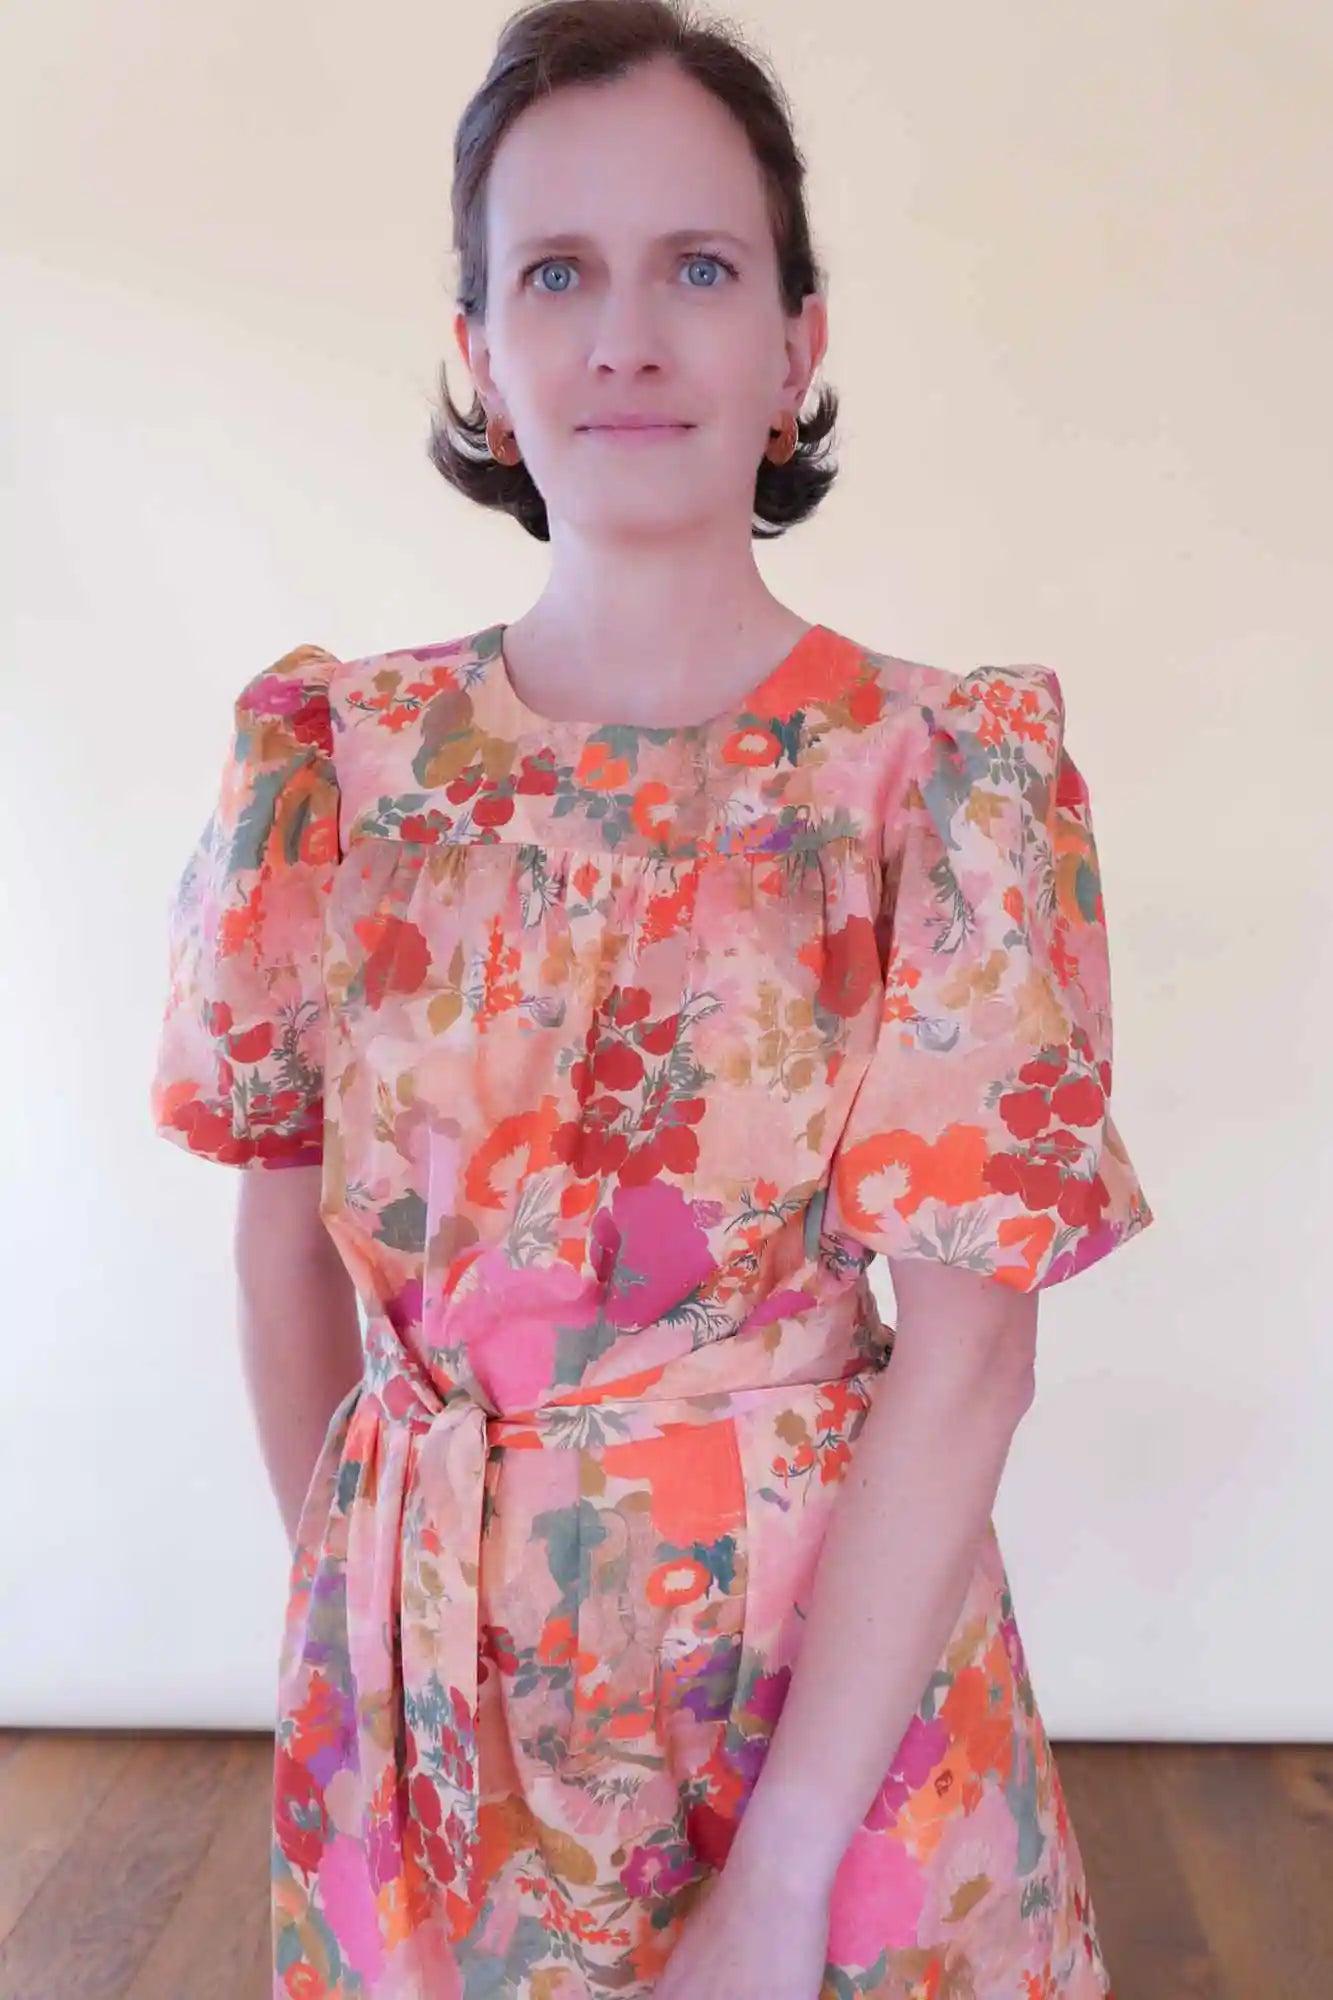
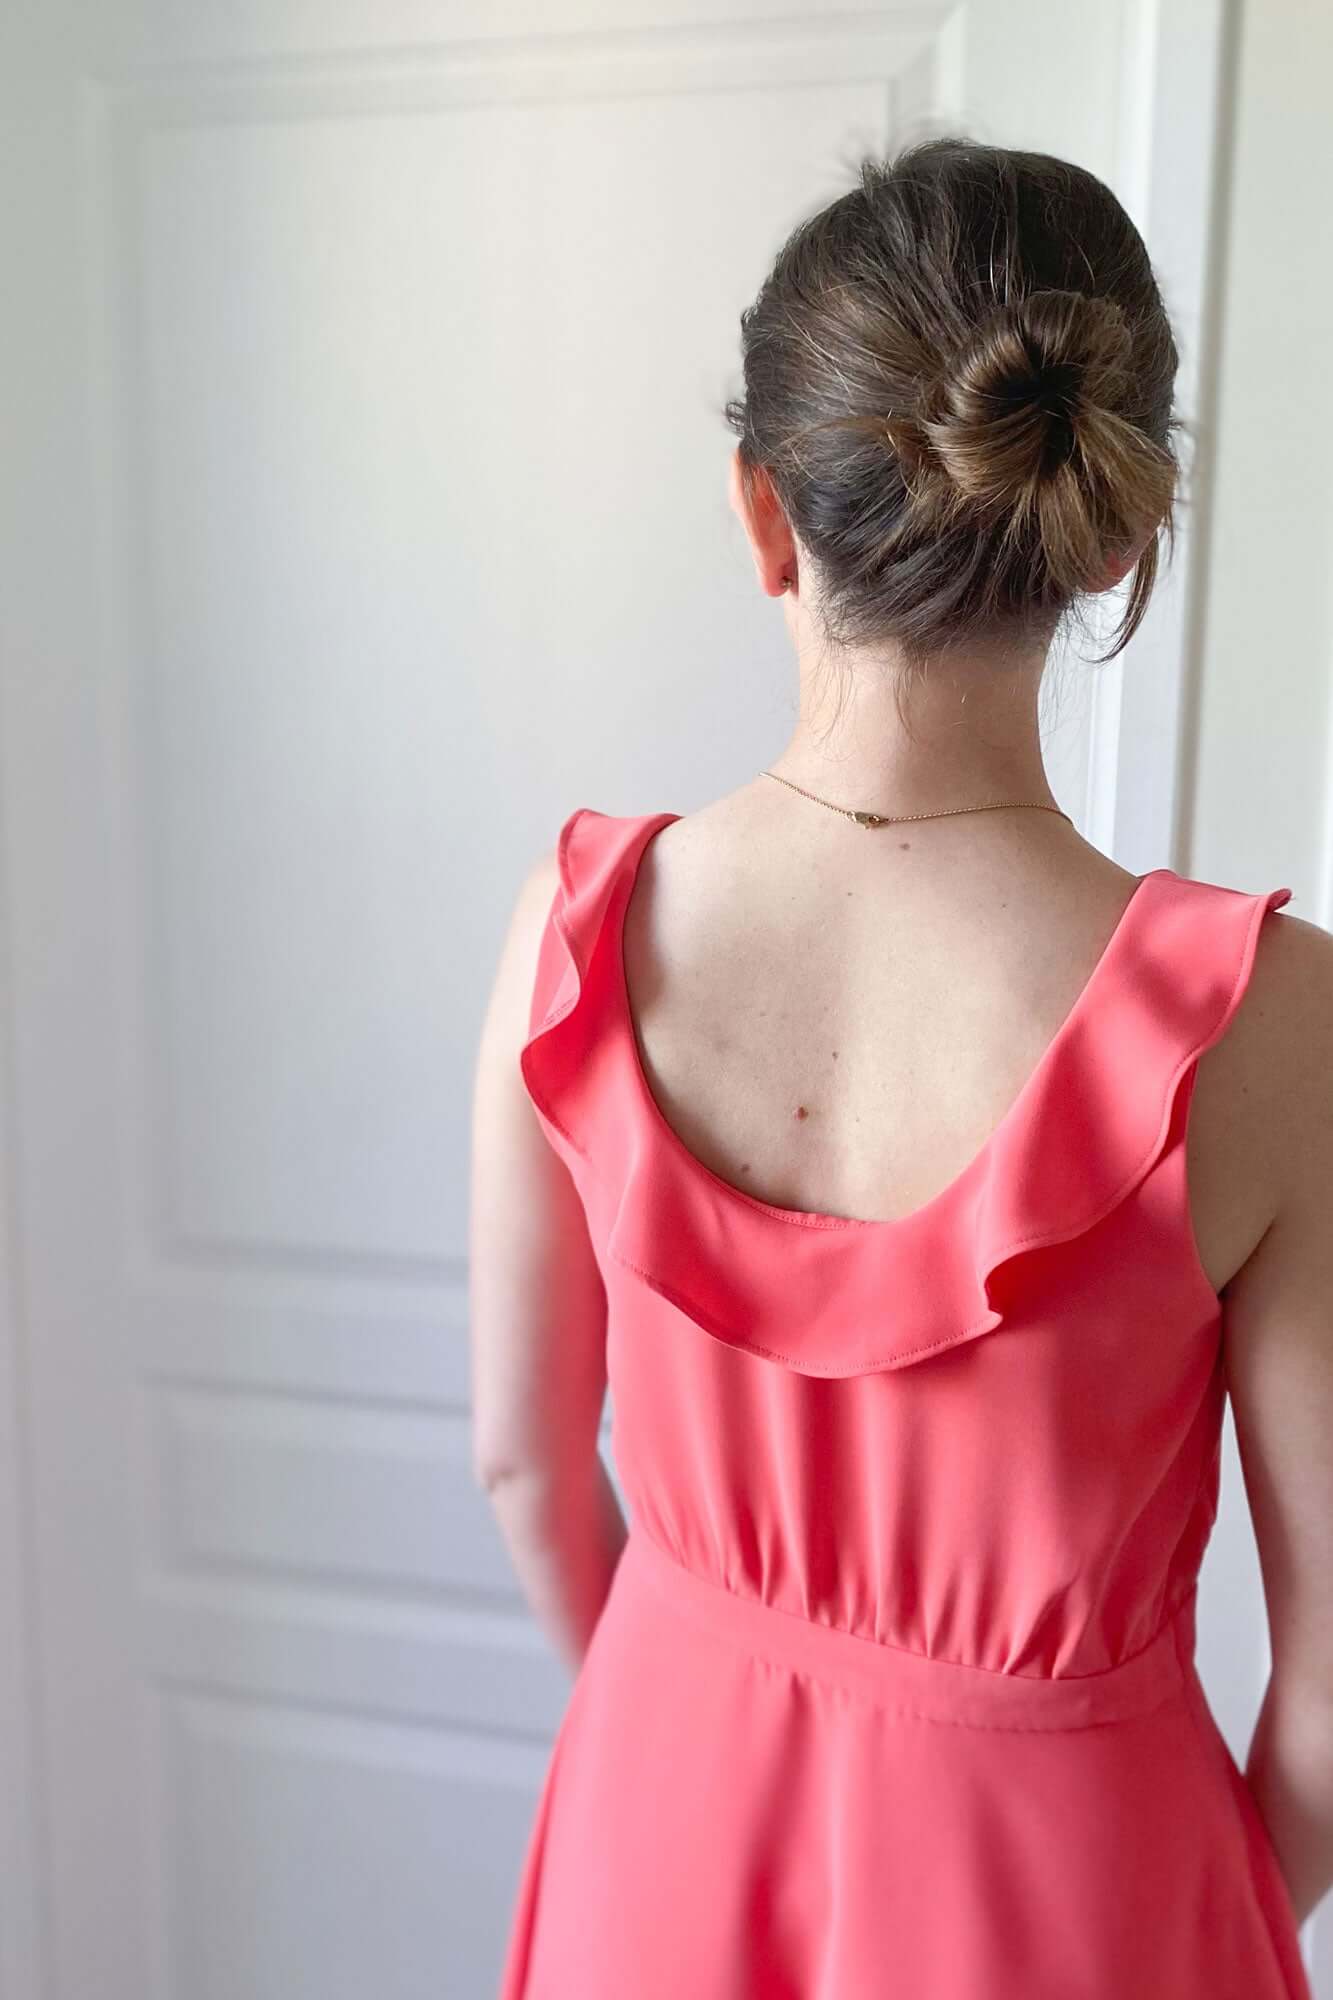
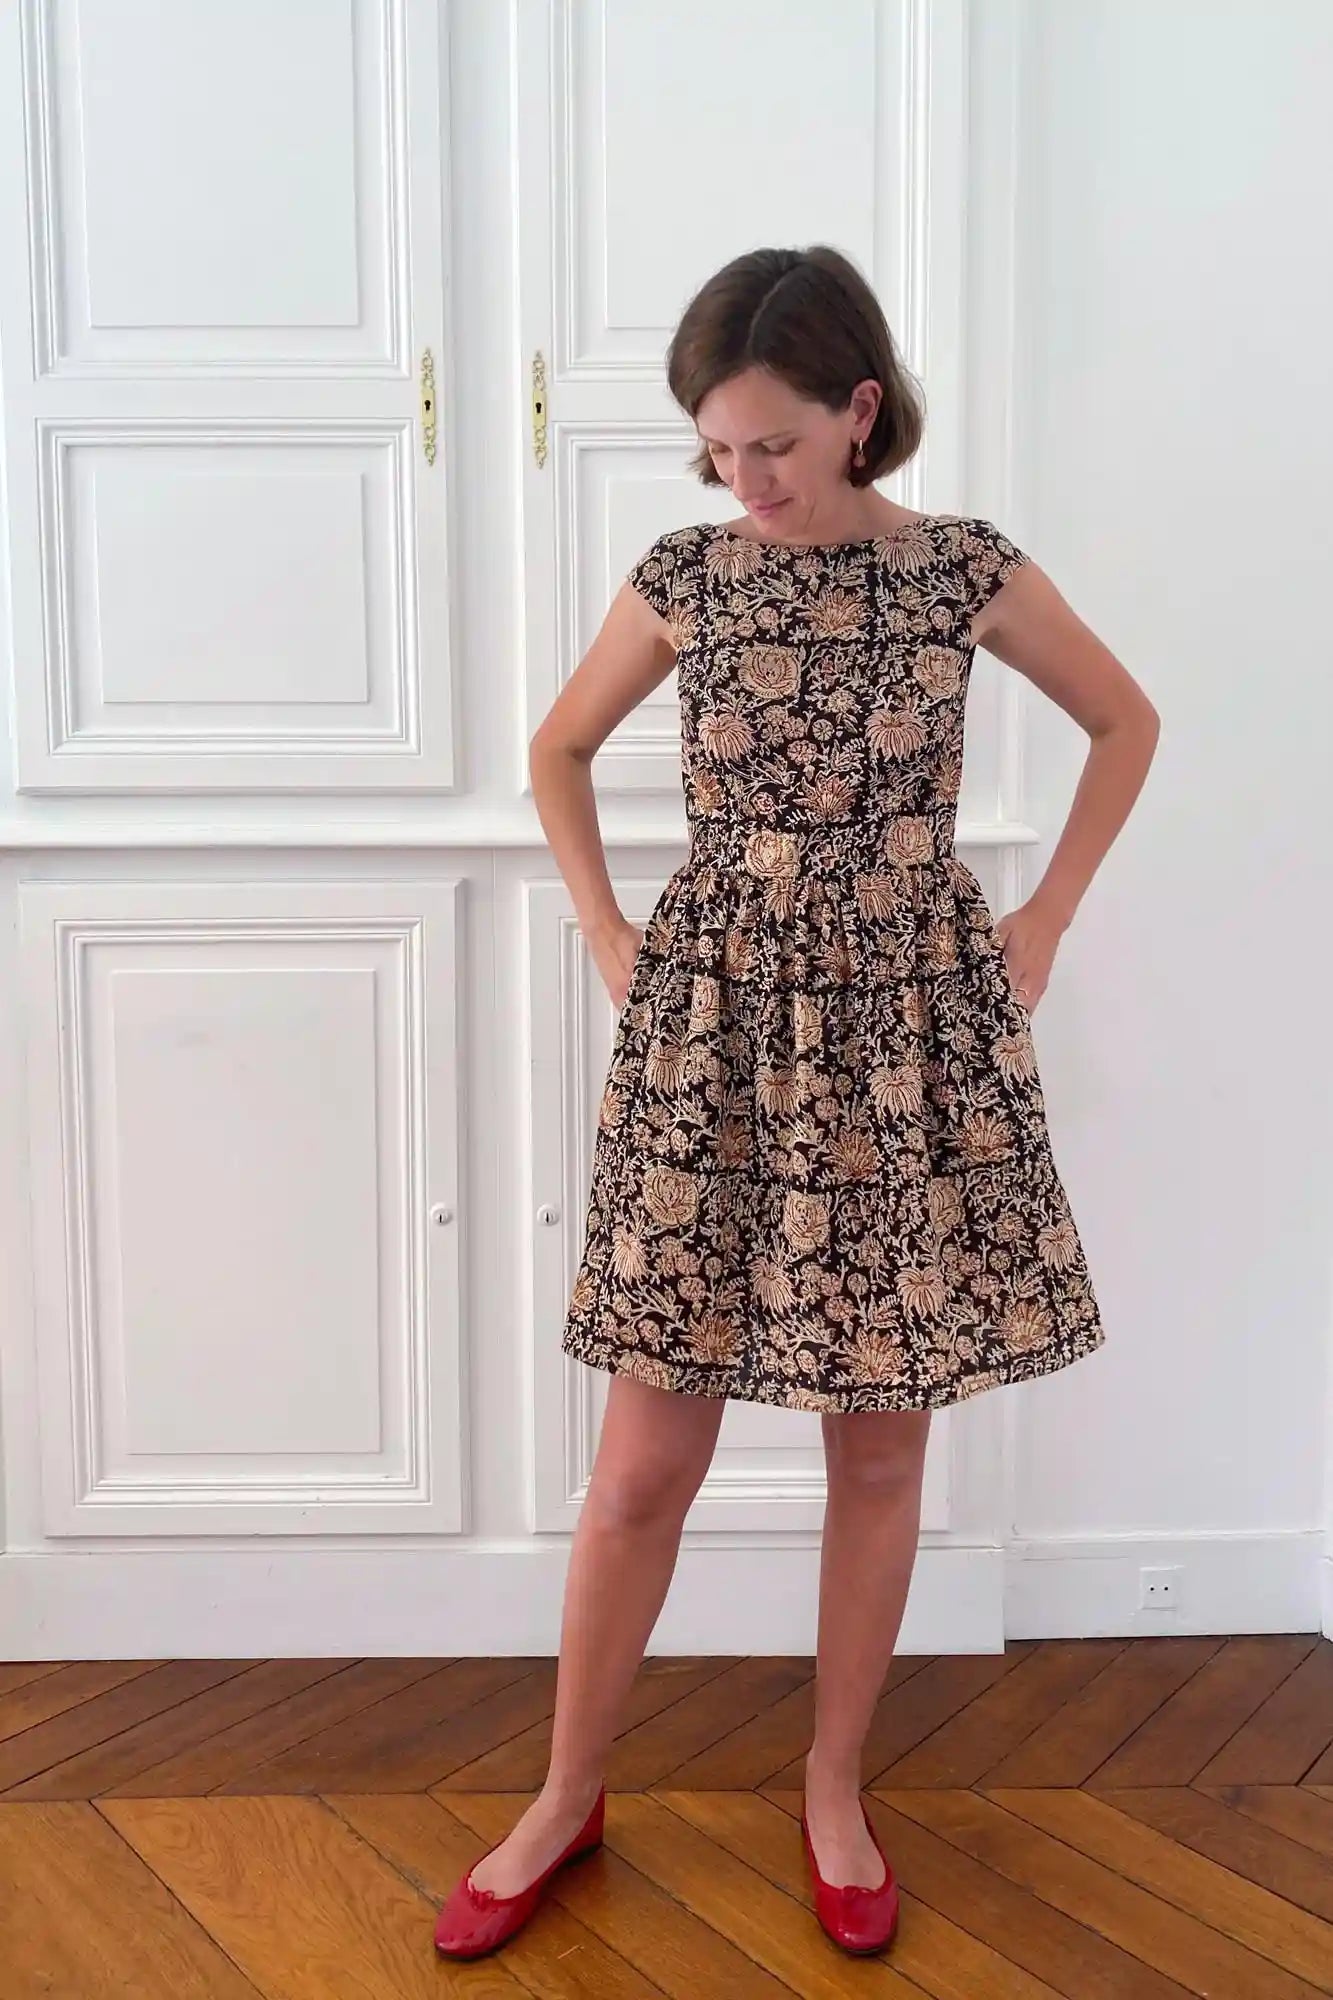
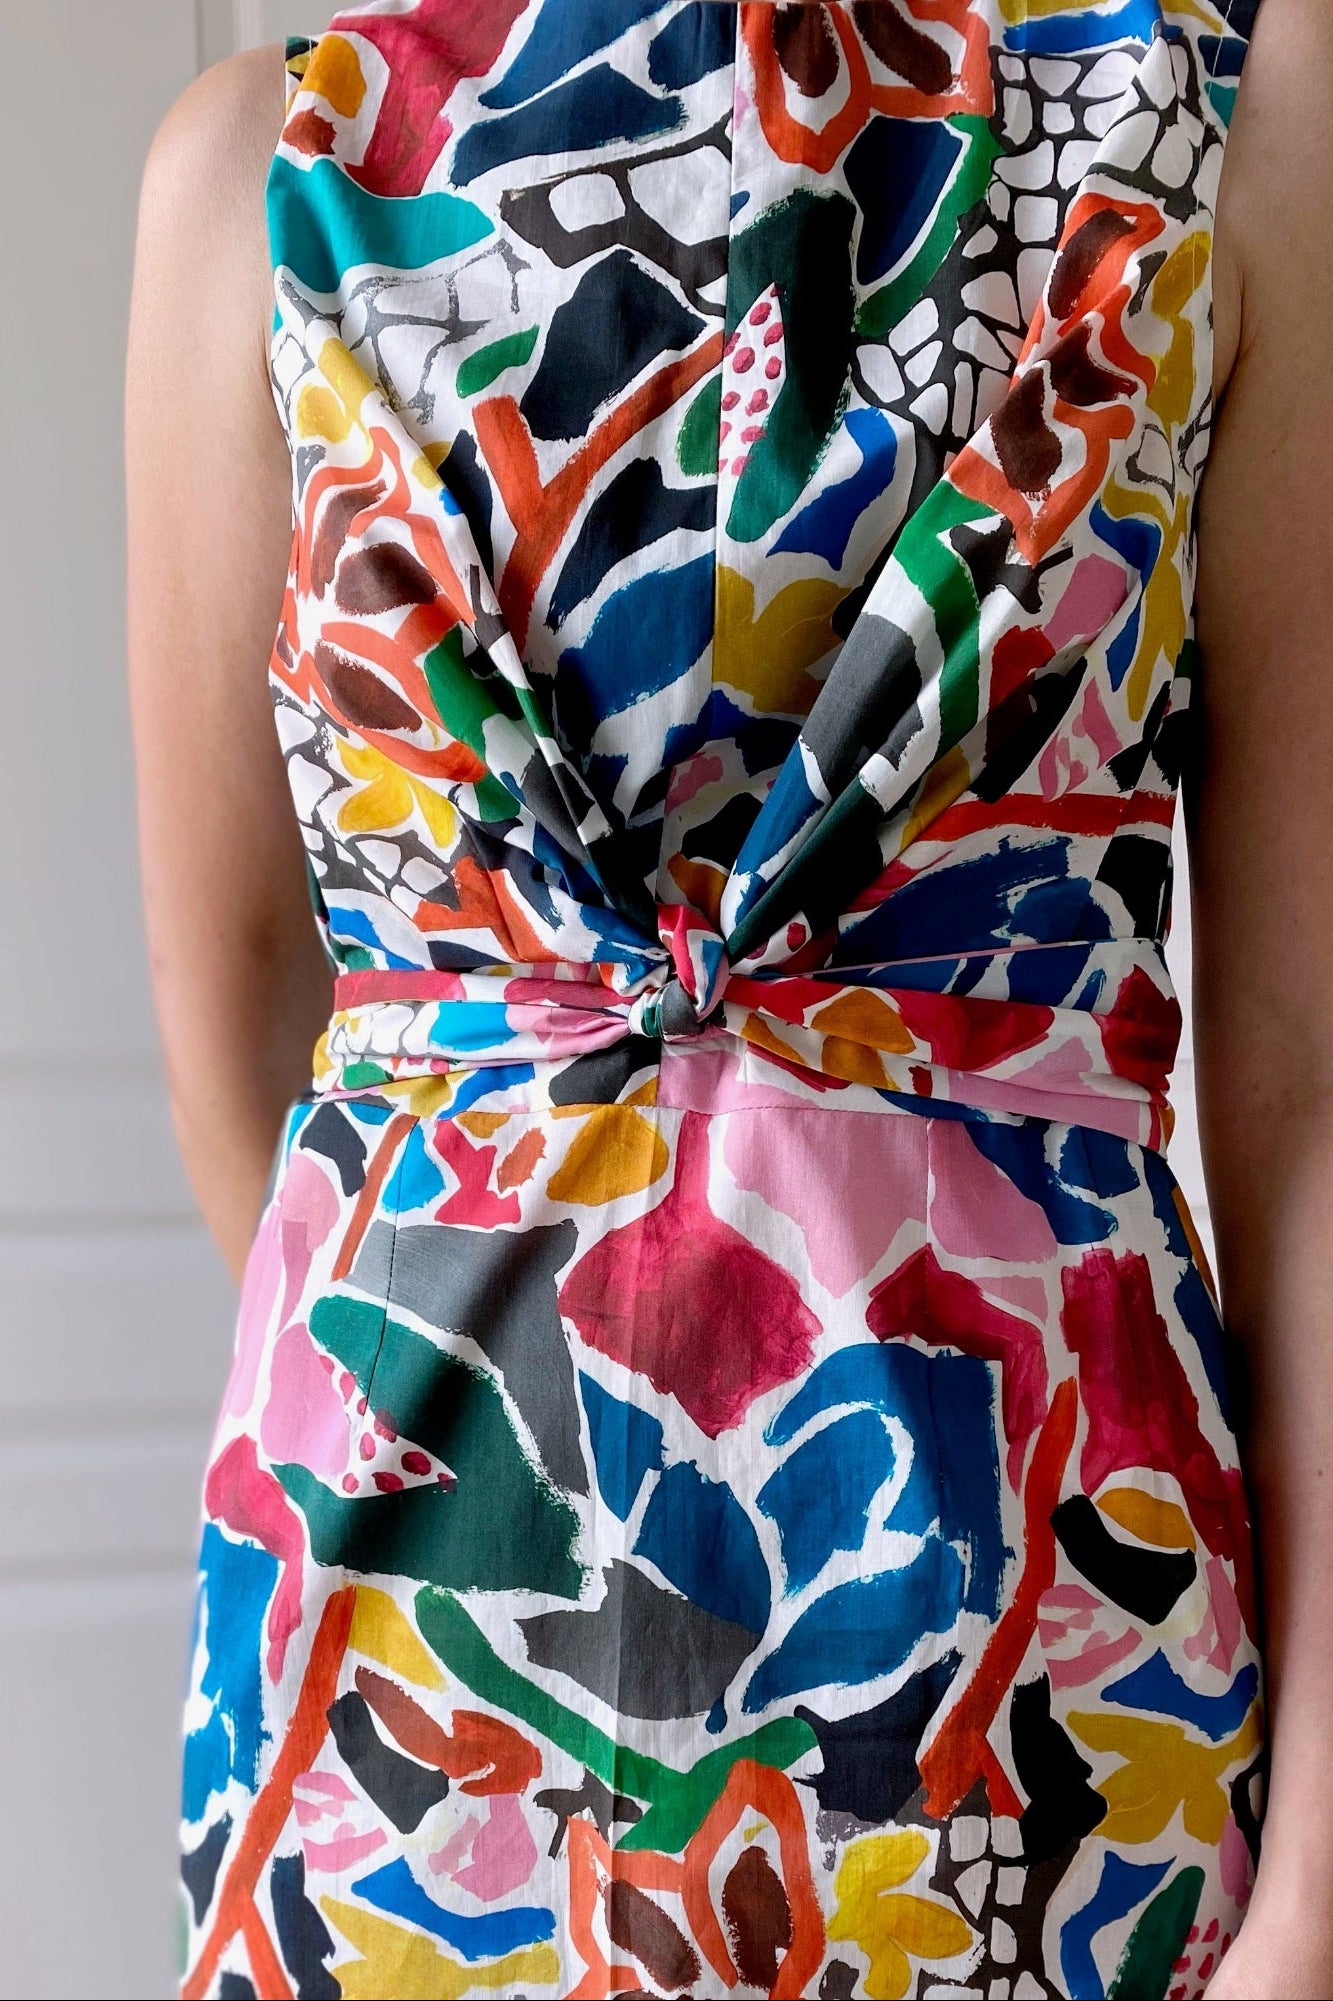
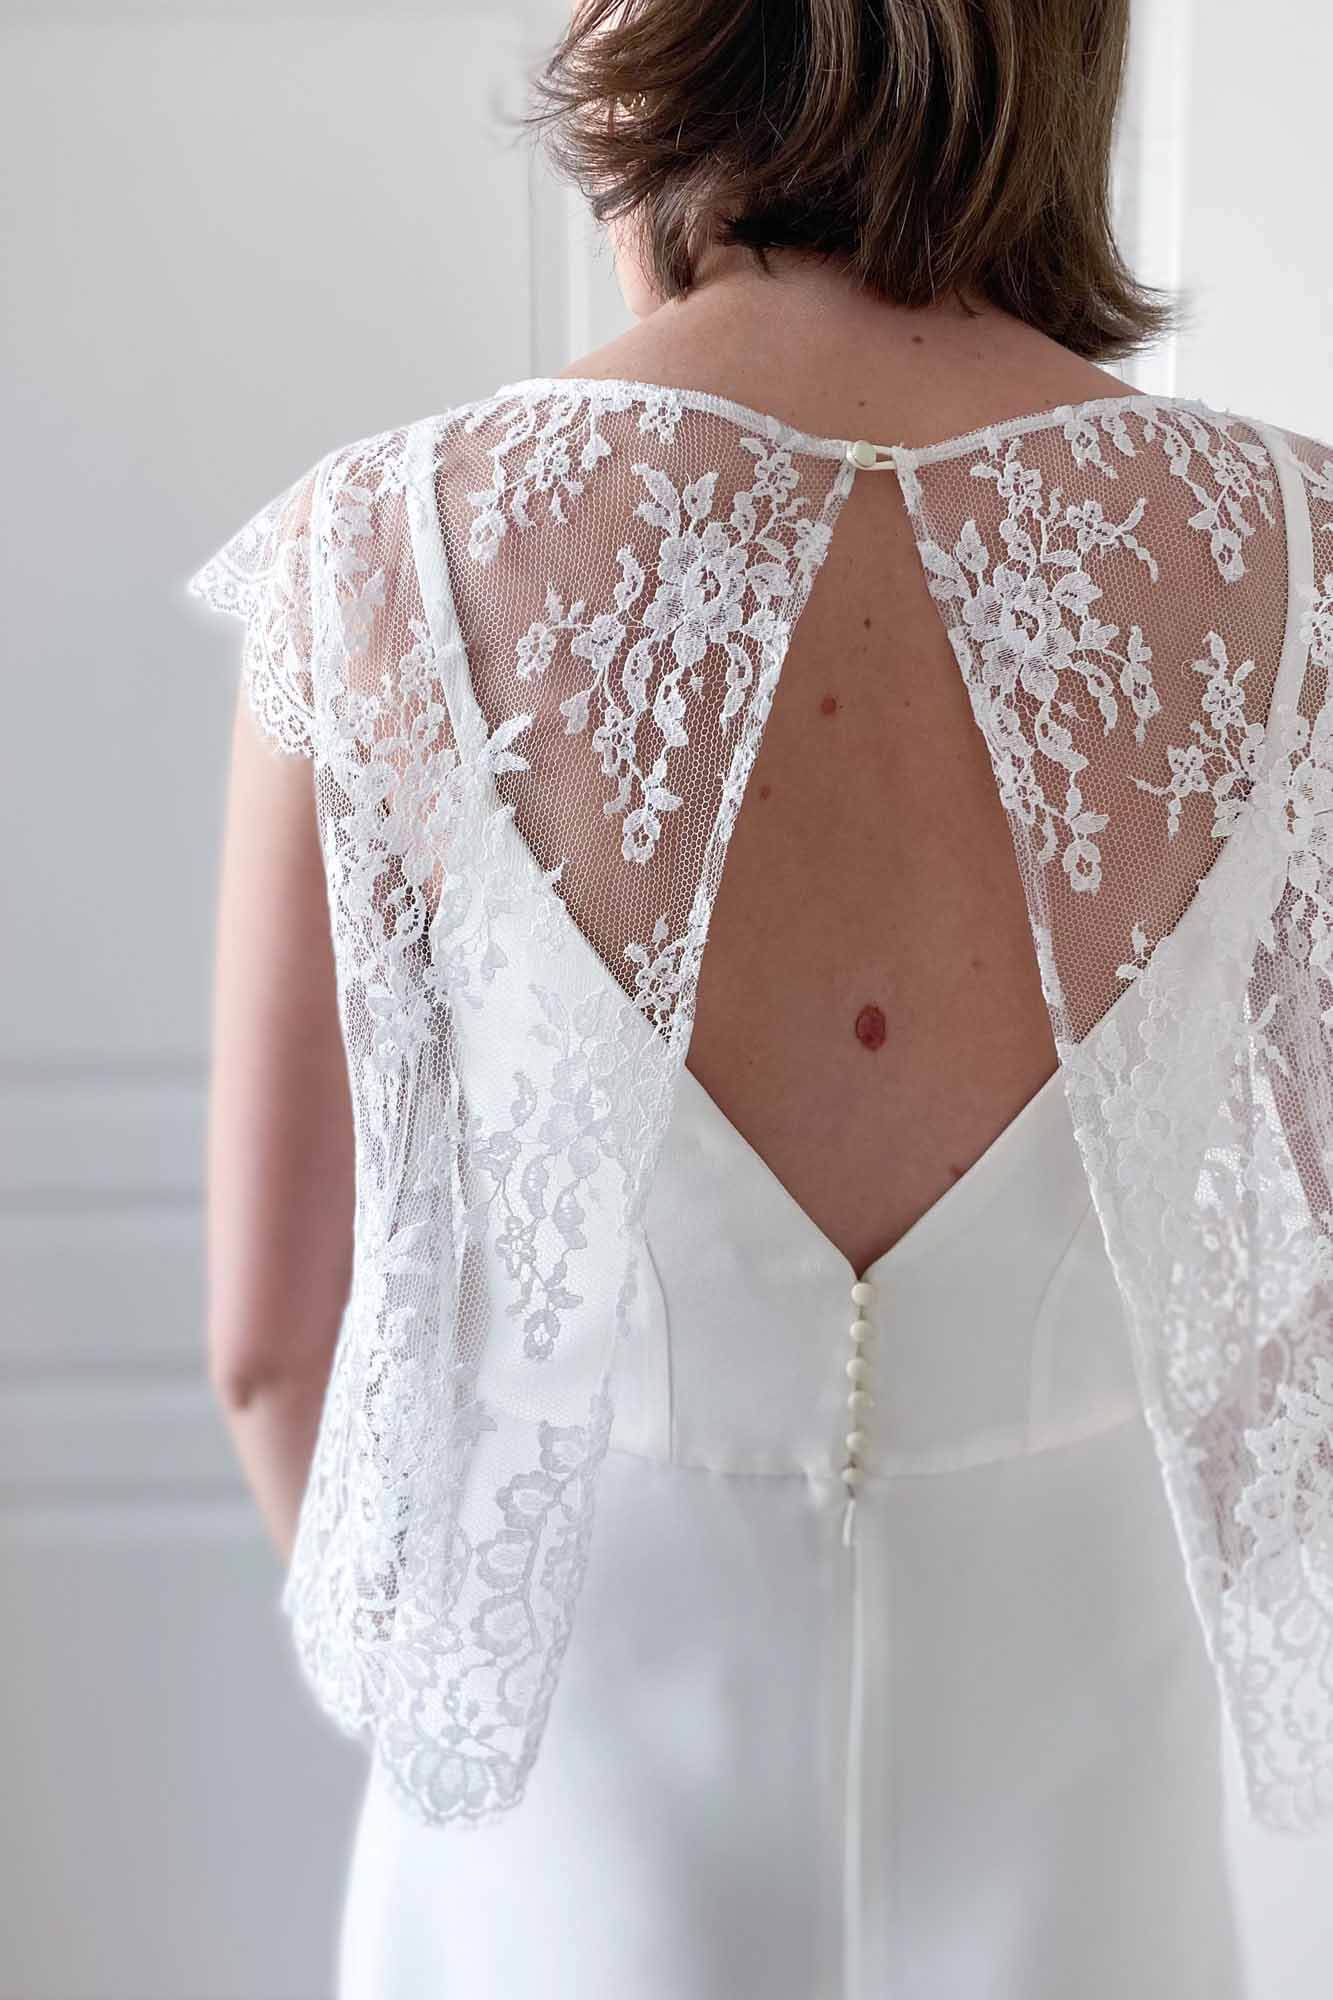
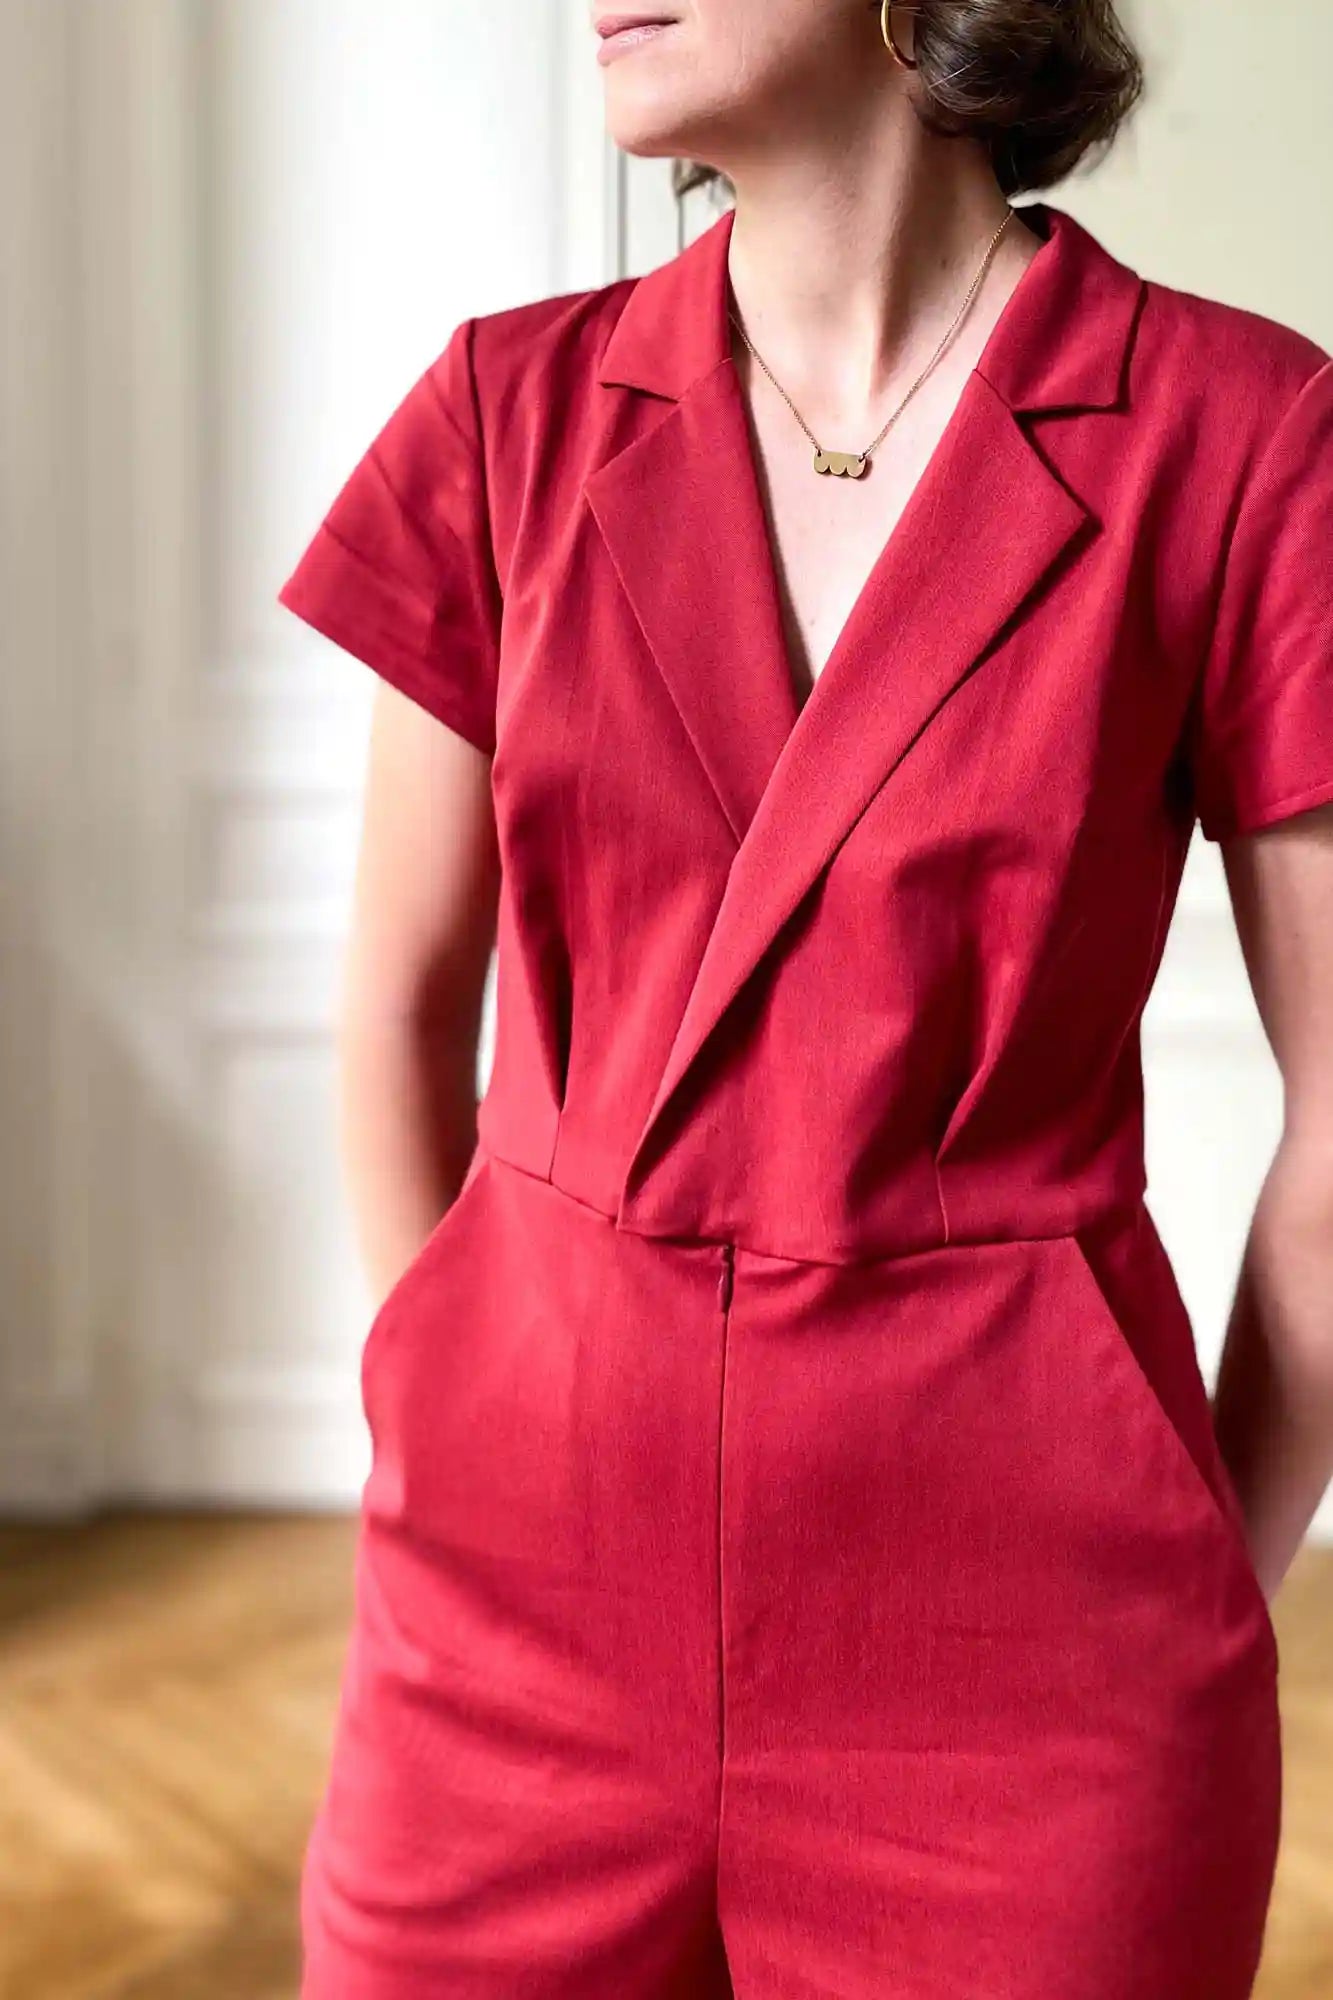
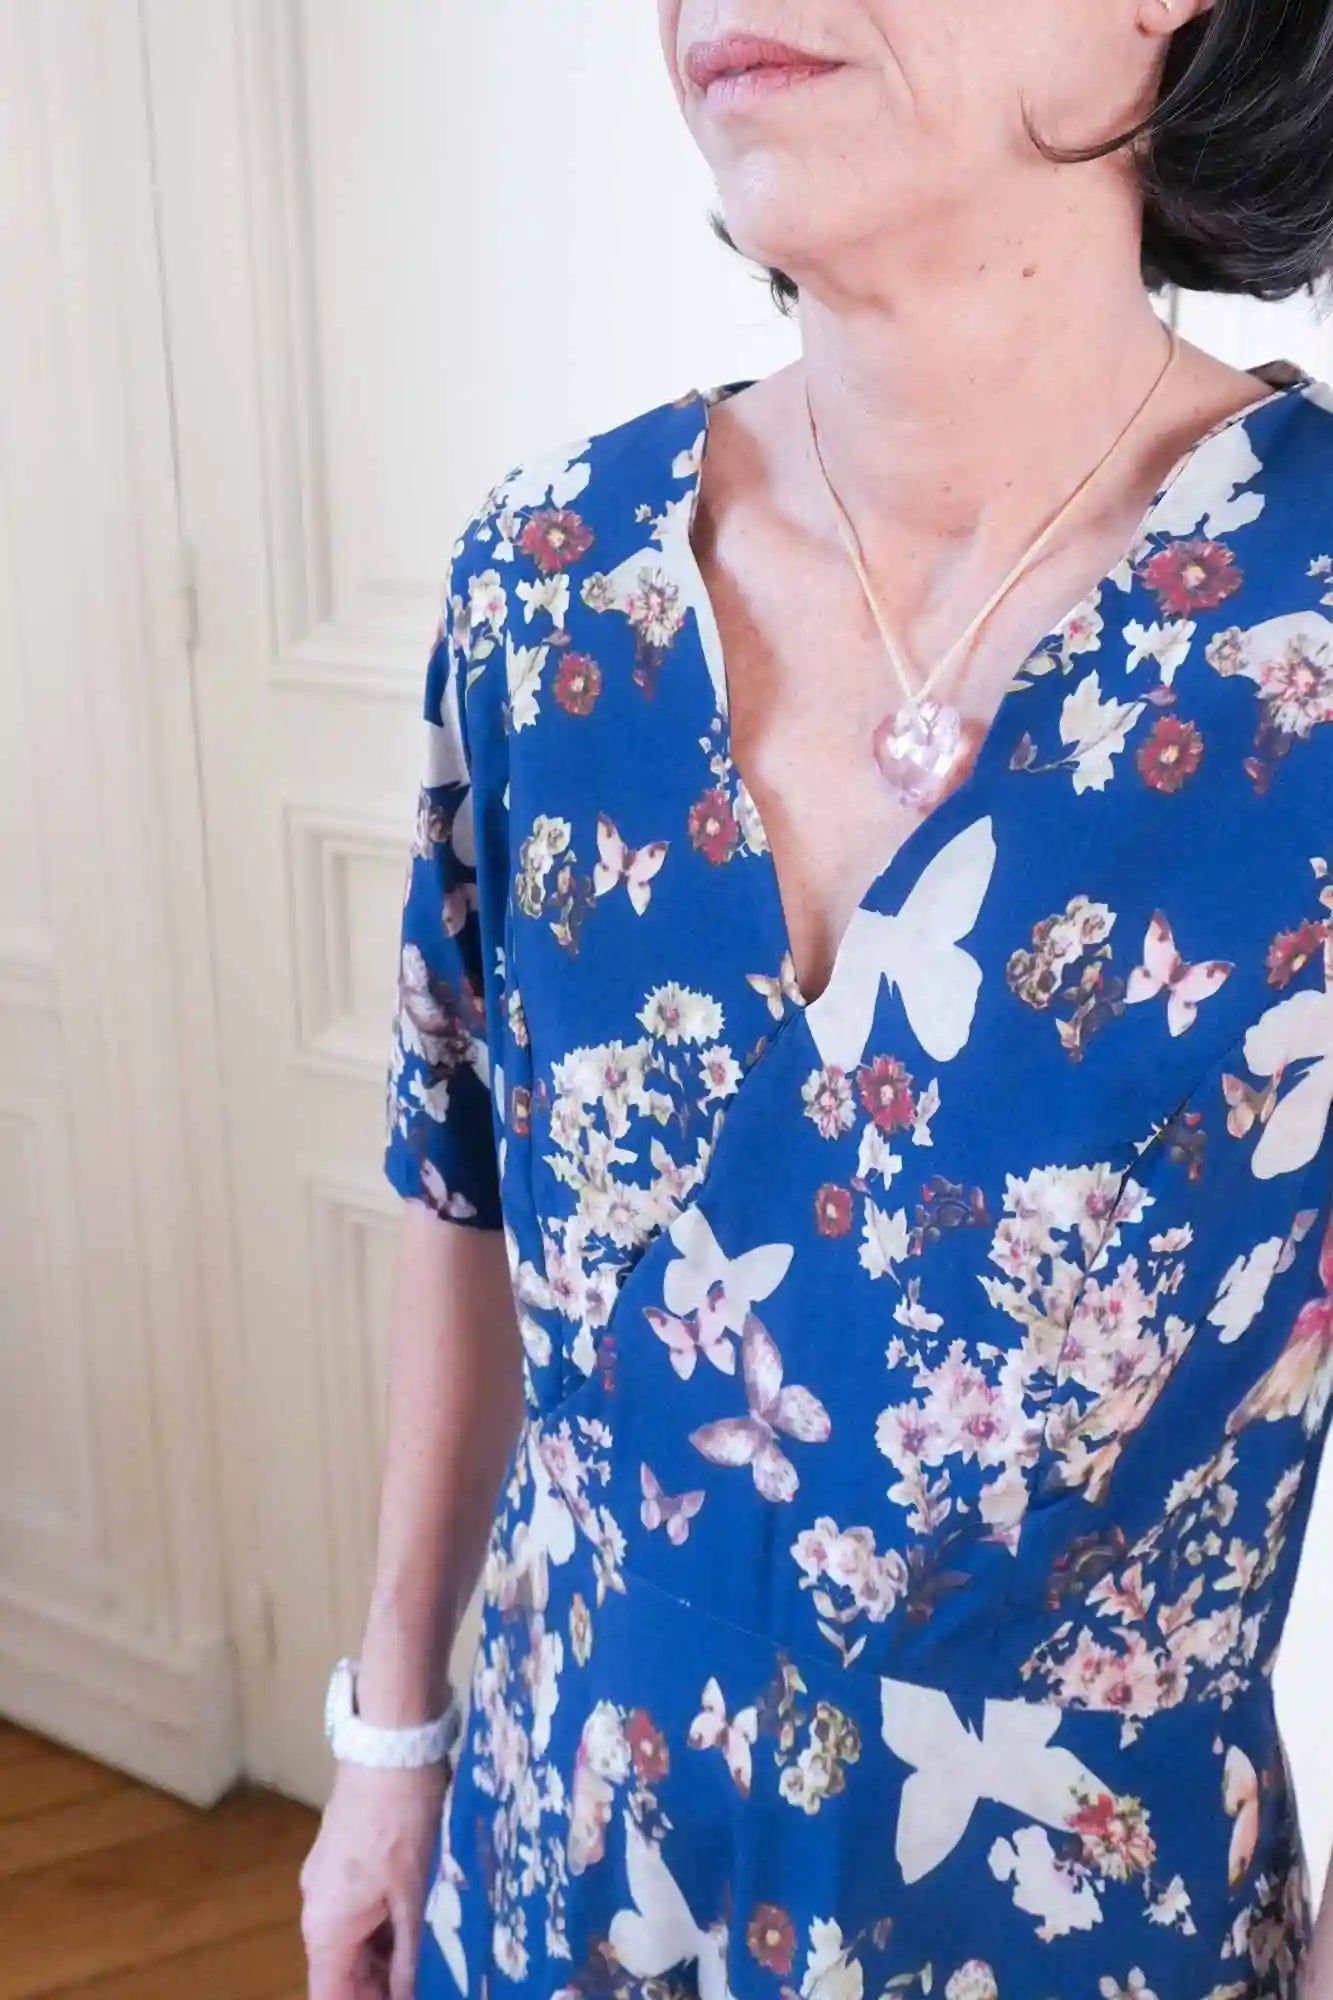
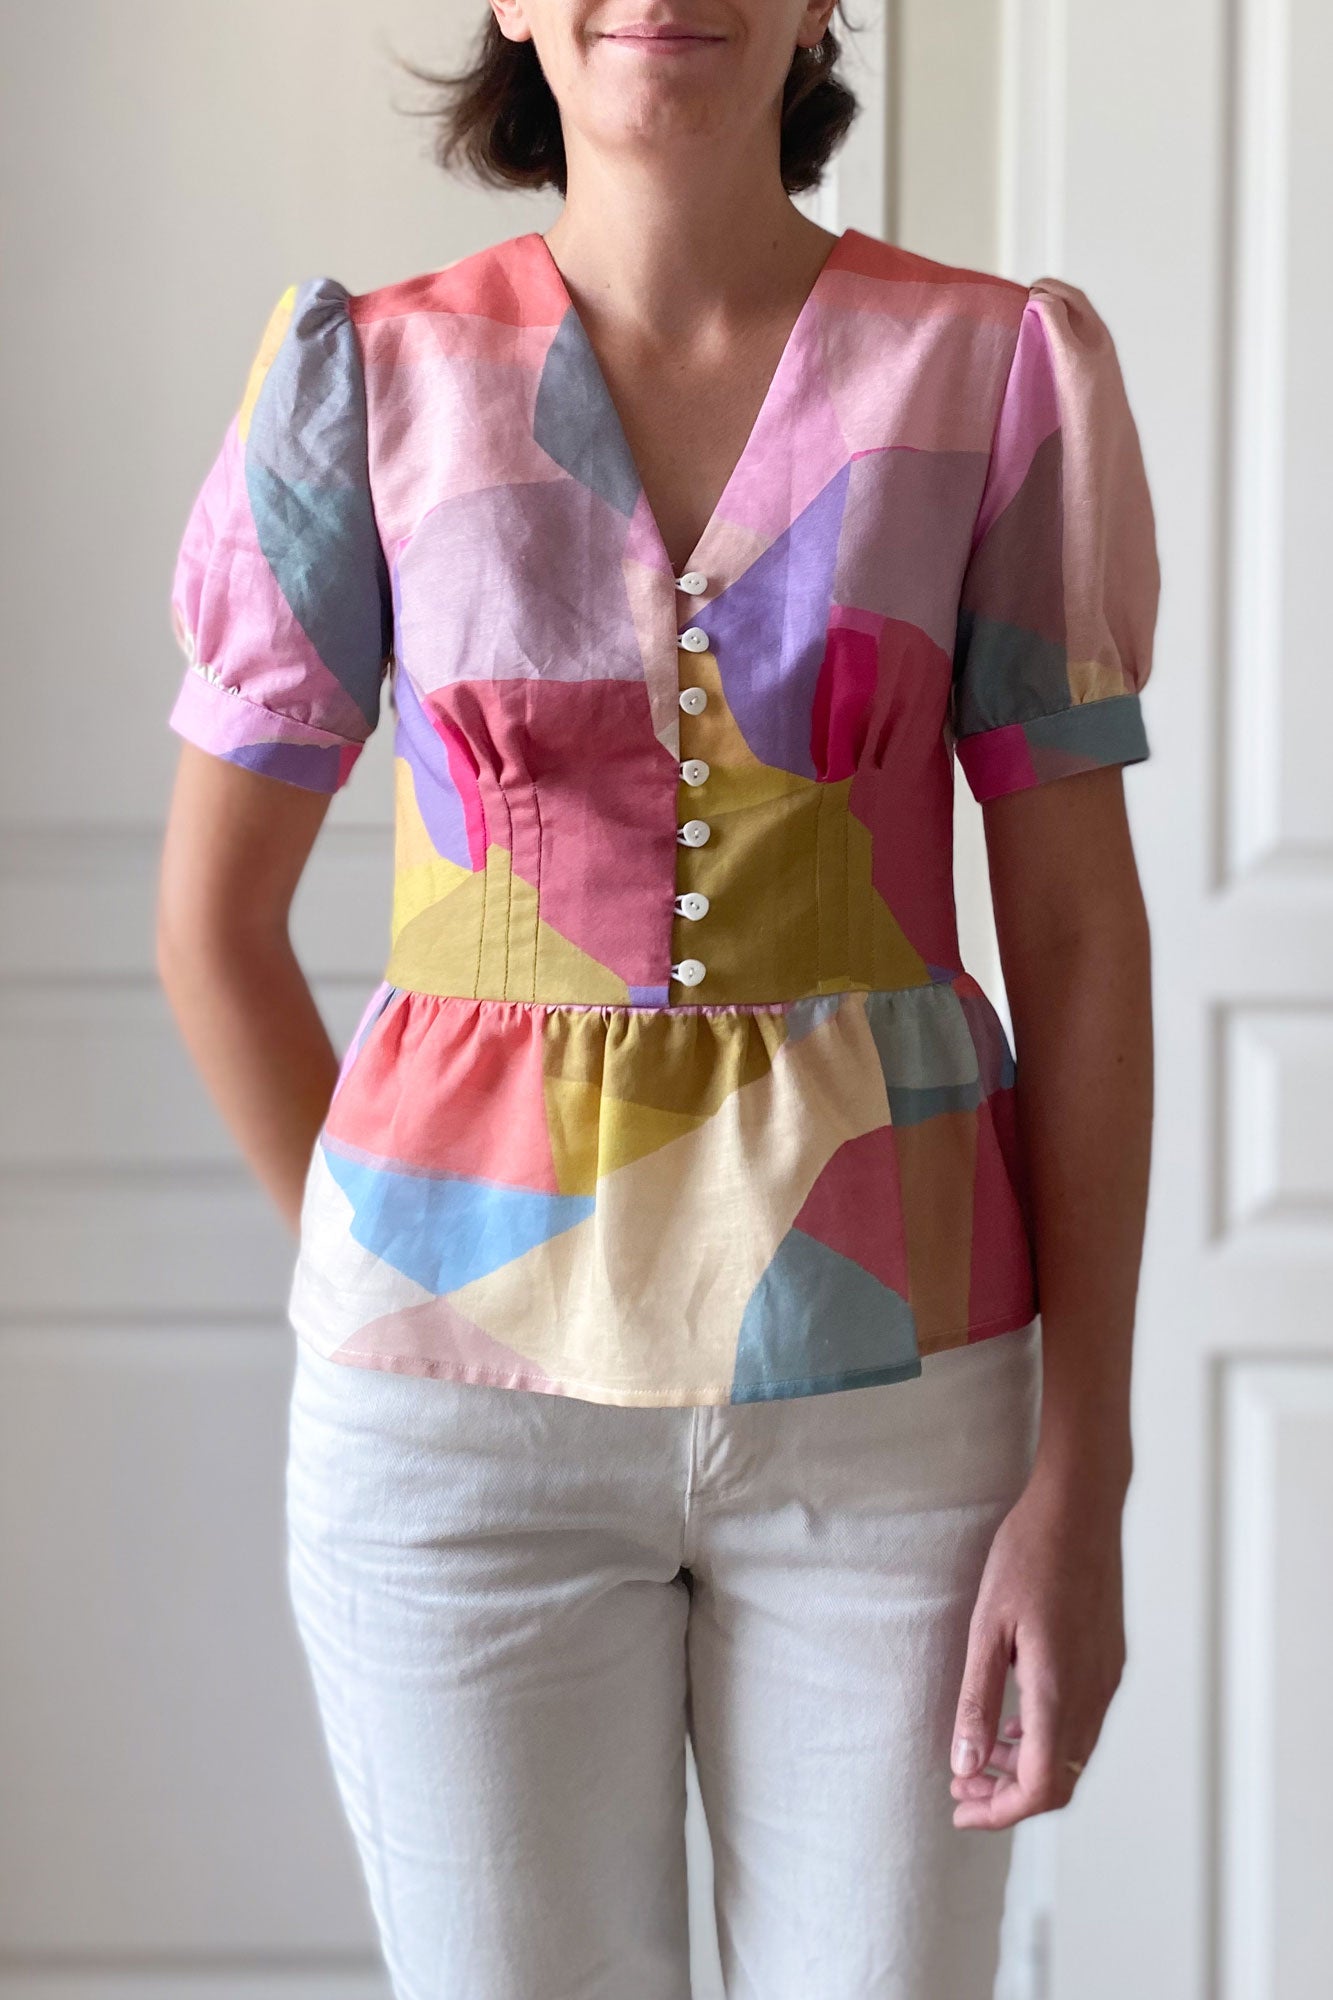
The promise of a custom-fit garment with our customizable patterns wouldn’t be complete without offering two options for the bust. For example, two women with the same chest measurement but a B cup versus a D cup will have very different silhouettes. When sewing fitted clothing, if the pattern doesn’t account for this, any fit issues will be very noticeable. That’s why each top pattern includes specific pieces for small and full busts.
These two bust options only apply to the front pieces of customizable tops. For the same size, both patterns use the same shoulder width and armhole, but the full bust pattern provides more room in the chest area. The front pieces are also slightly lengthened to prevent the waist seam from rising. Say goodbye to gaping armholes and constant adjustments for a full bust!
These two options correspond to what was previously labeled as A/B cups and C/D cups in patterns. Keep in mind that your bra cup size may differ from the sewing bust type you choose. That’s why we changed the terminology to avoid confusion :-)
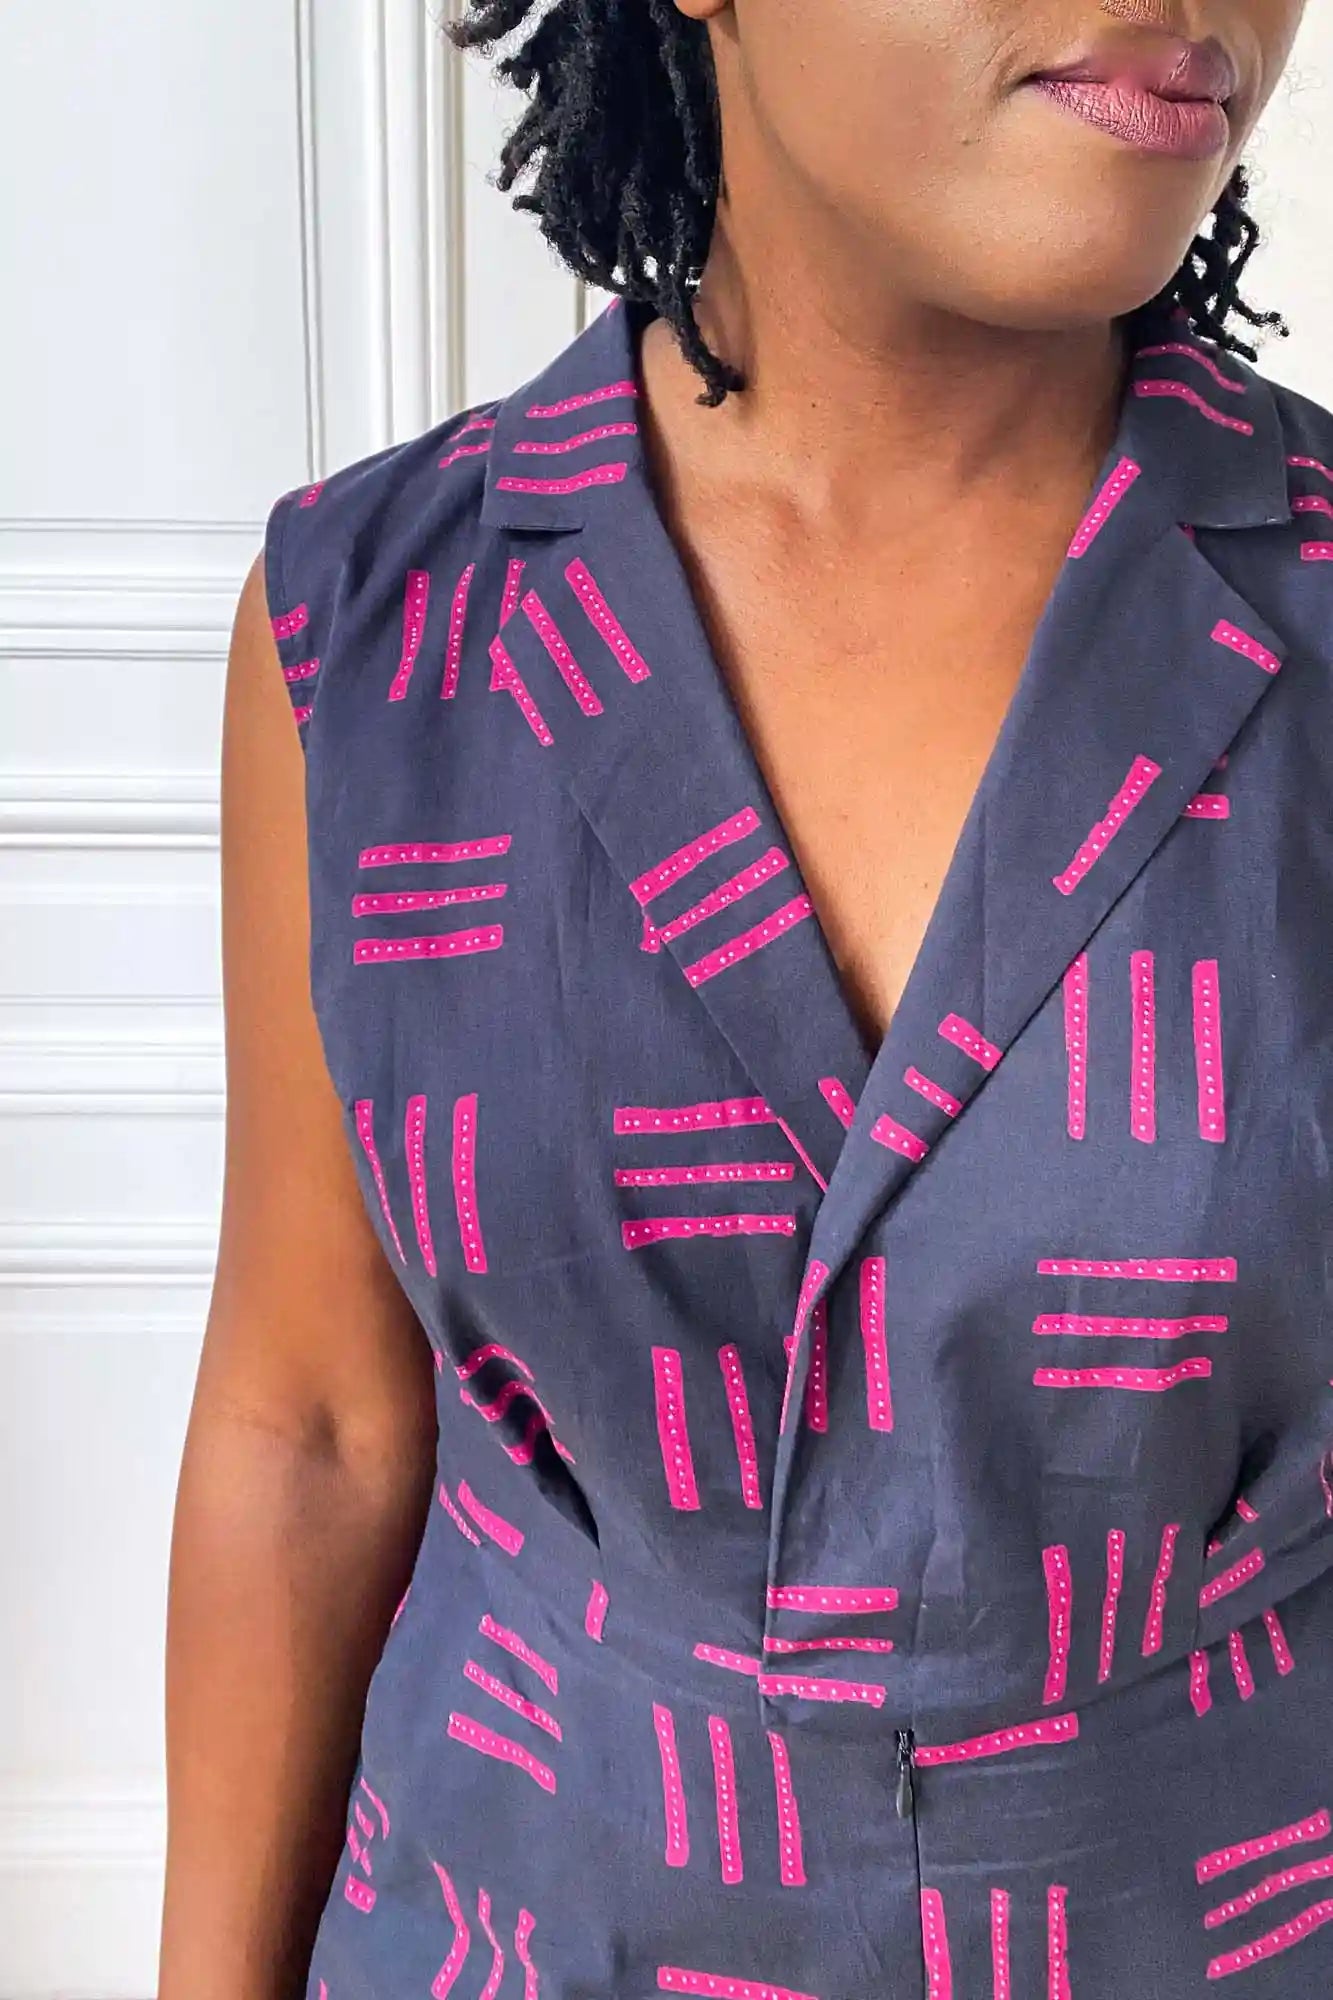
It’s important to base your choice on front shoulder width. Sewing a toile can also help you find the best bust option for your body.
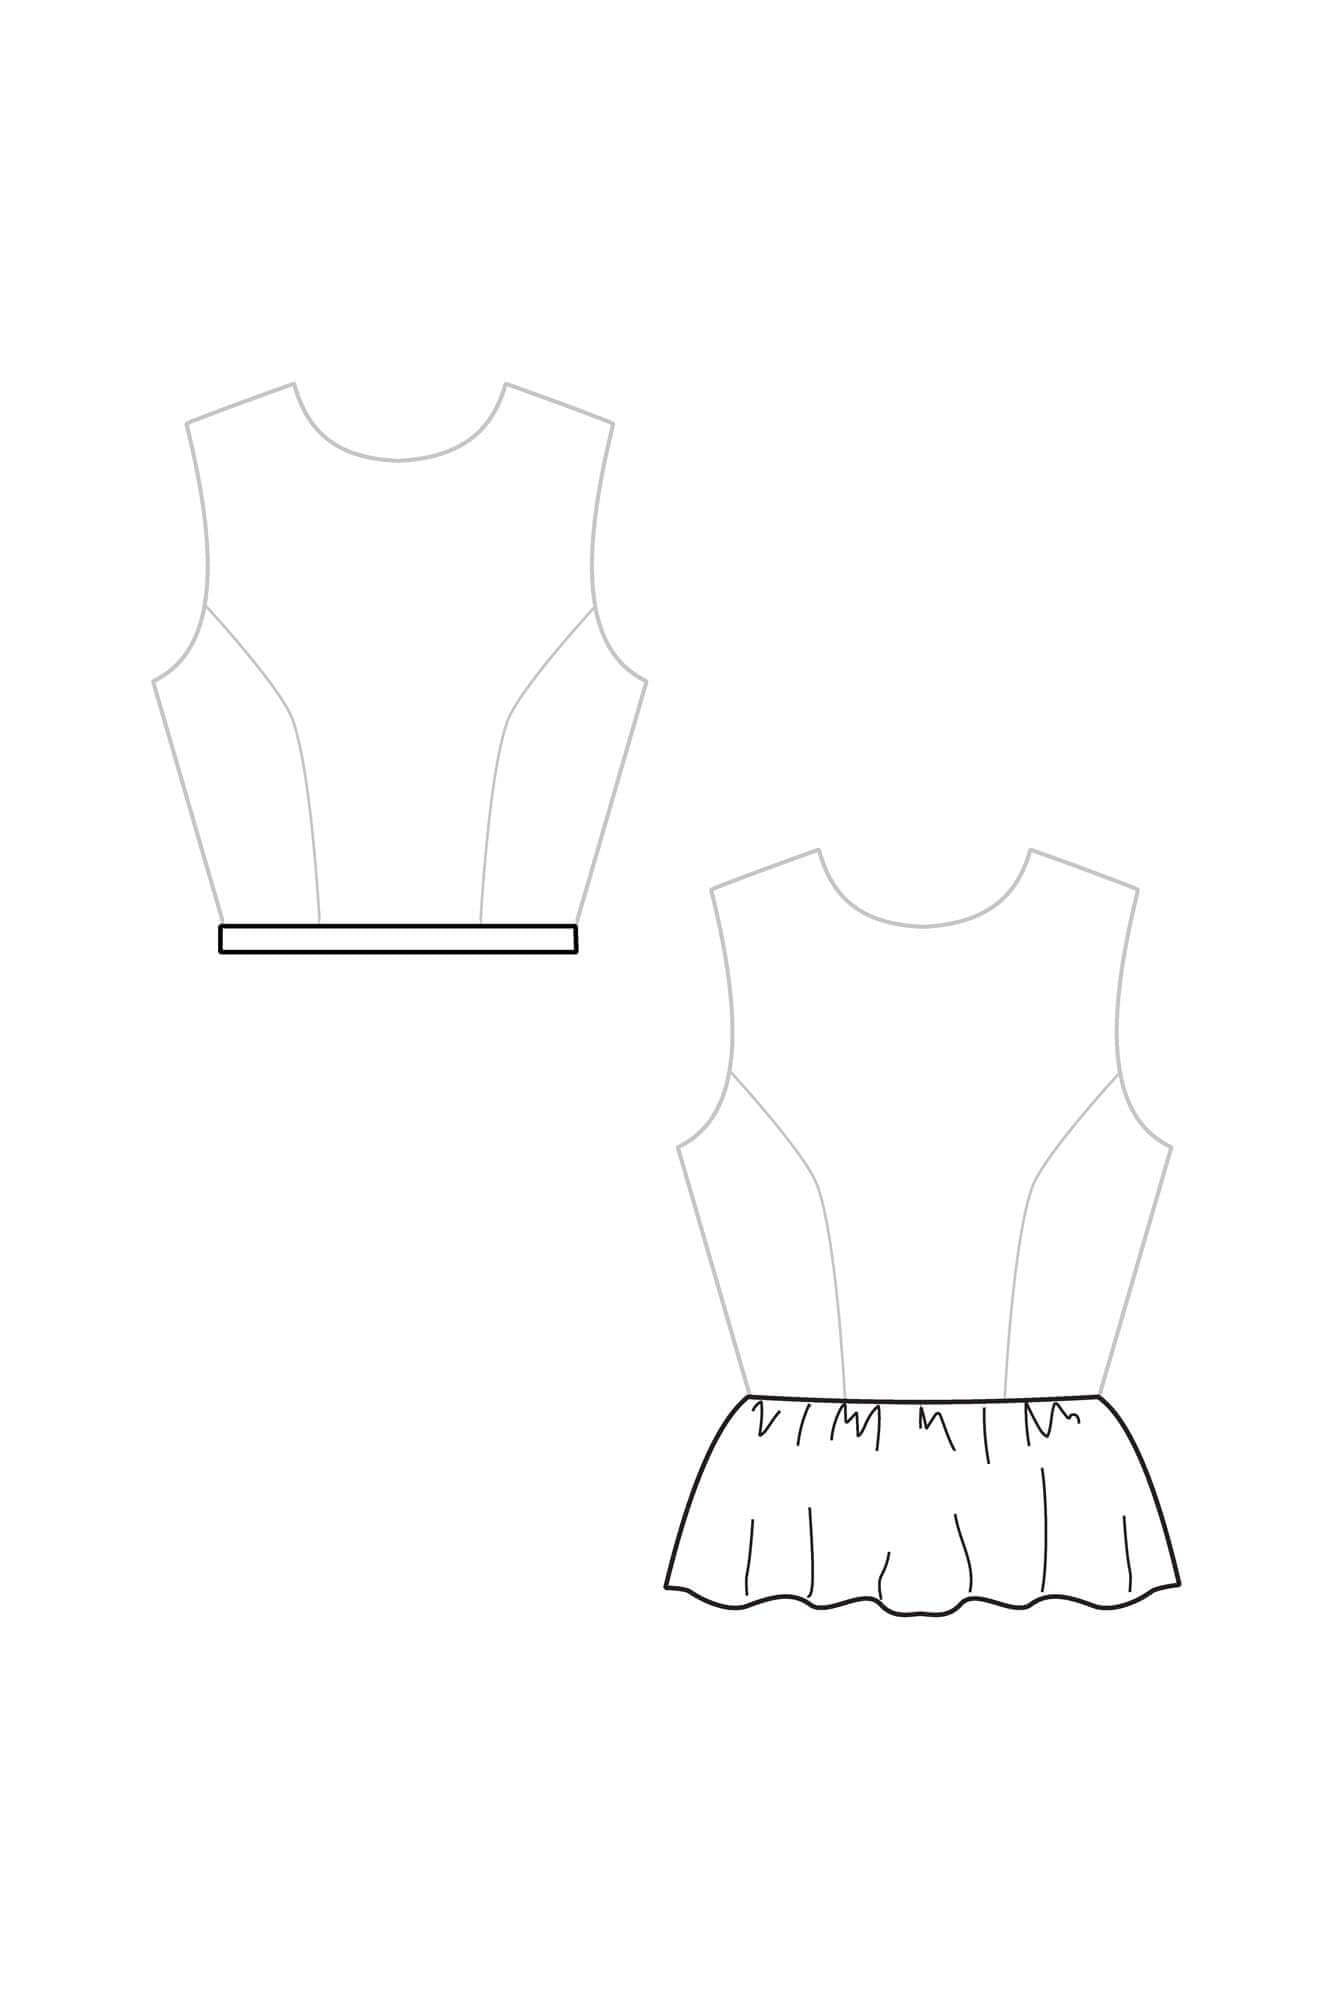
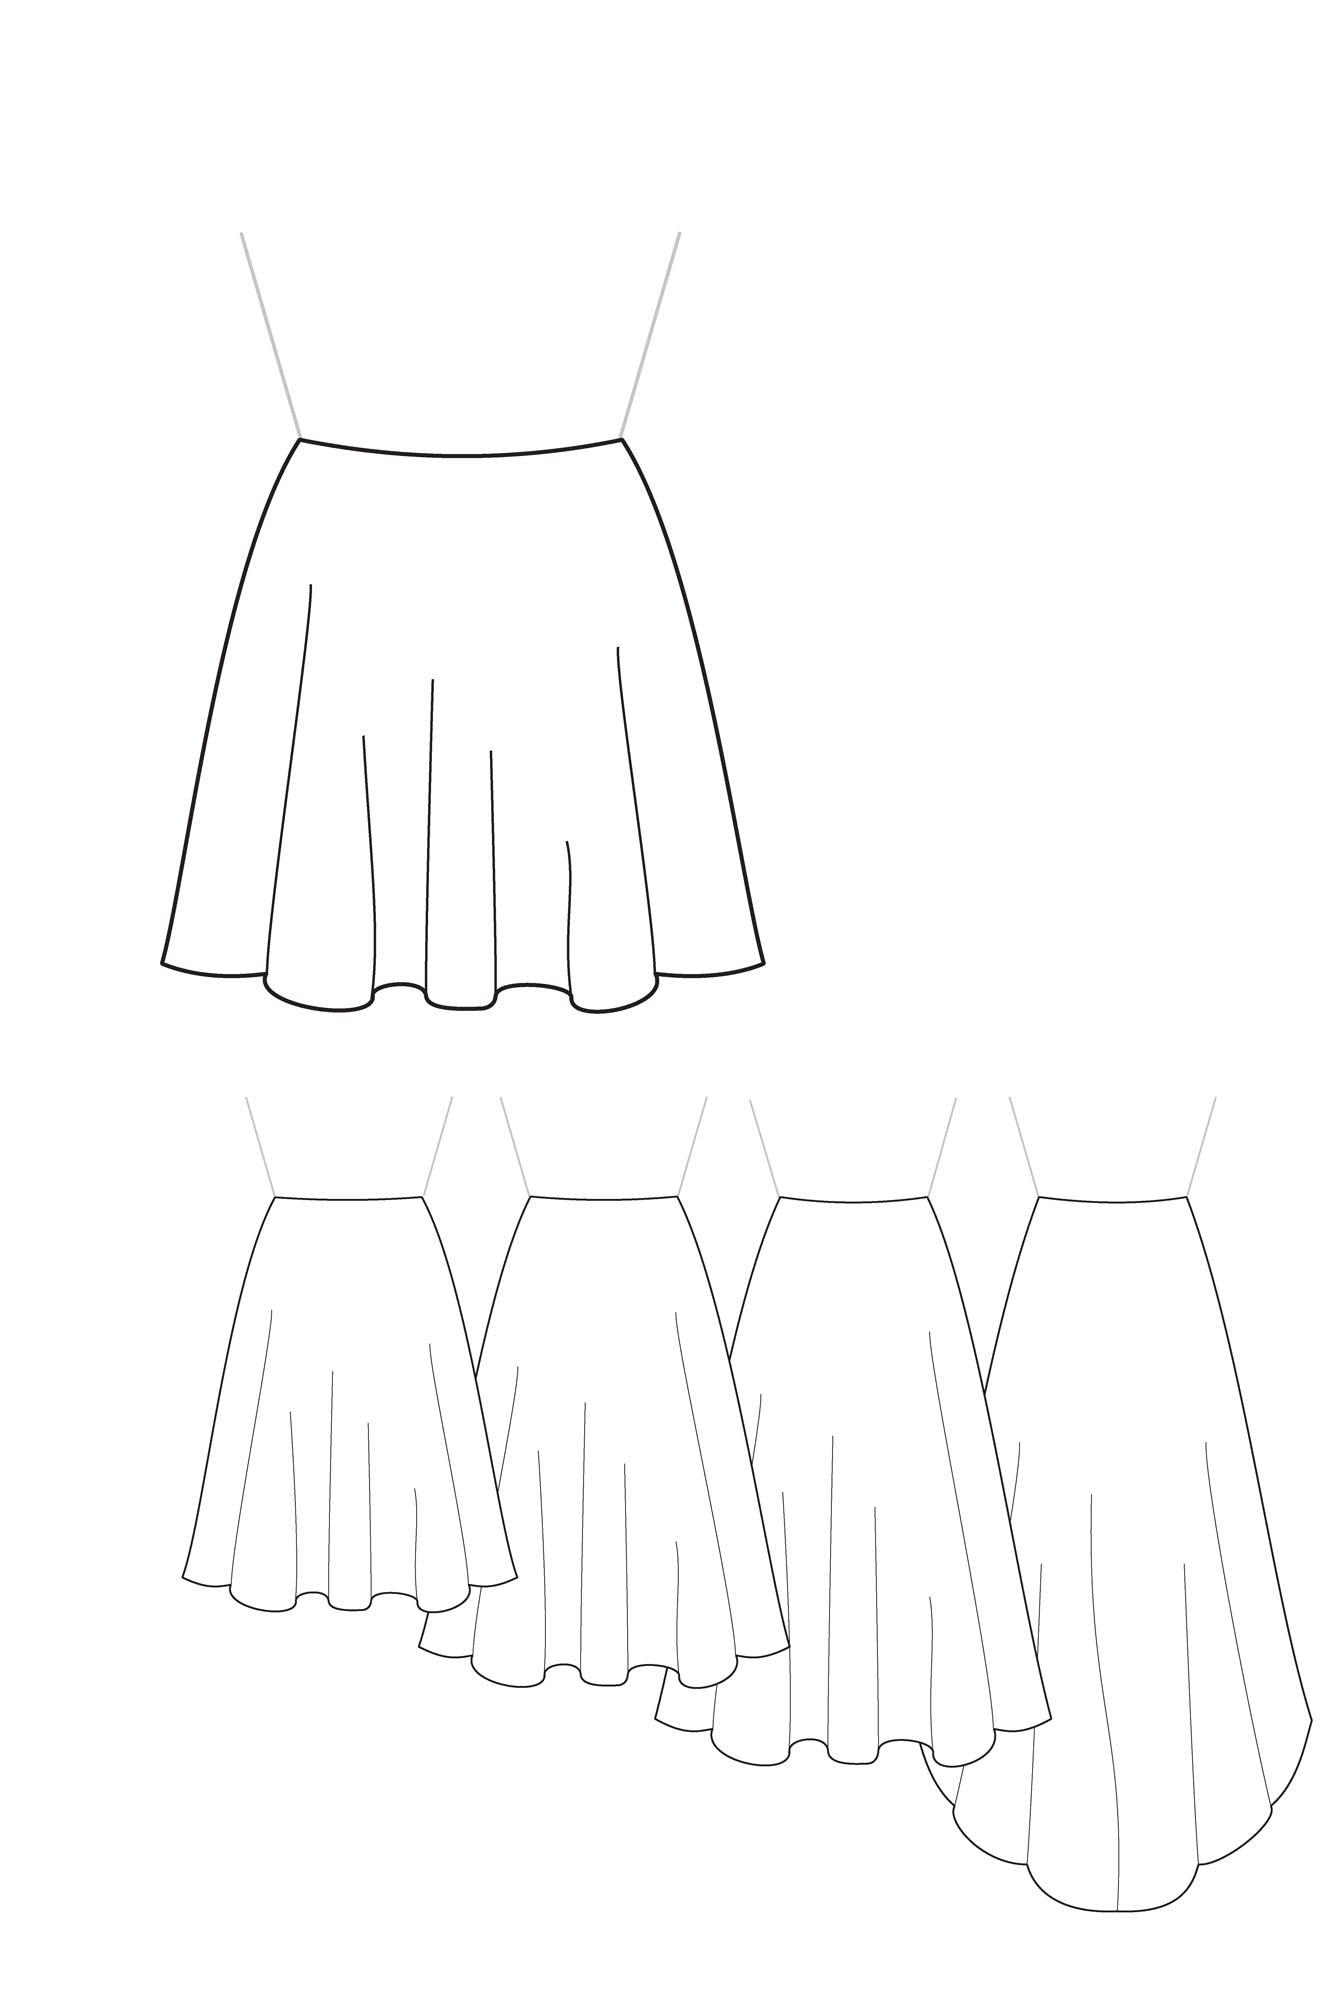
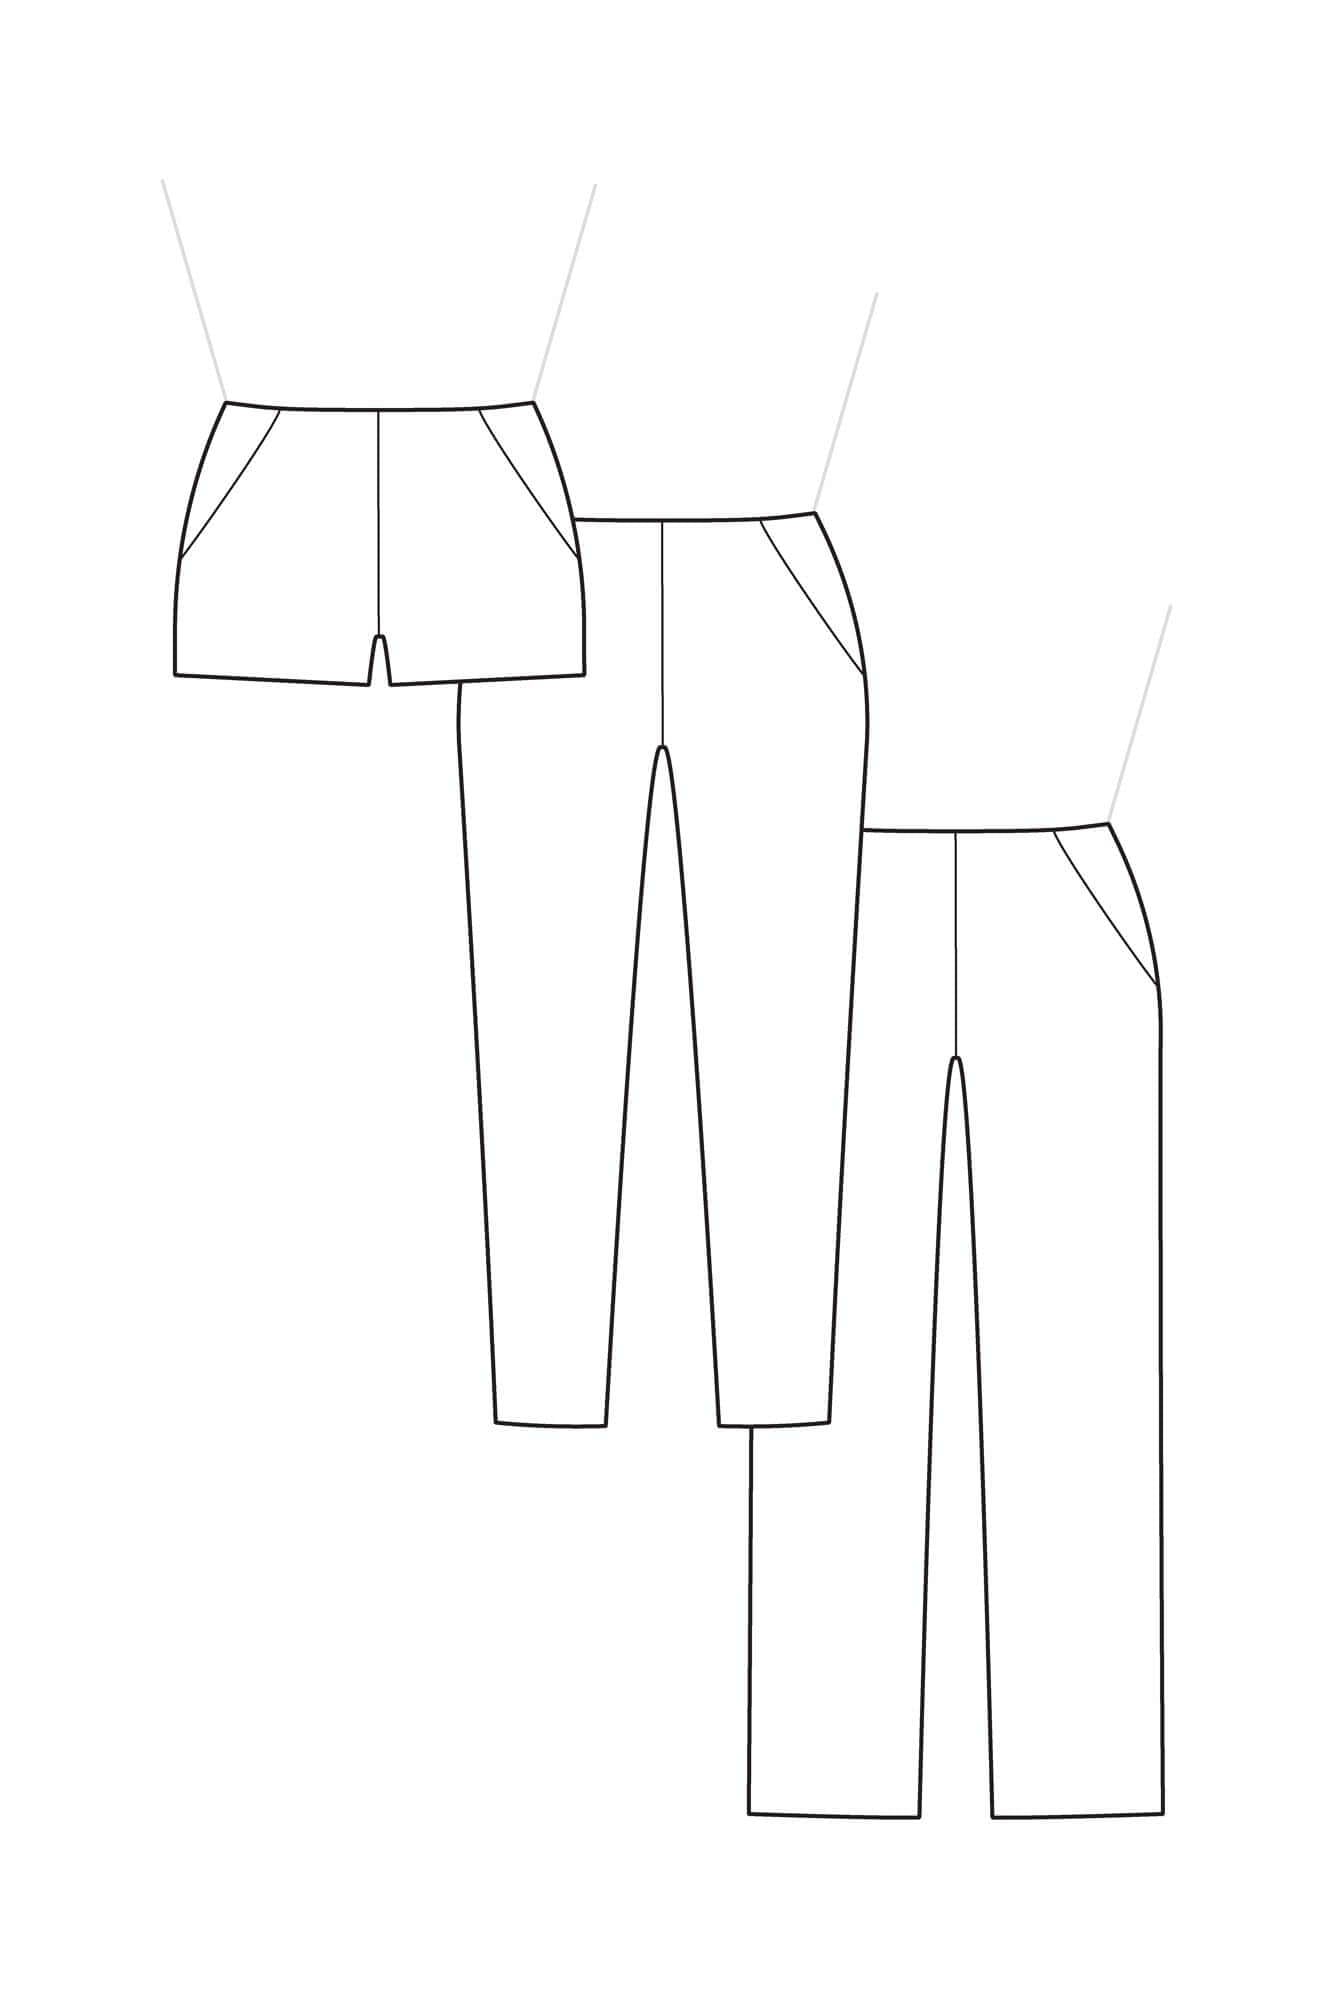
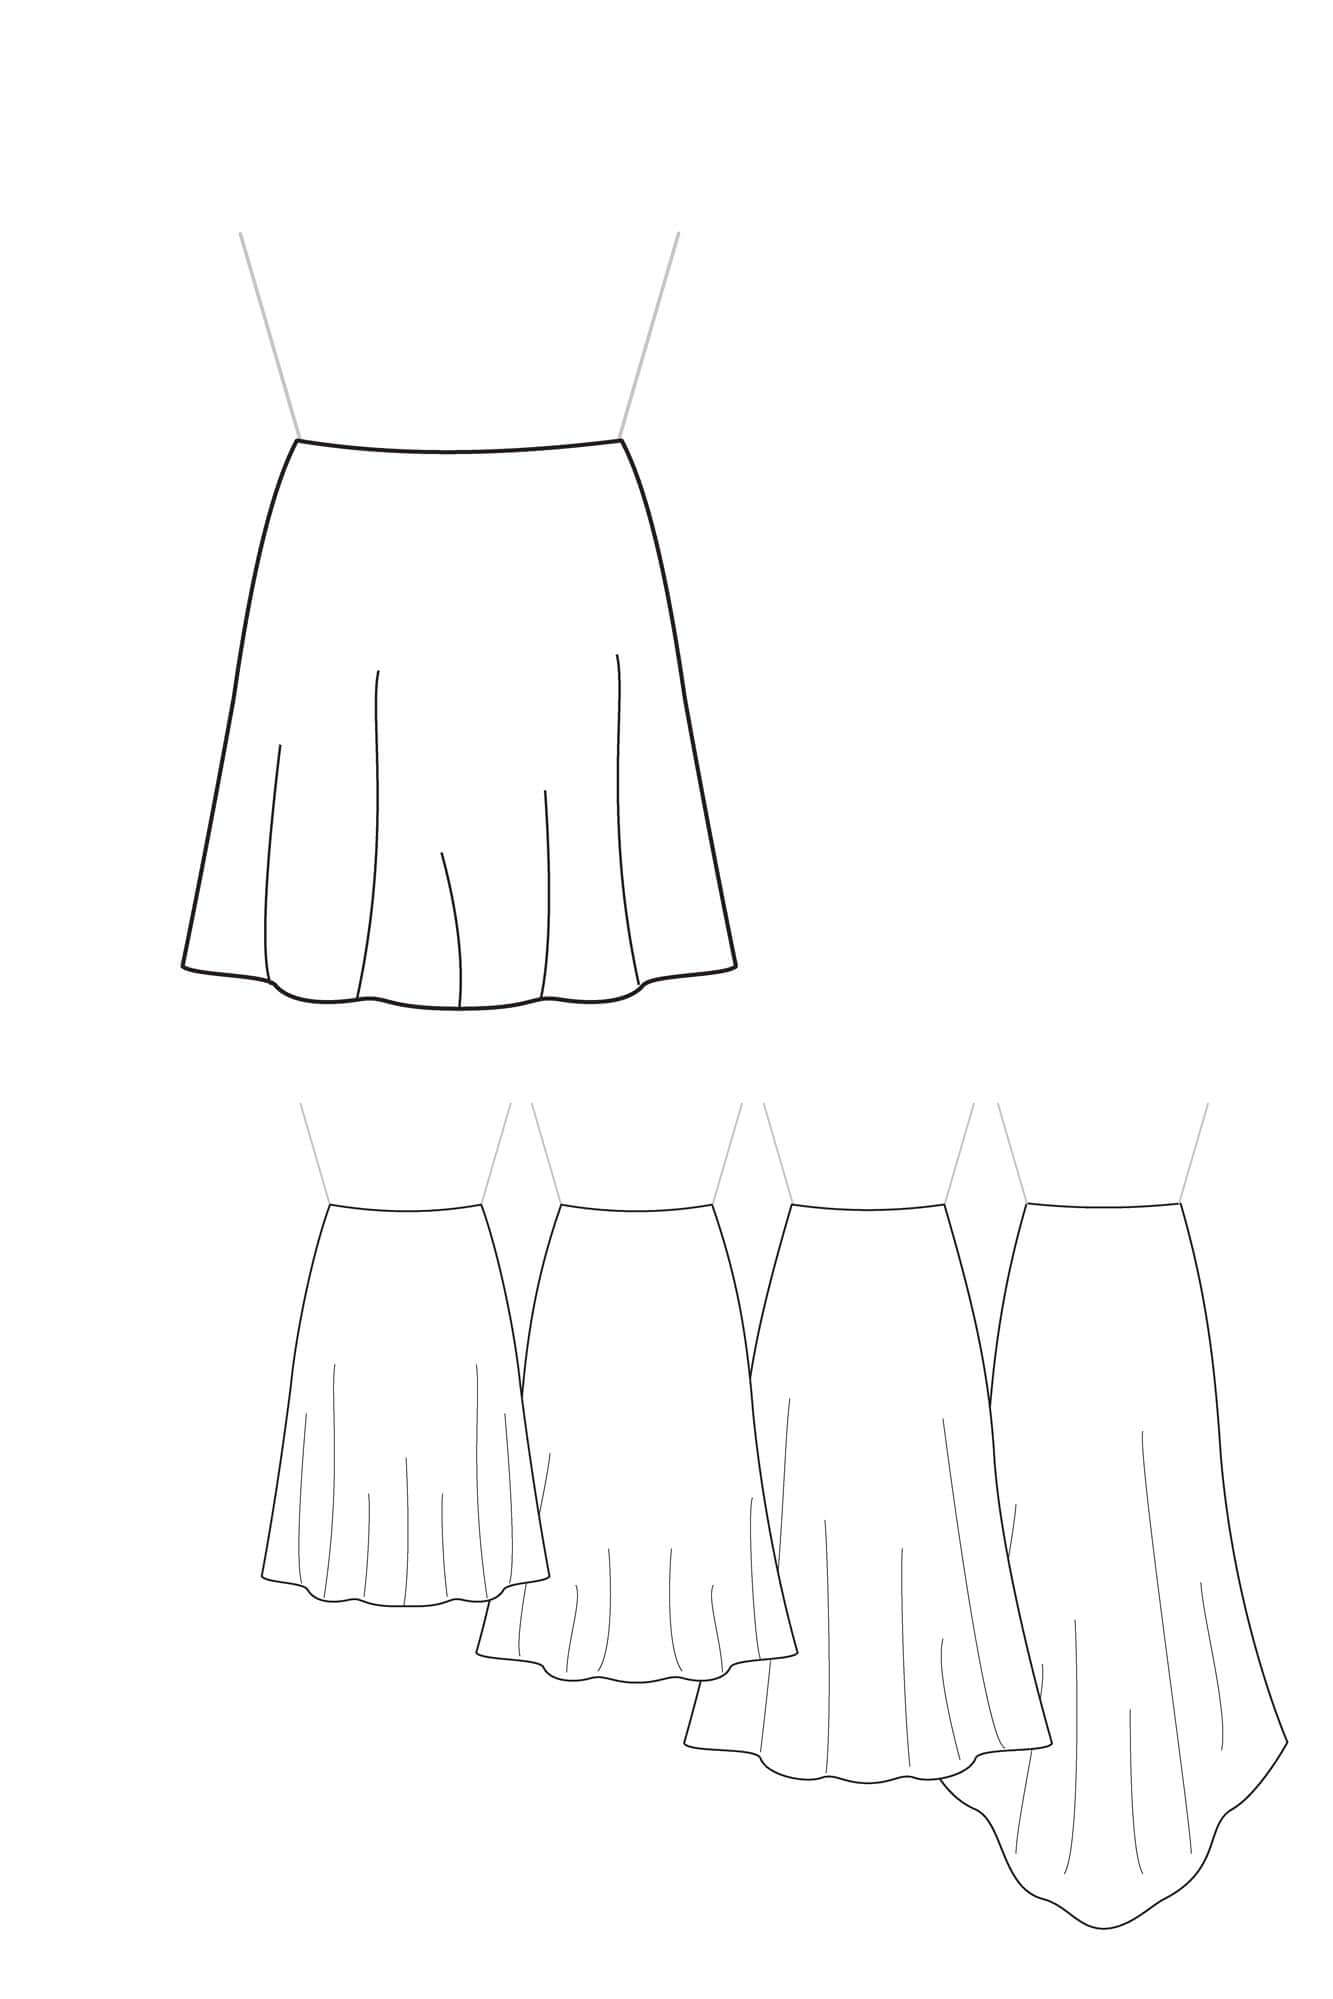
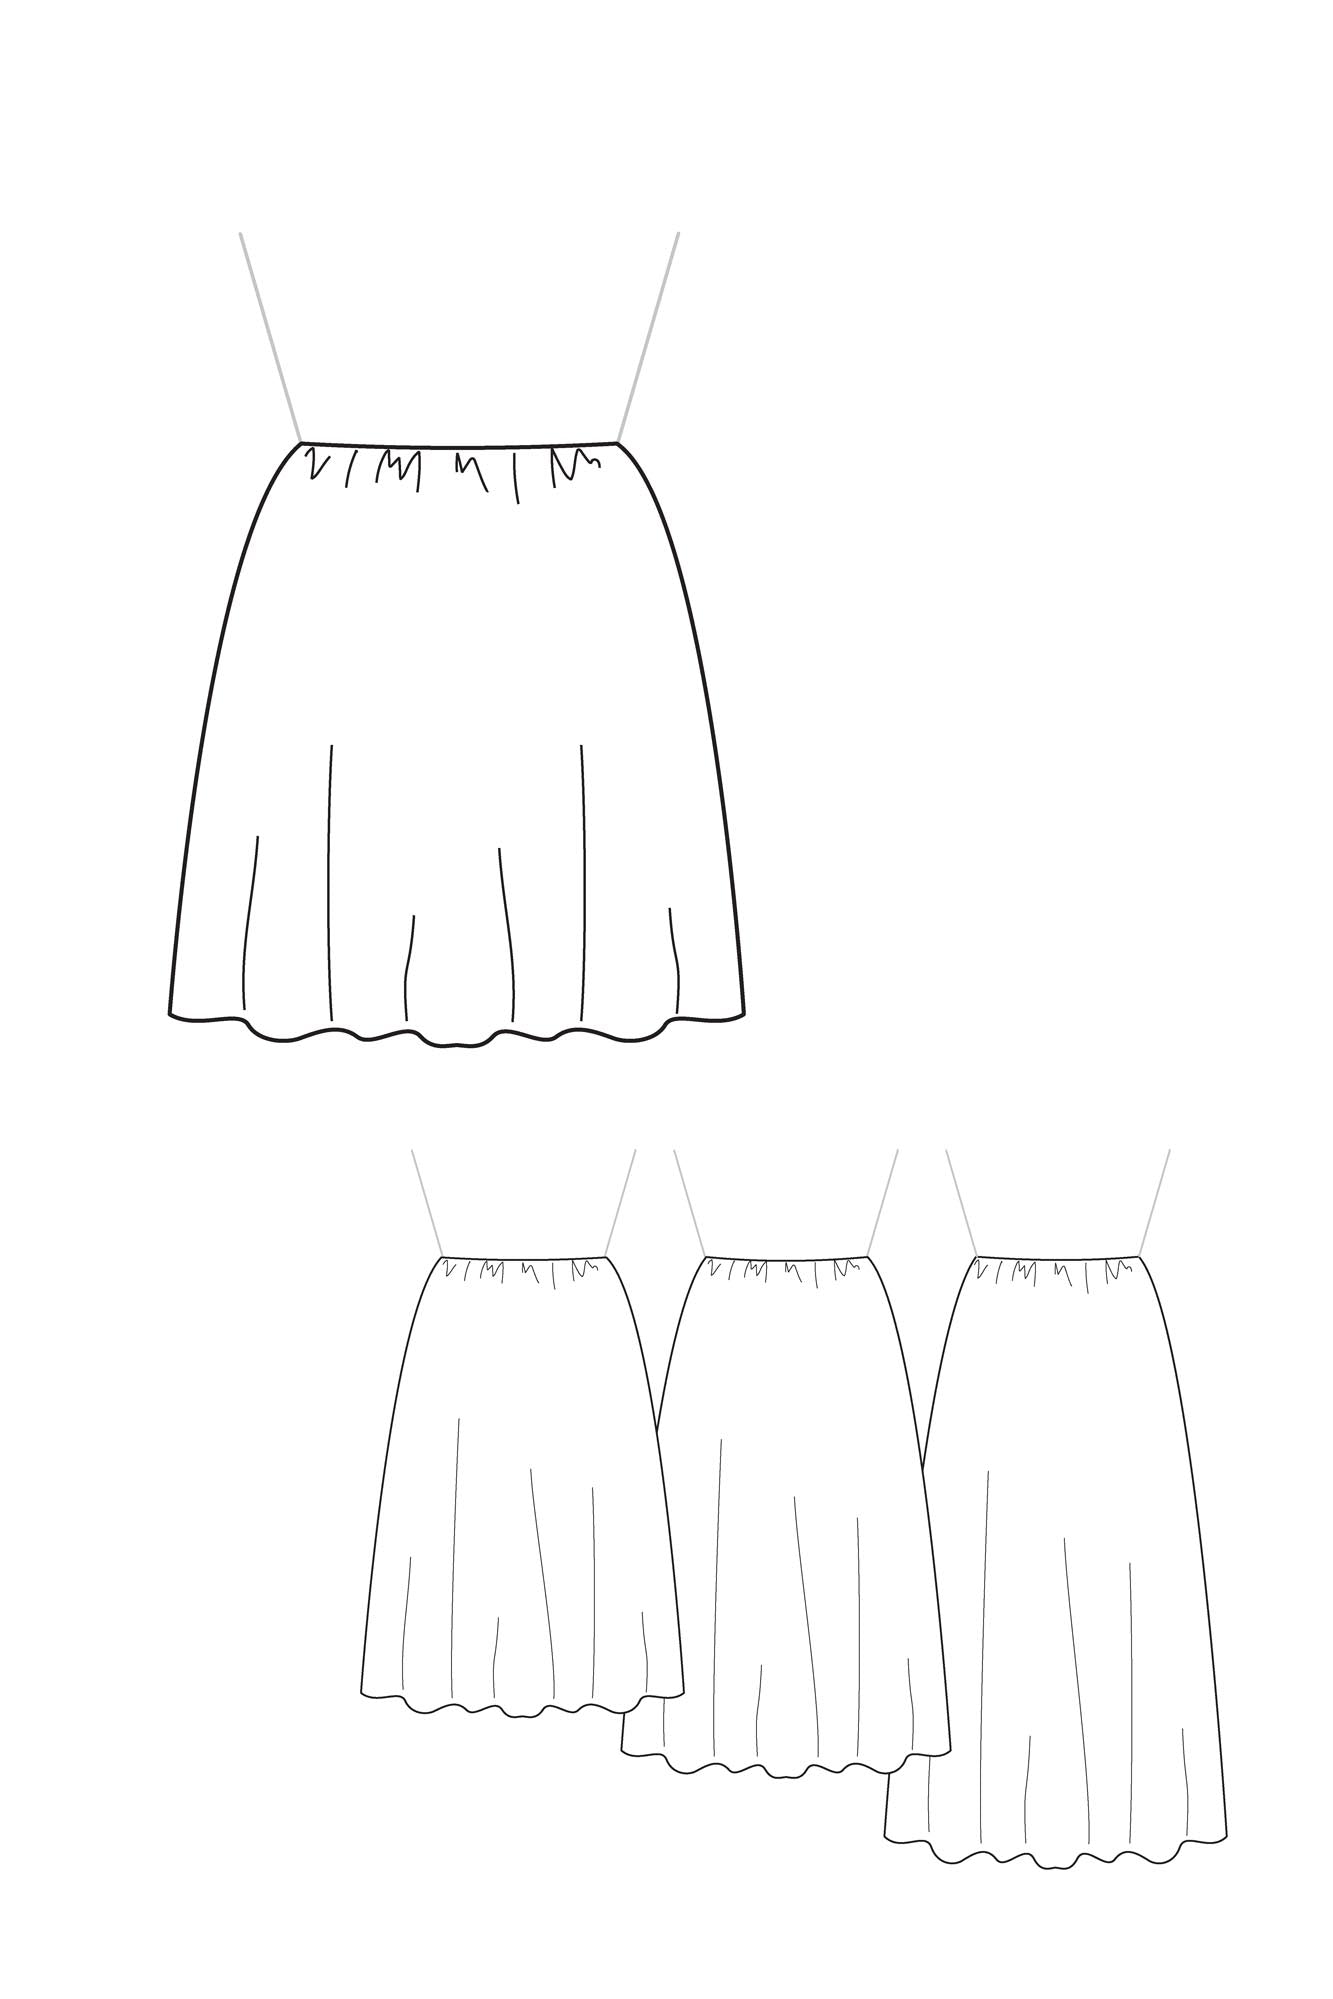
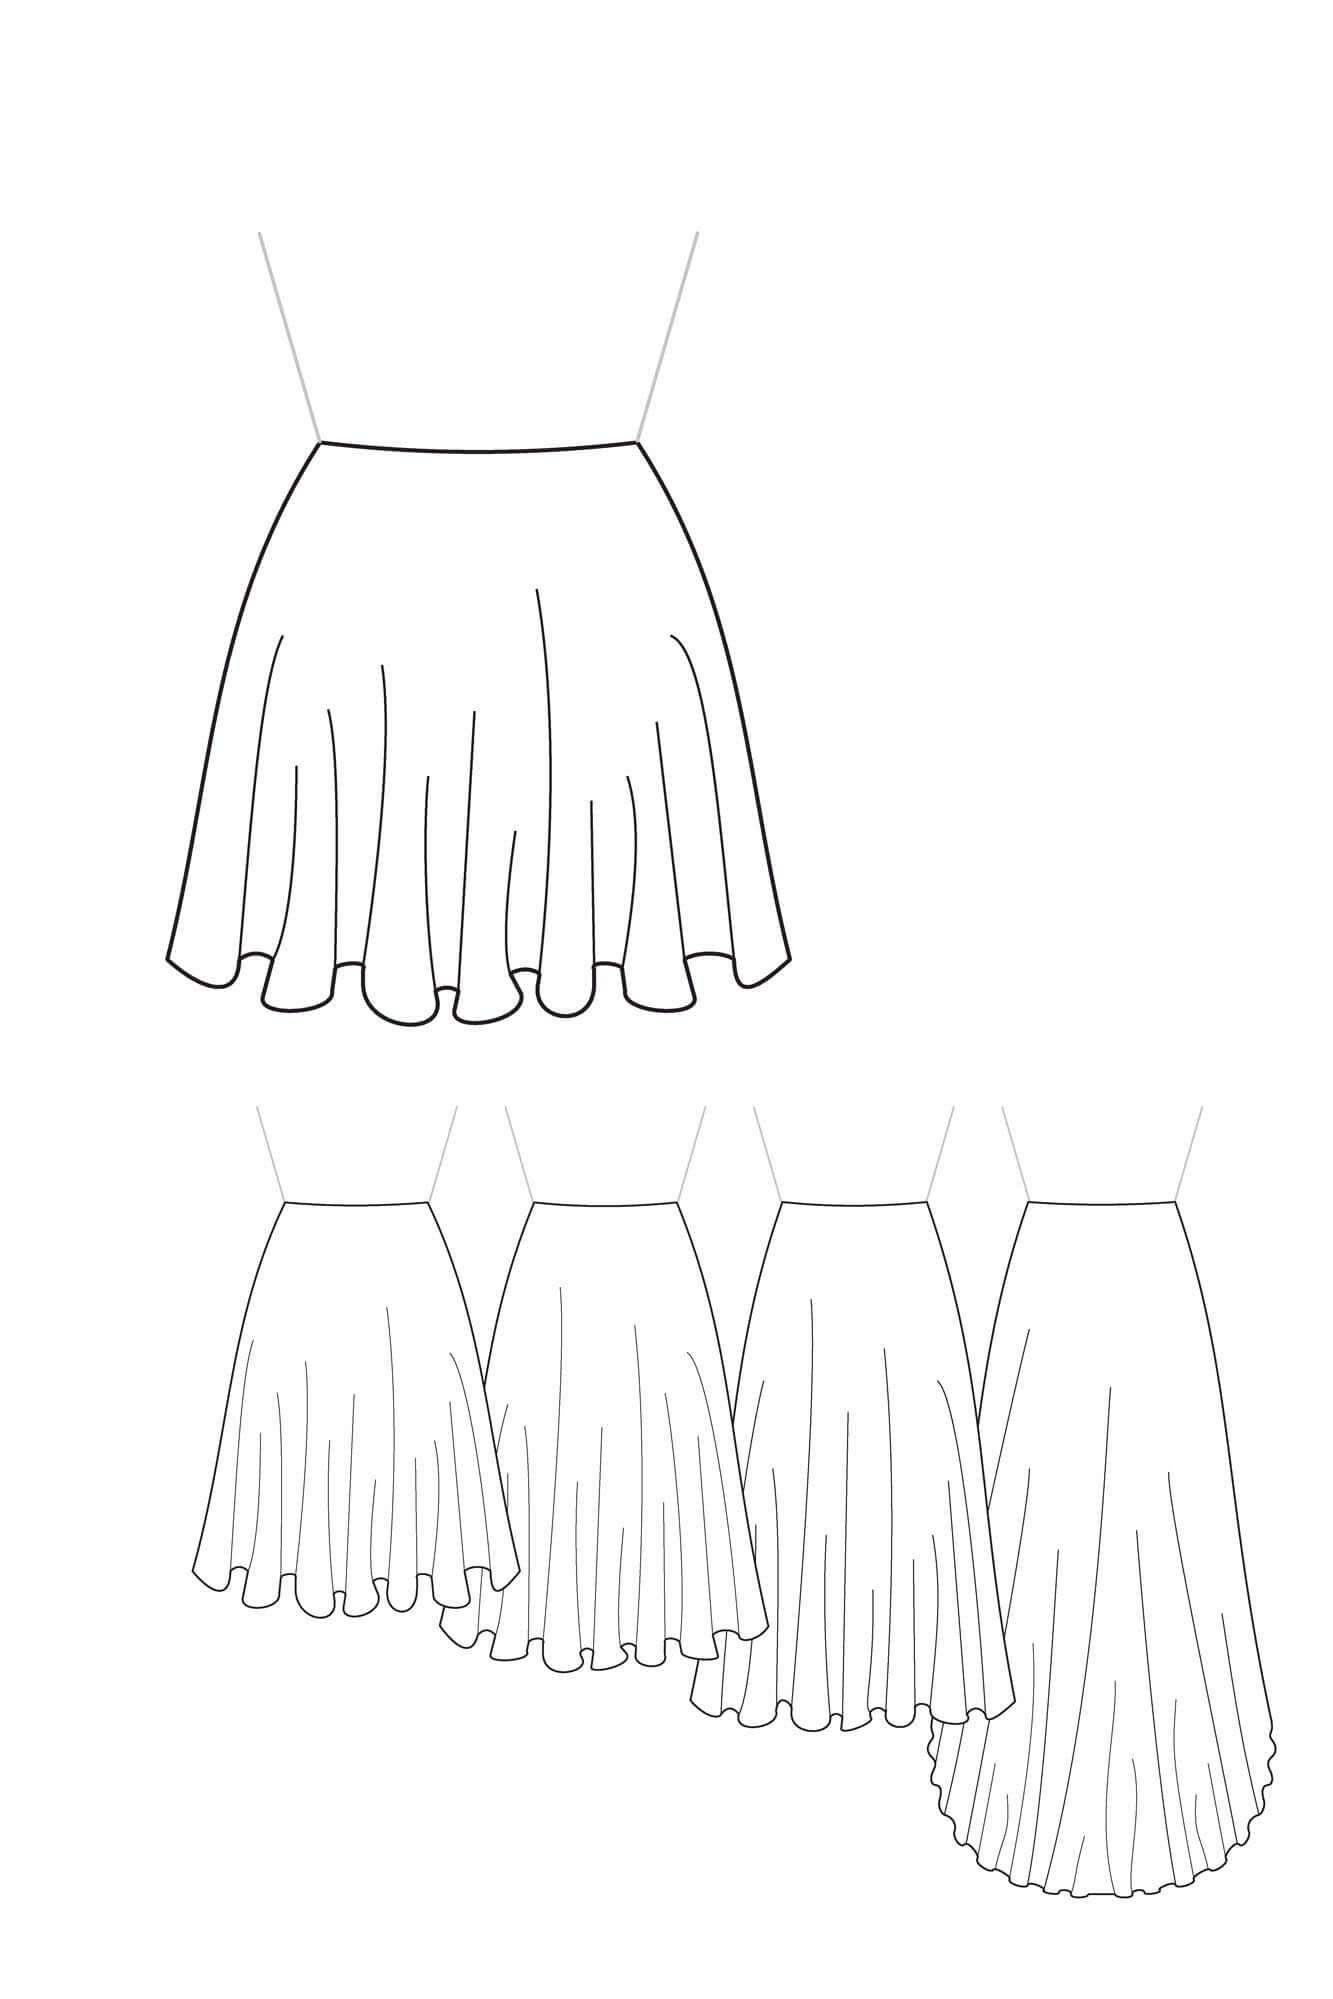
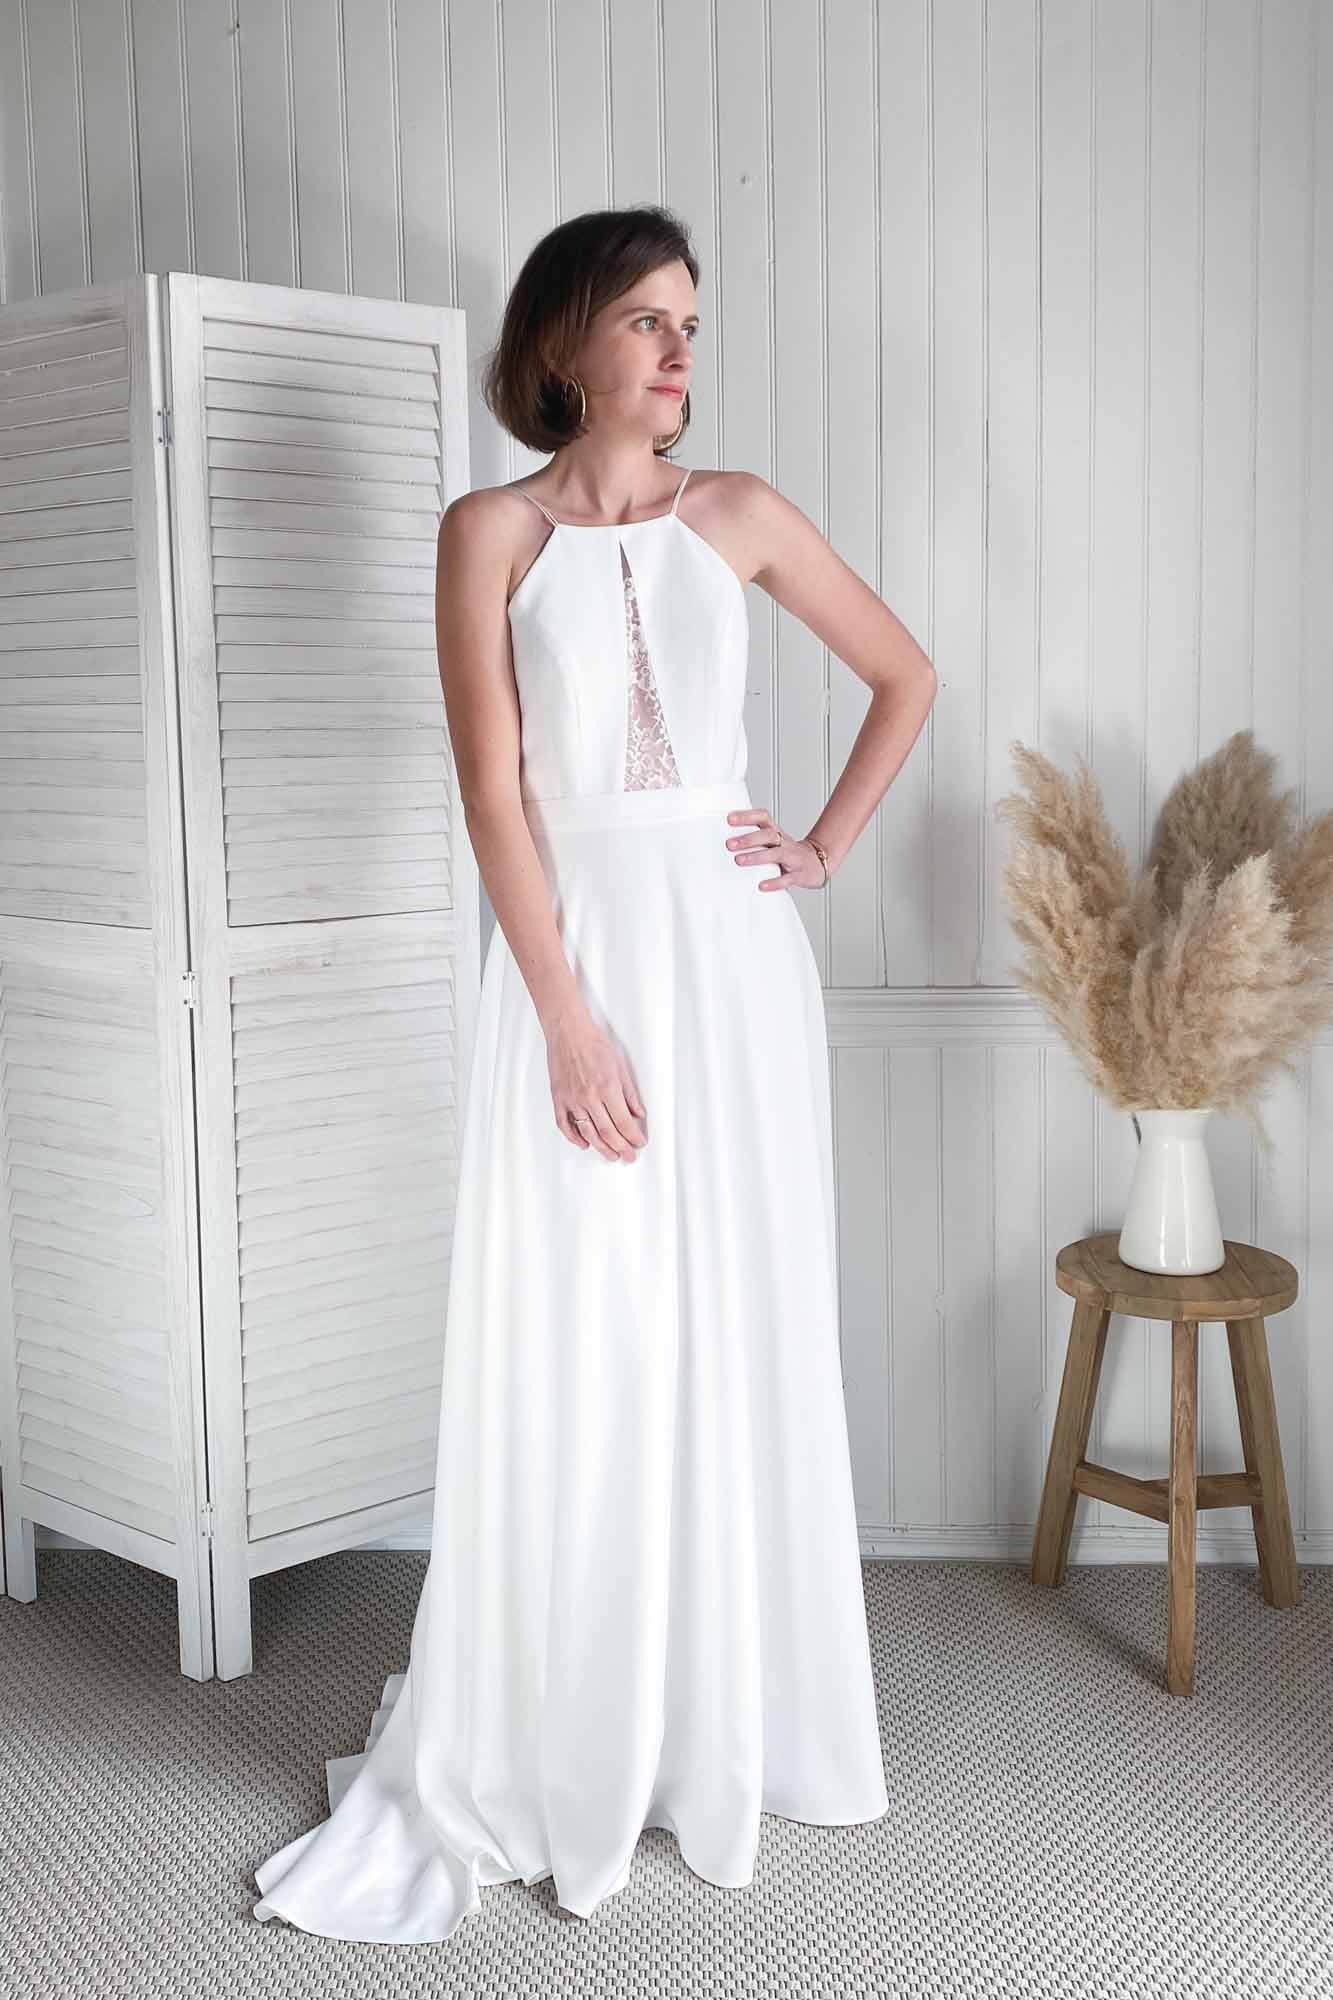
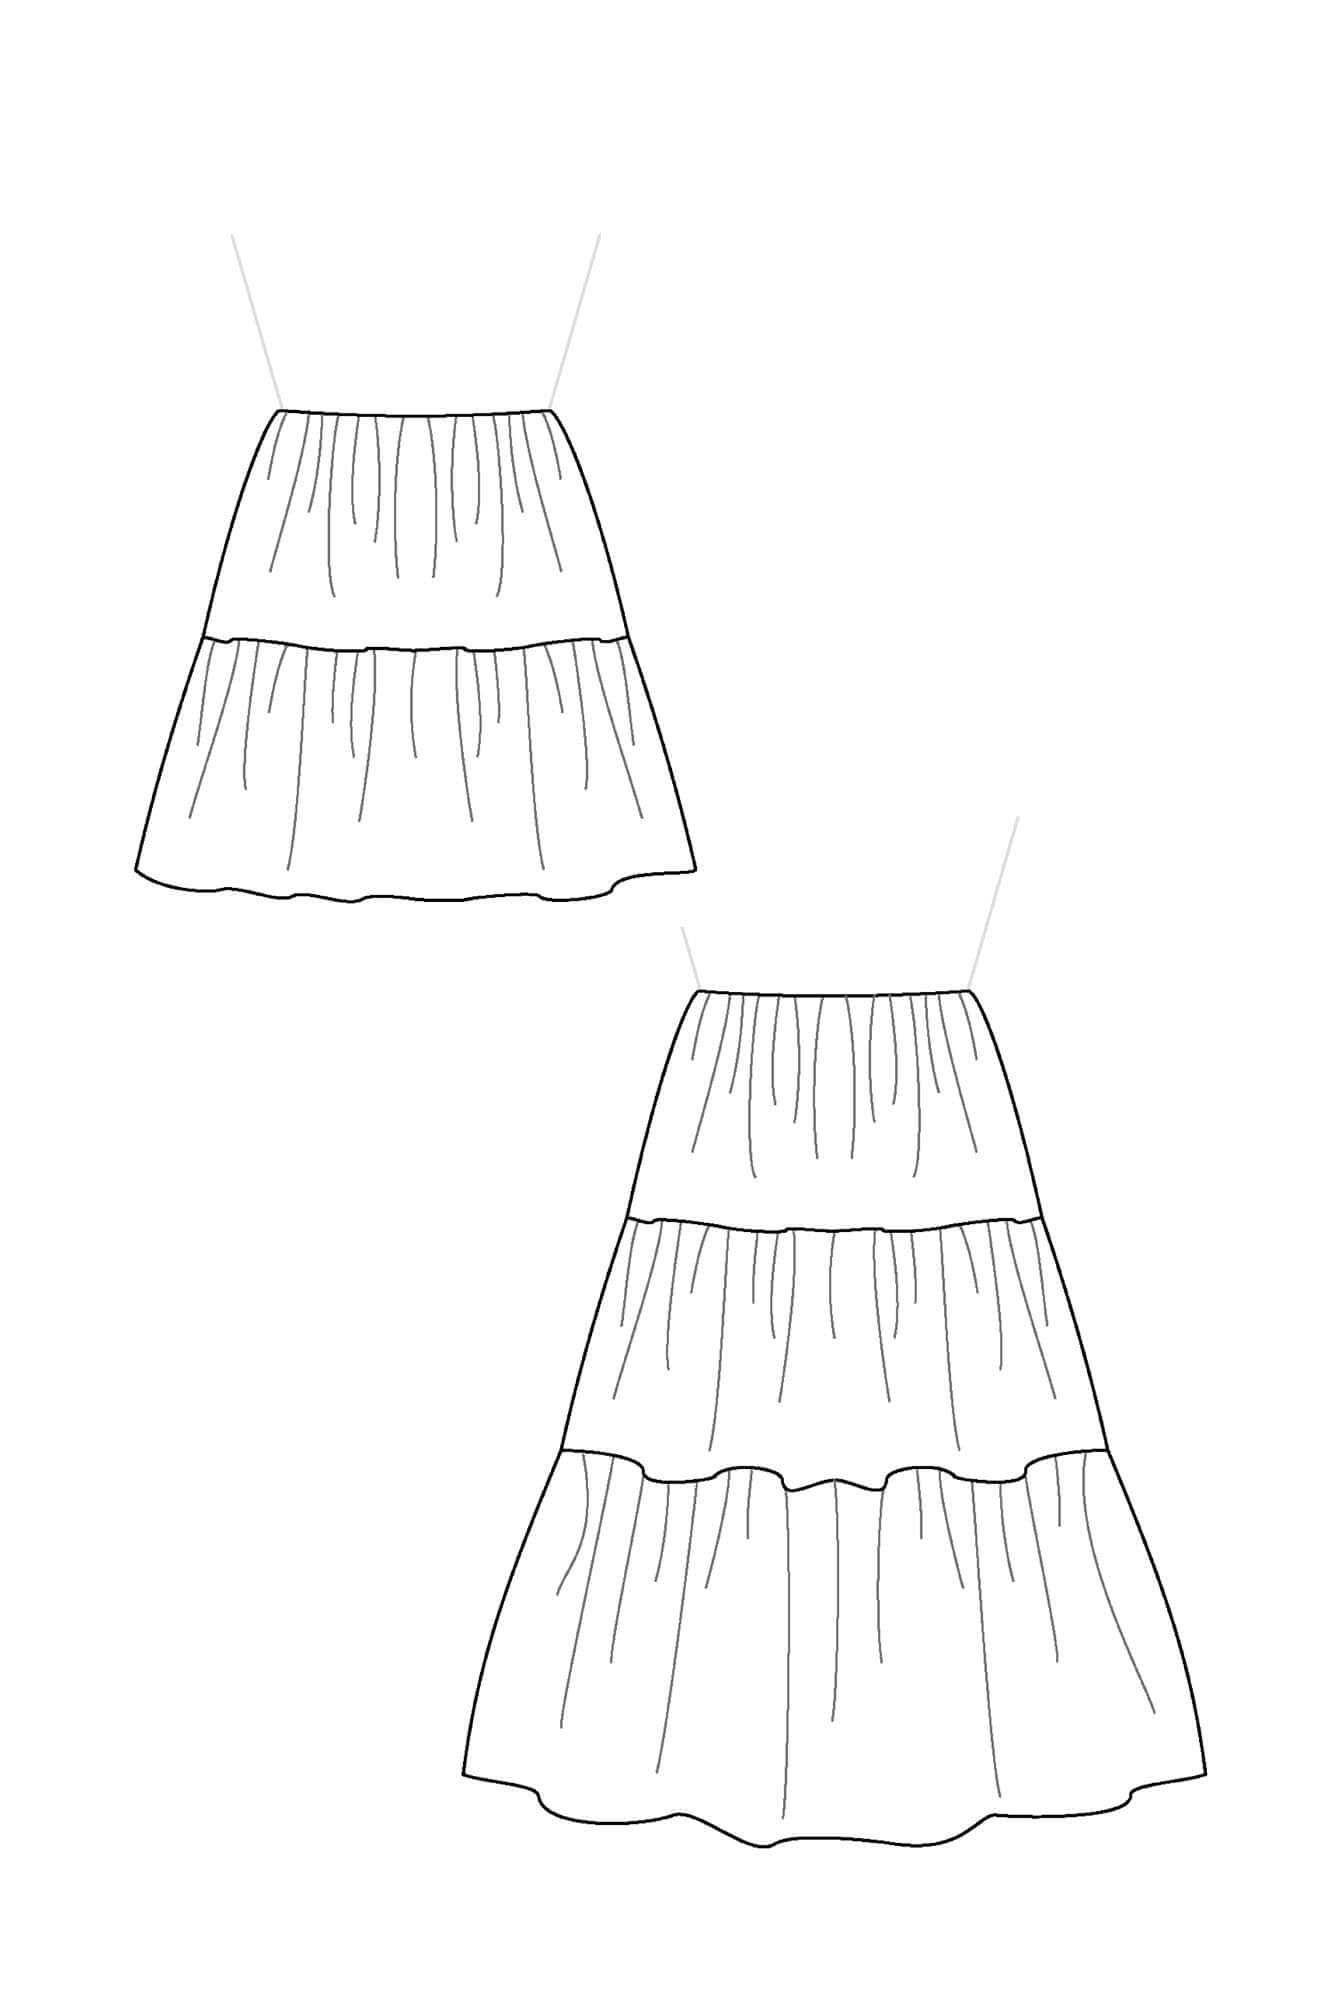
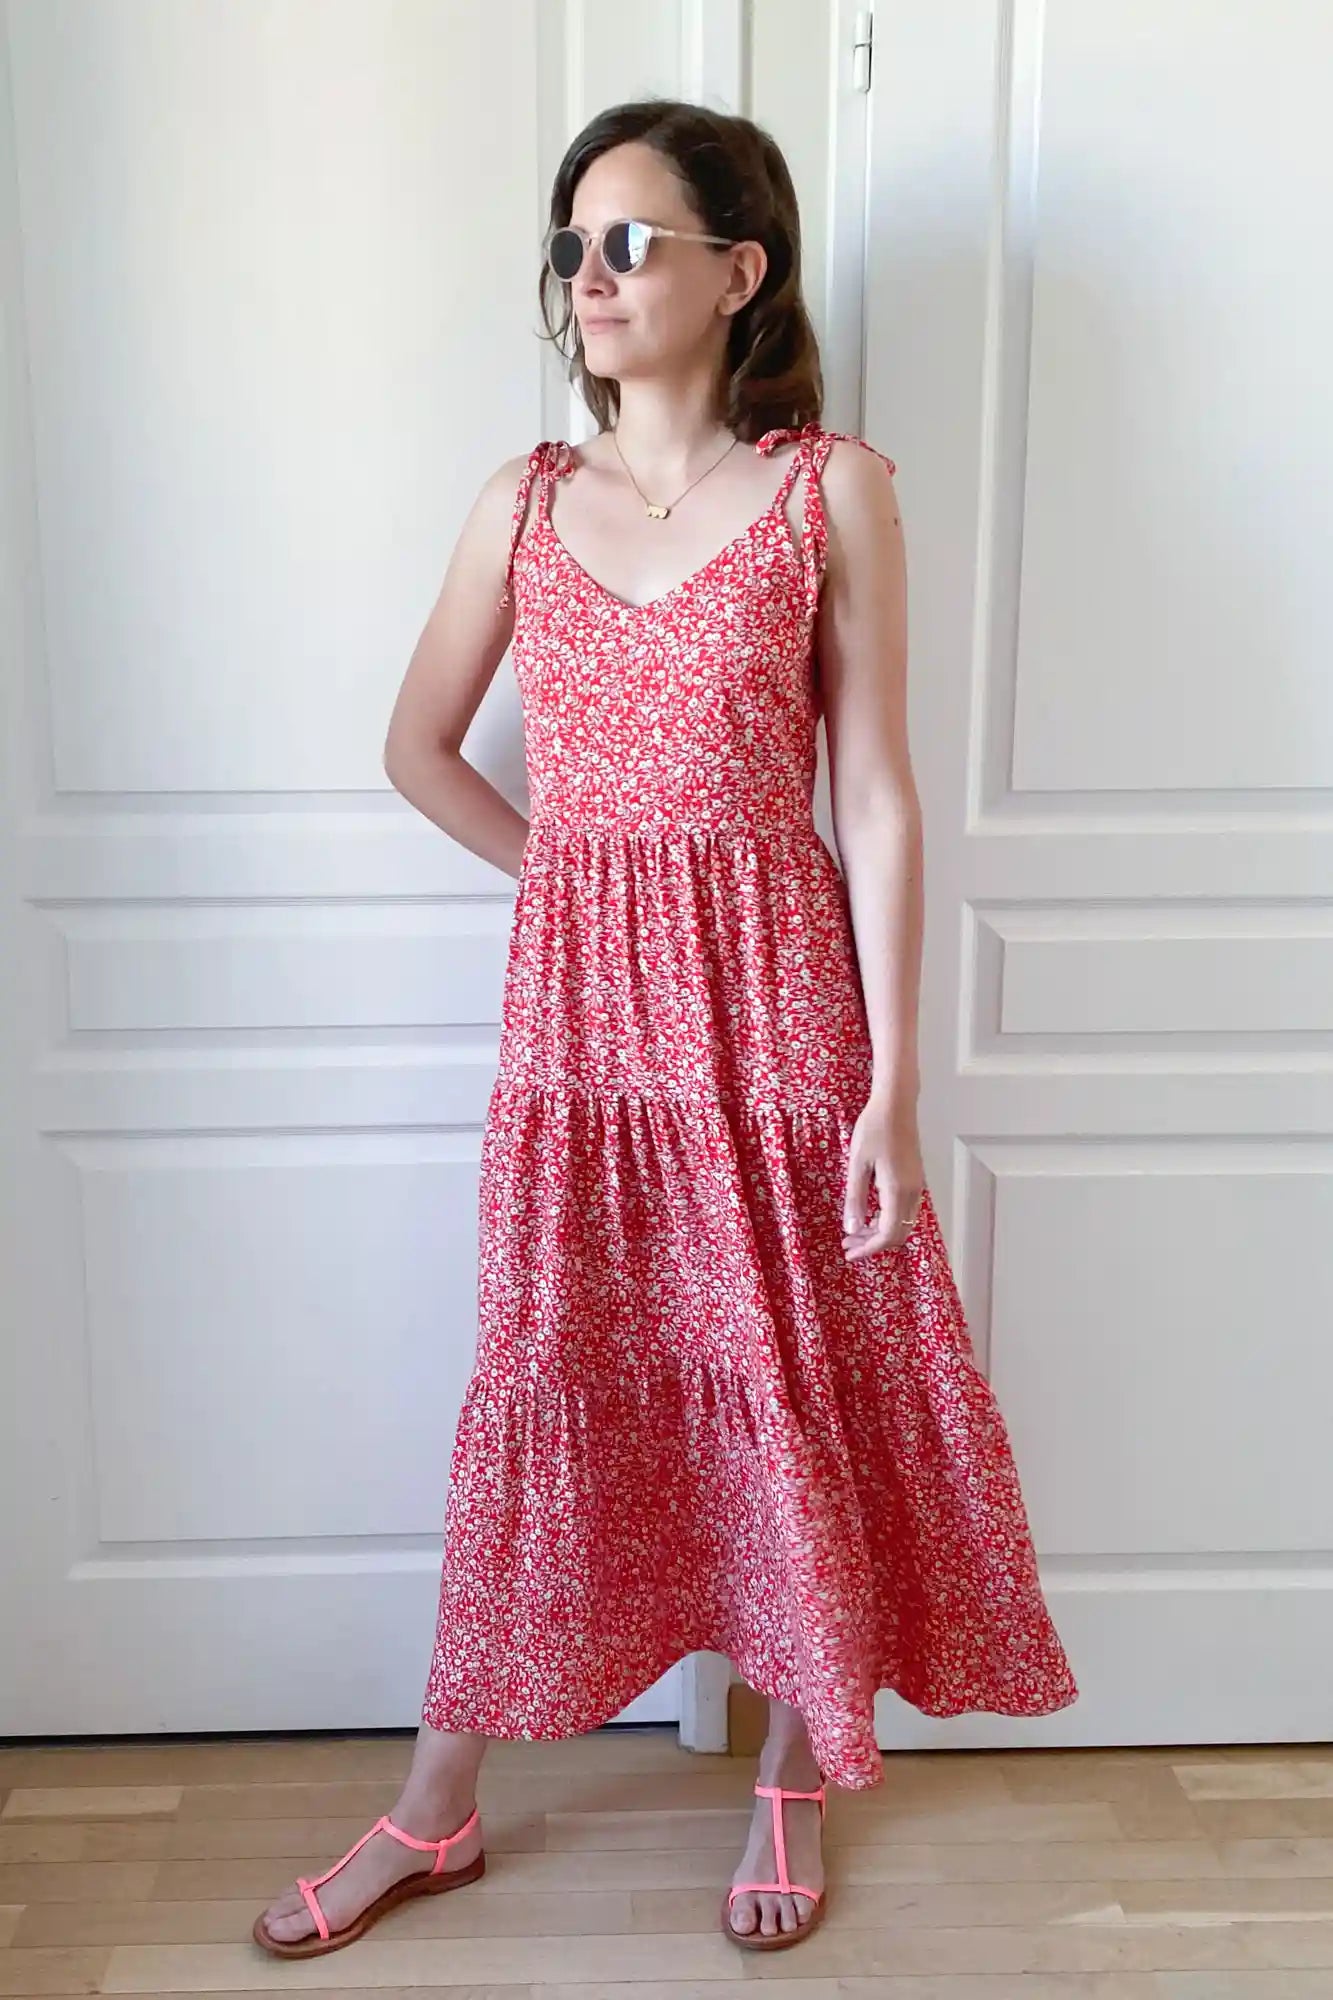
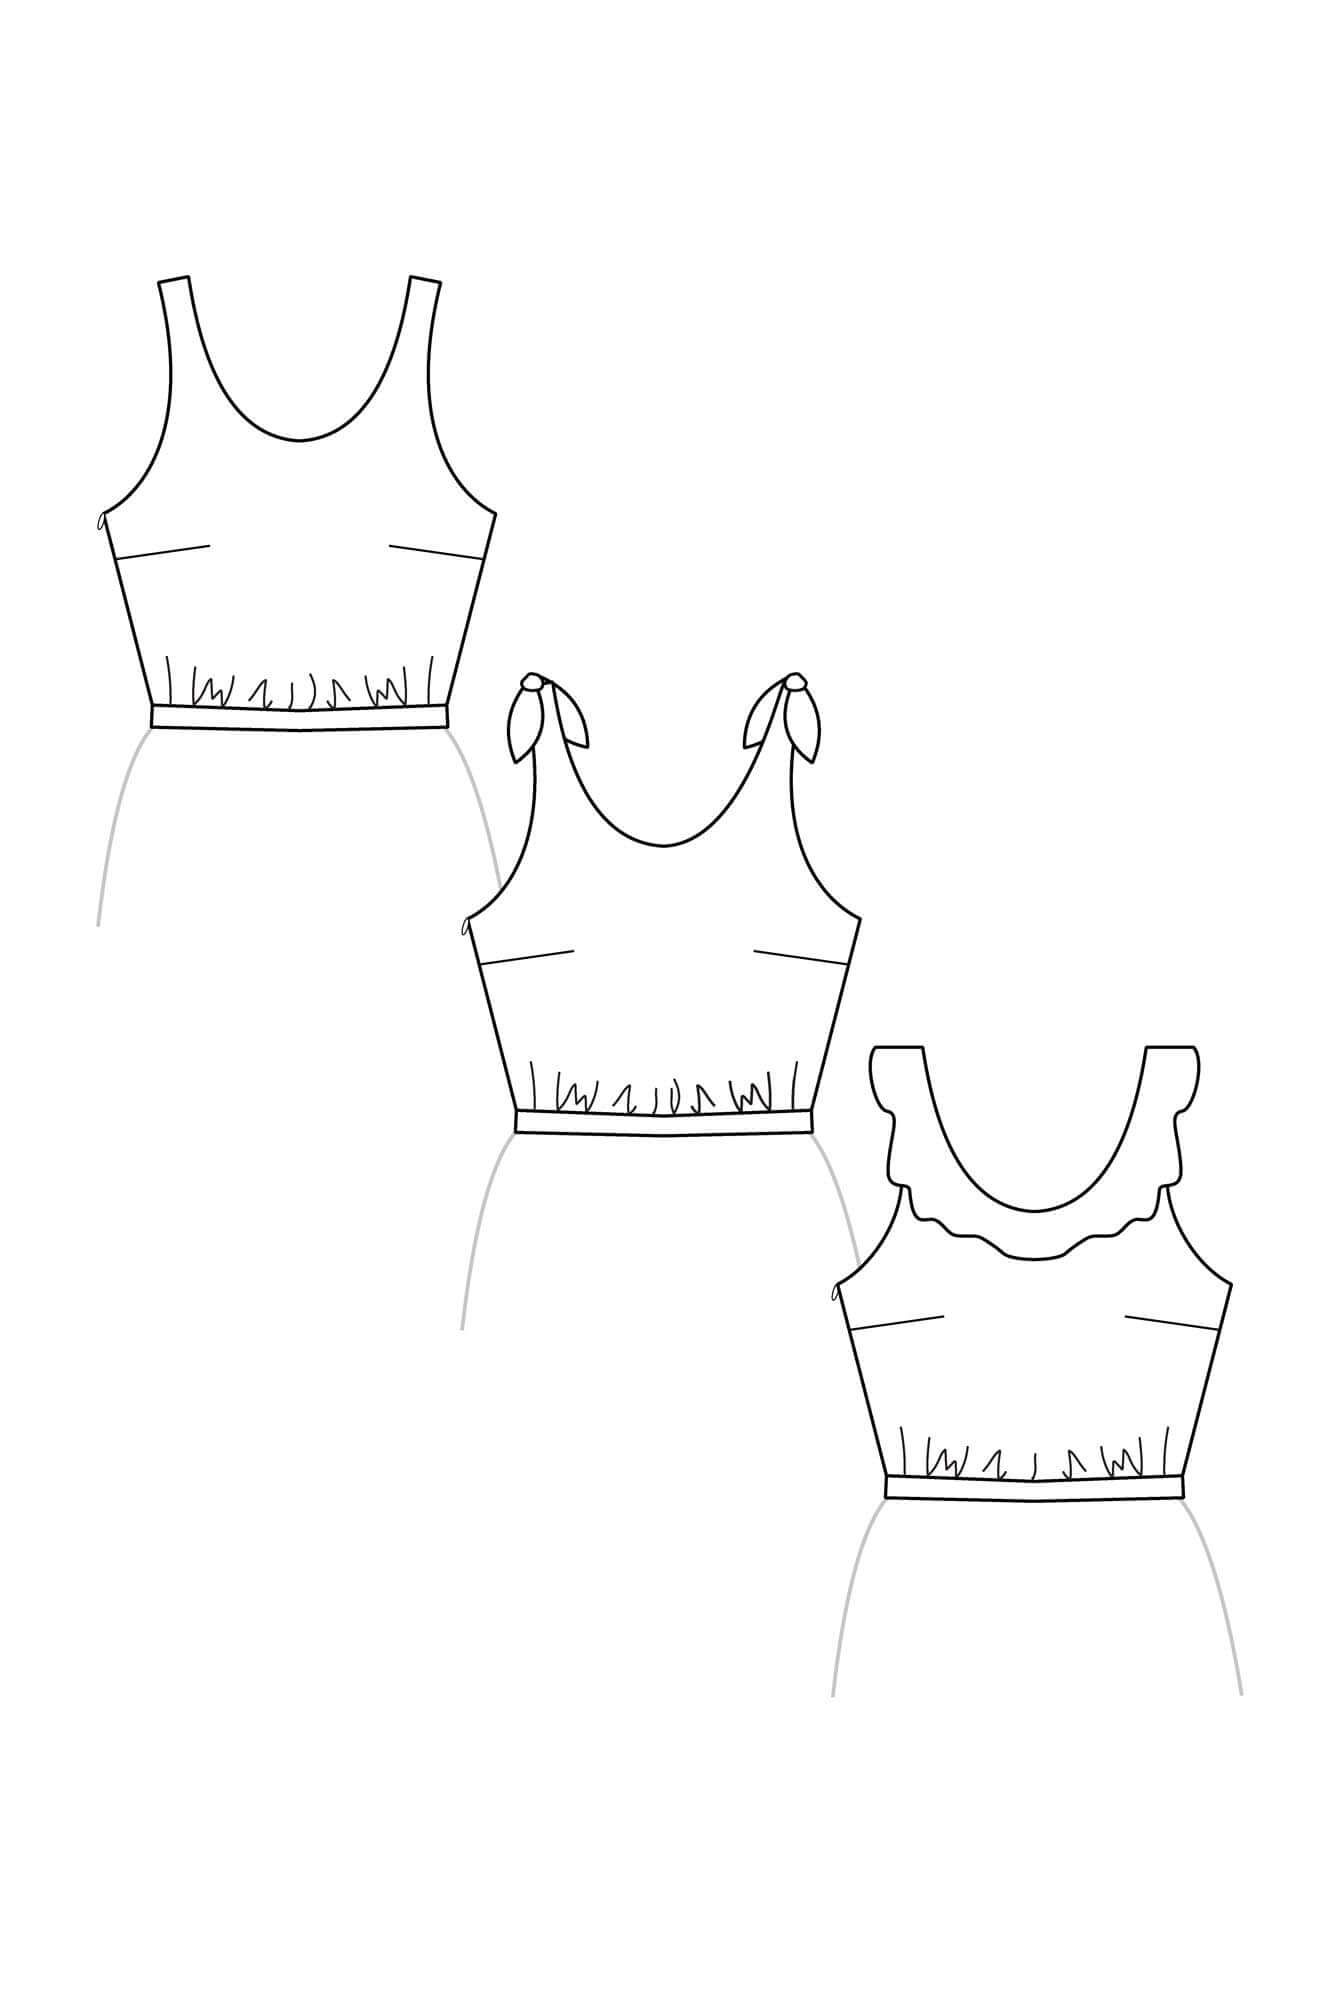
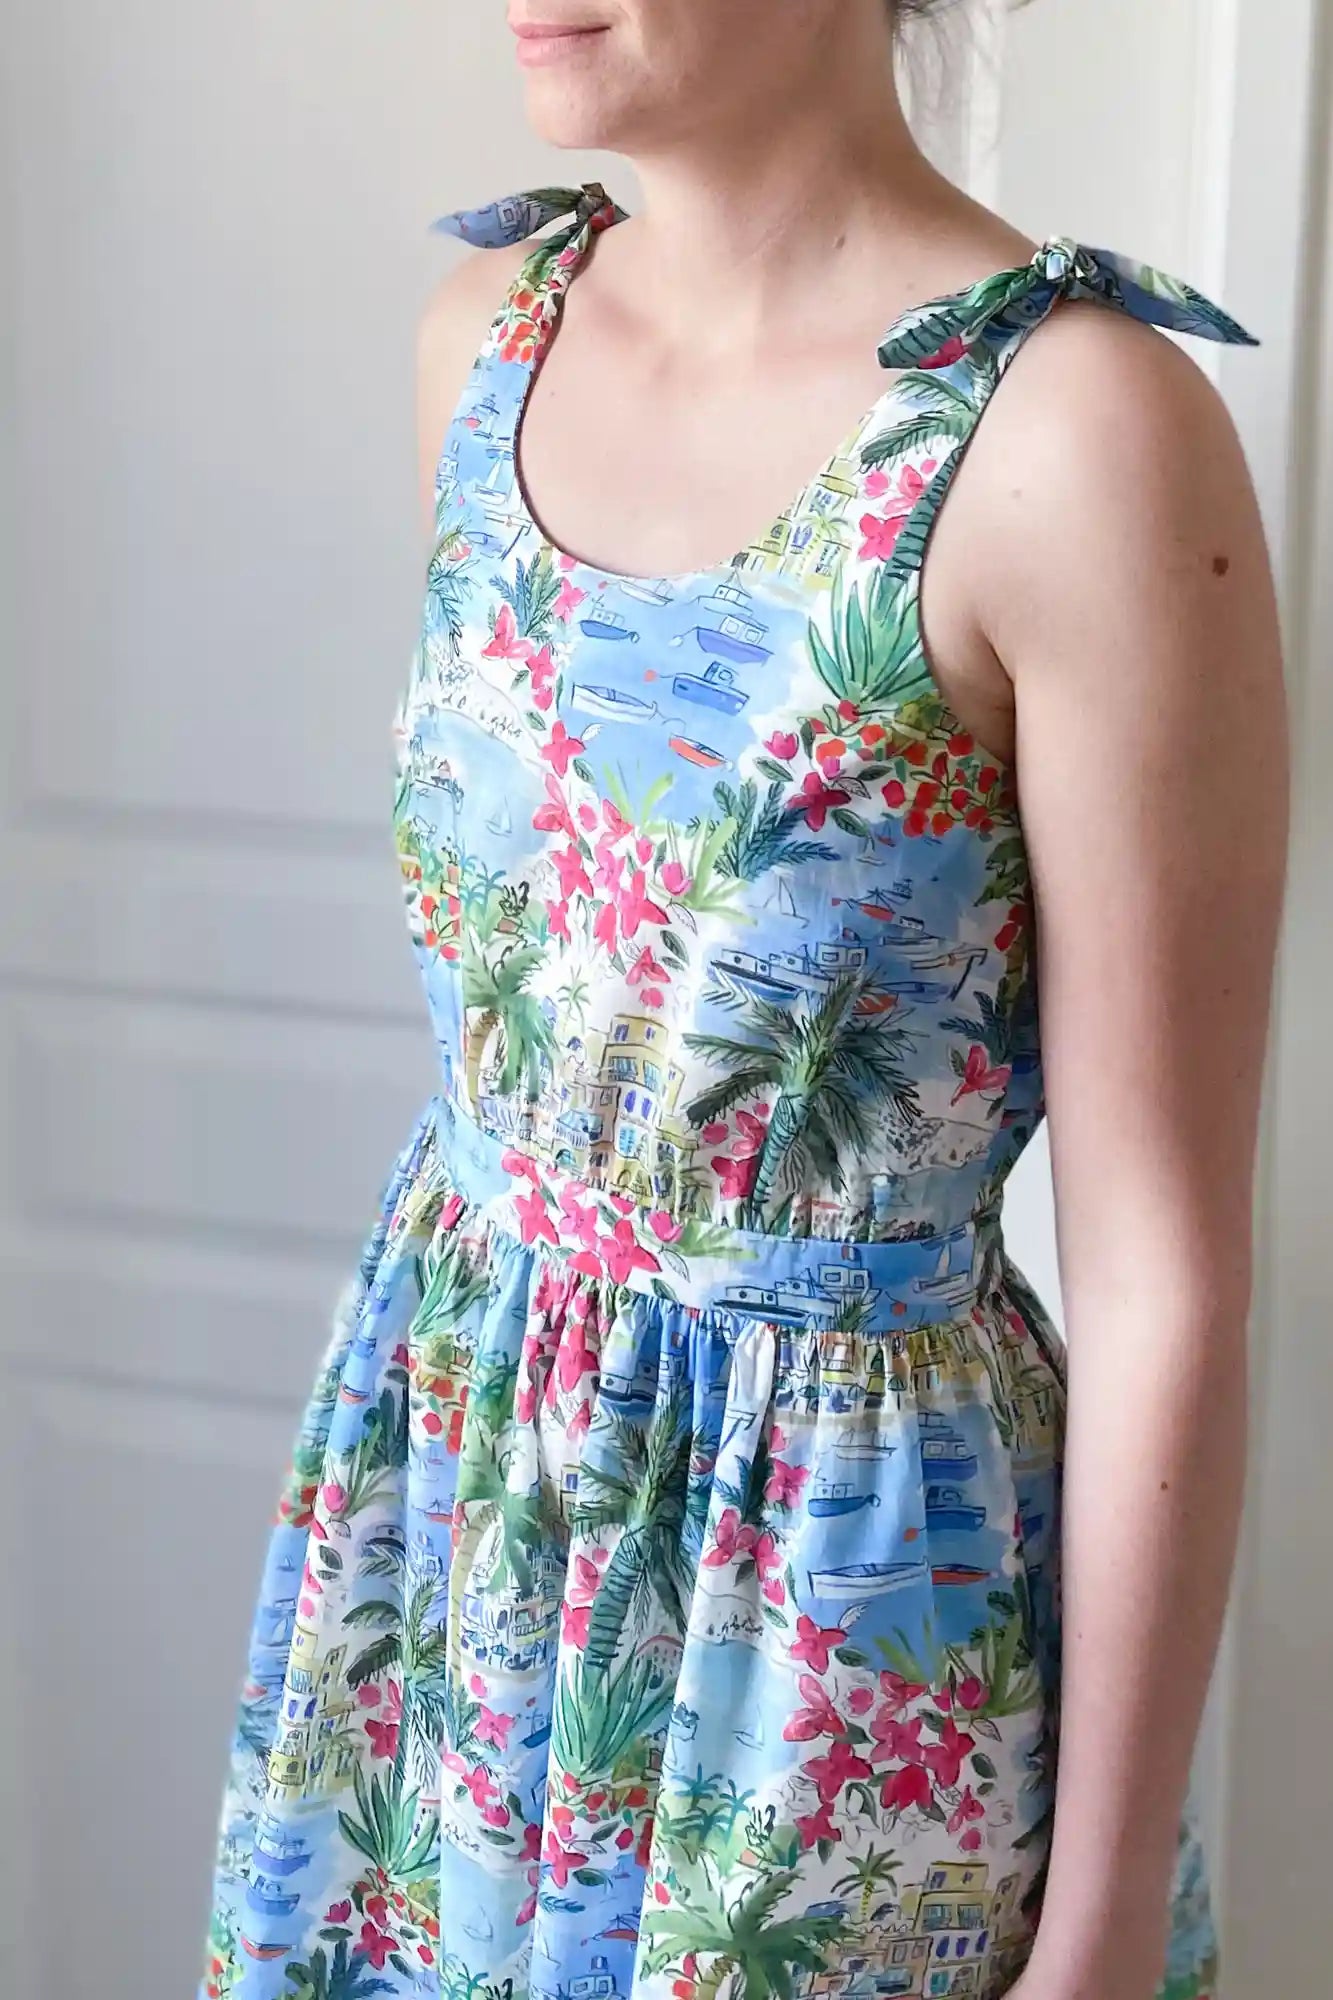
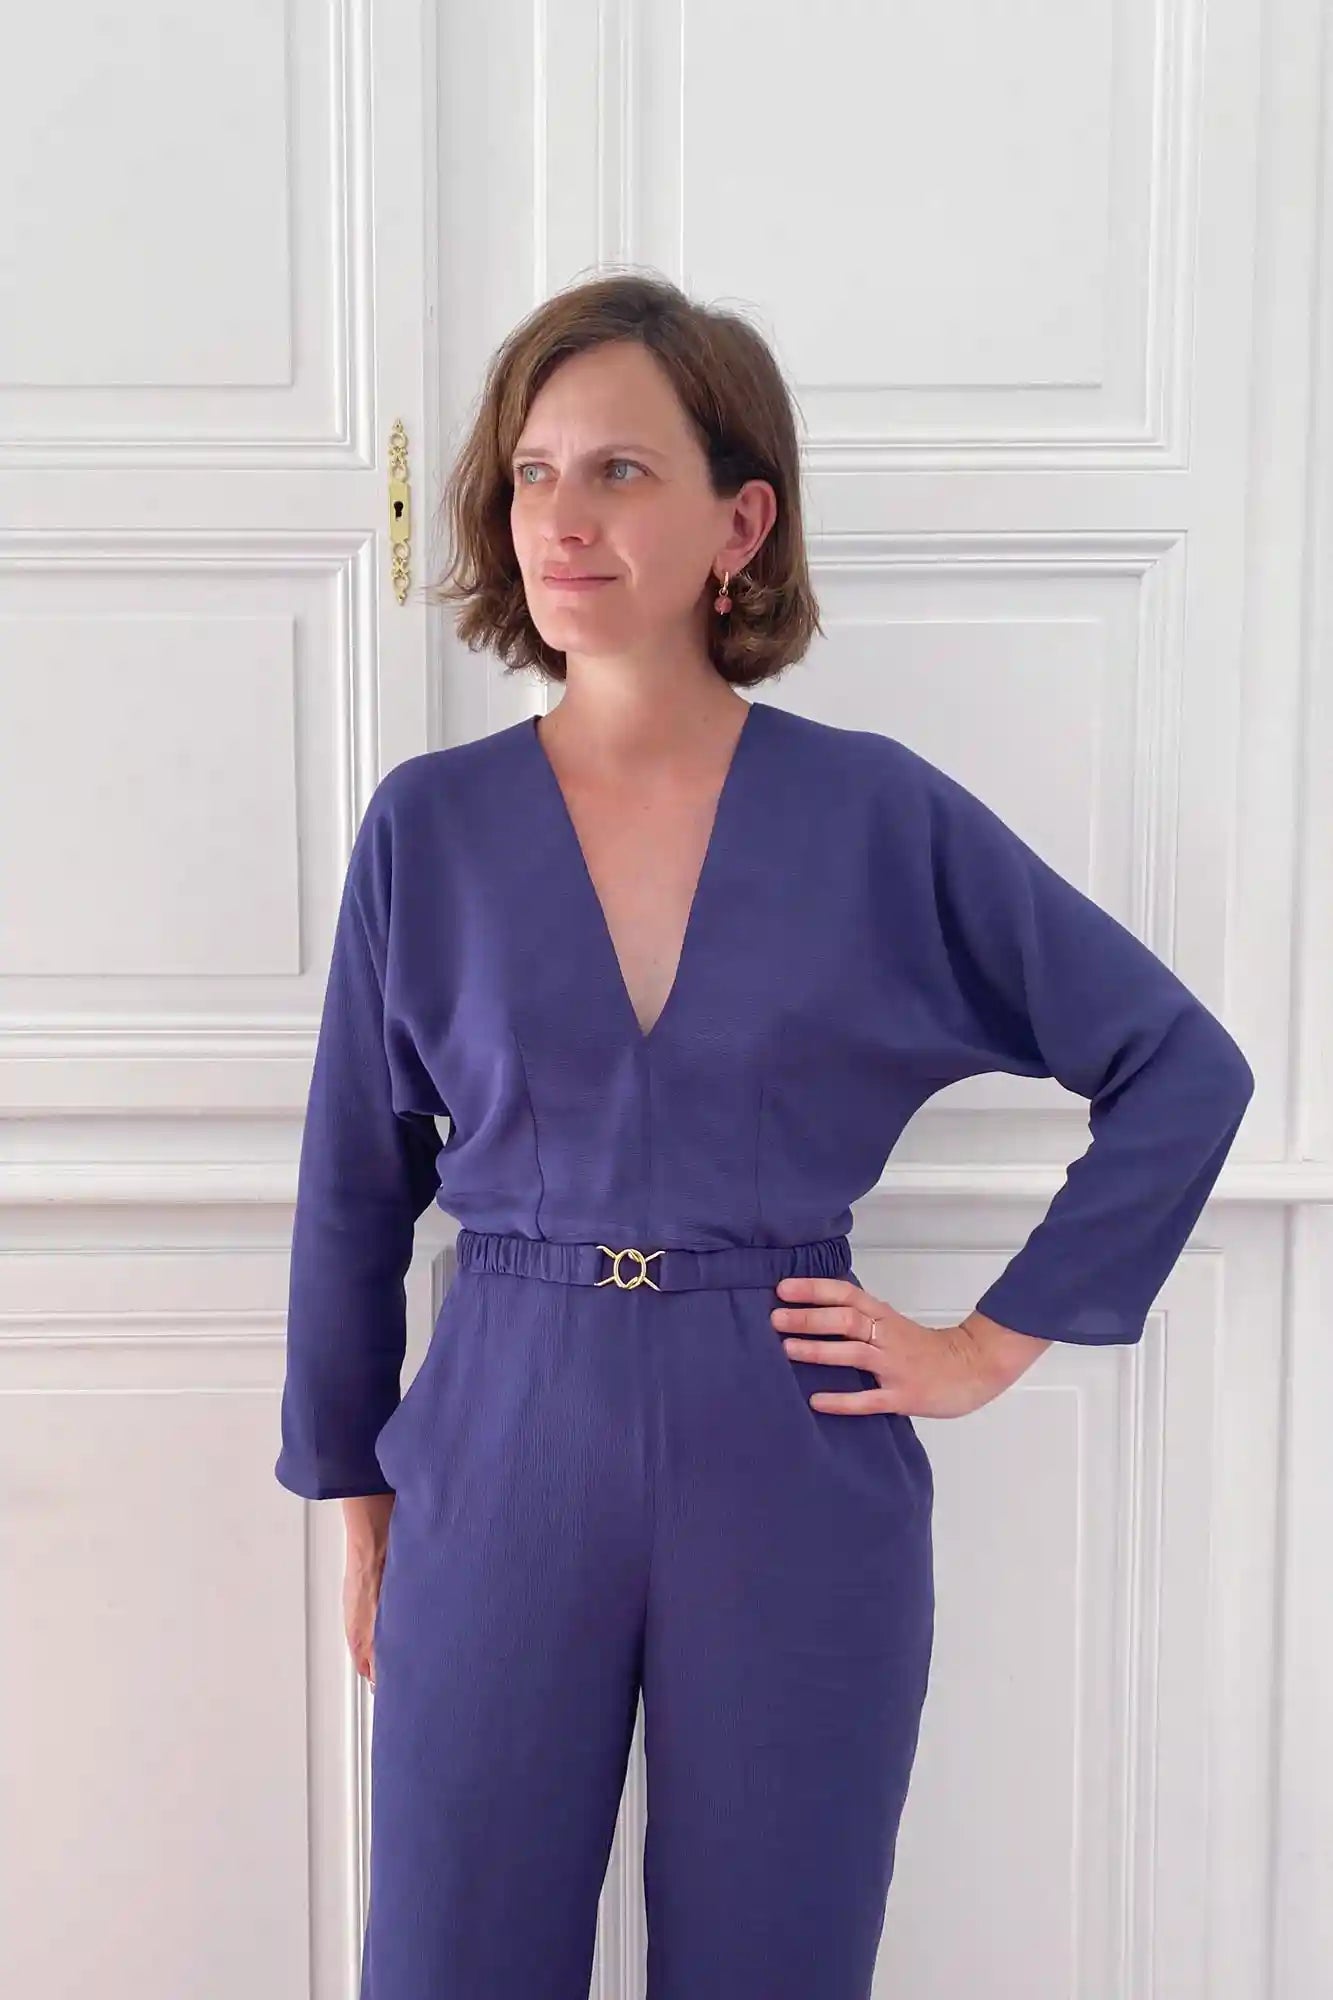
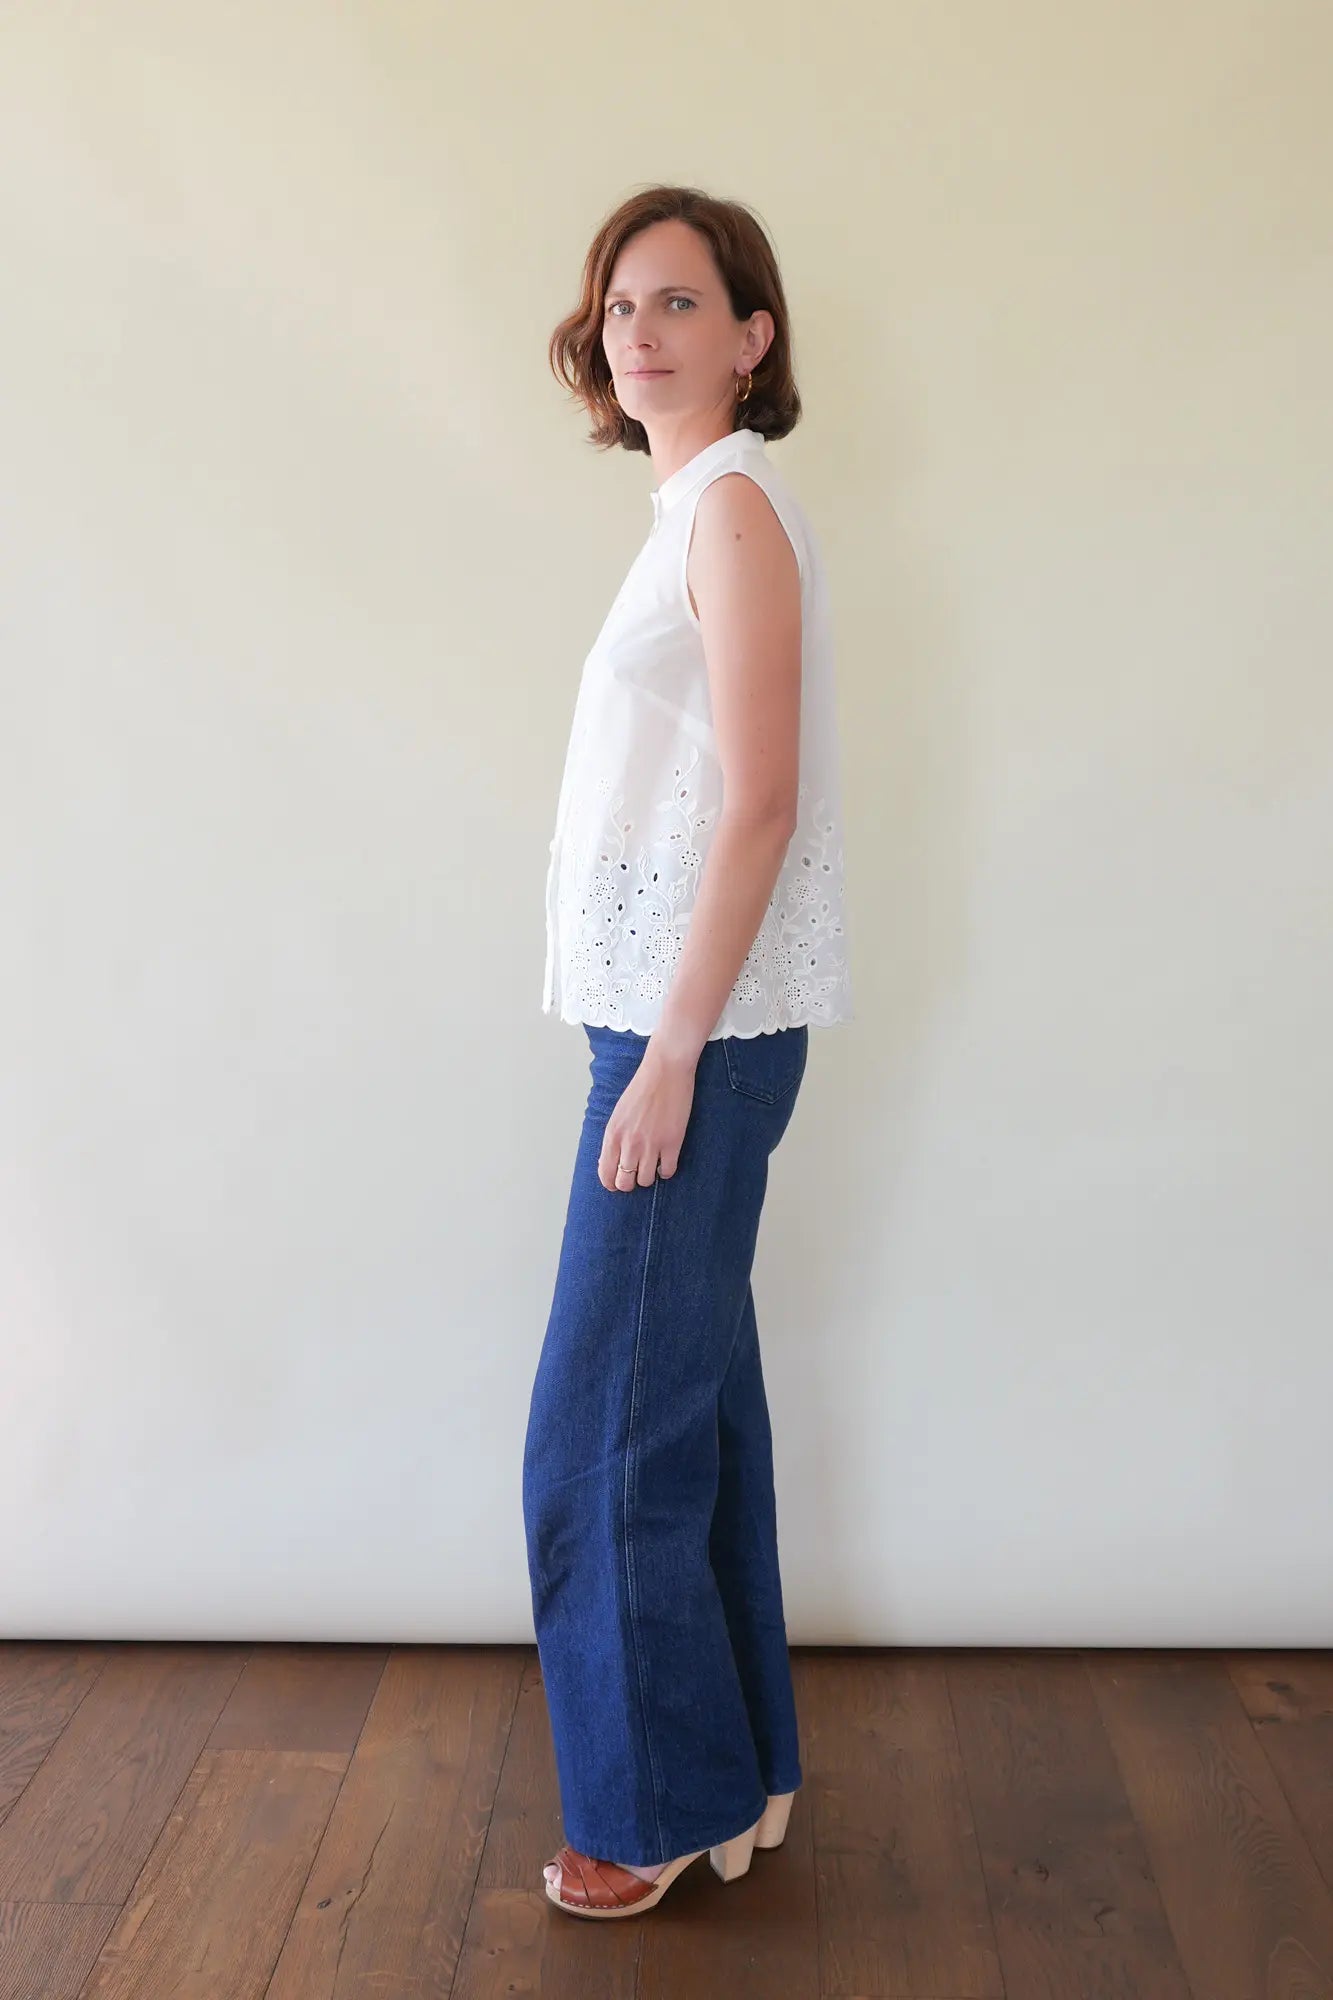
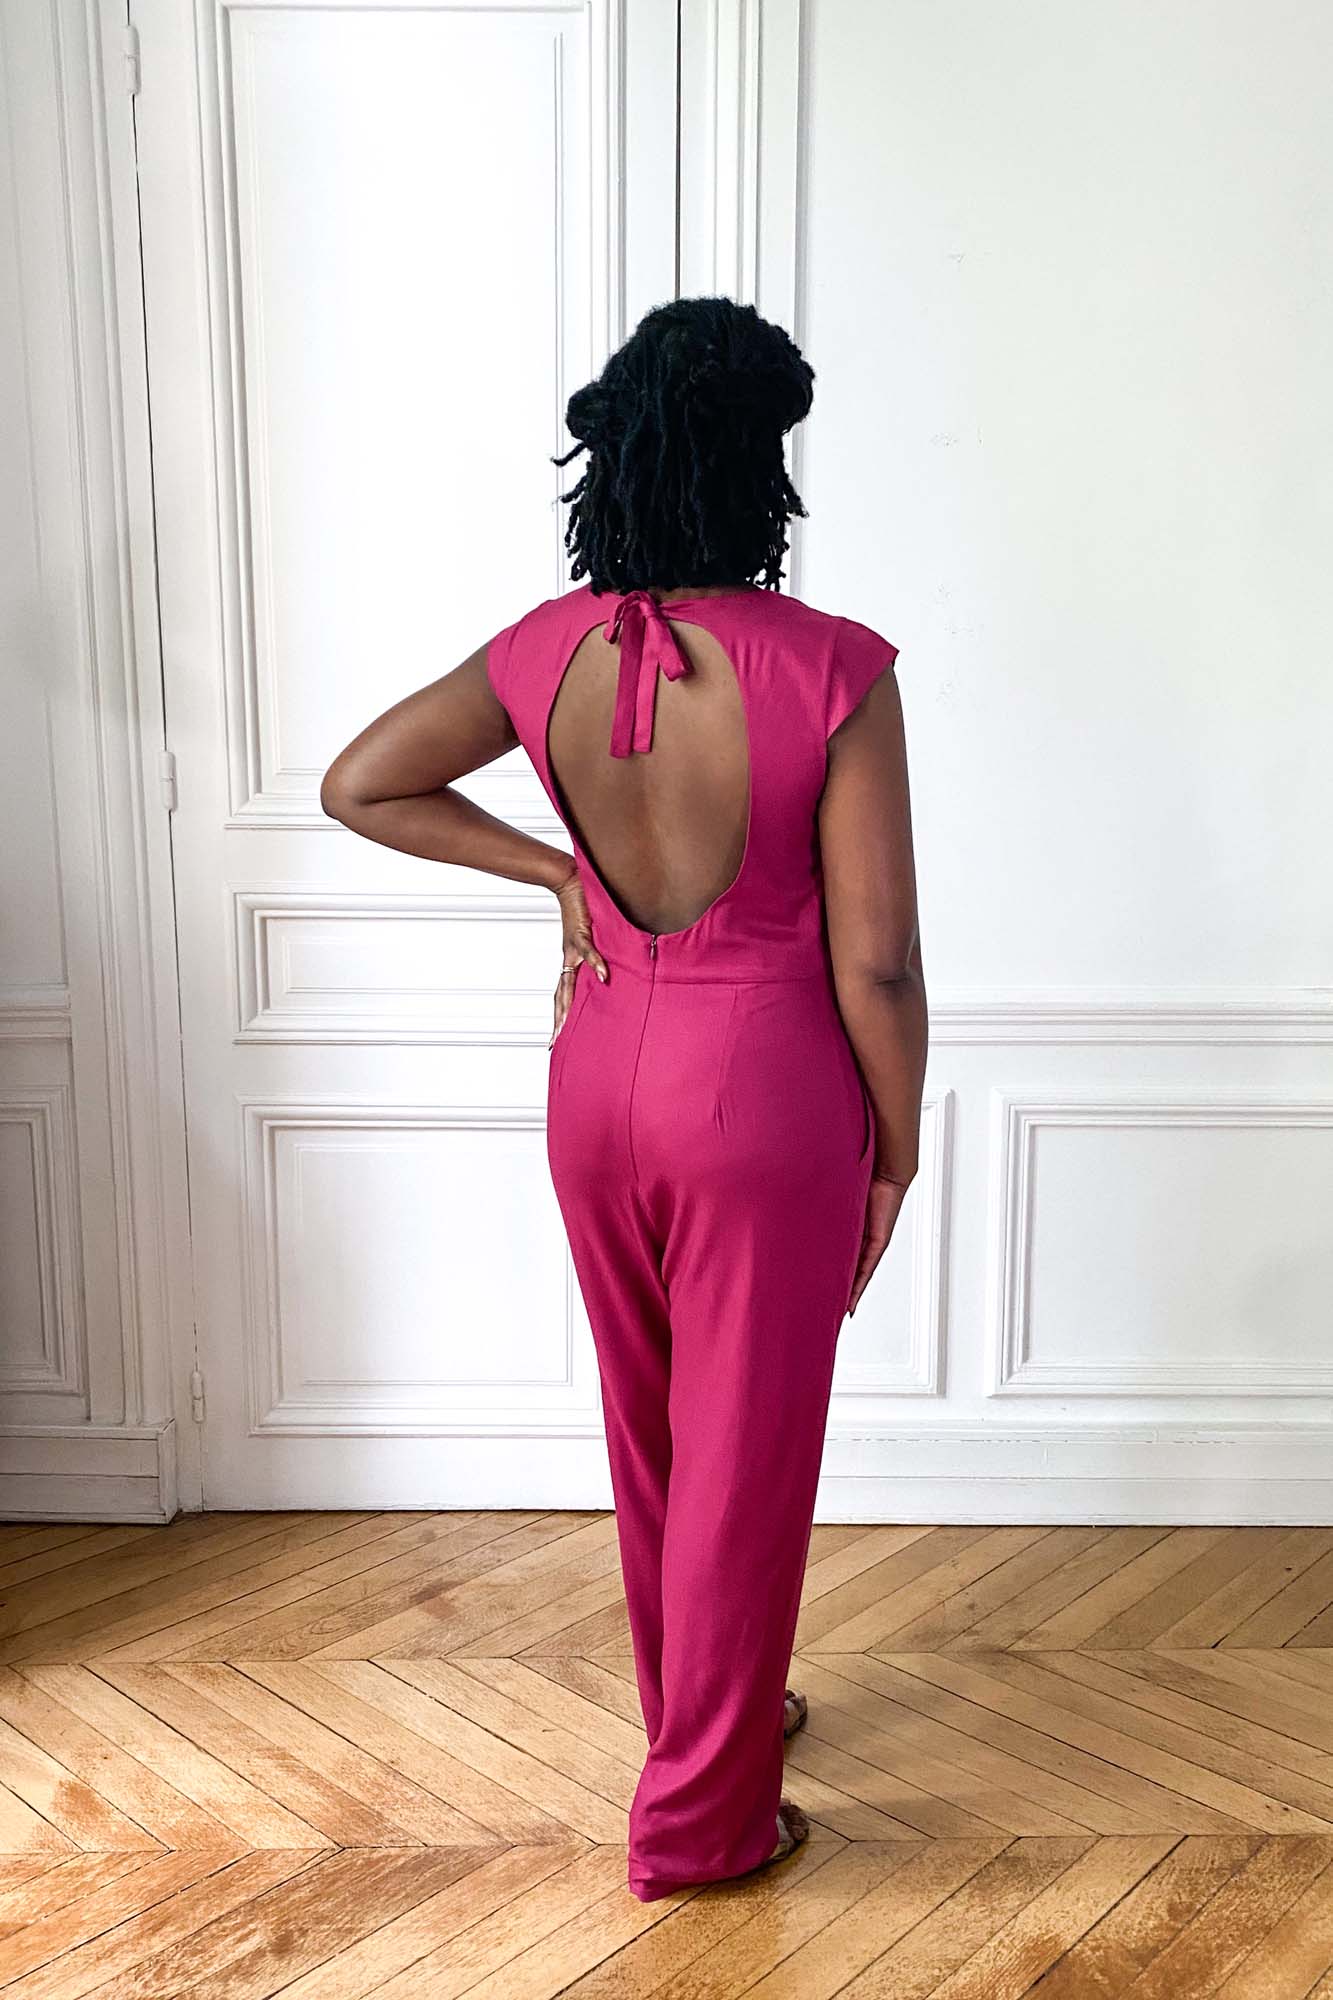
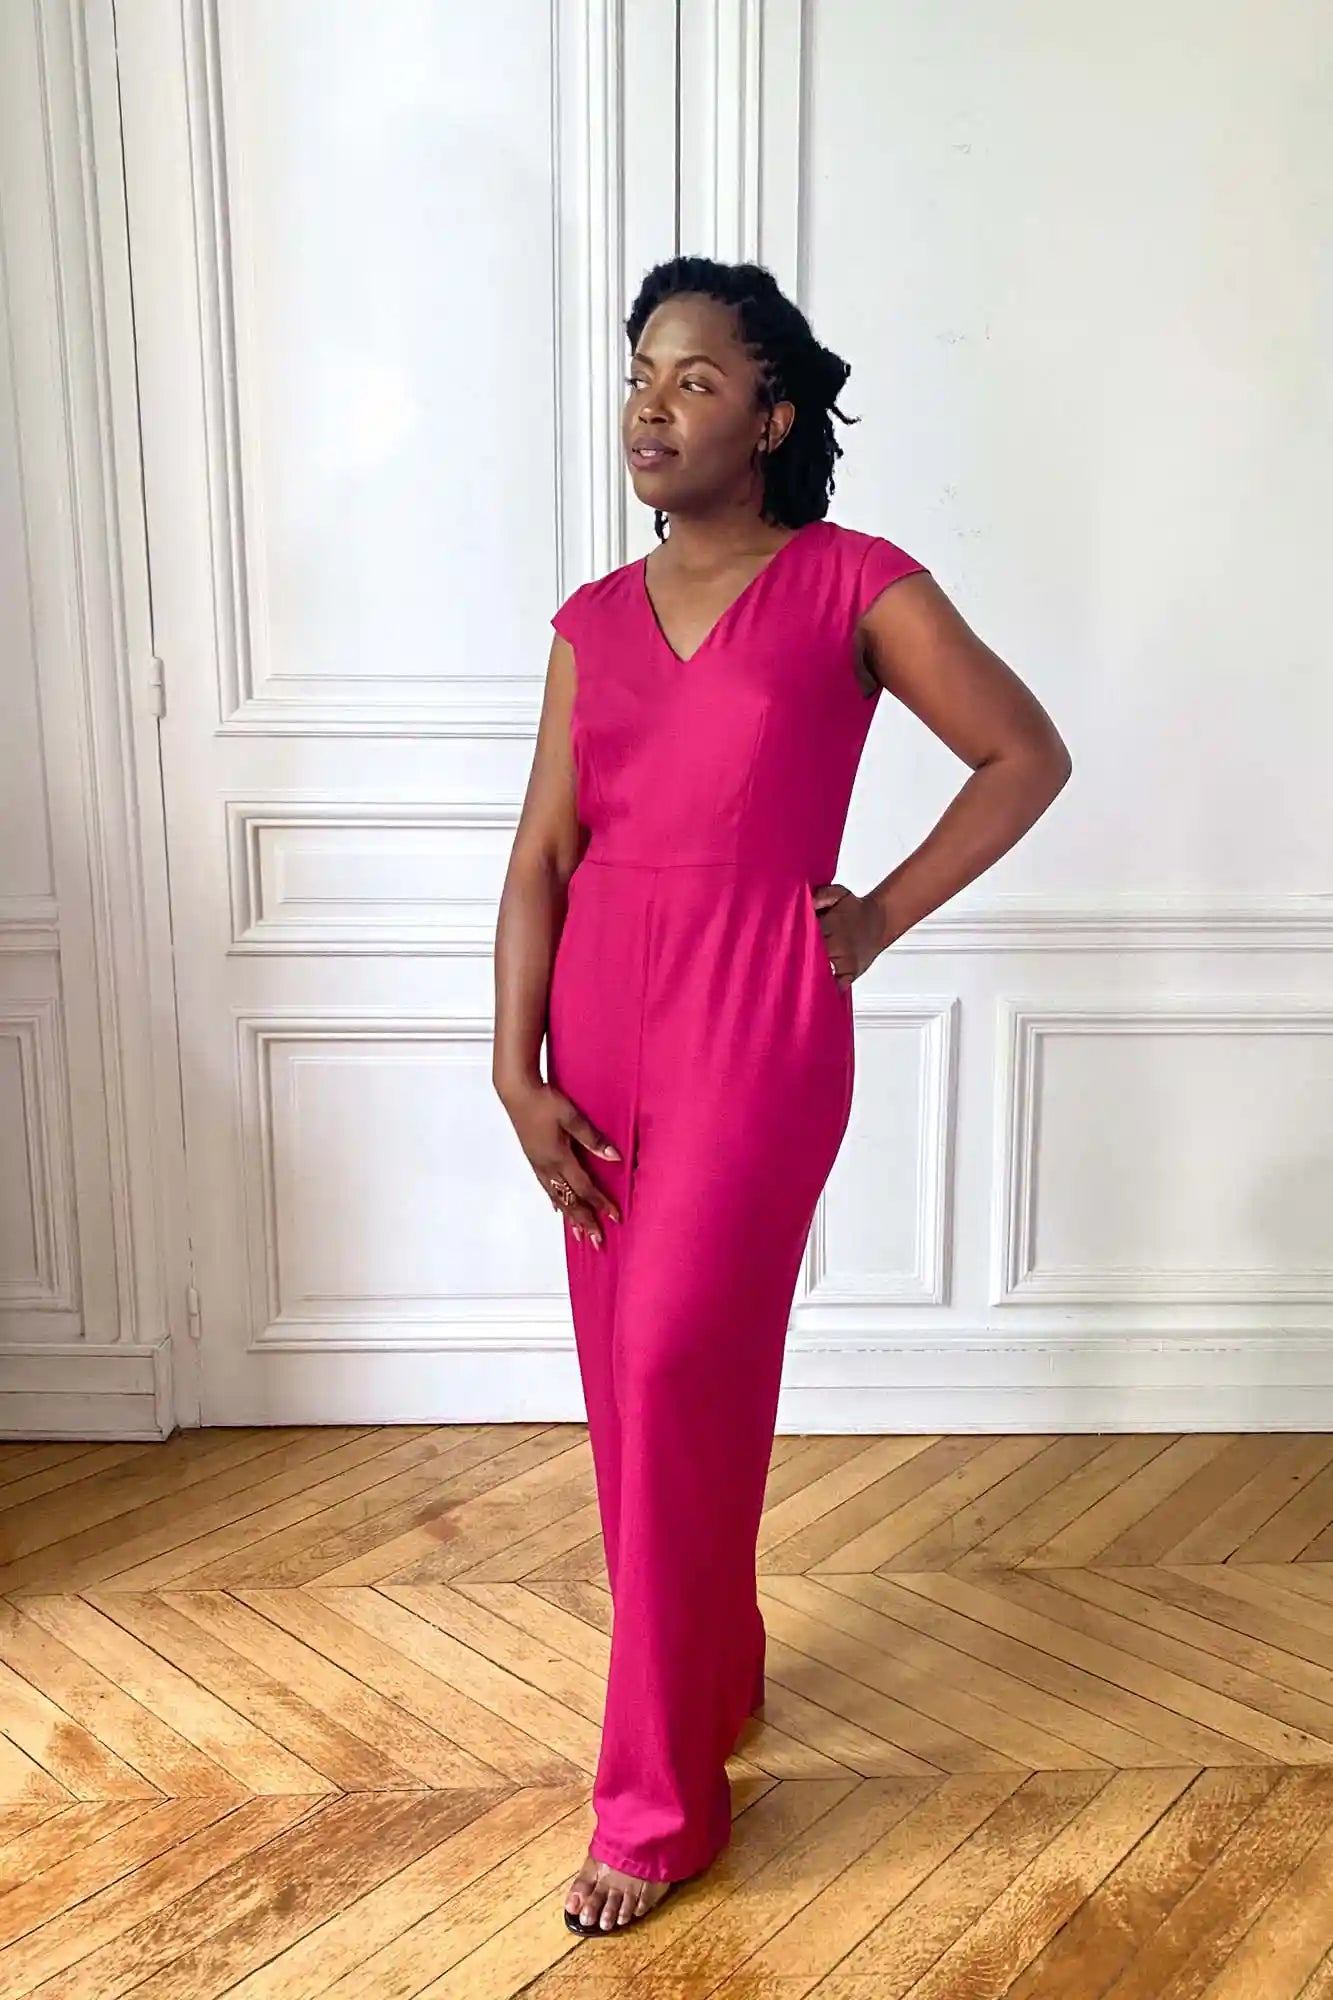
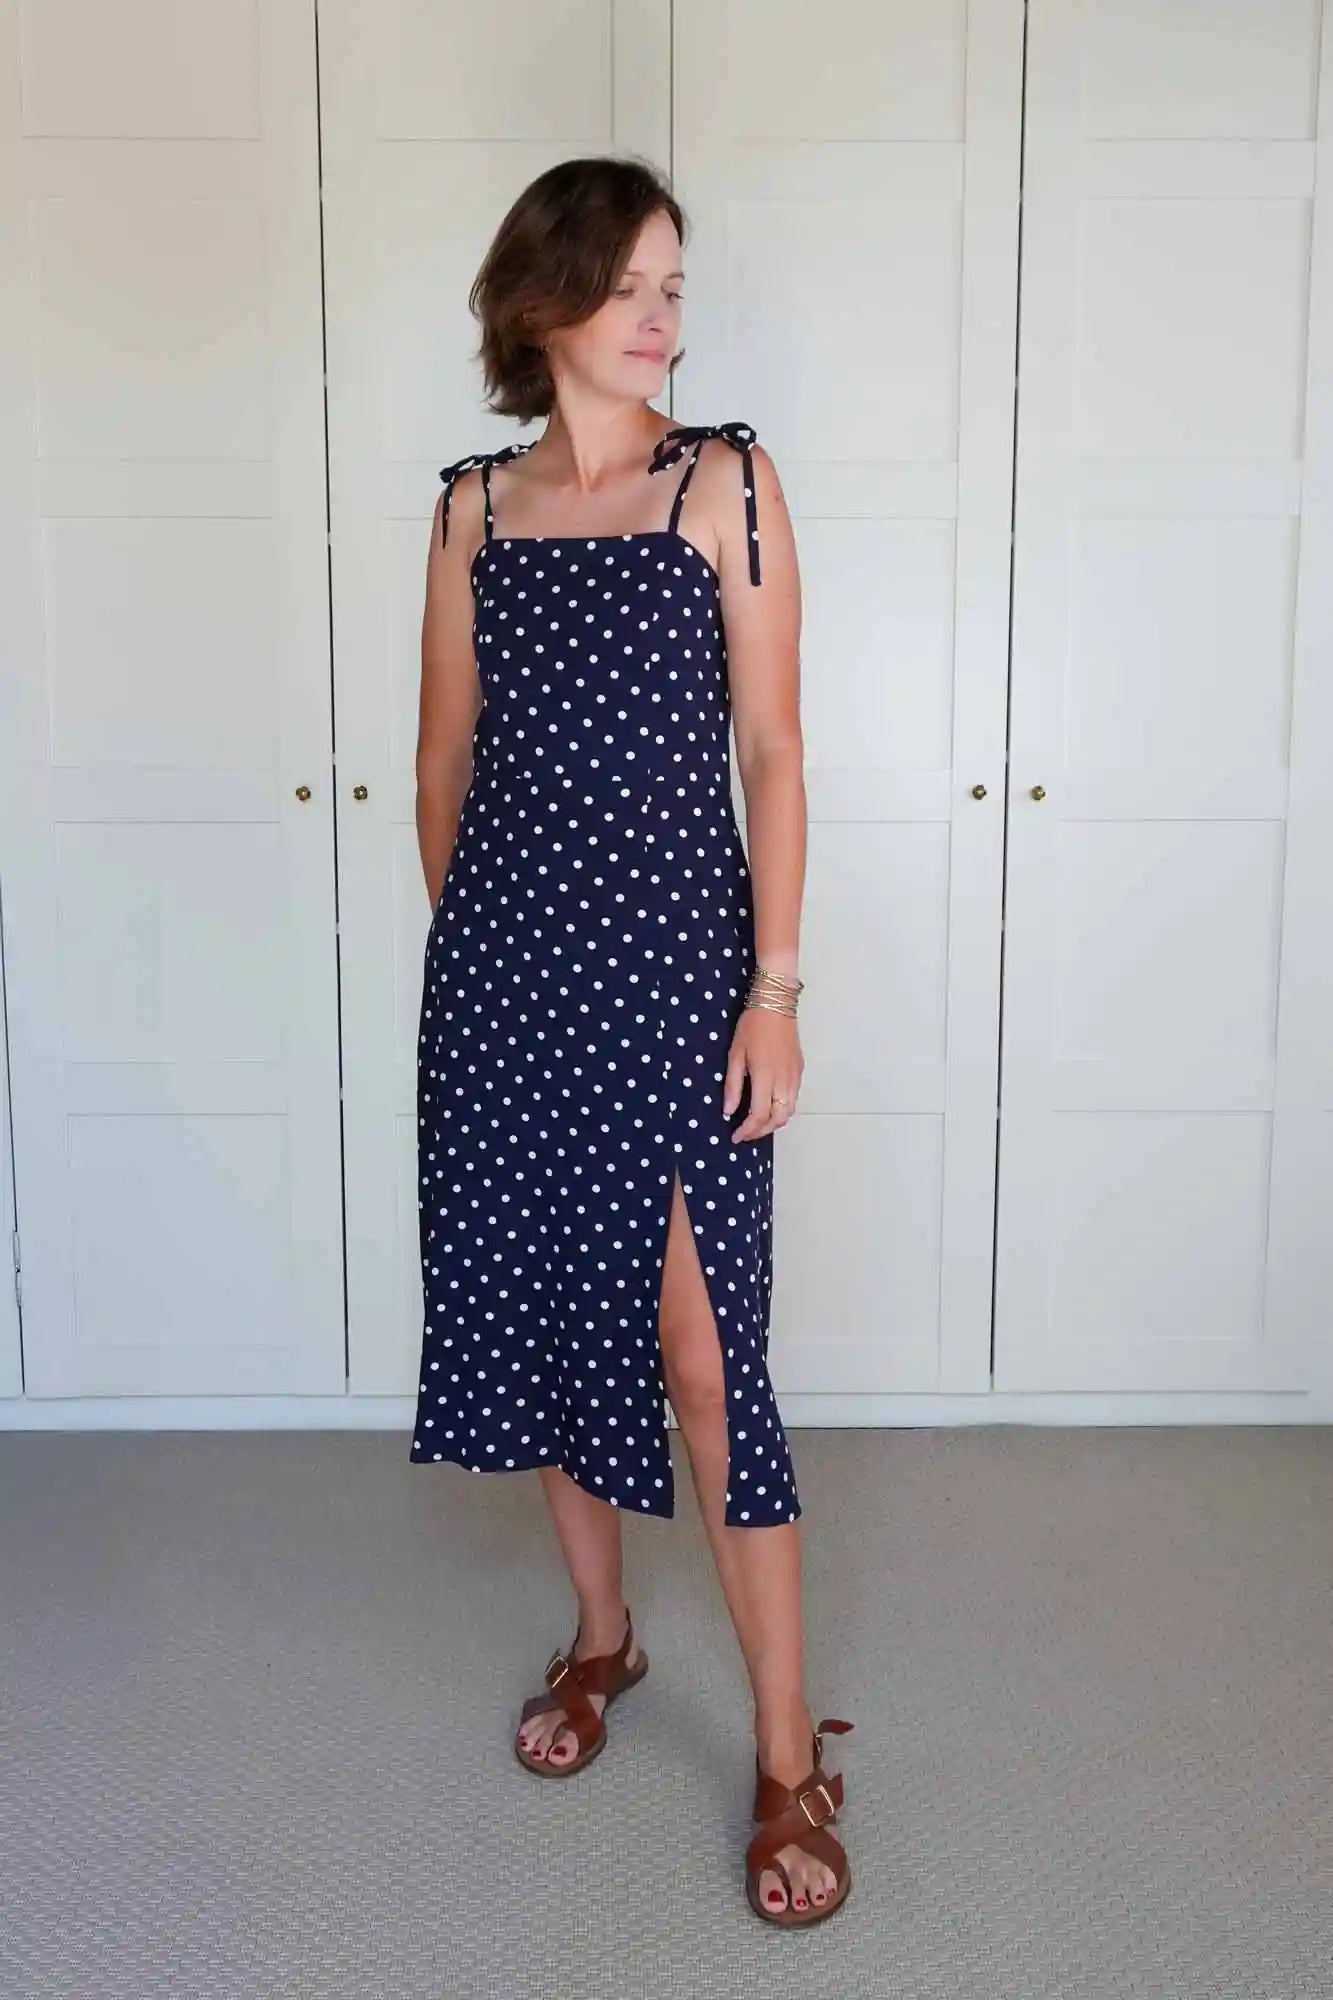
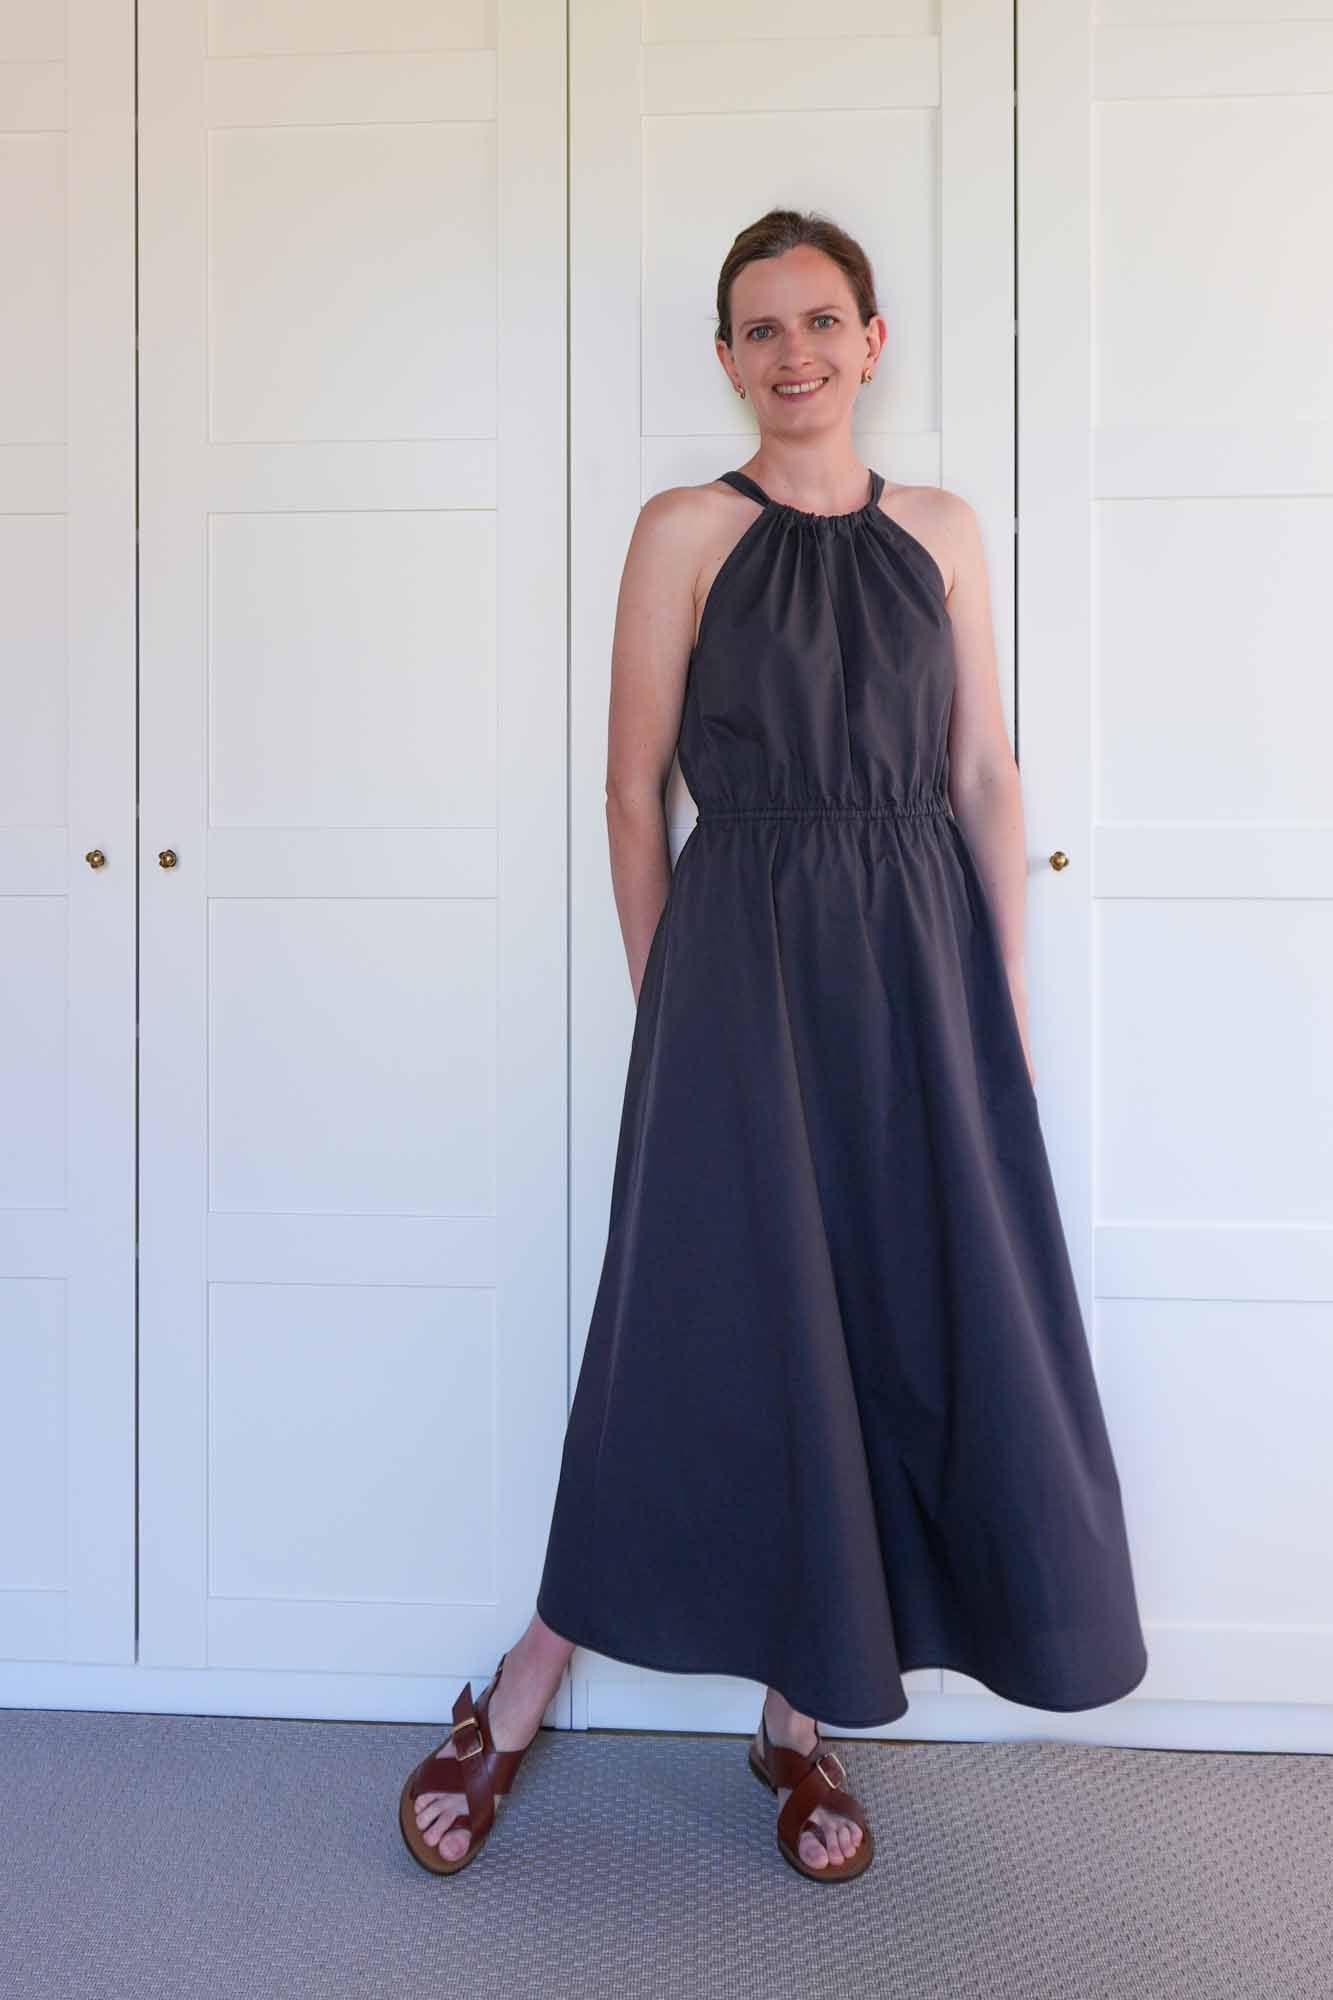
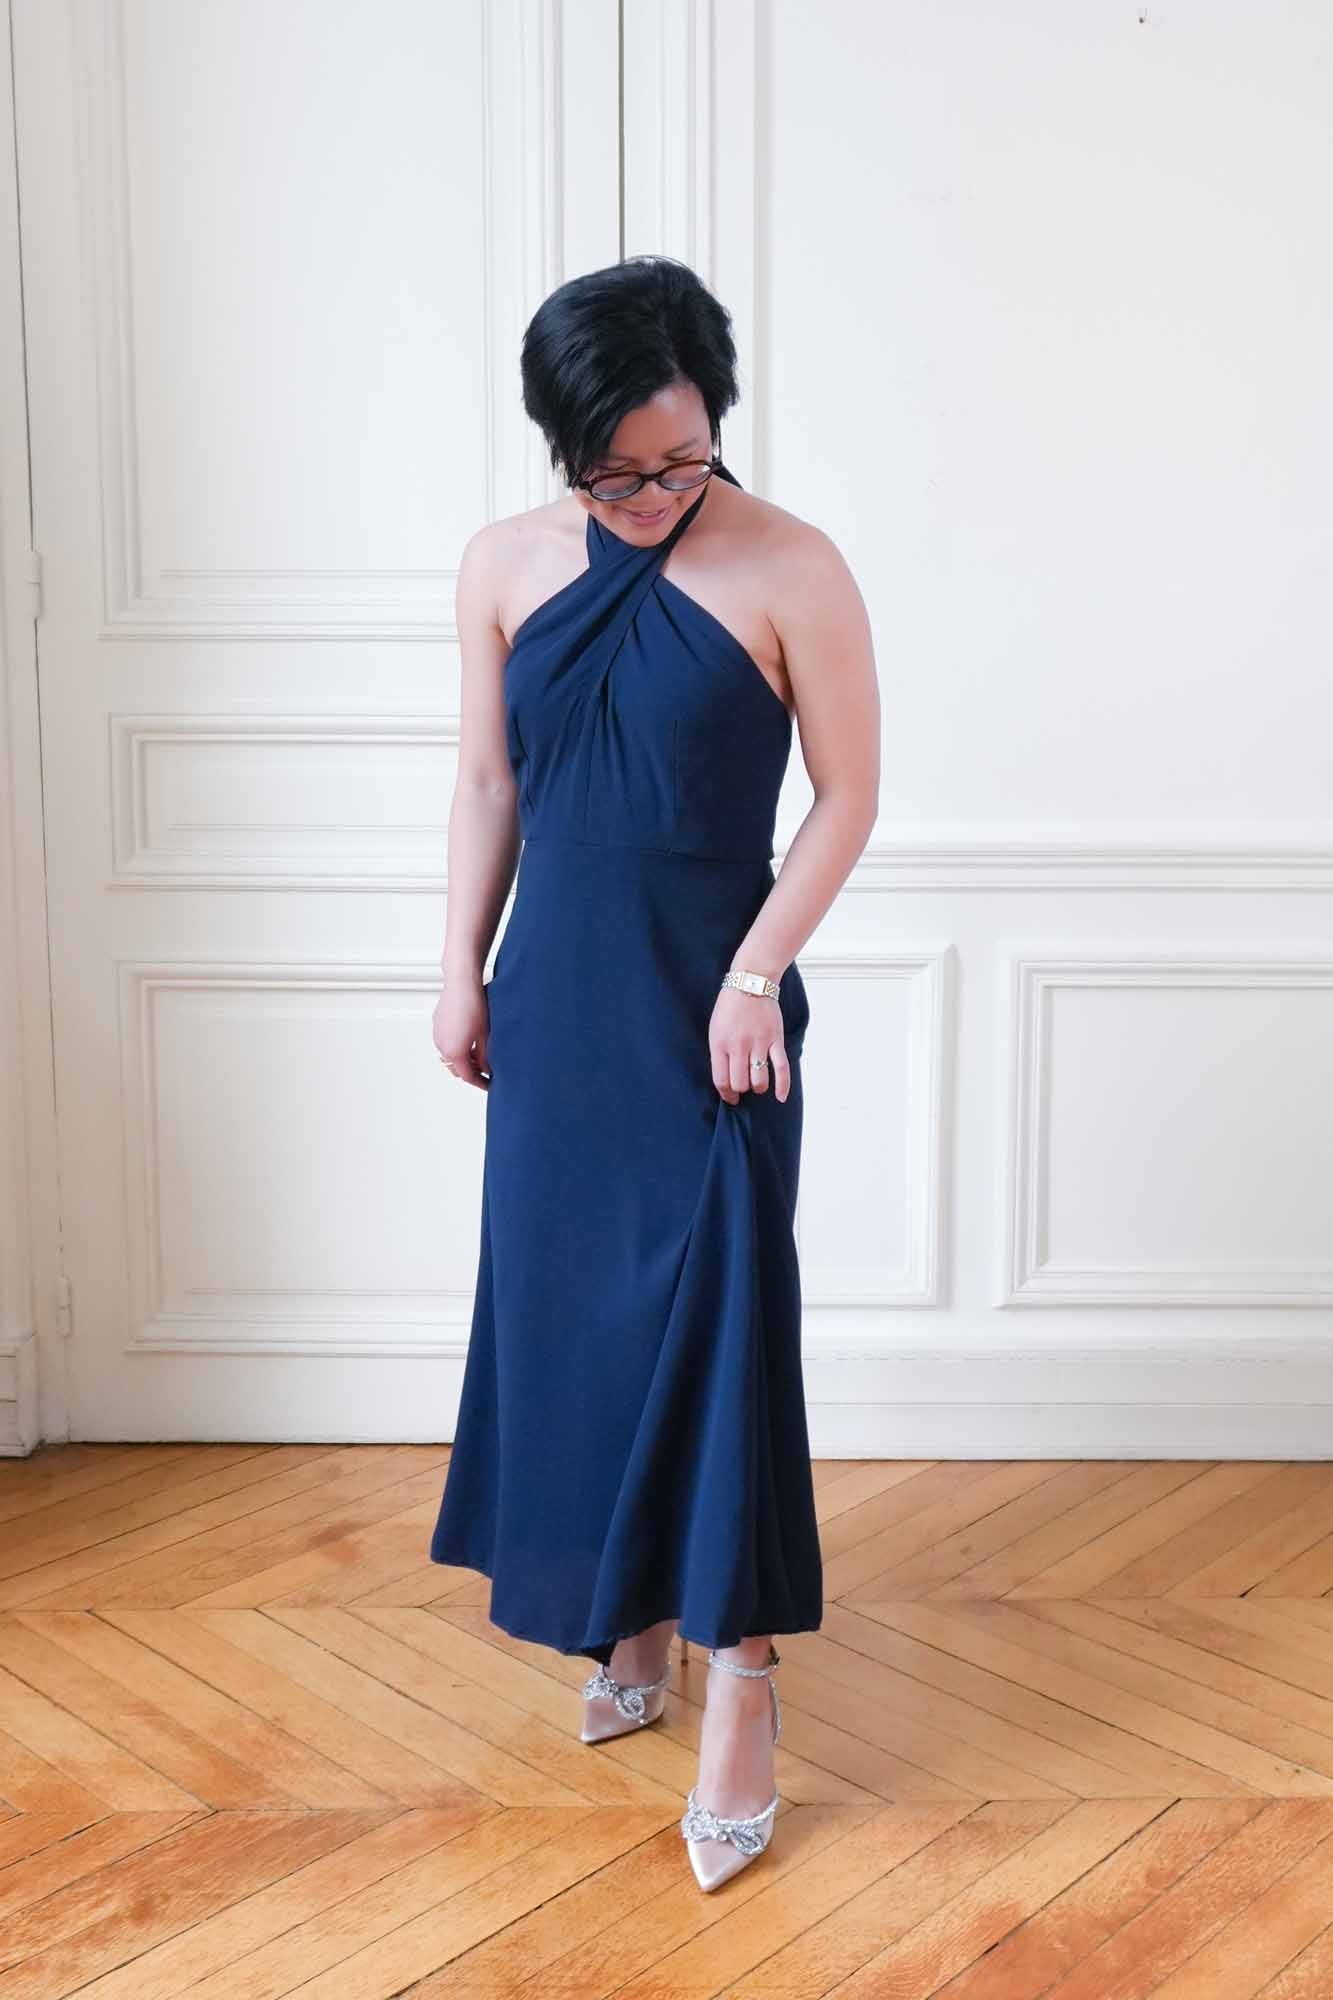
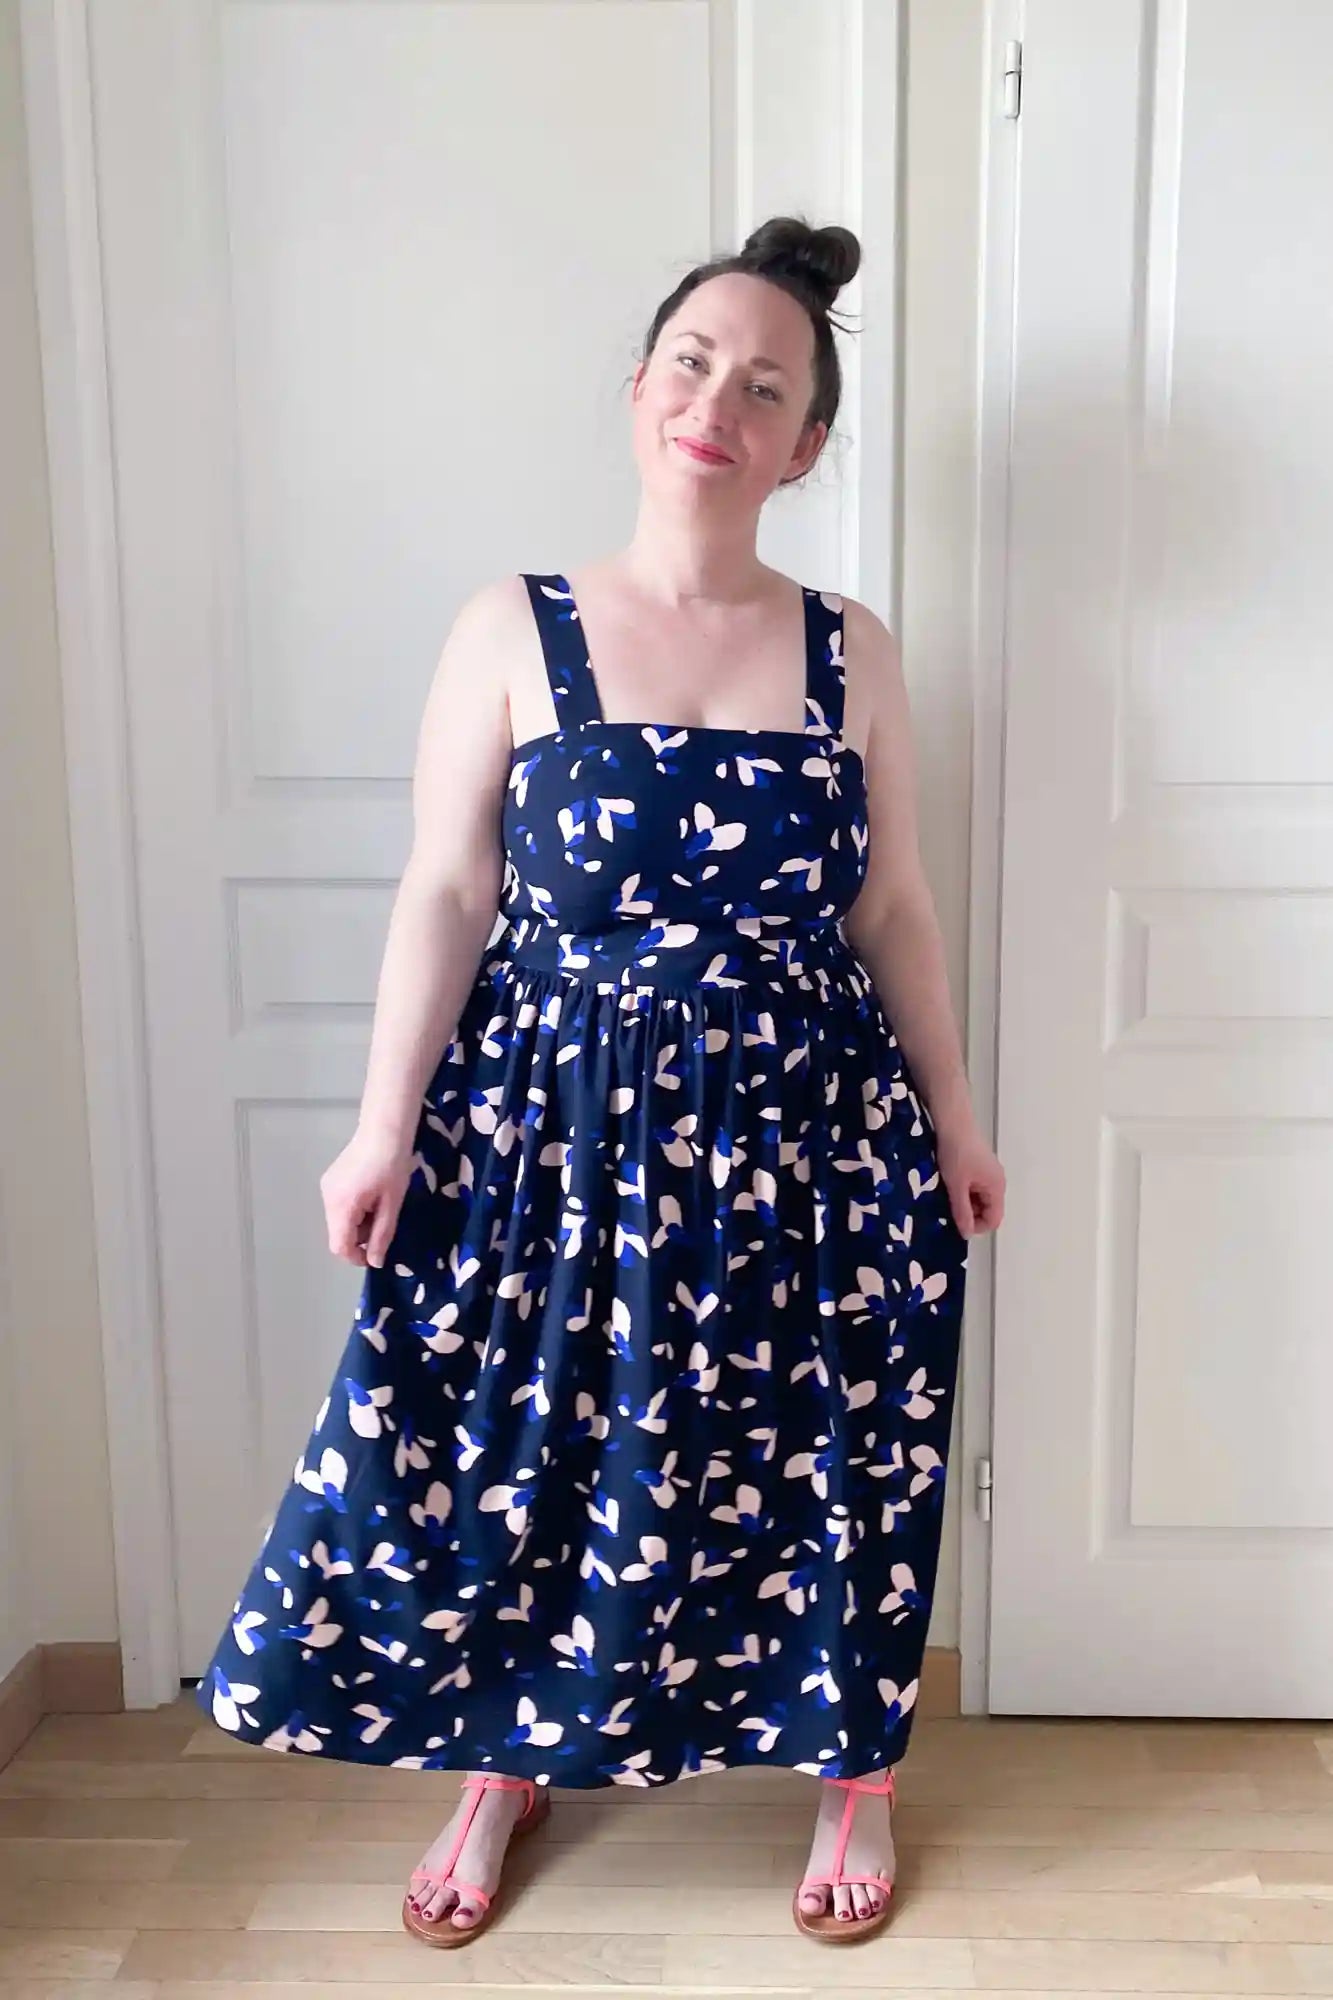
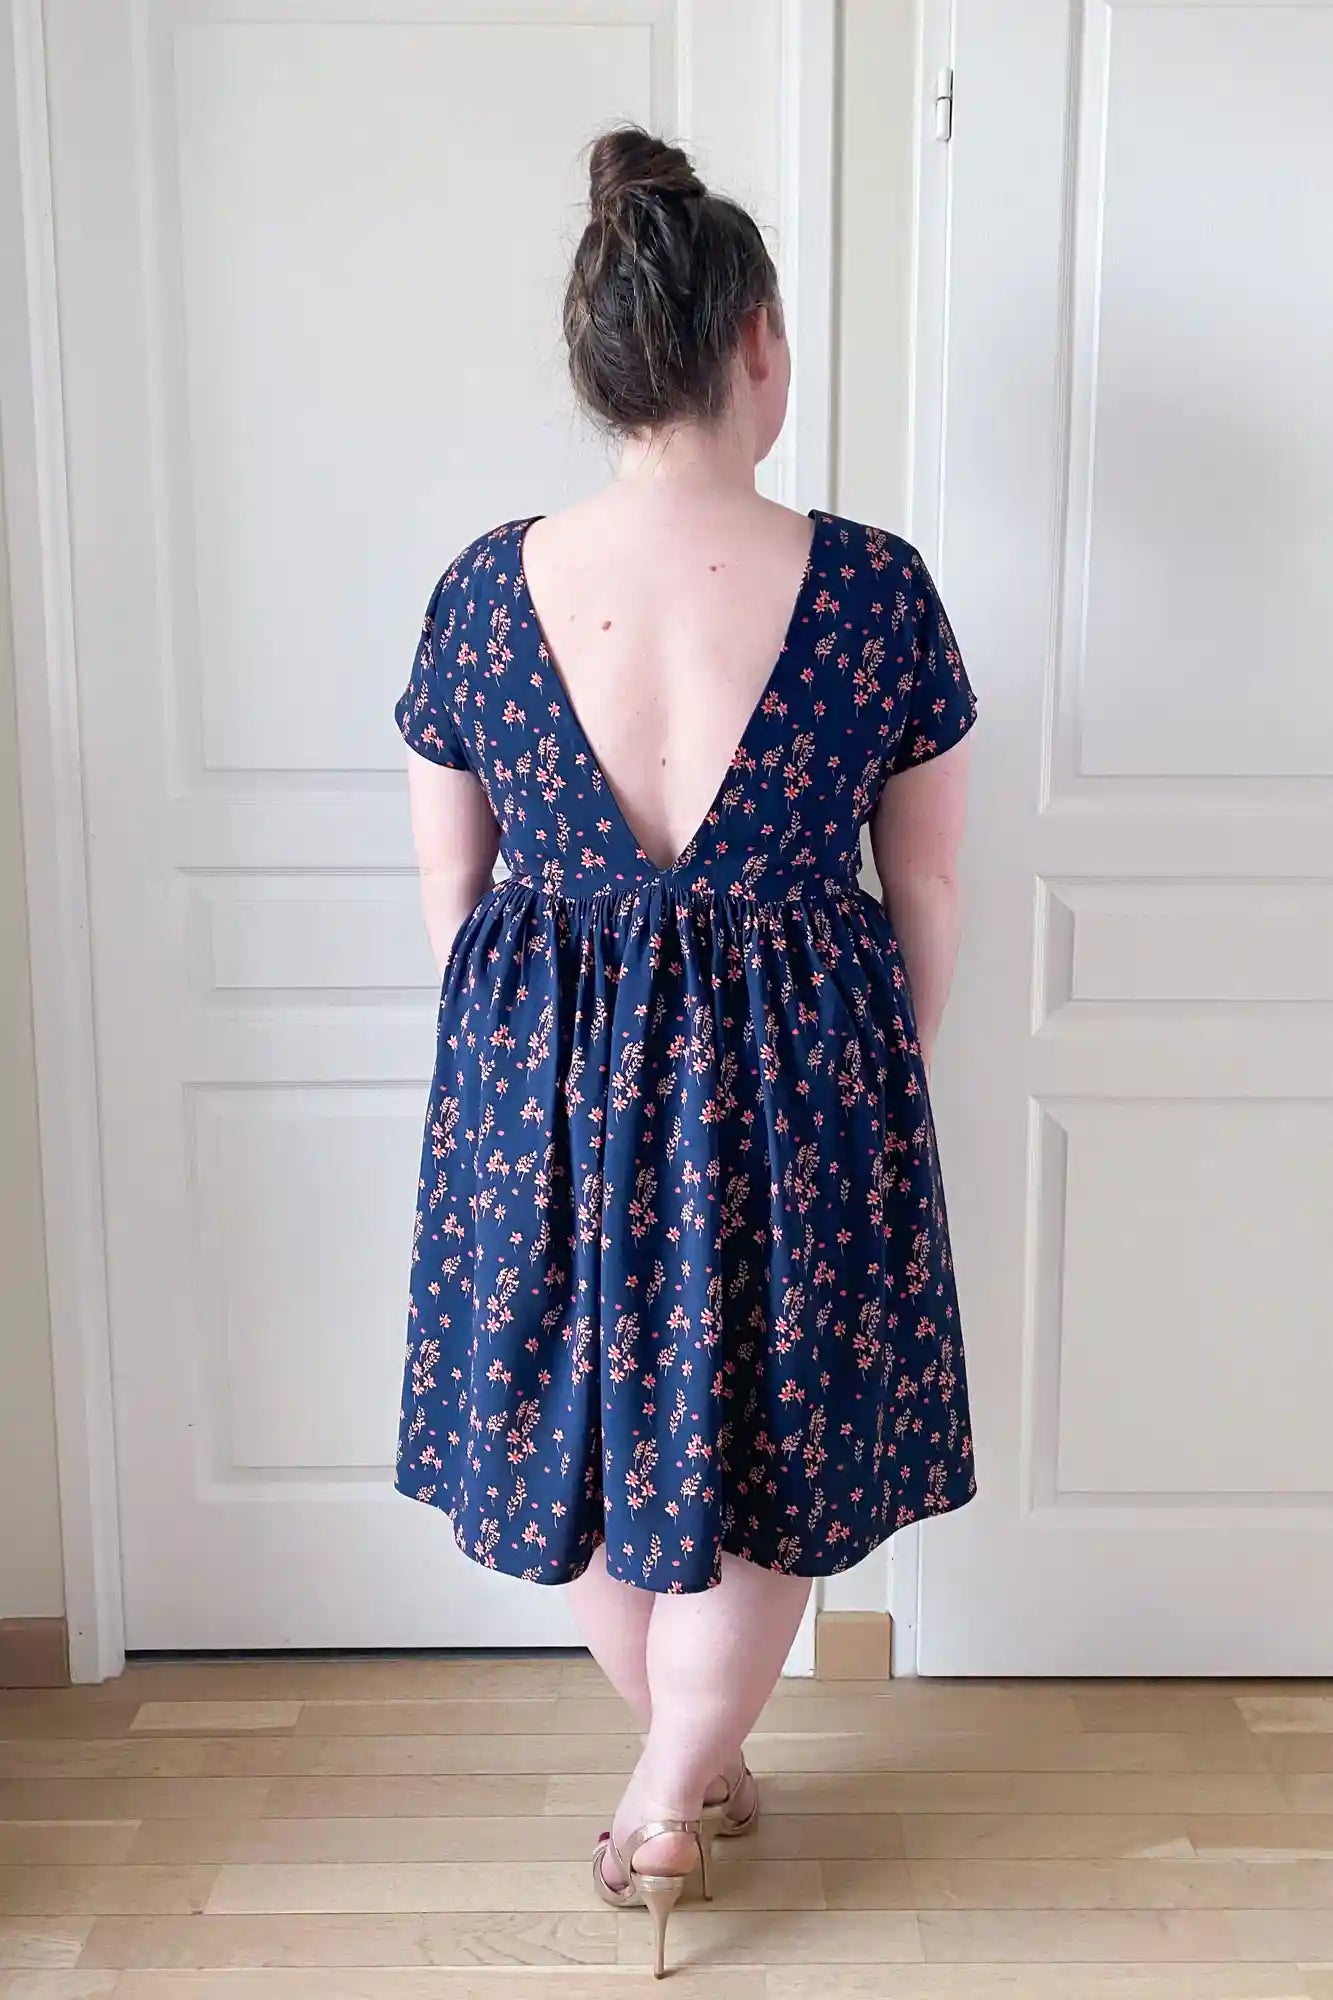
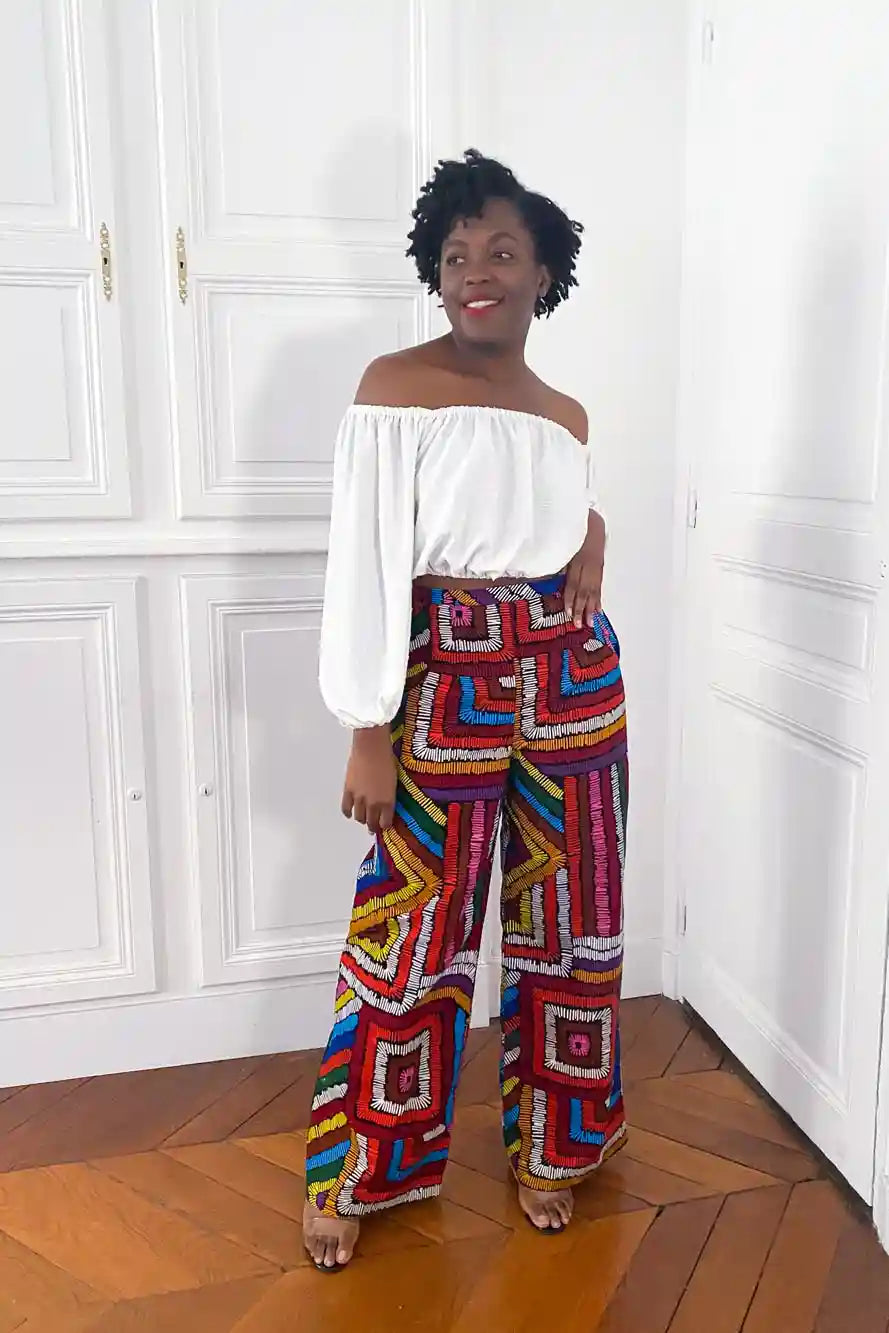
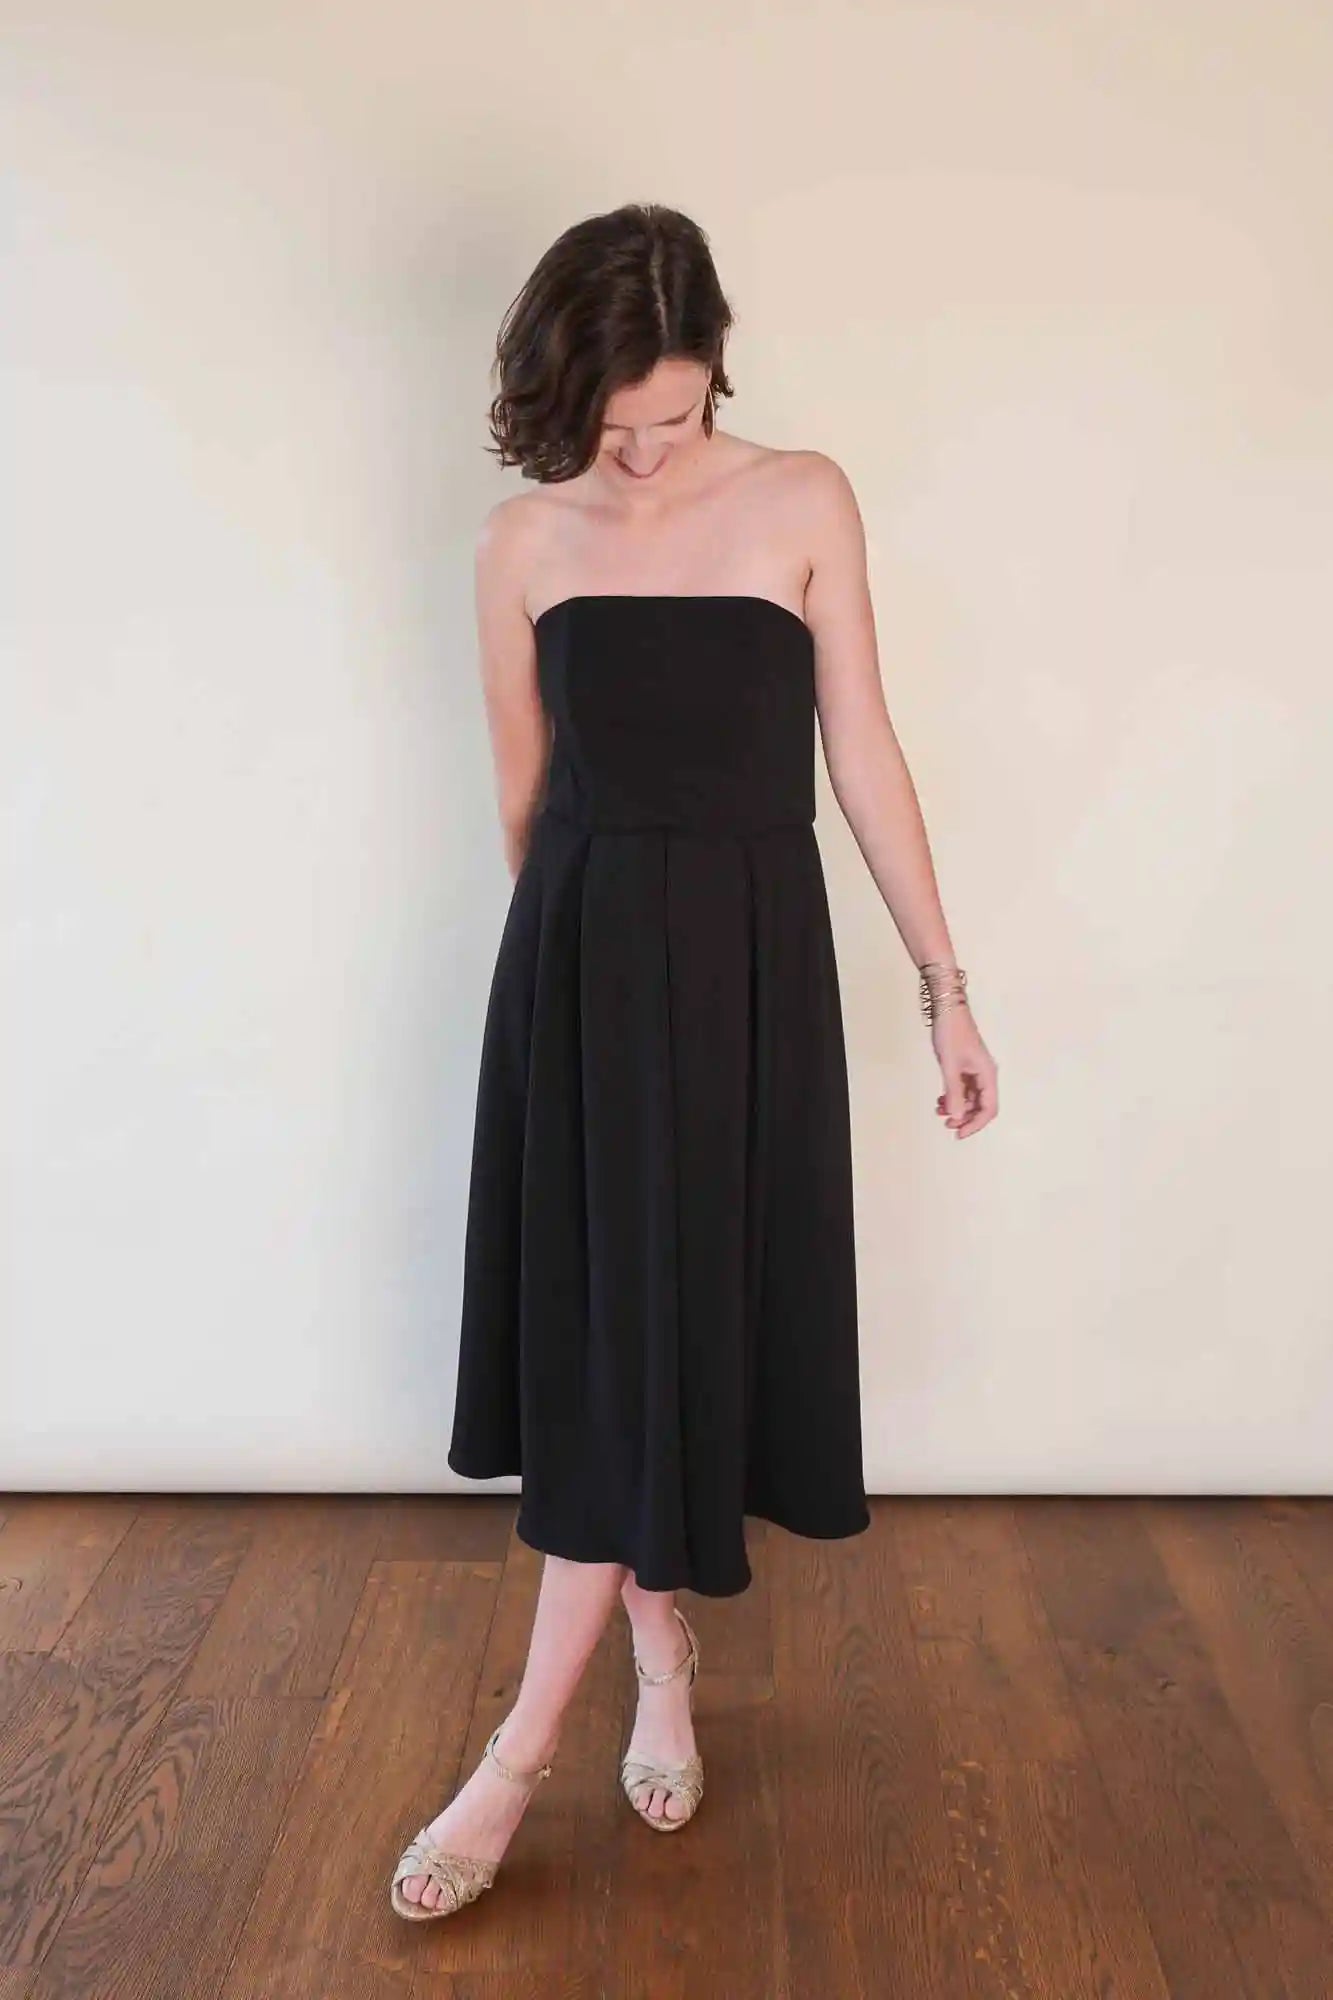
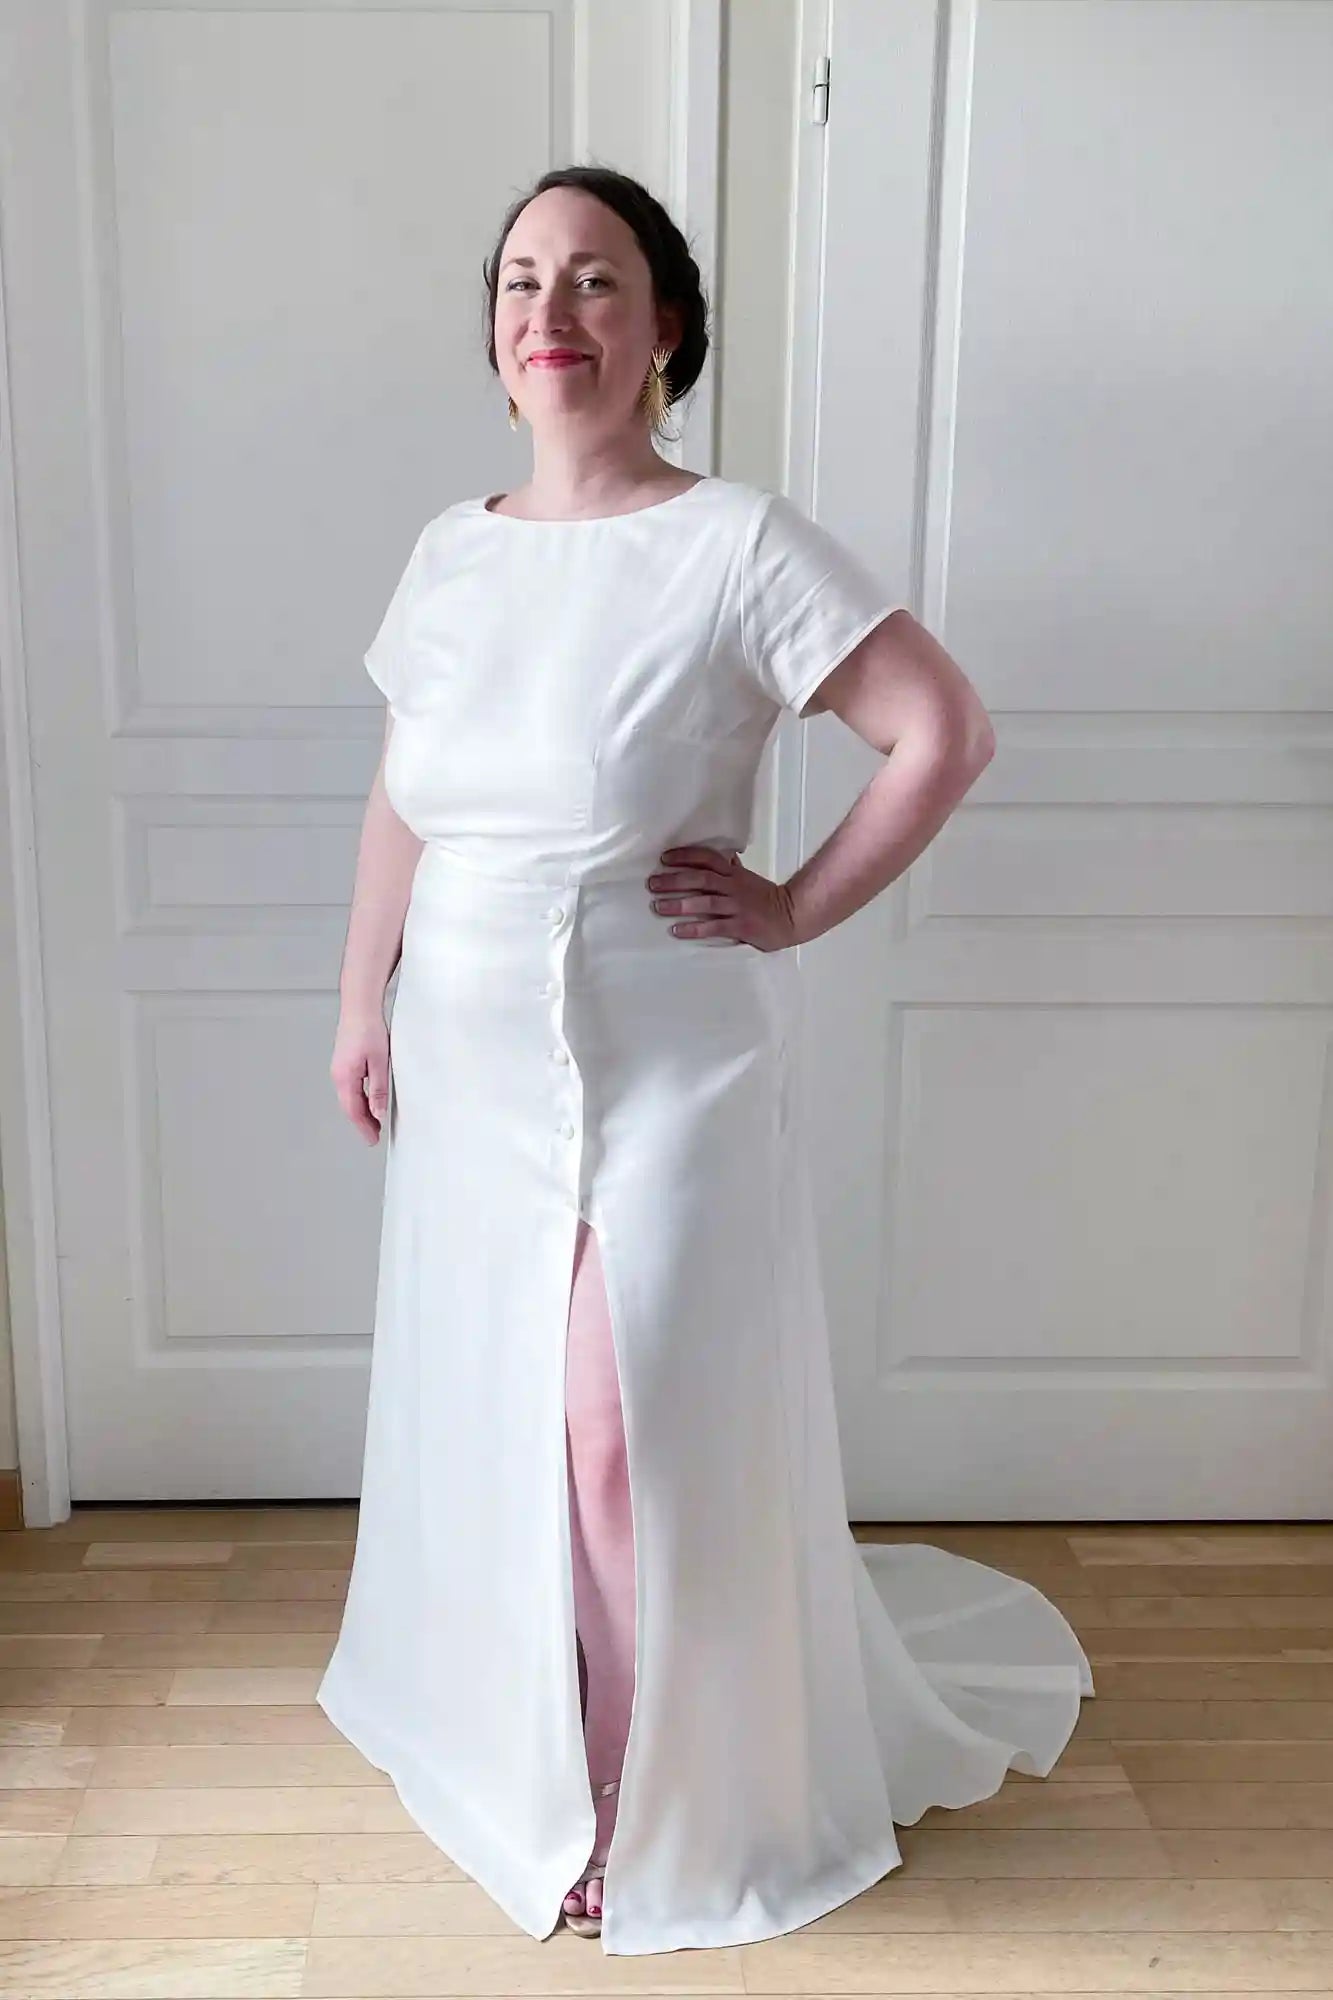
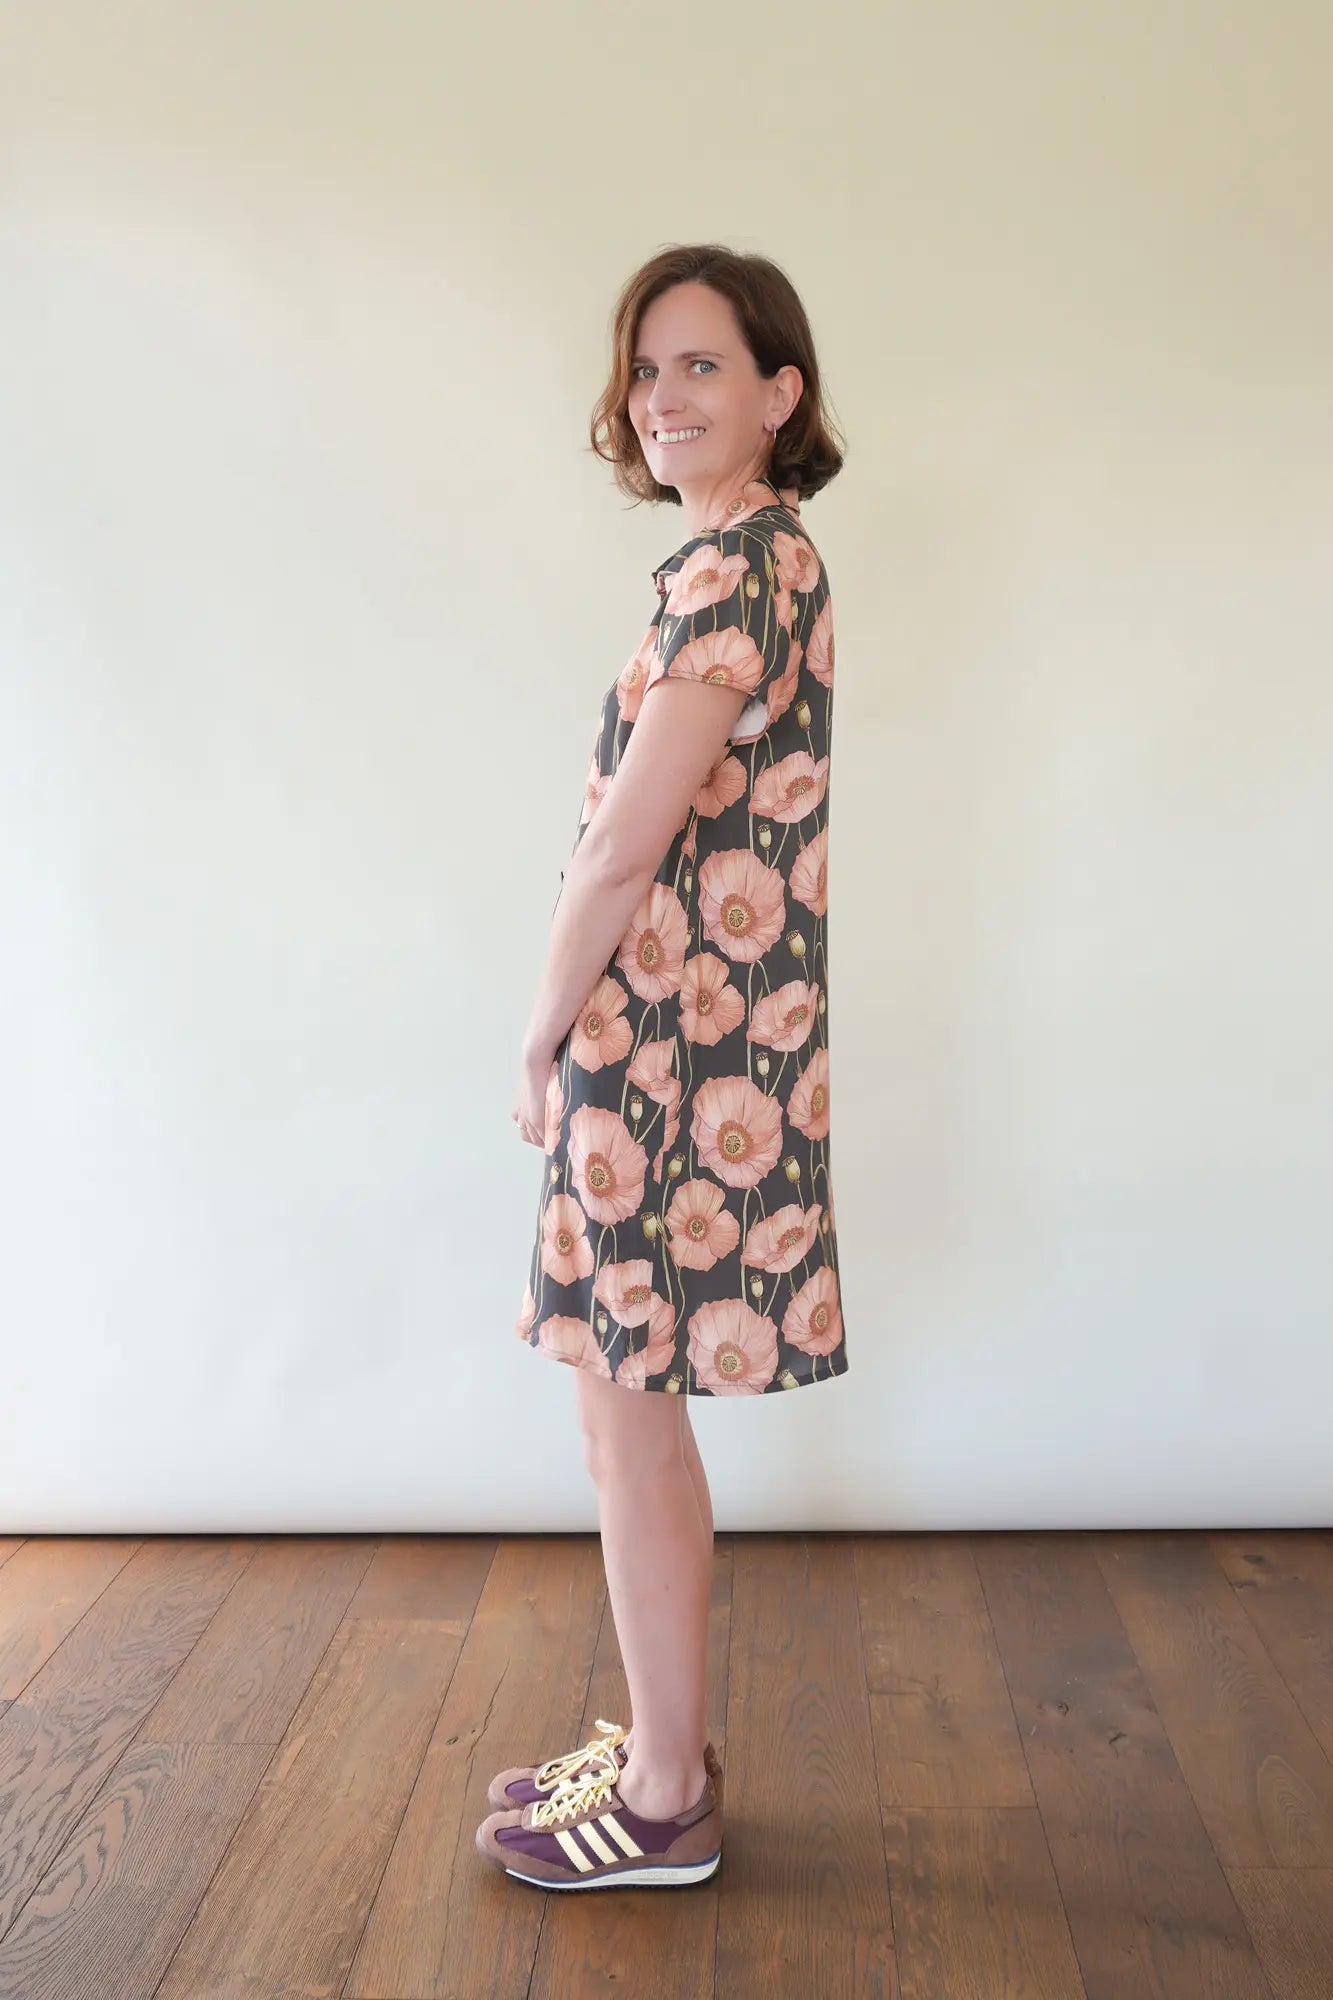
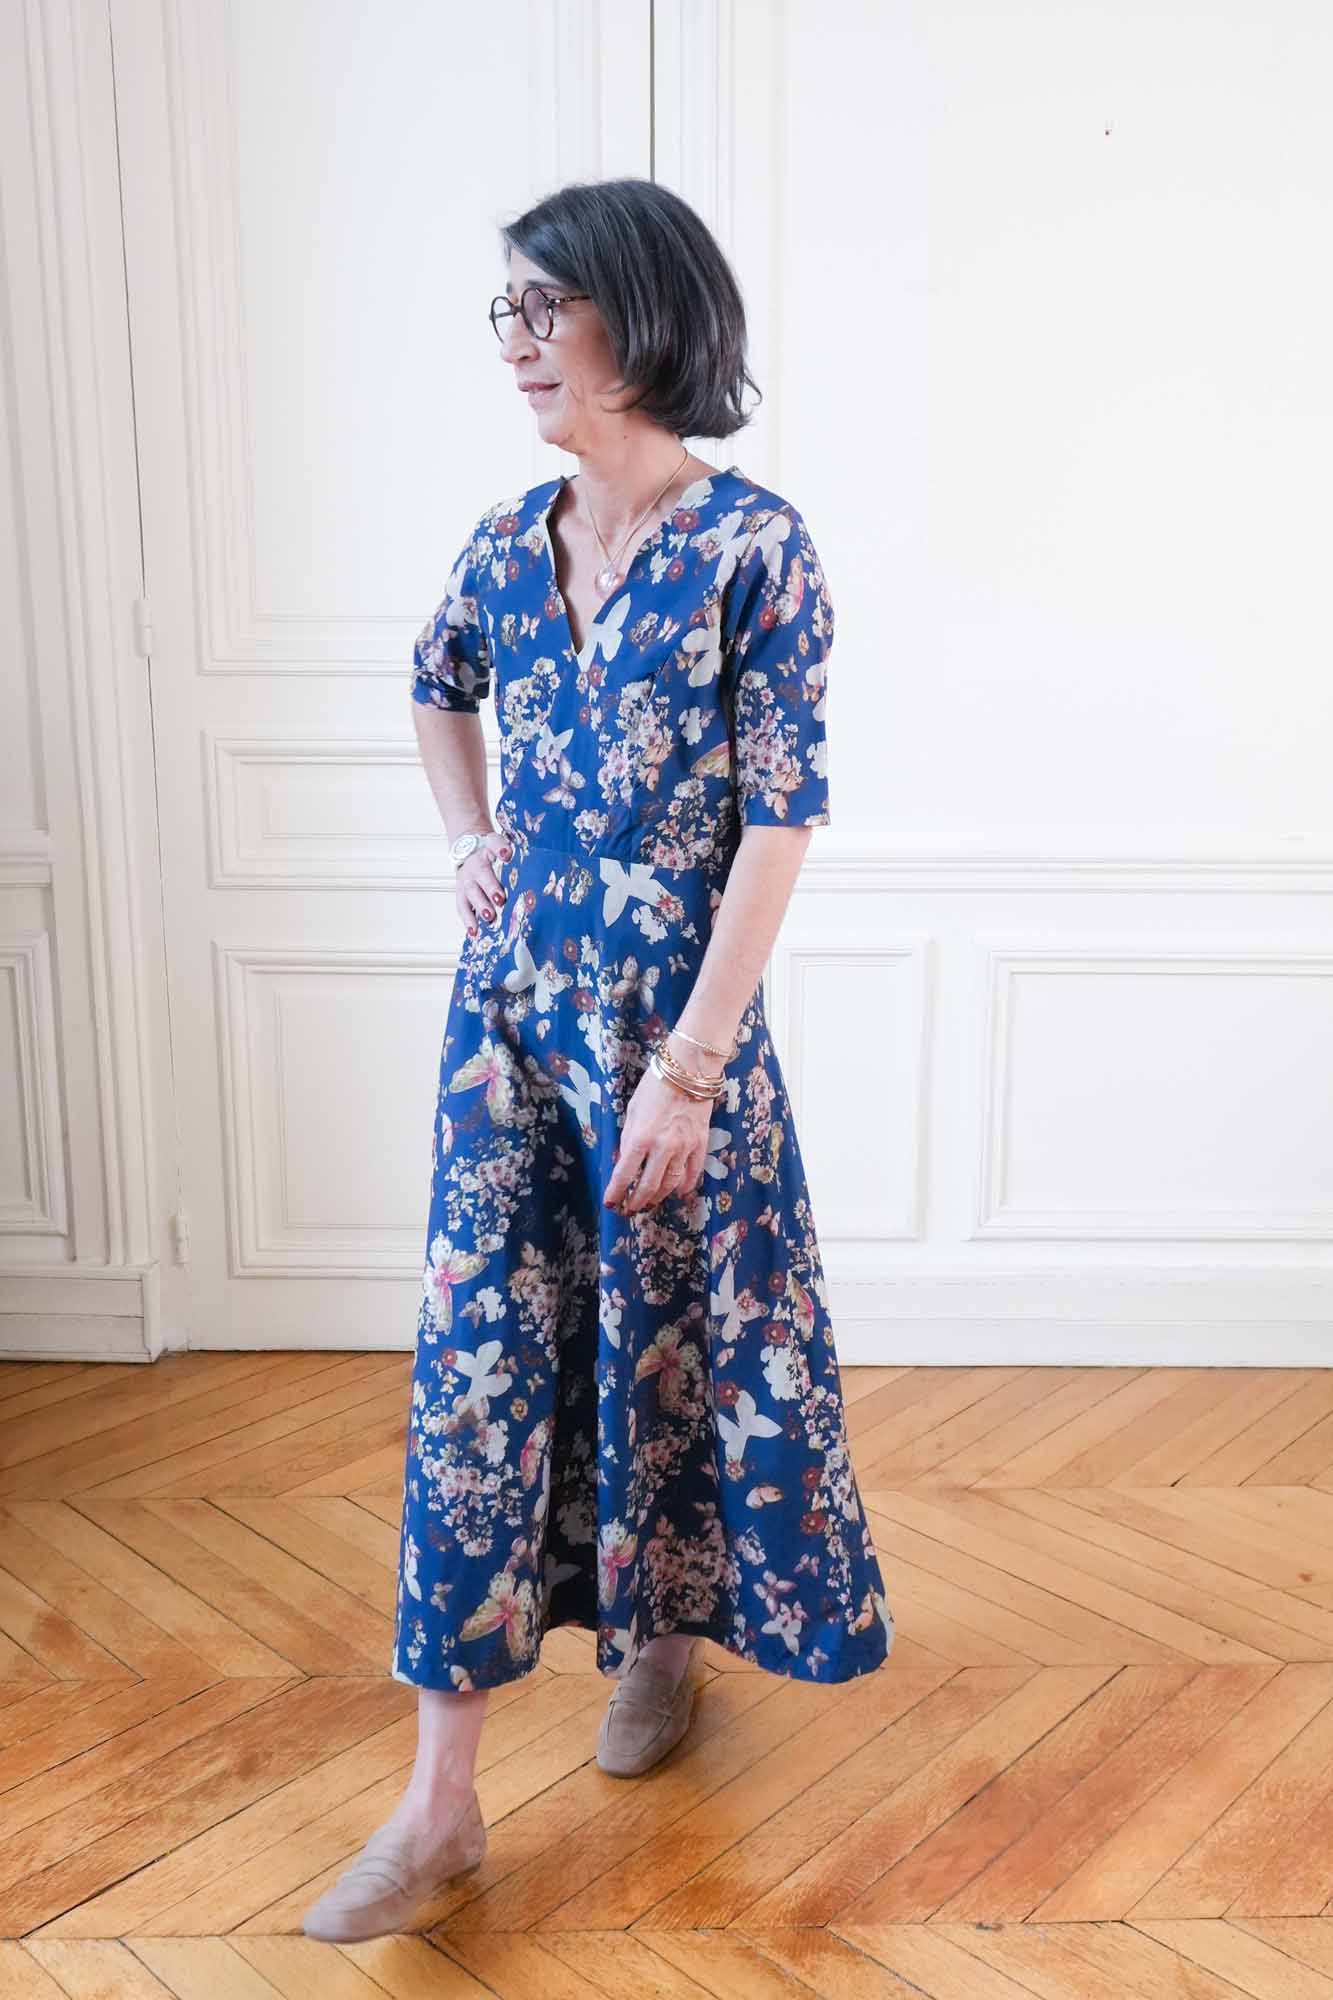
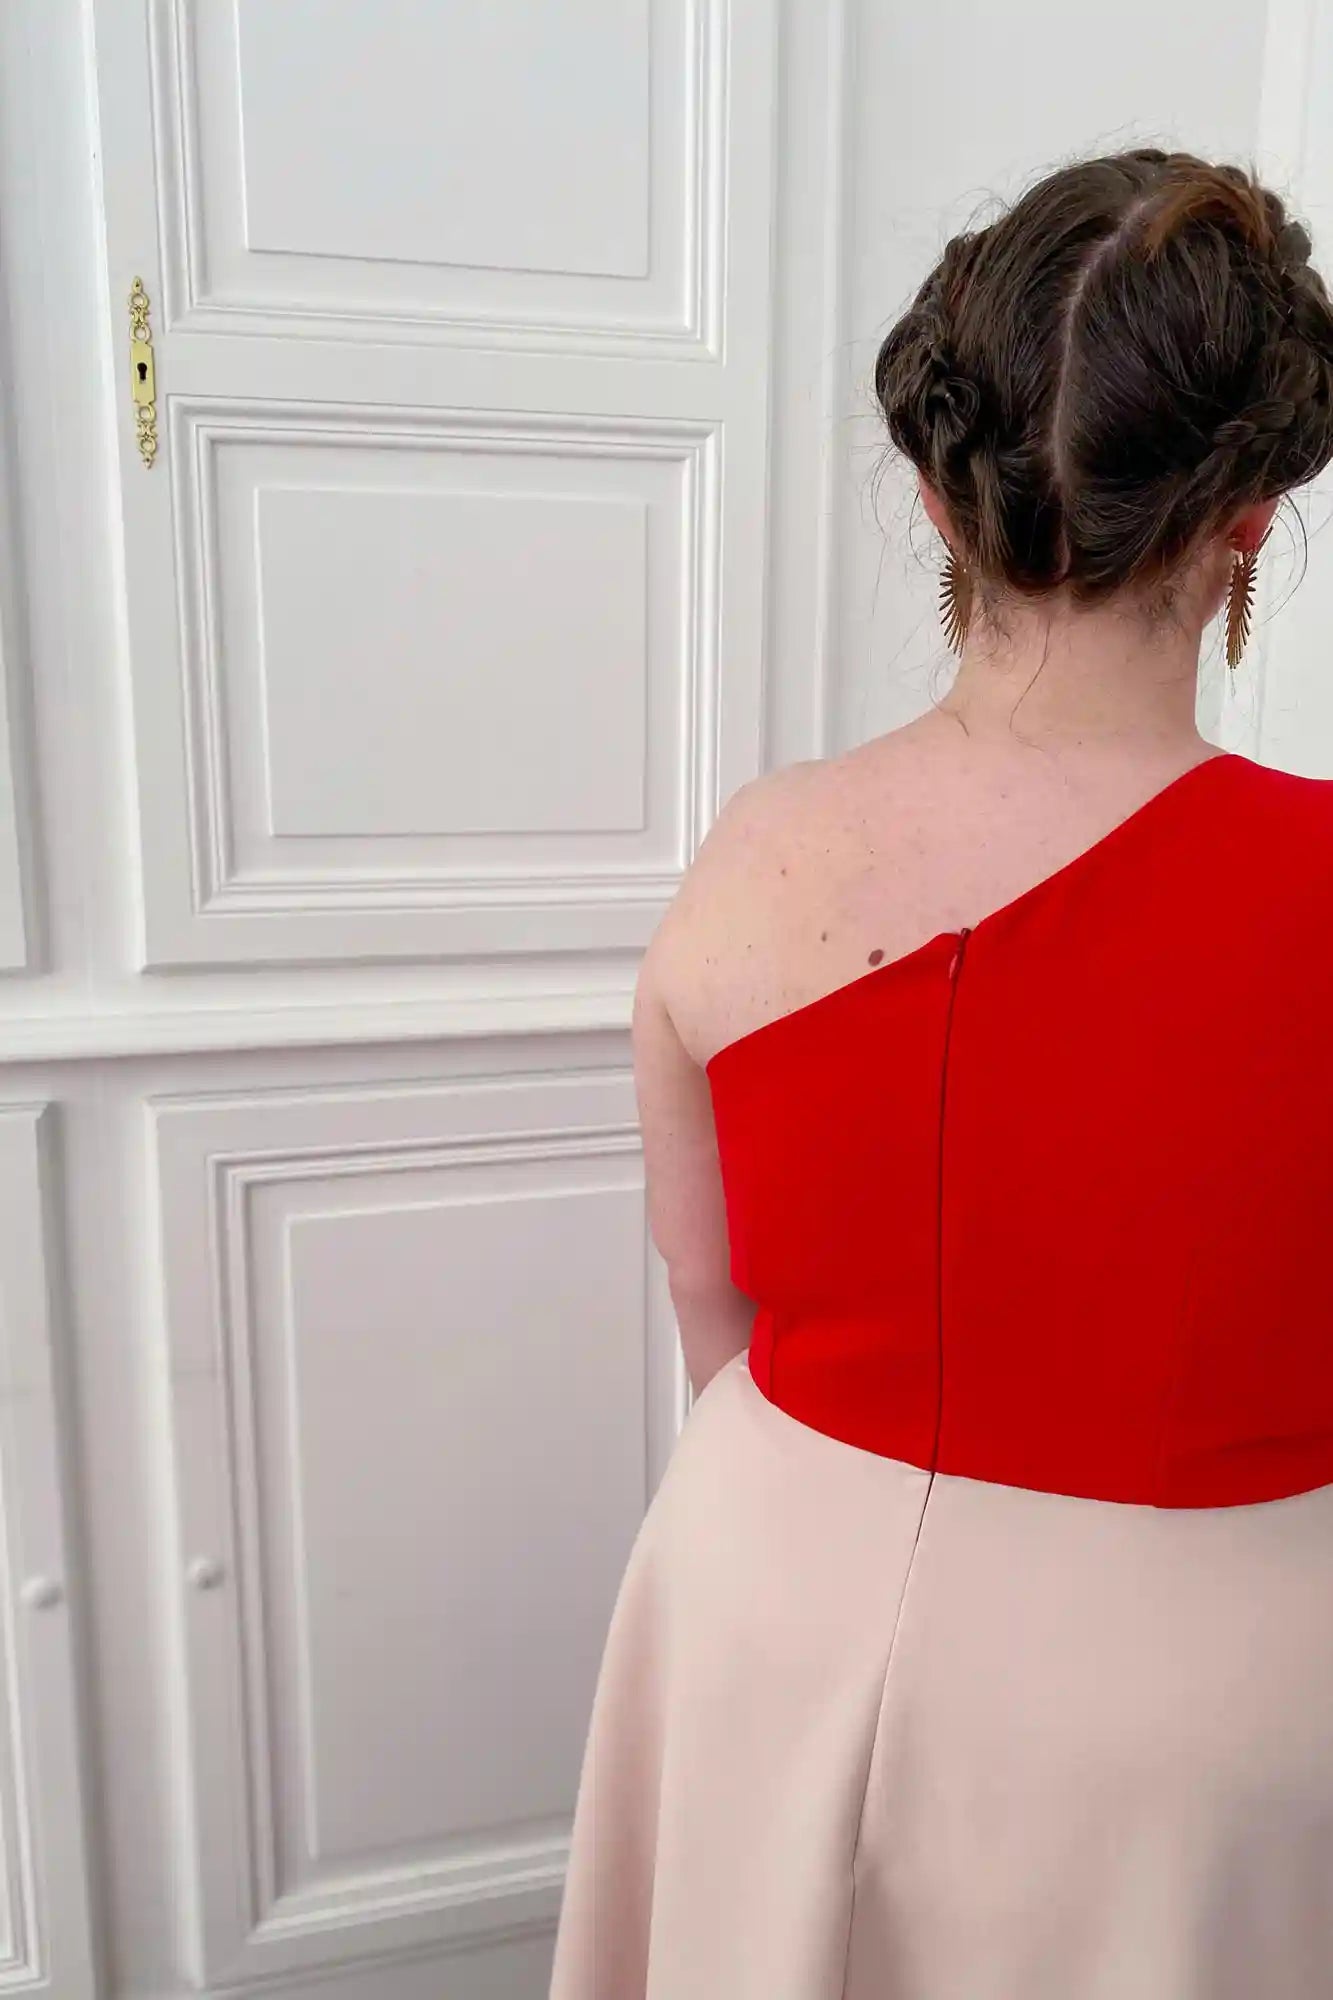
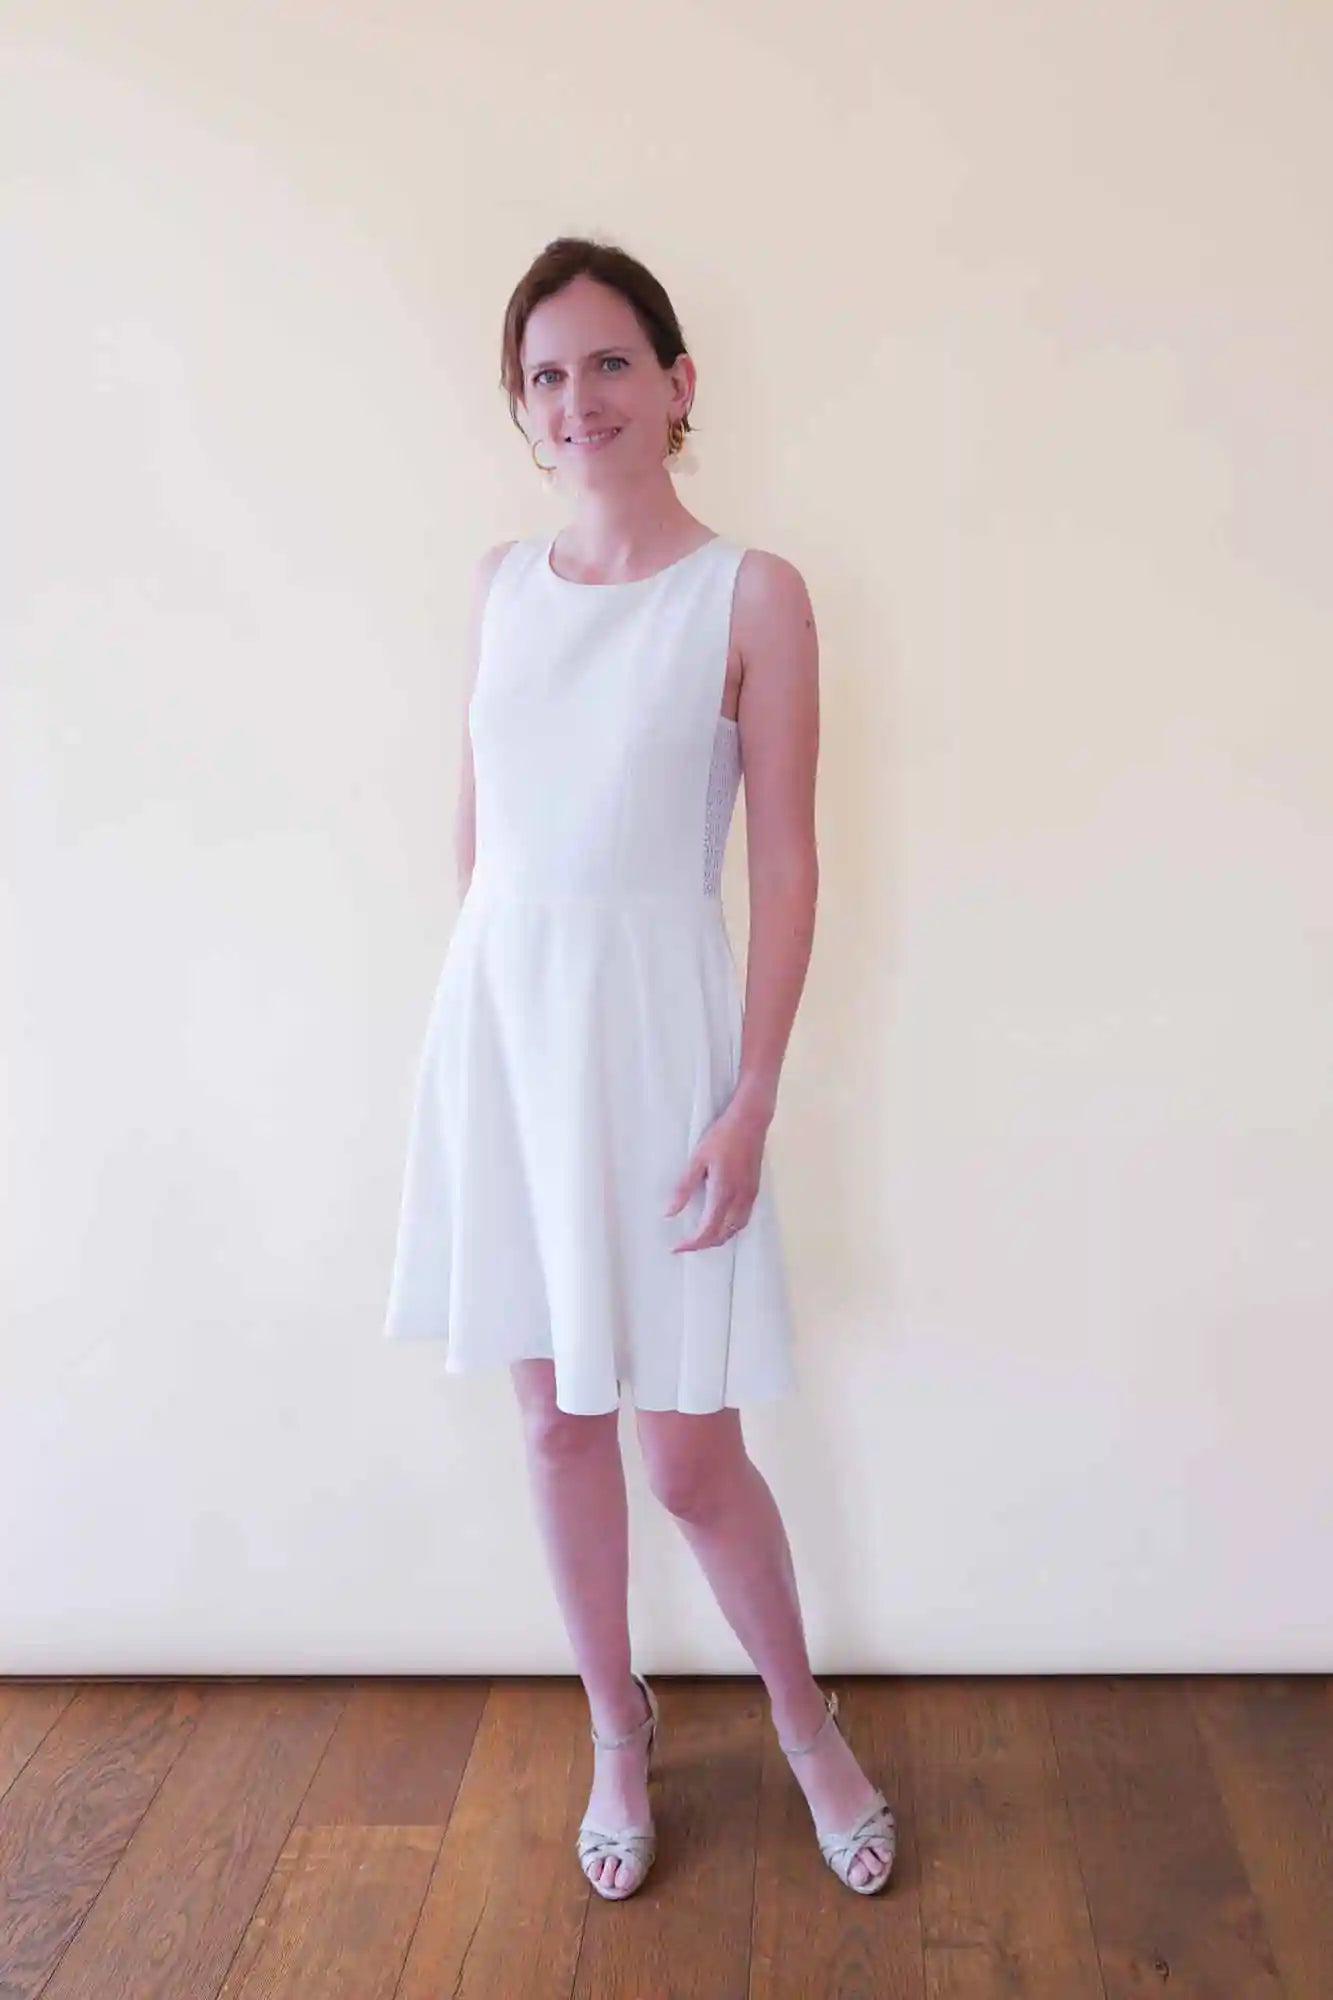
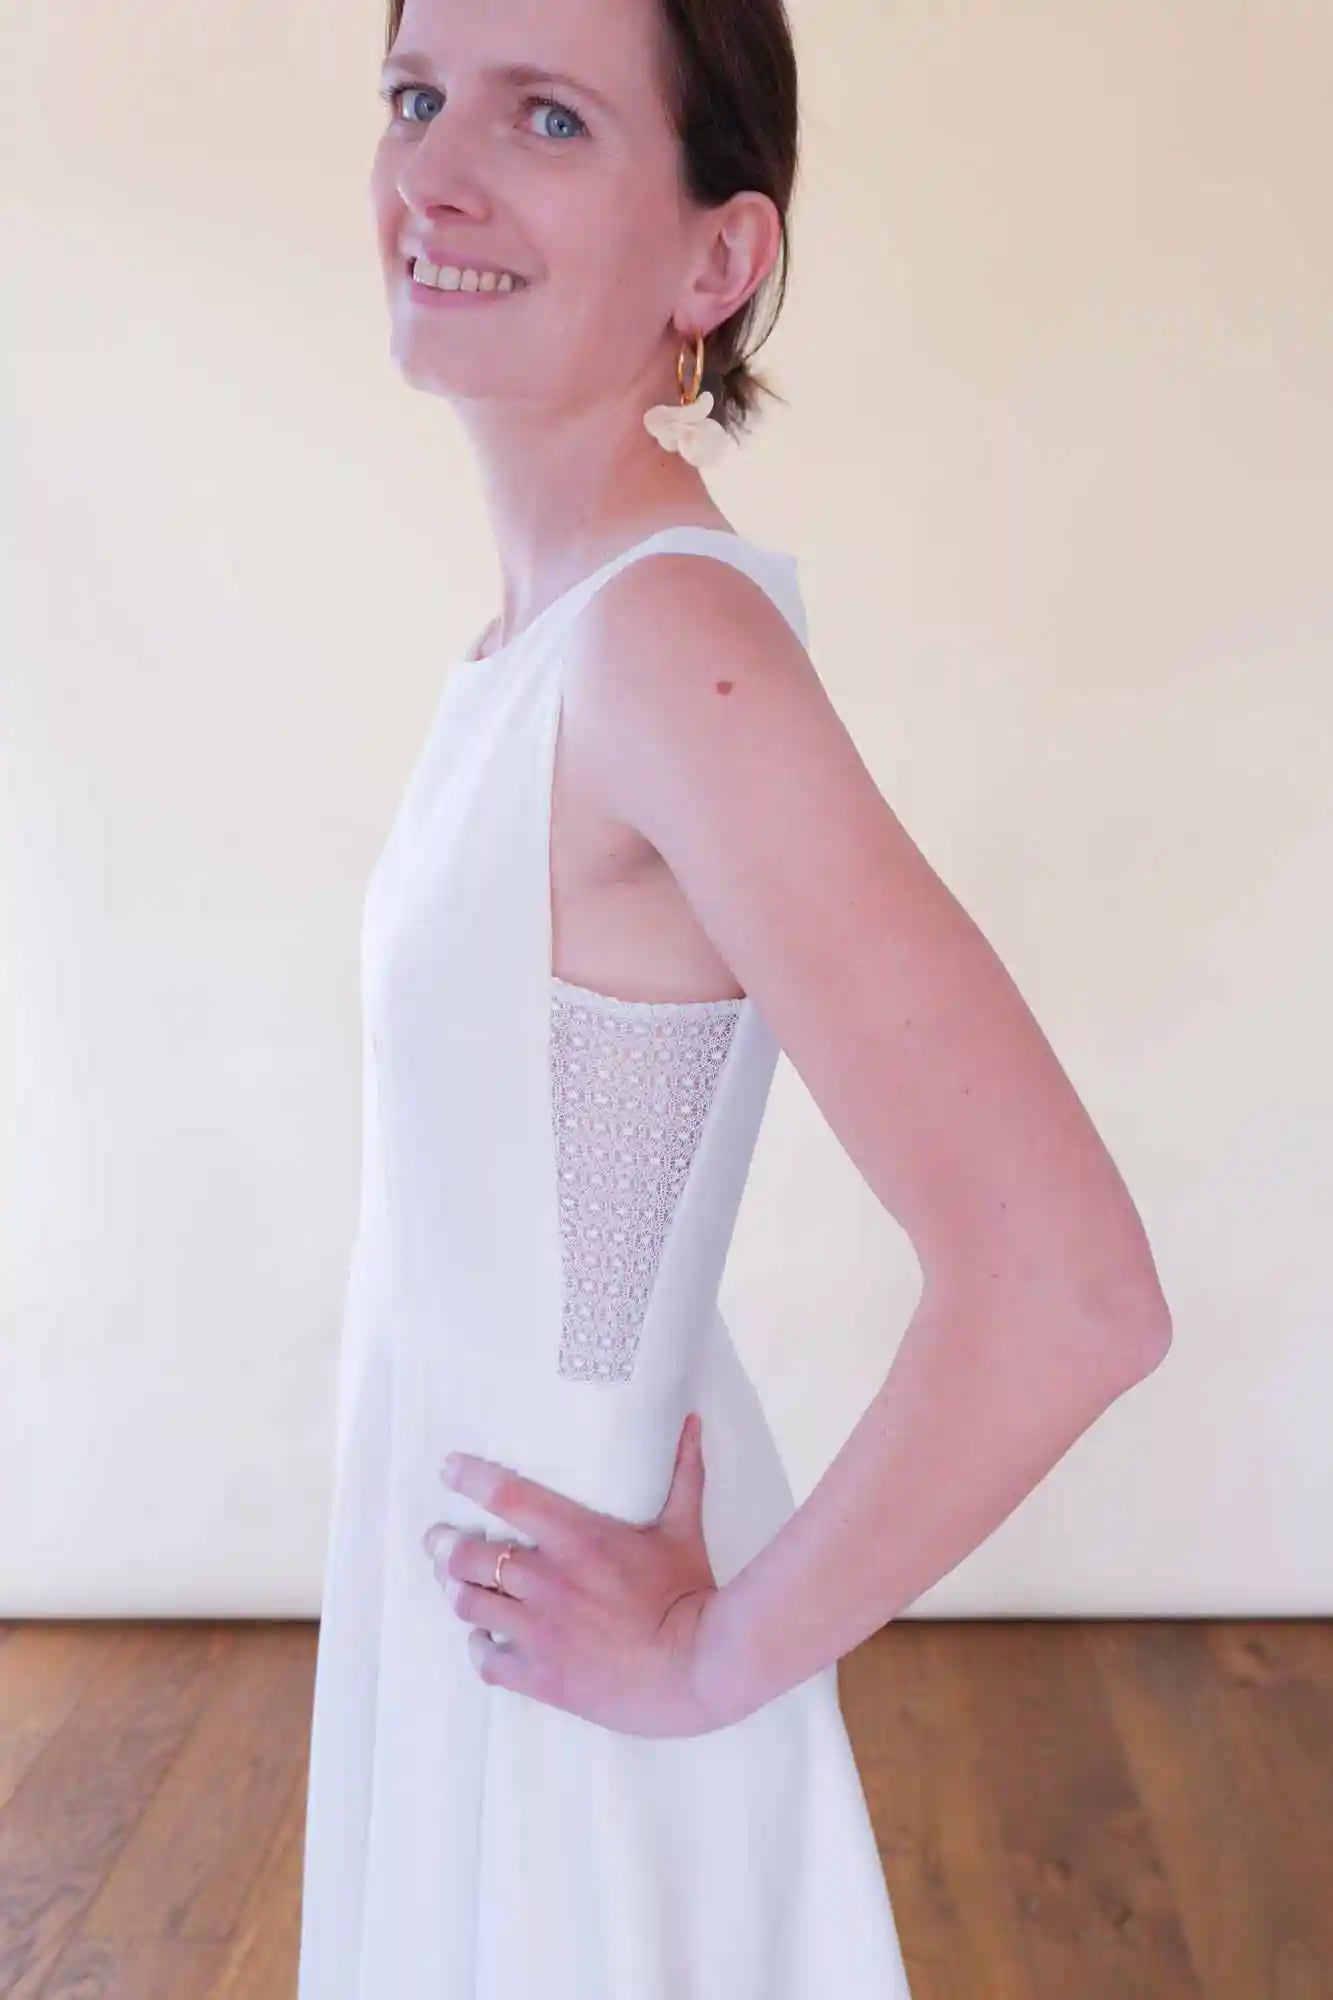
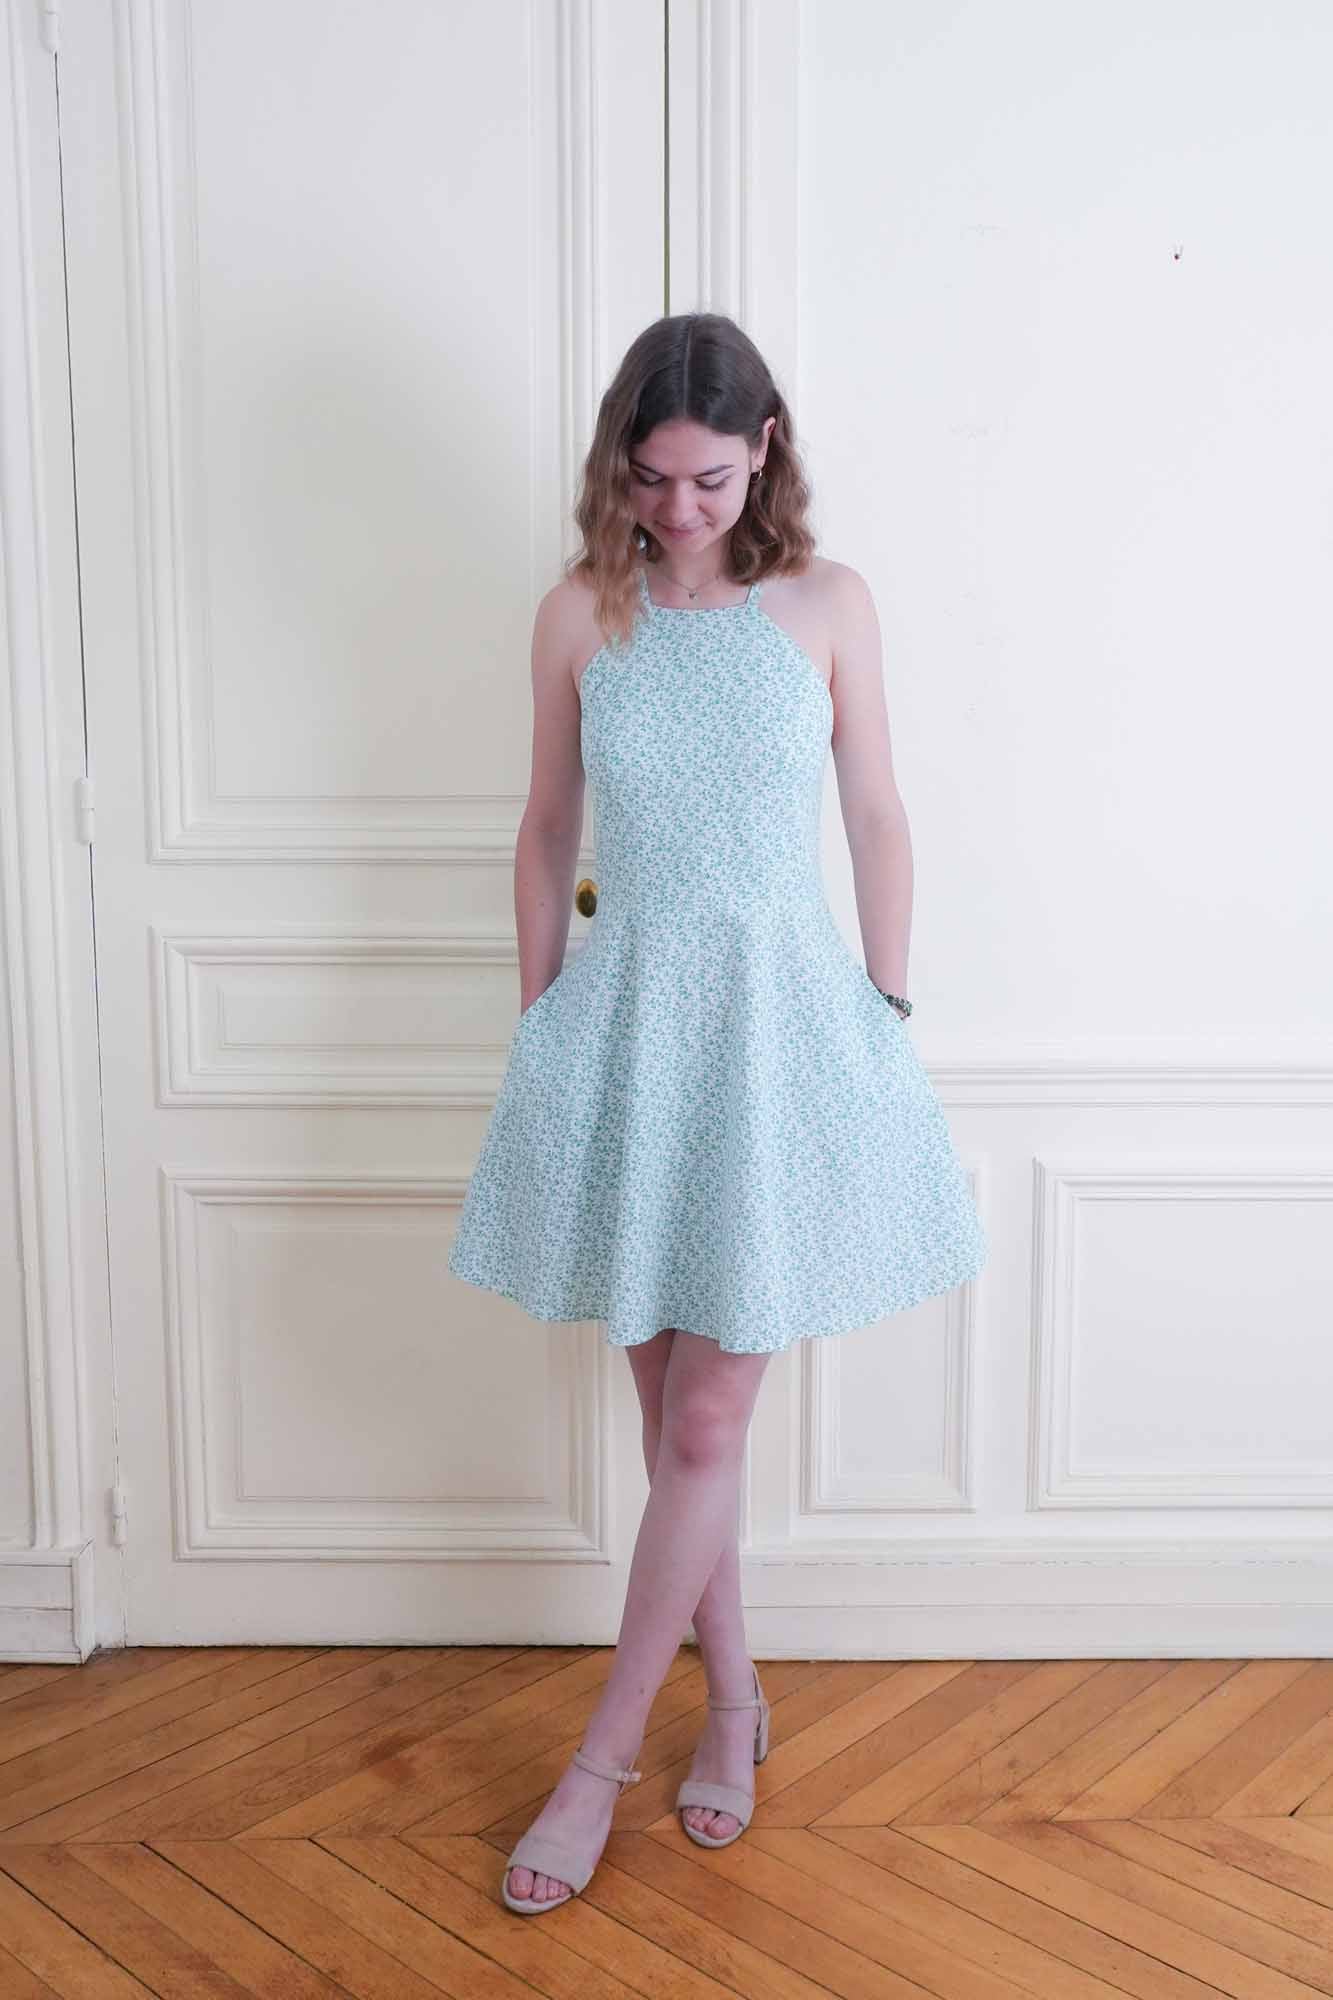
The length of a garment is crucial for a flattering fit, which is why our patterns are offered in three heights:
• under 1.60 m (5’3”)
• around 1.65 m (5’5”)
• over 1.70 m (5’7”)
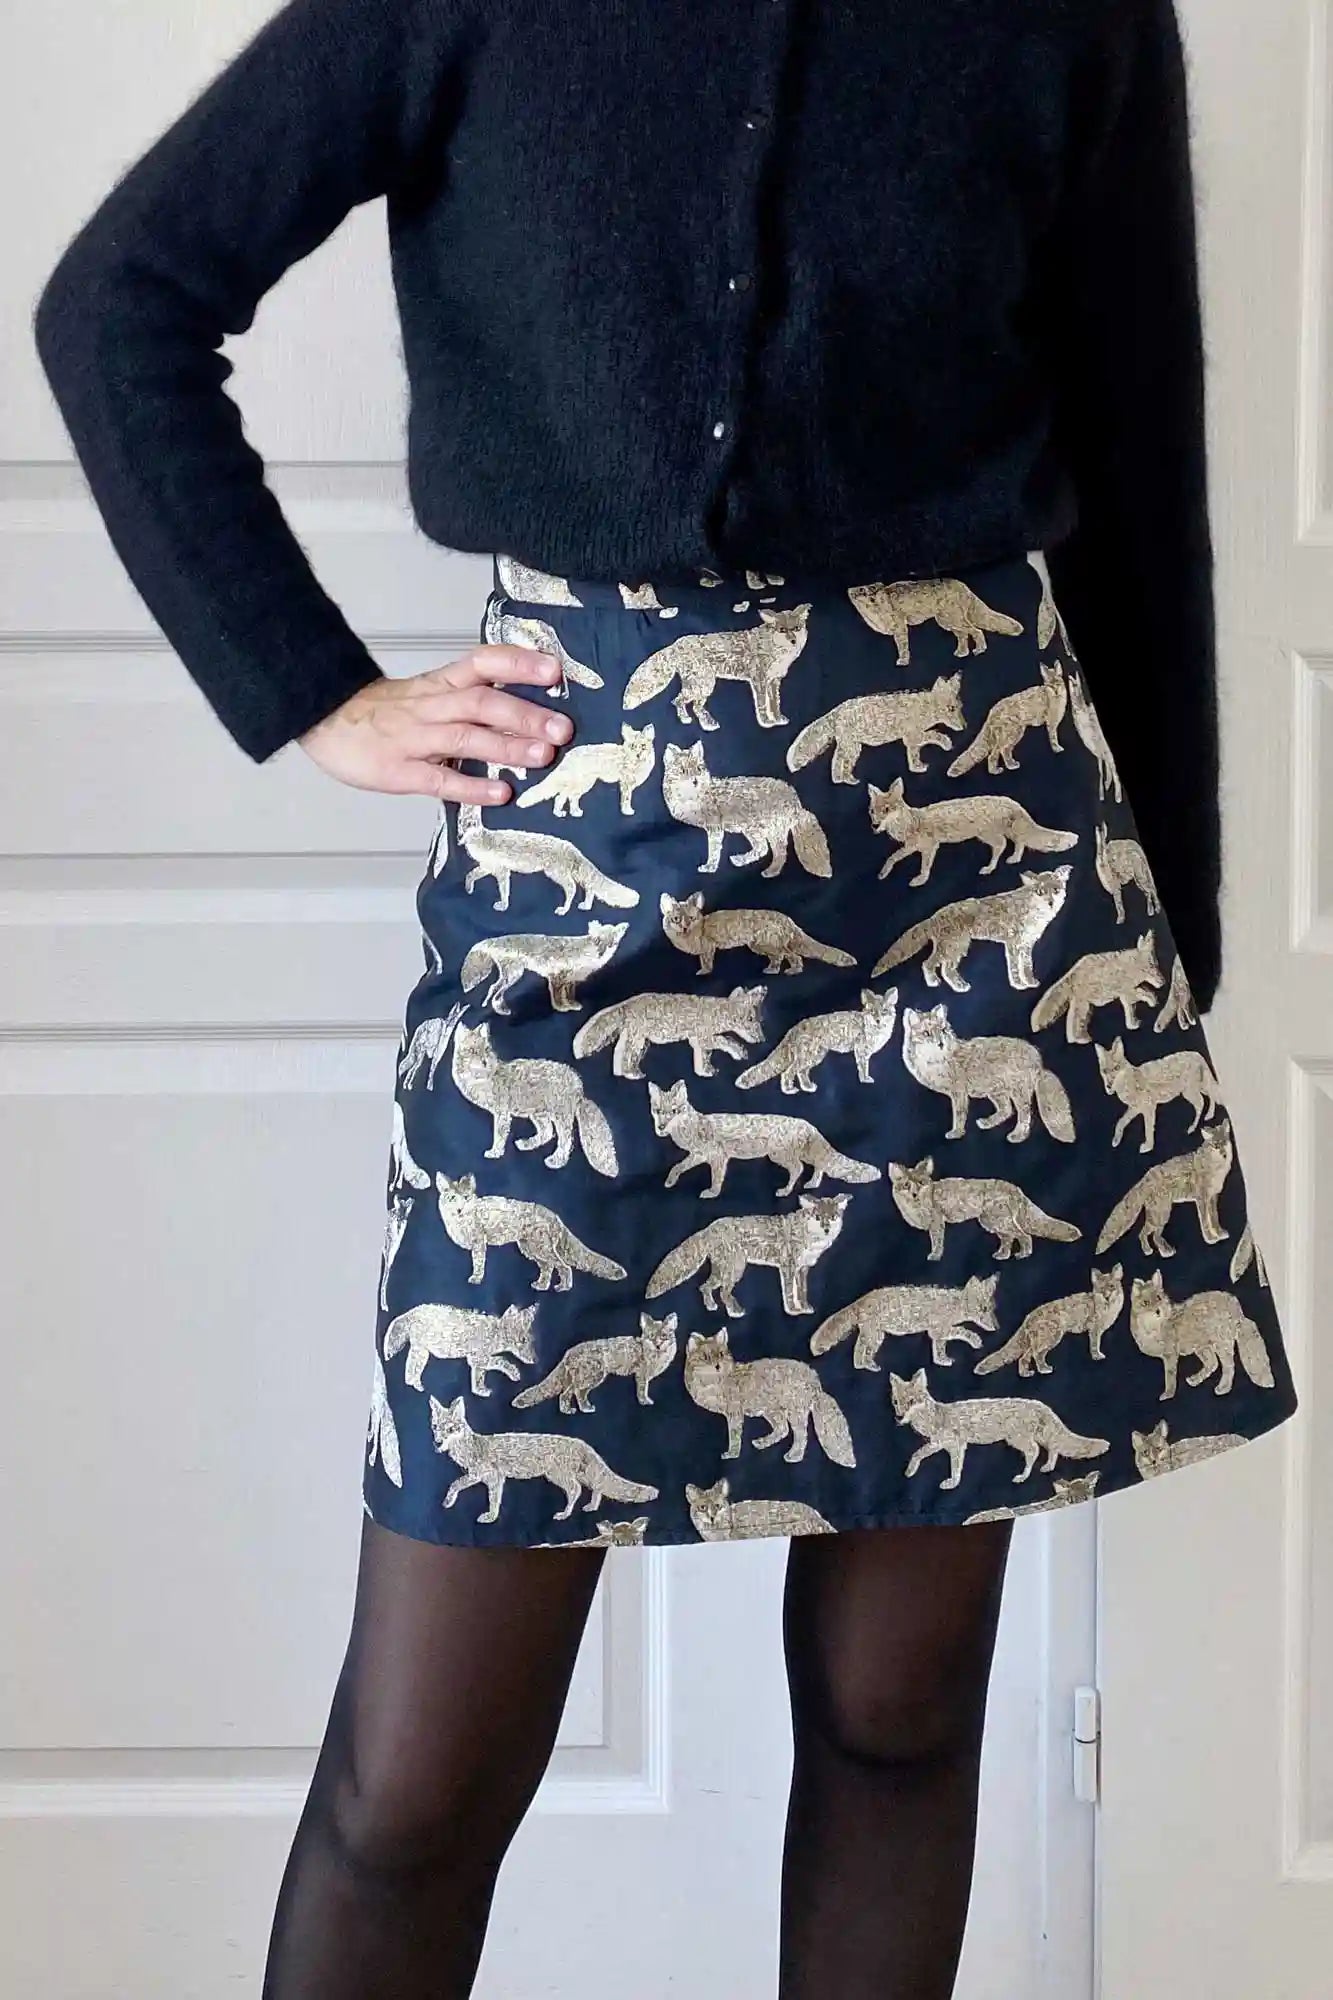
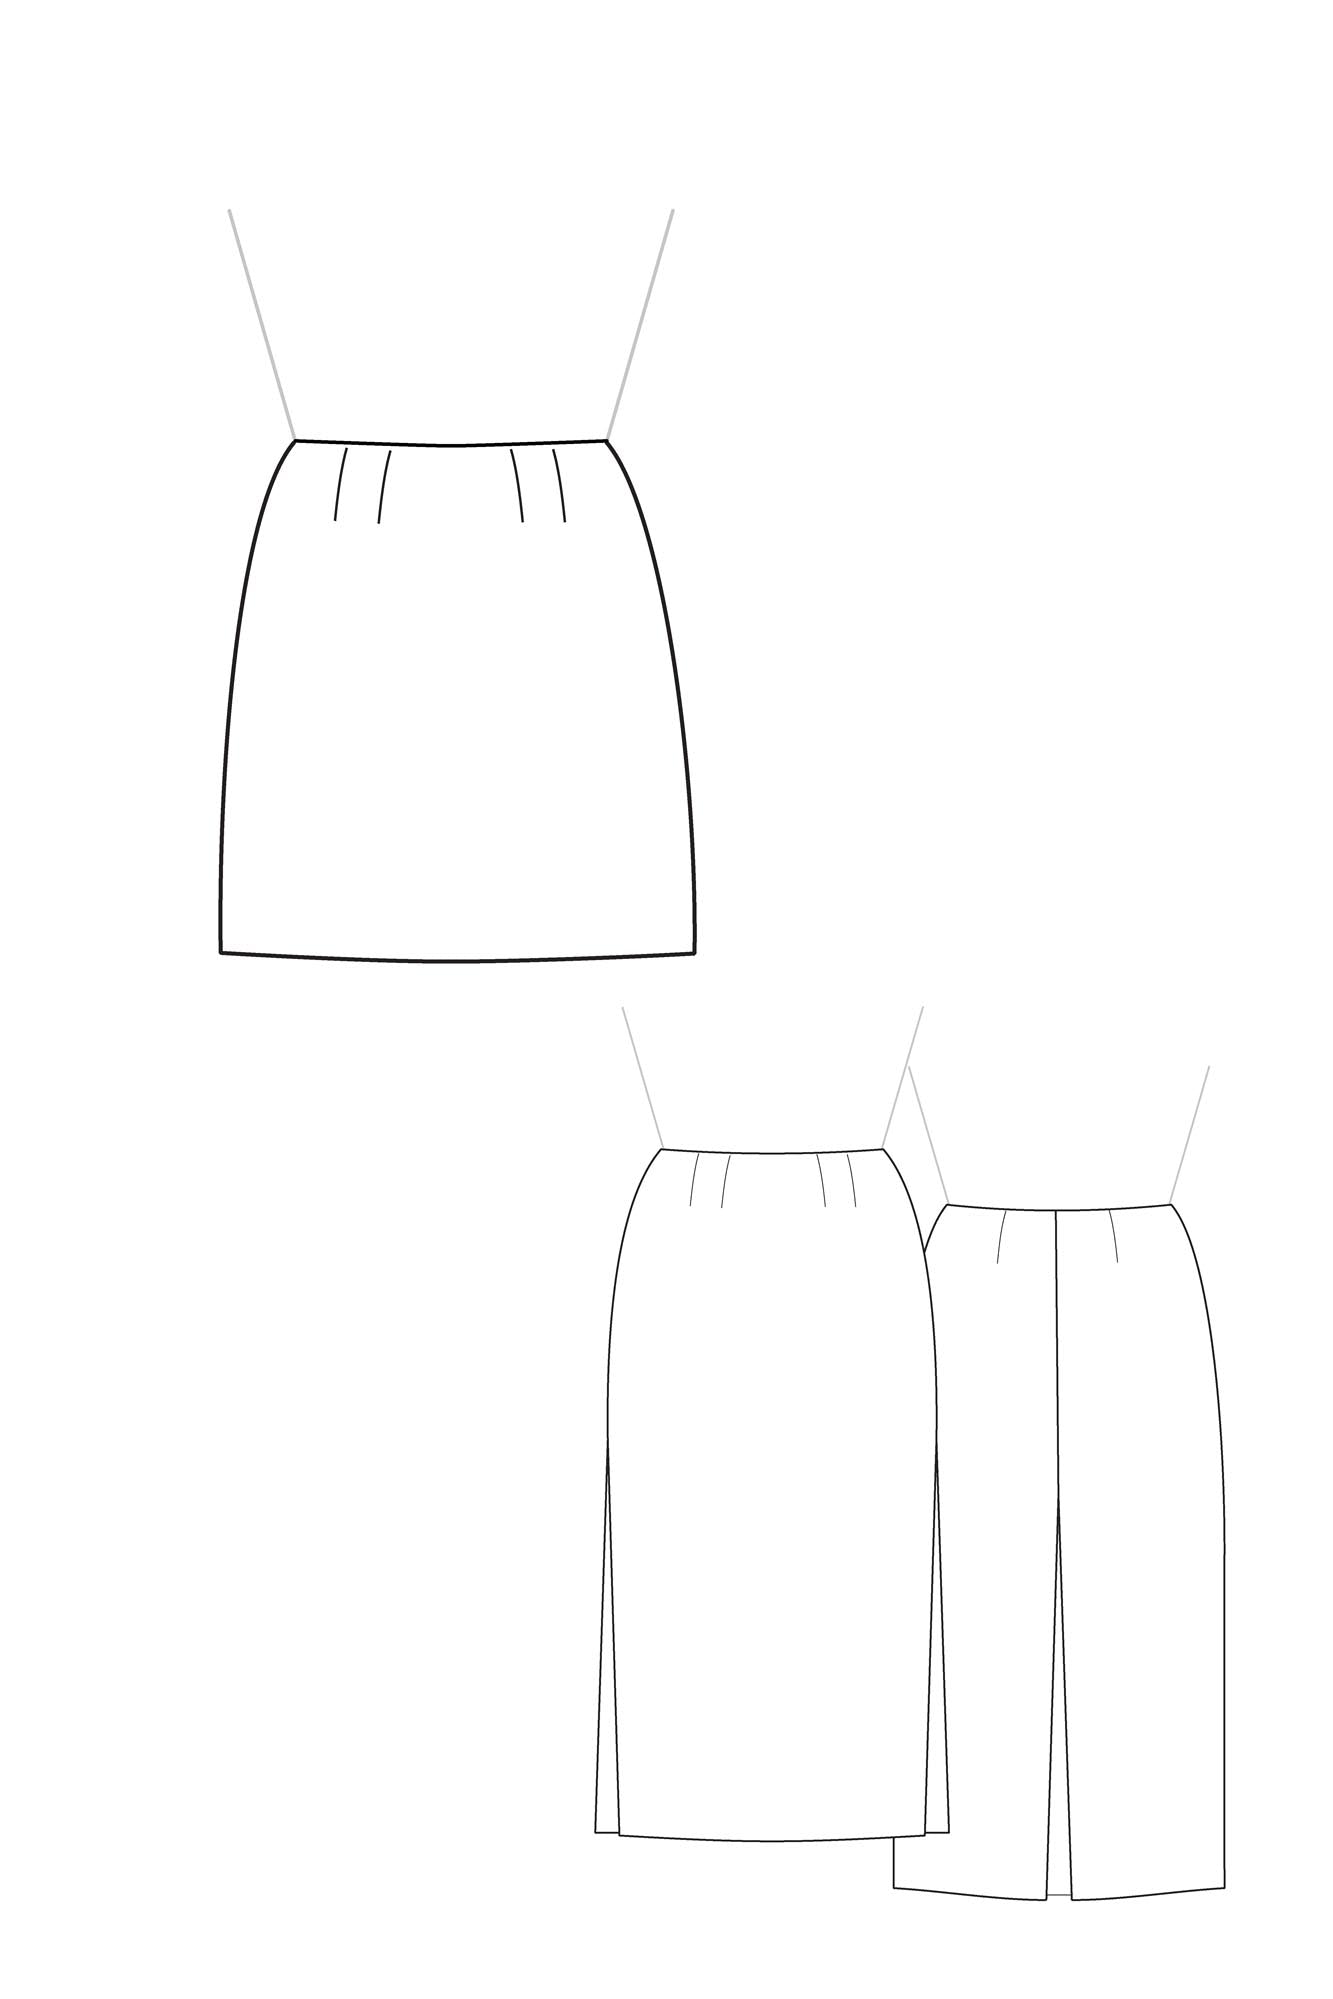
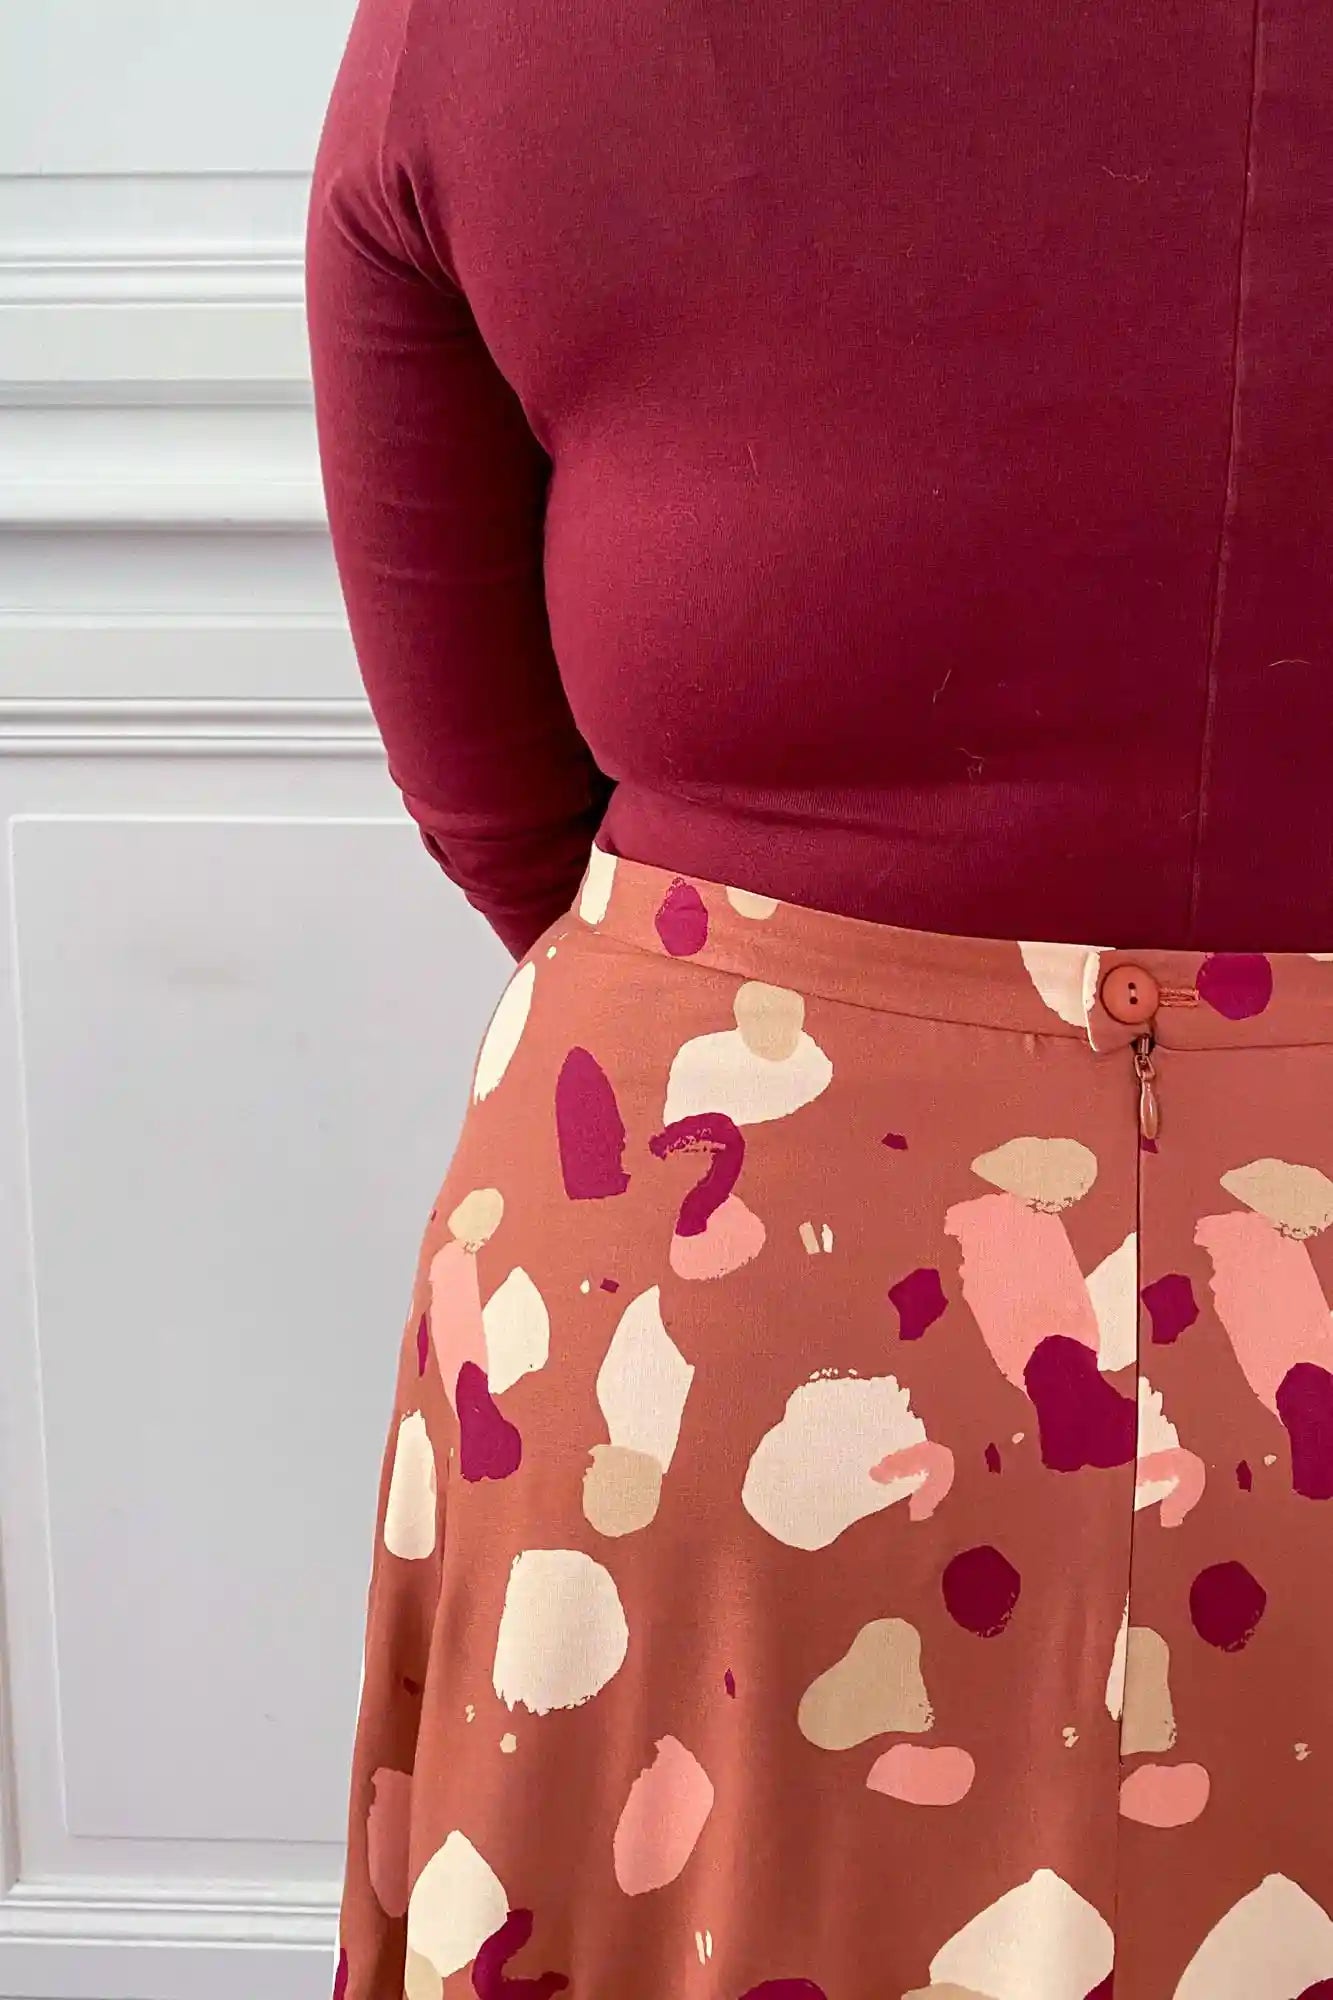
The waist-to-floor length is consistent across all sizes from 34 to 56: Petite 100 cm / Standard 105 cm / Tall 110 cm.
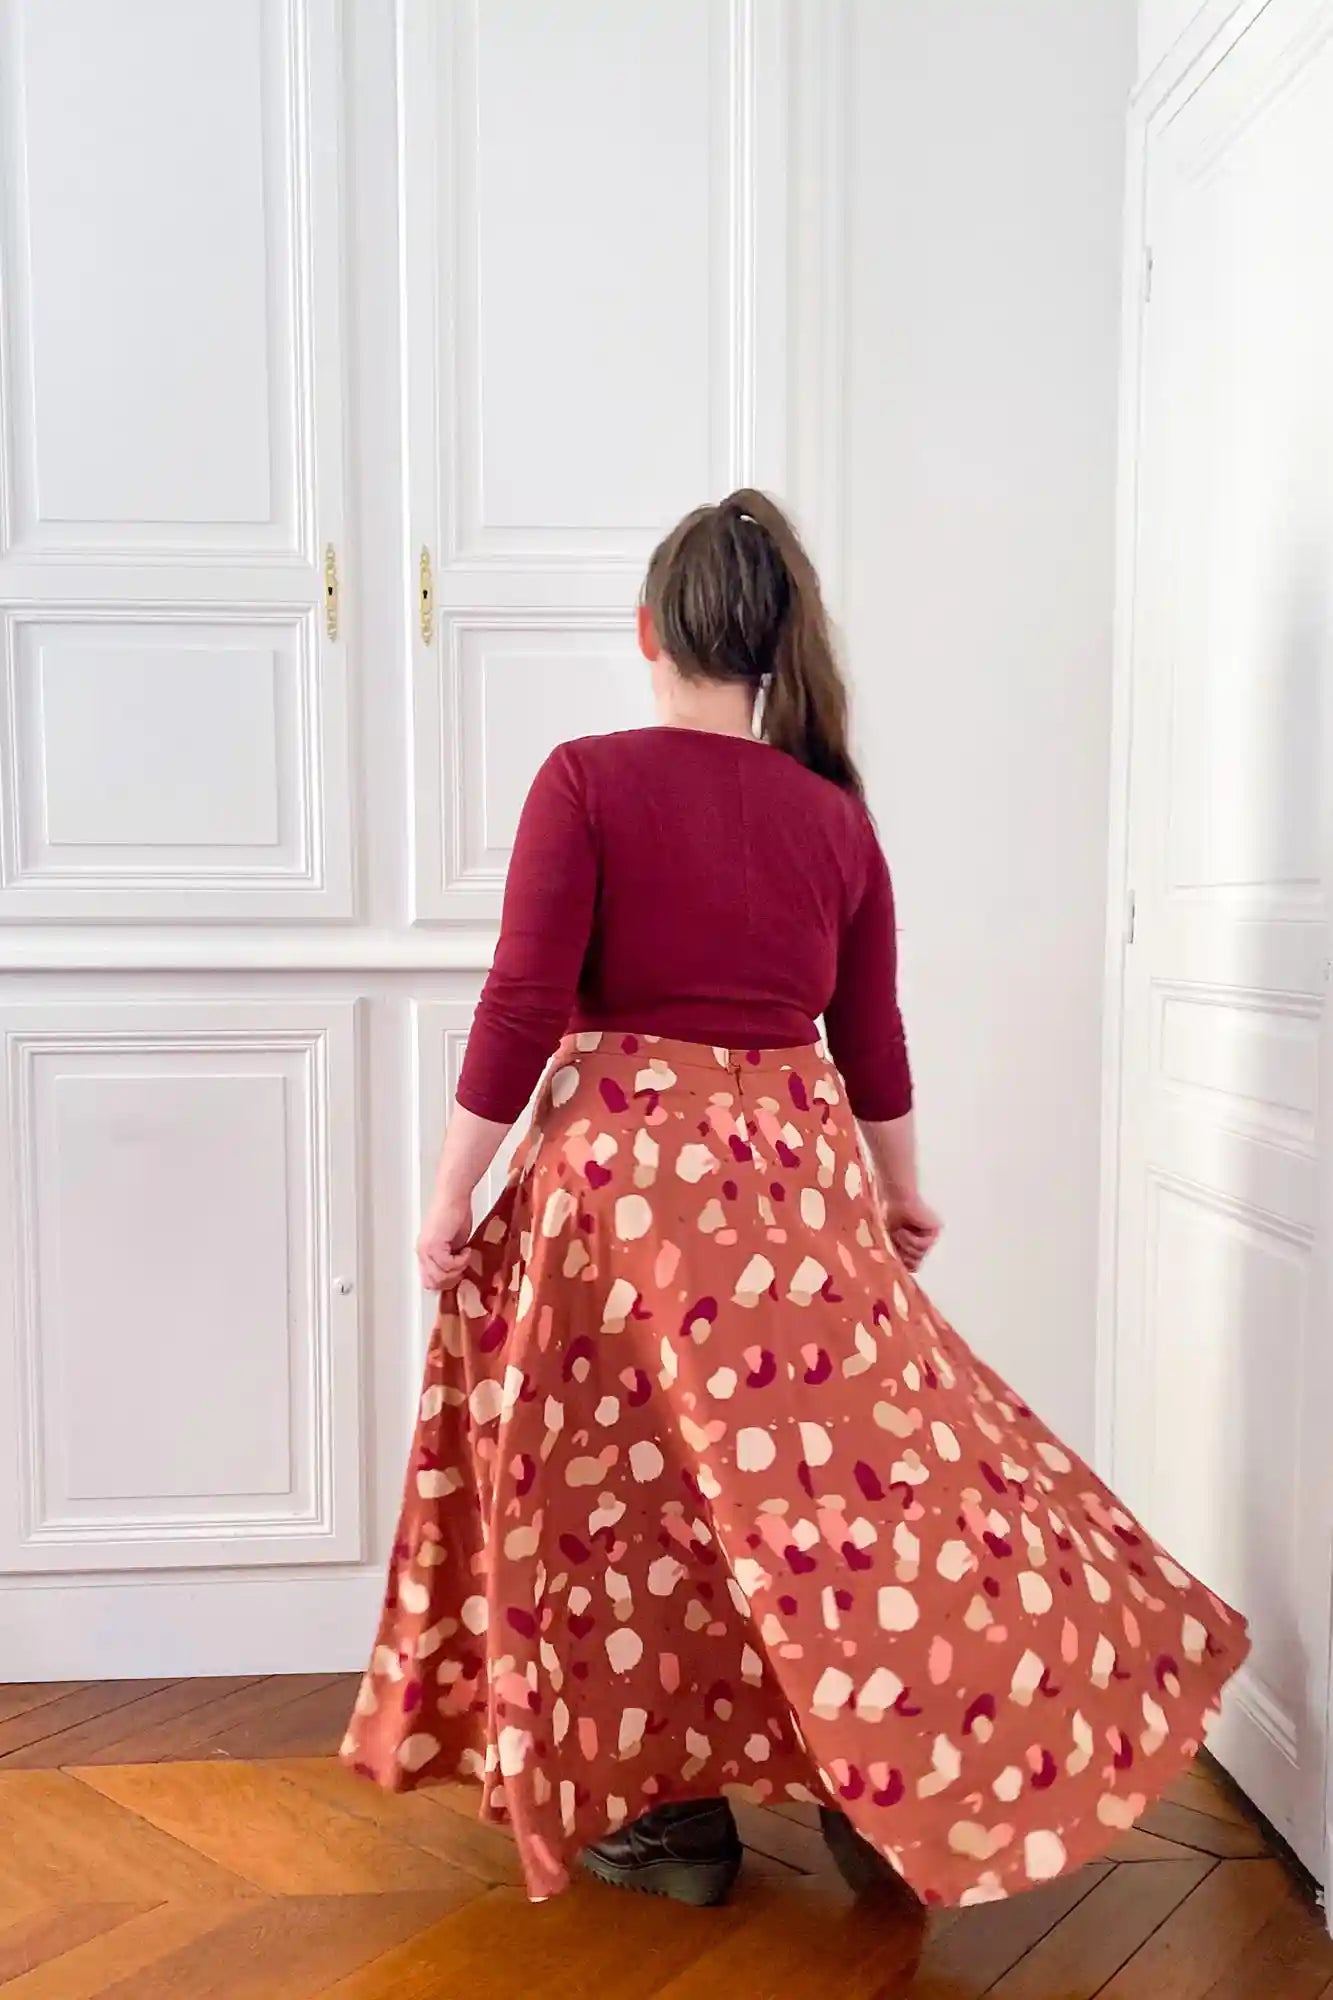
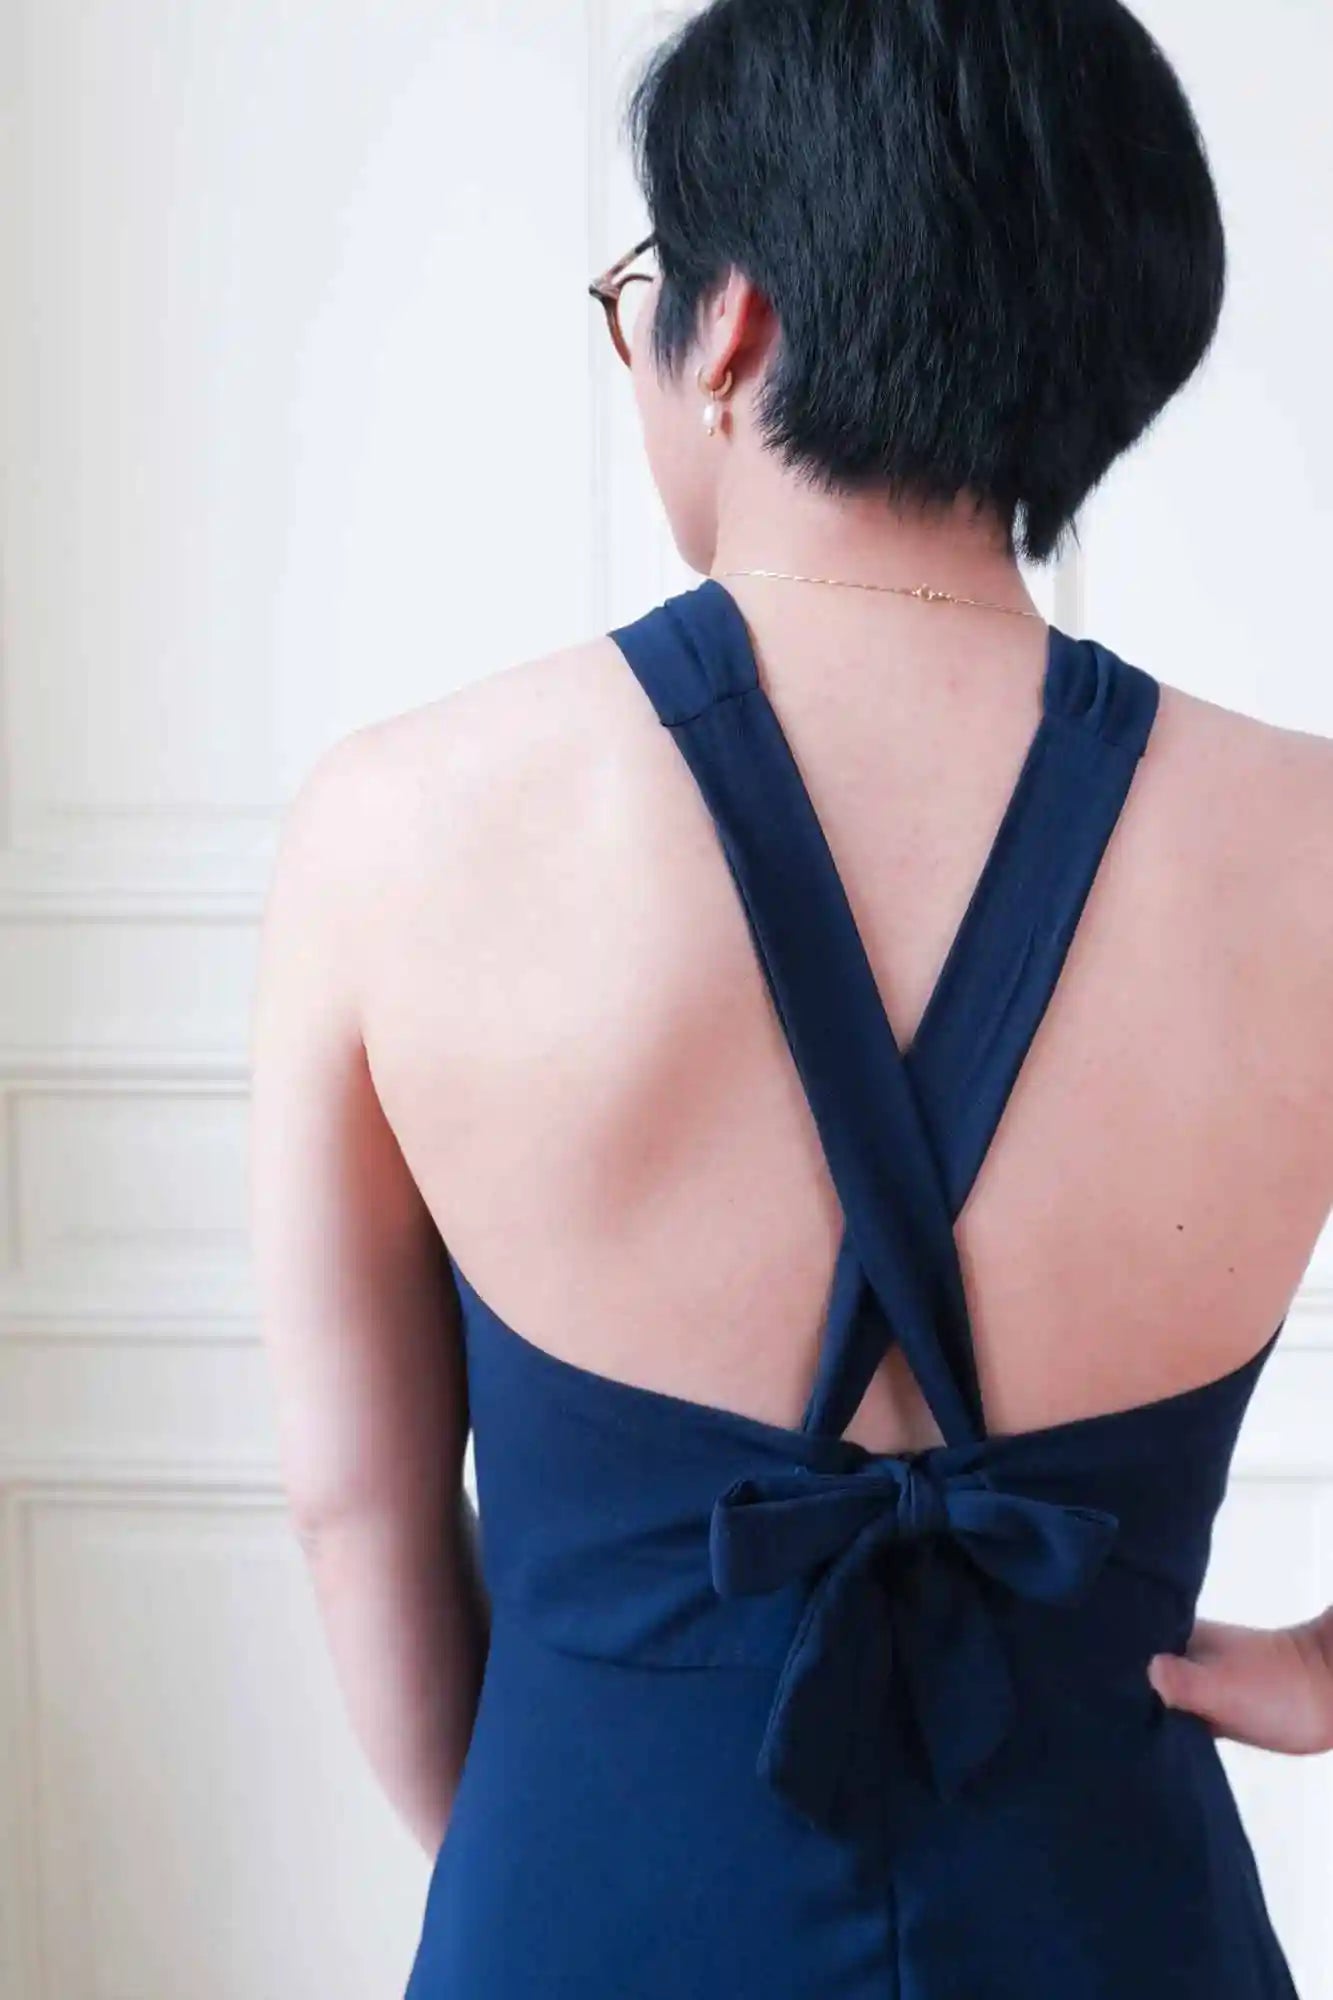
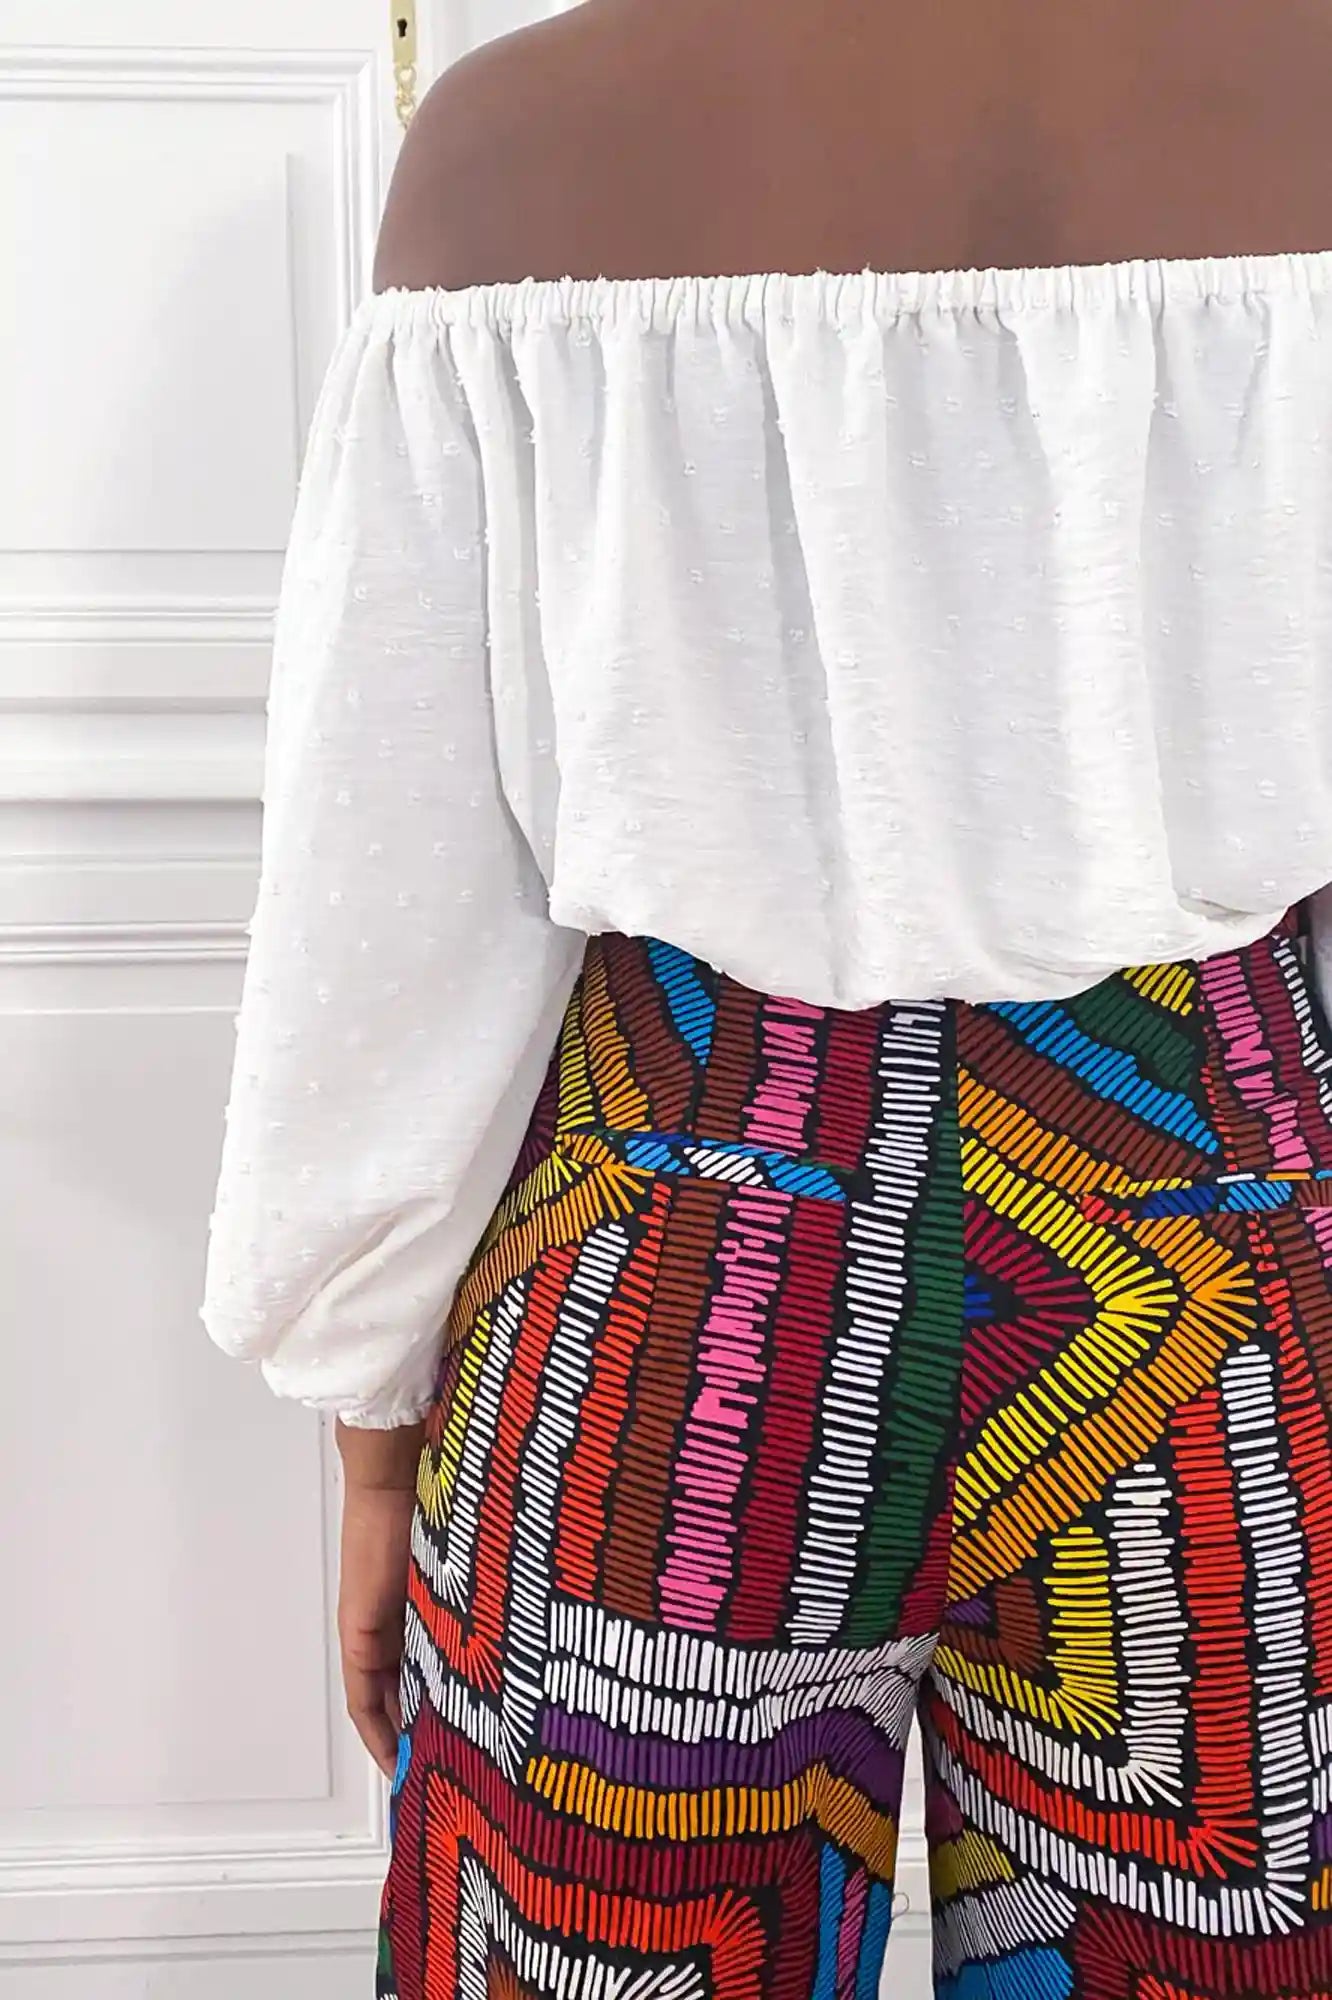
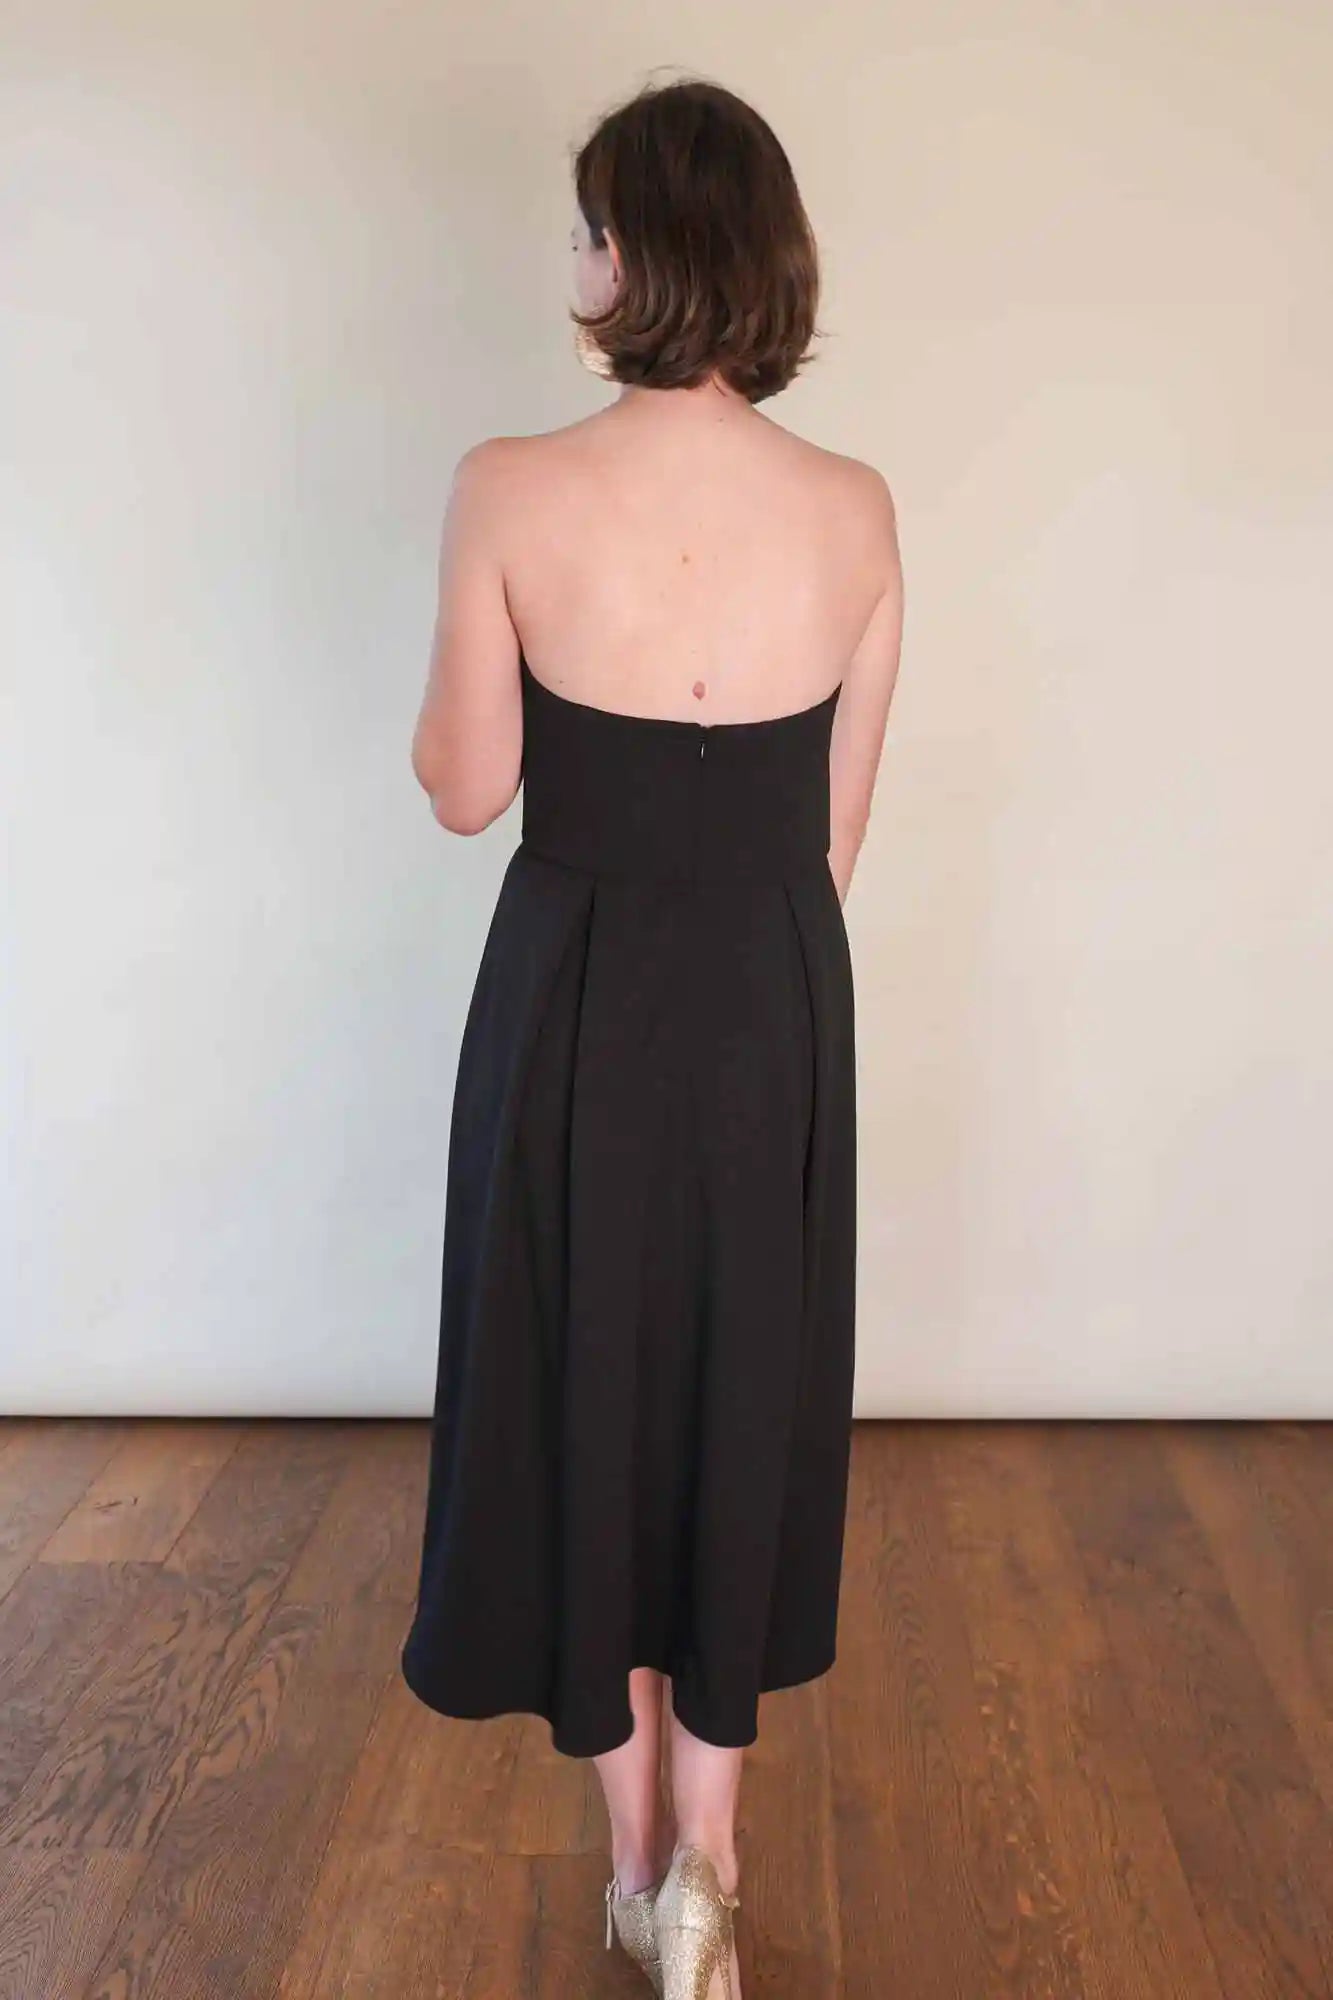
But we don’t just shorten or lengthen the hems — we also adjust the bust height (from shoulder top to waist — see the tables in the instruction booklets) to ensure the waist seam sits on your natural waist.
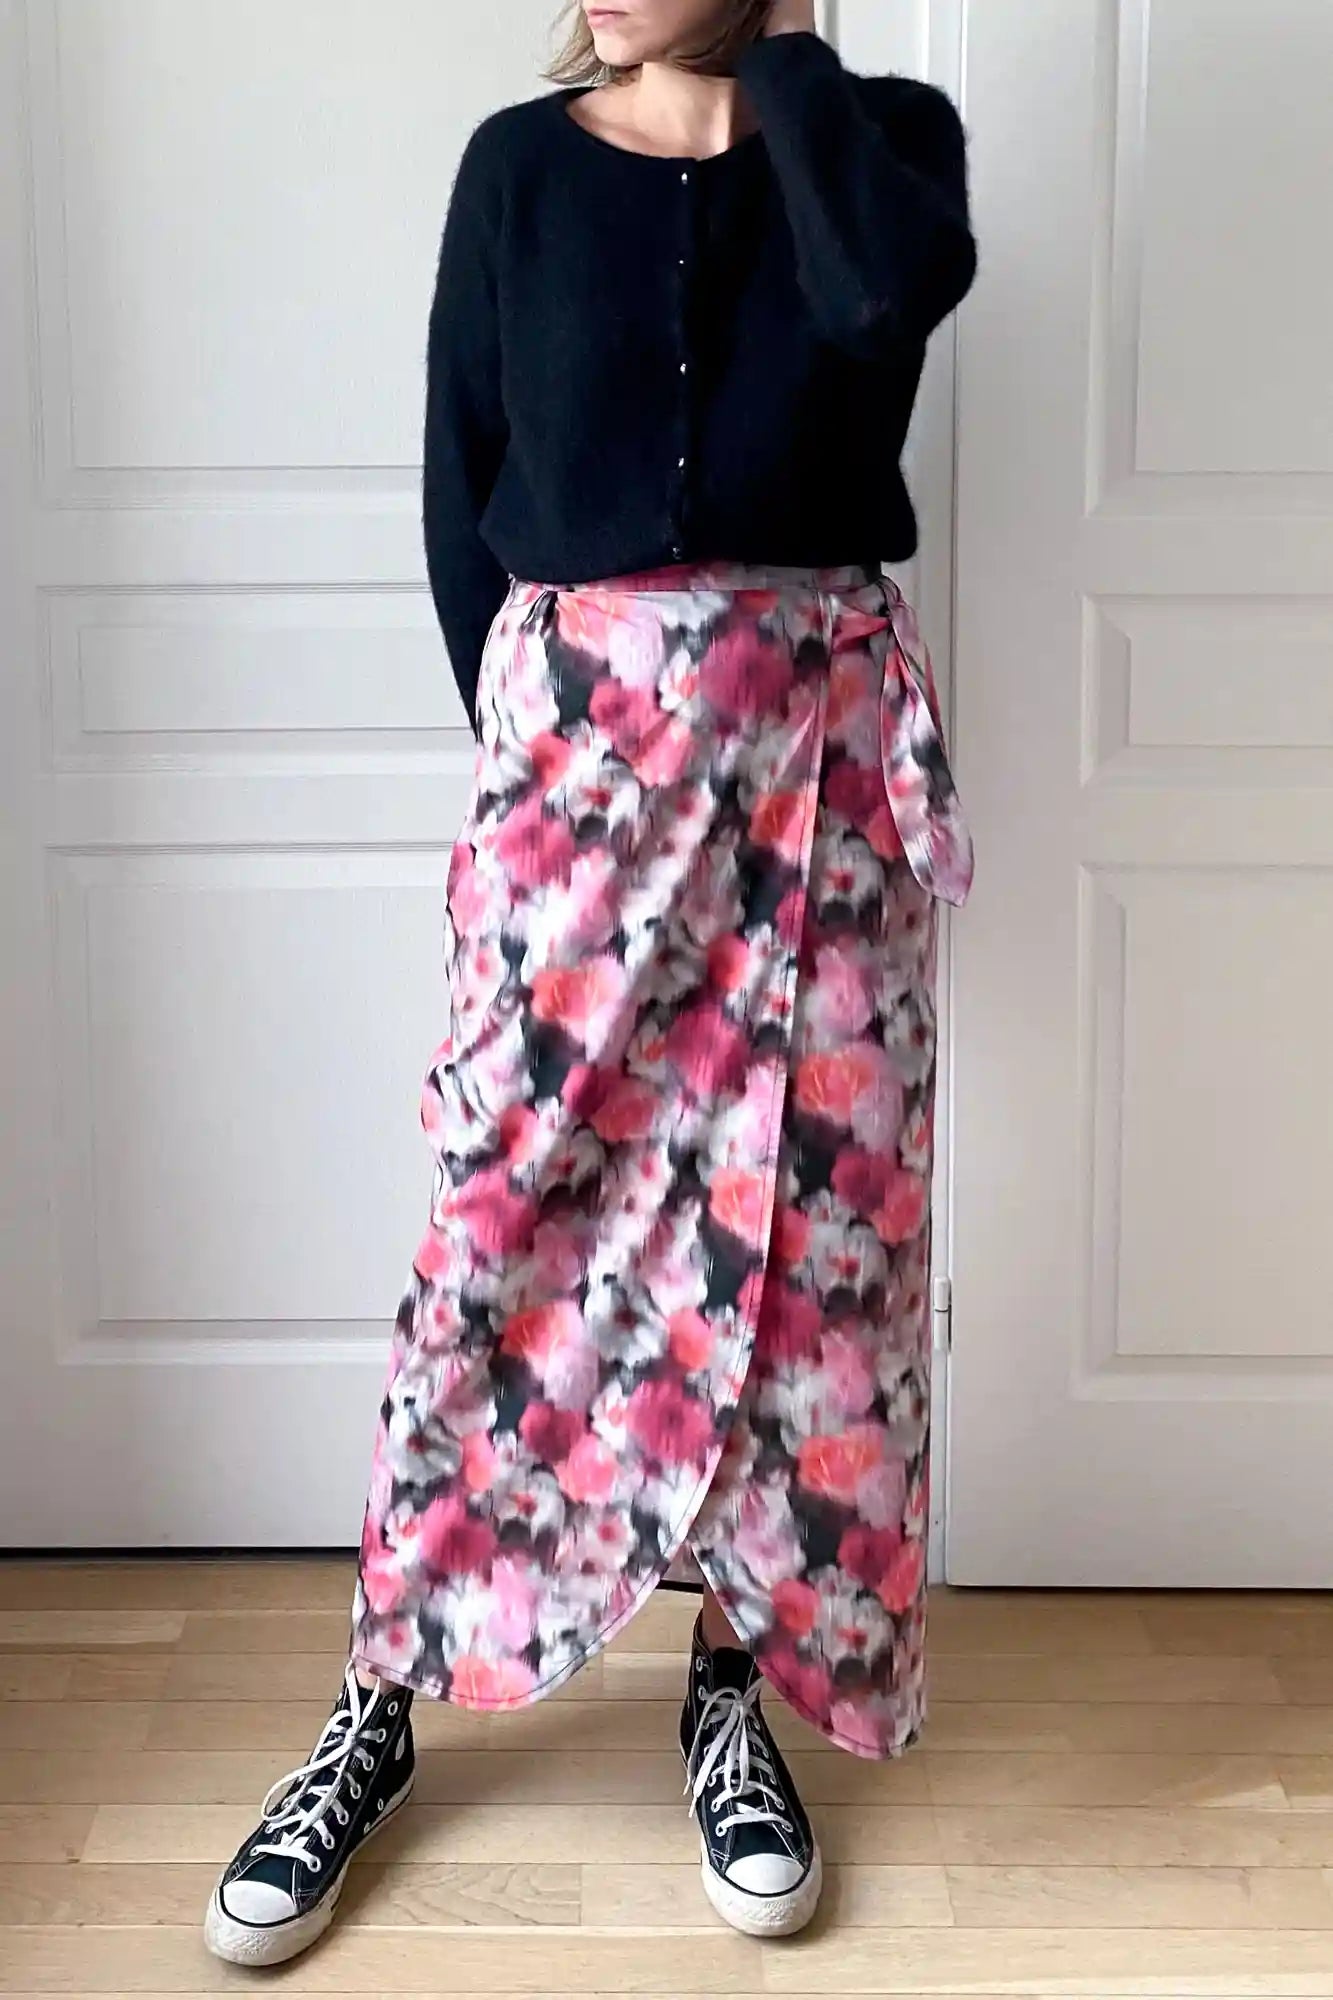
If needed, feel free to mix heights between the top and bottom of your customized garment to best reflect your unique silhouette.
Need help?
Tell me everything: your measurements, your pattern and fabric choices, and even photos of your toile! I’ll be happy to give you personalized advice.
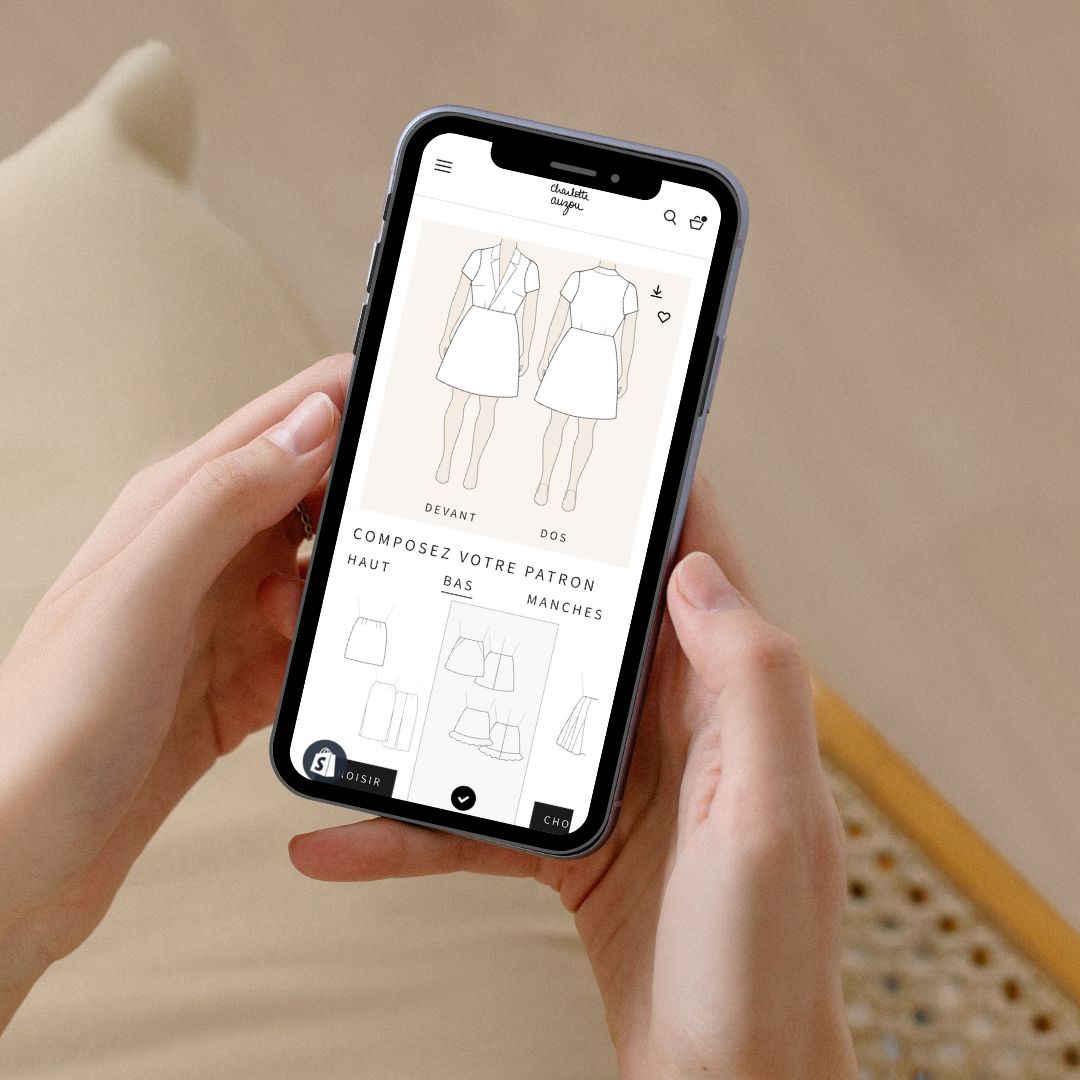
FIND YOUR CUSTOM-MADE SEWING PROJECT


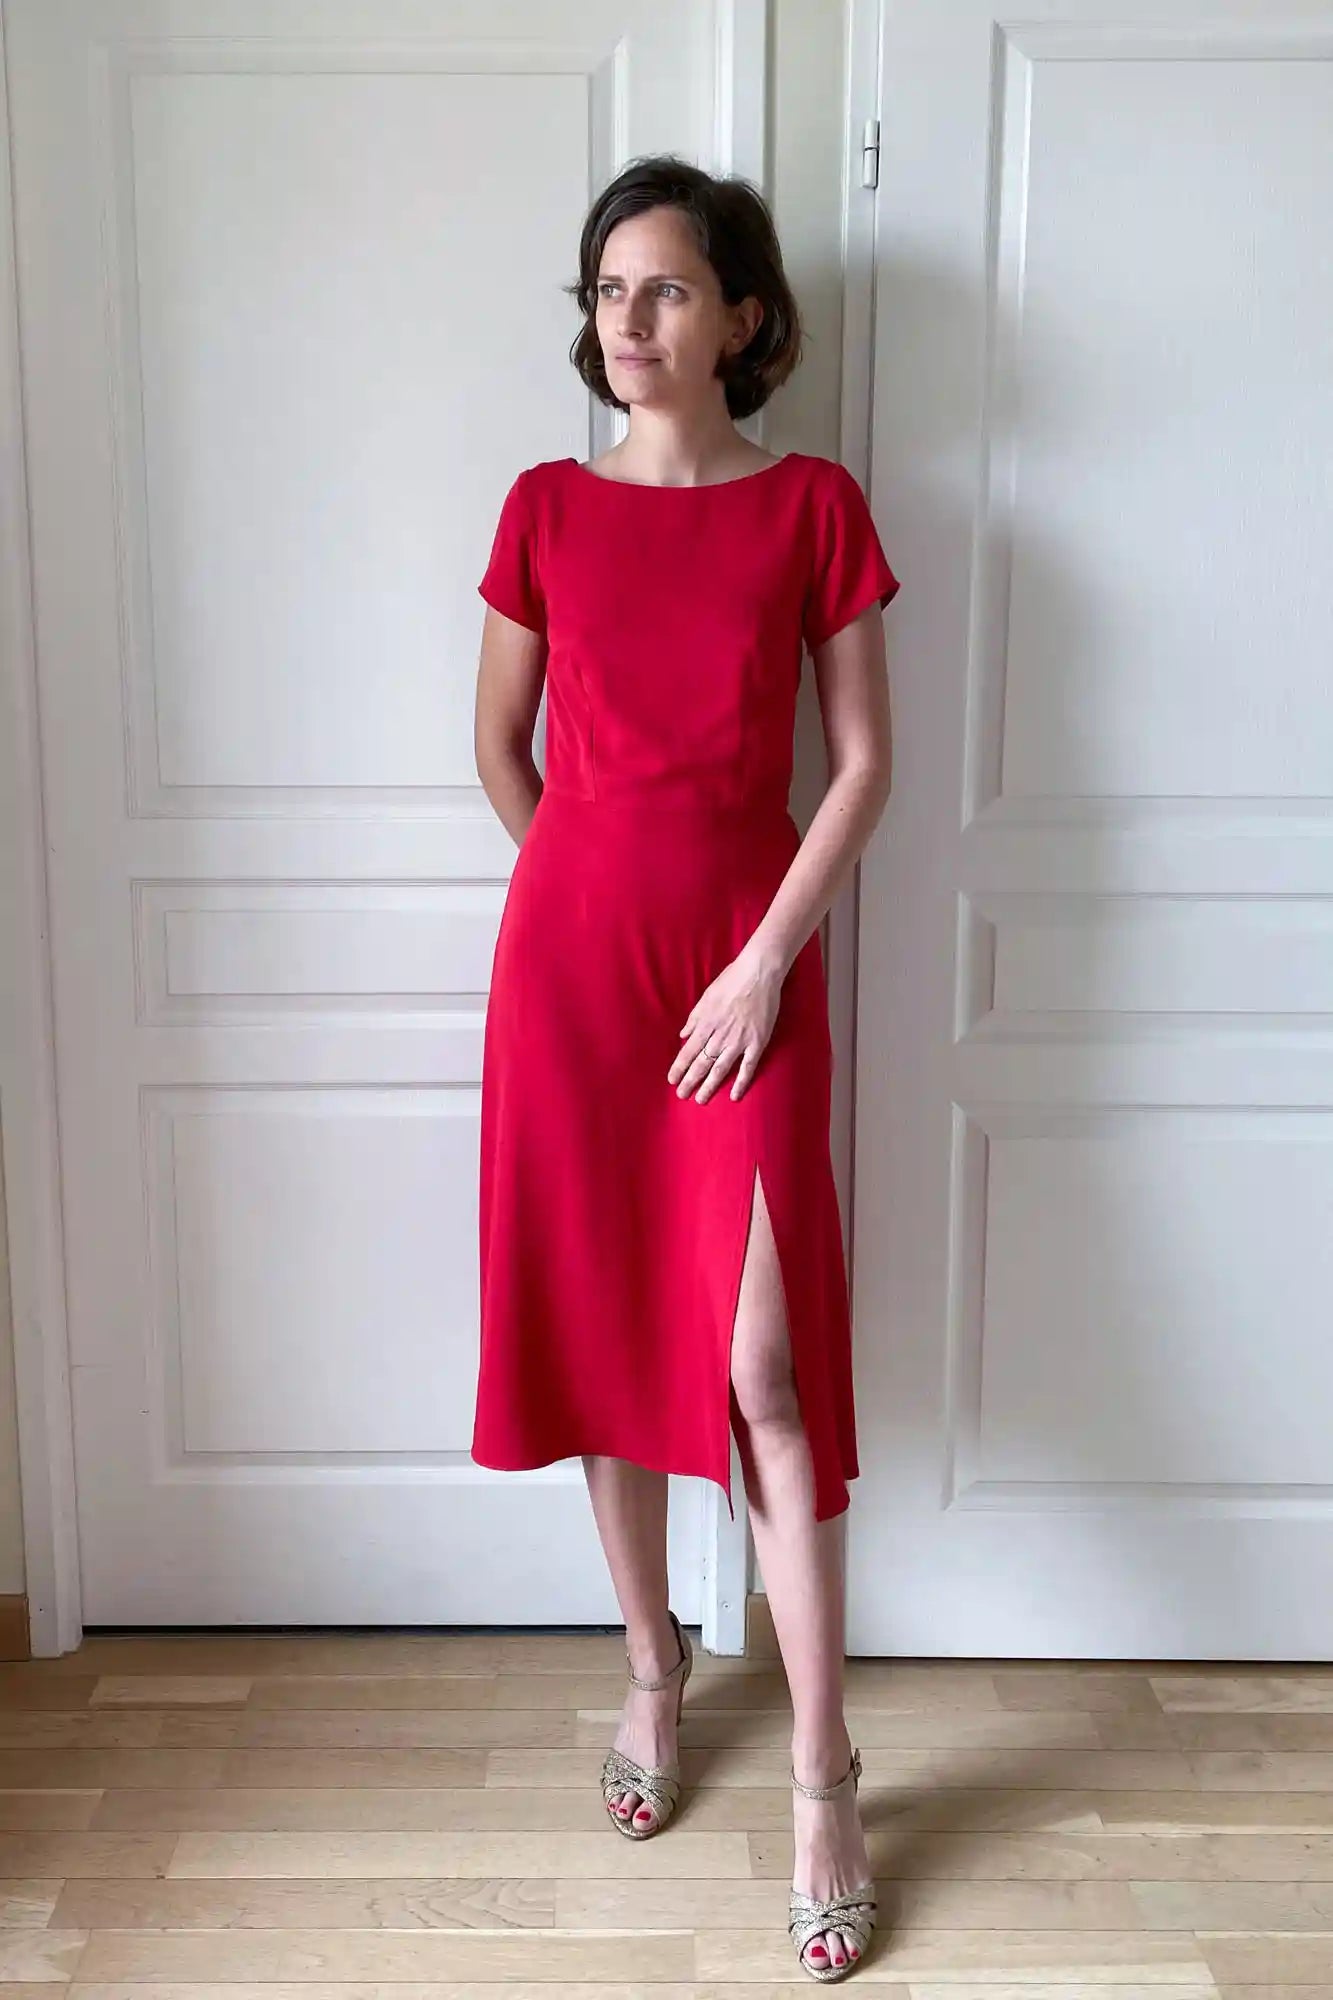


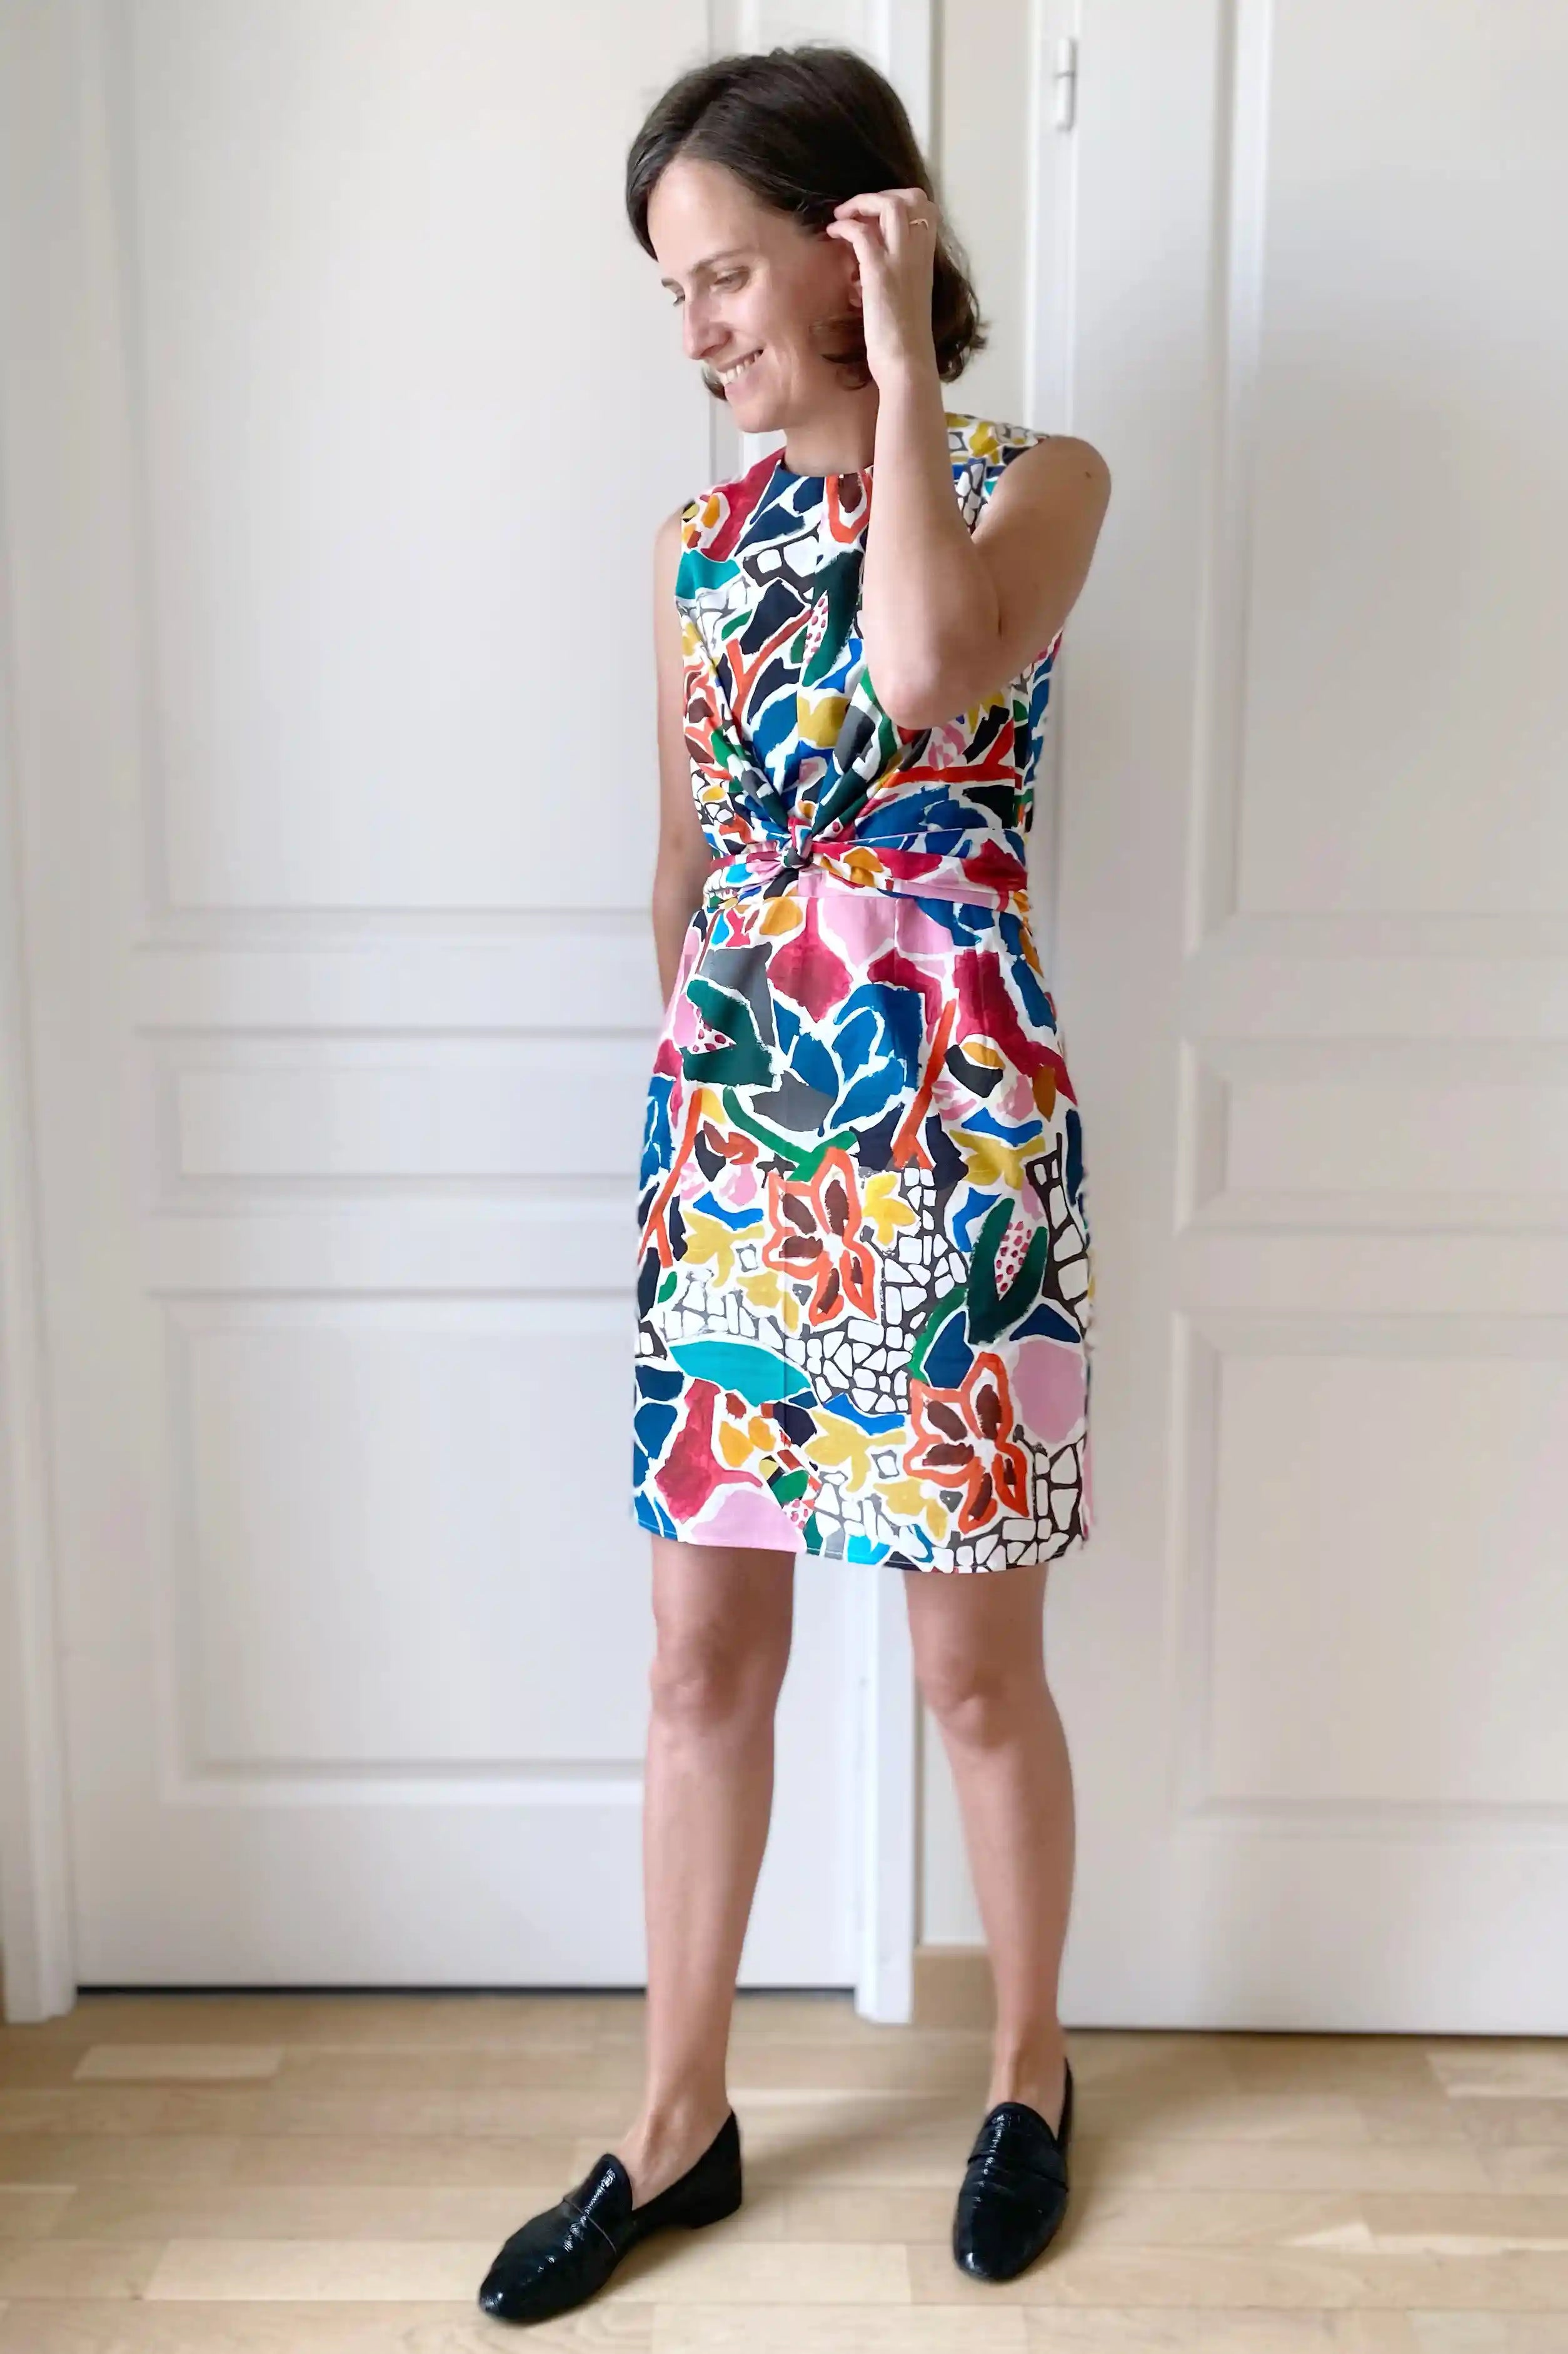


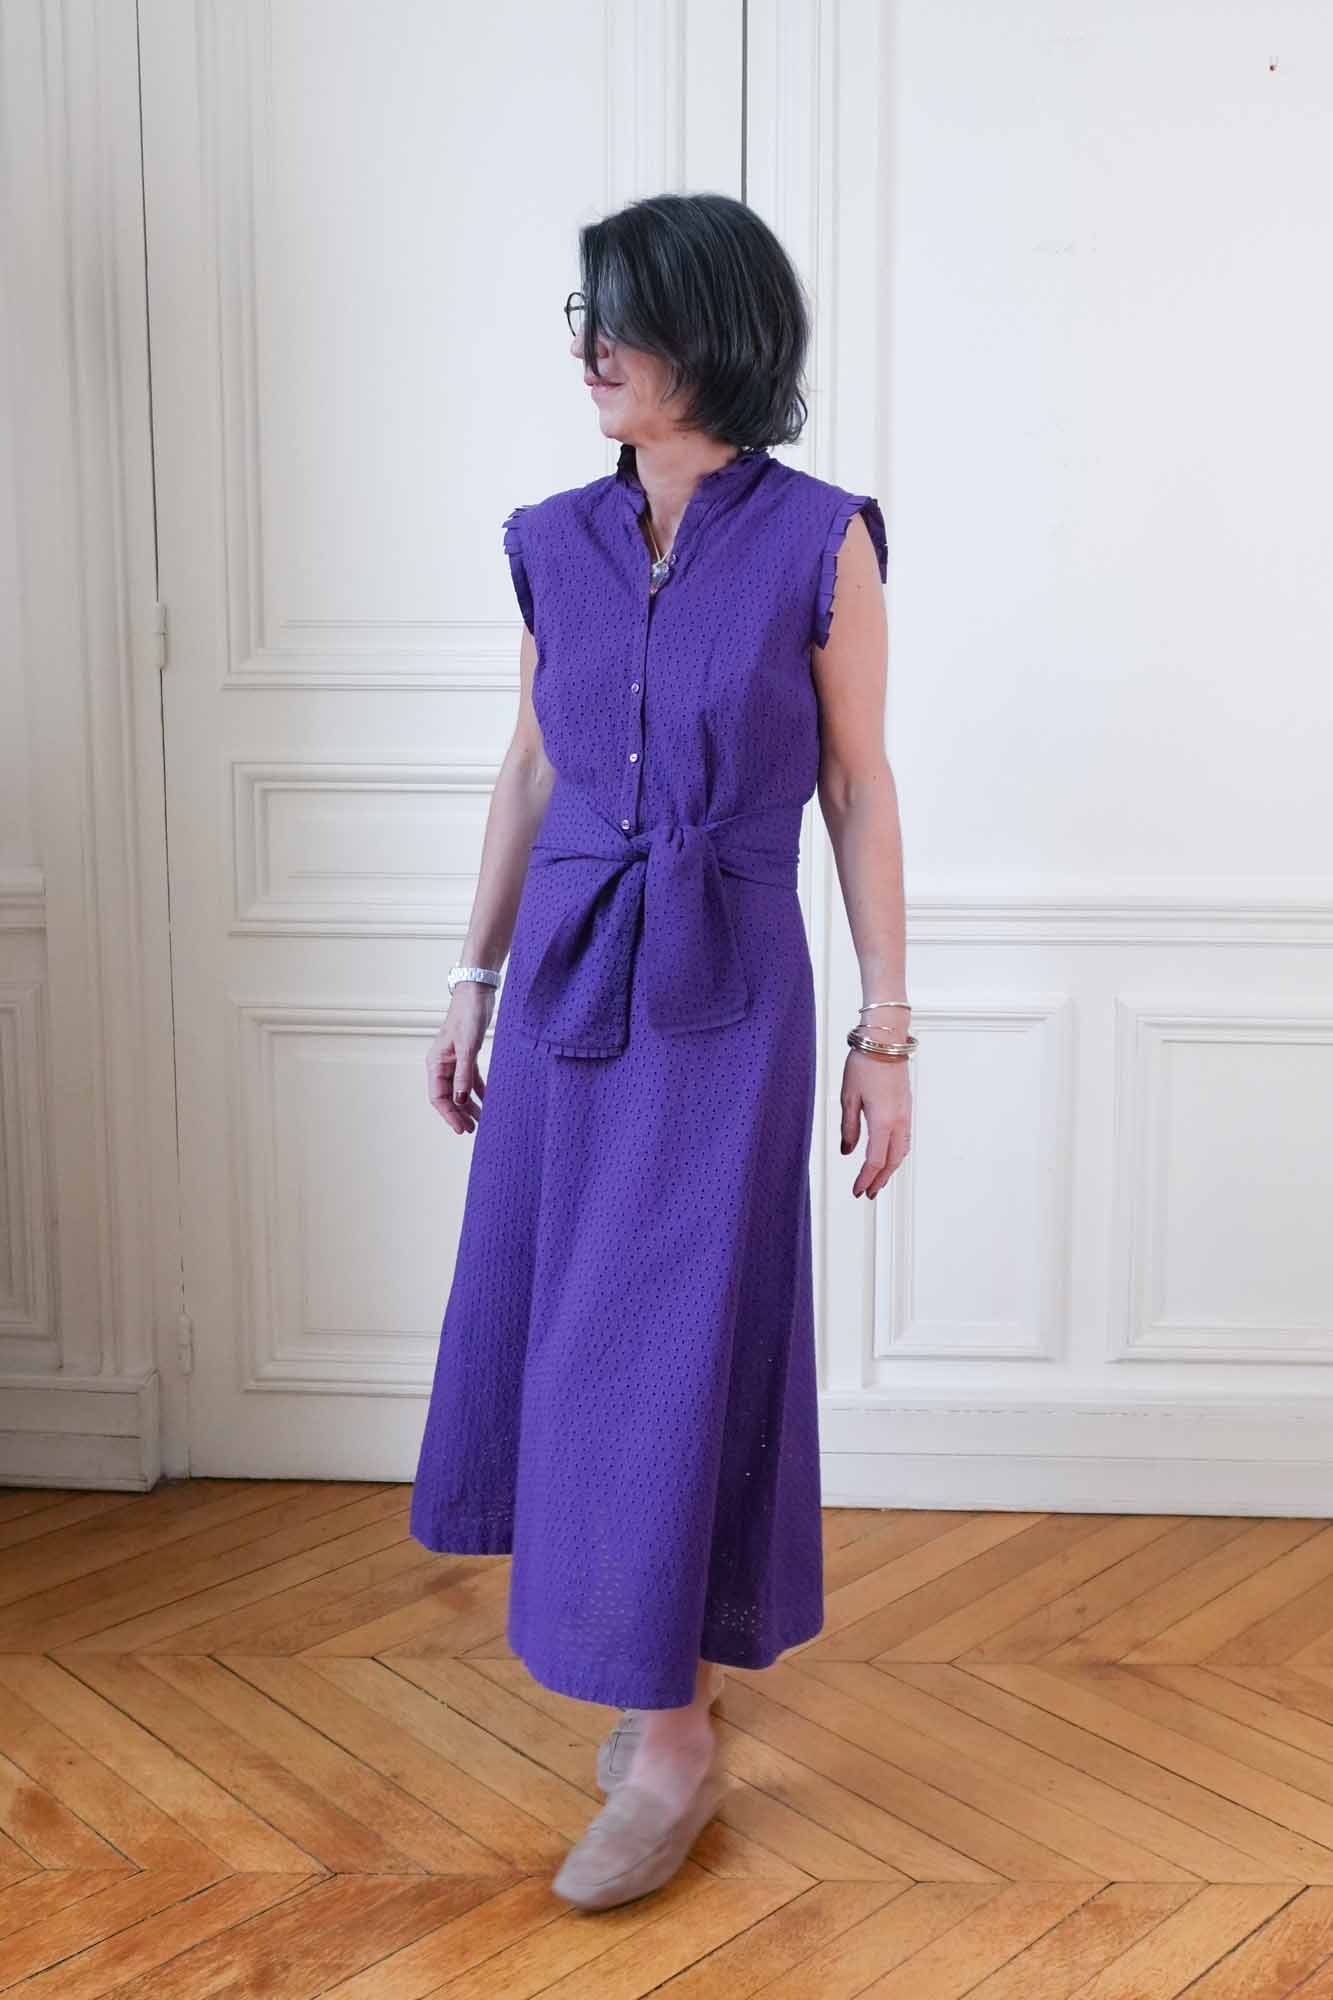
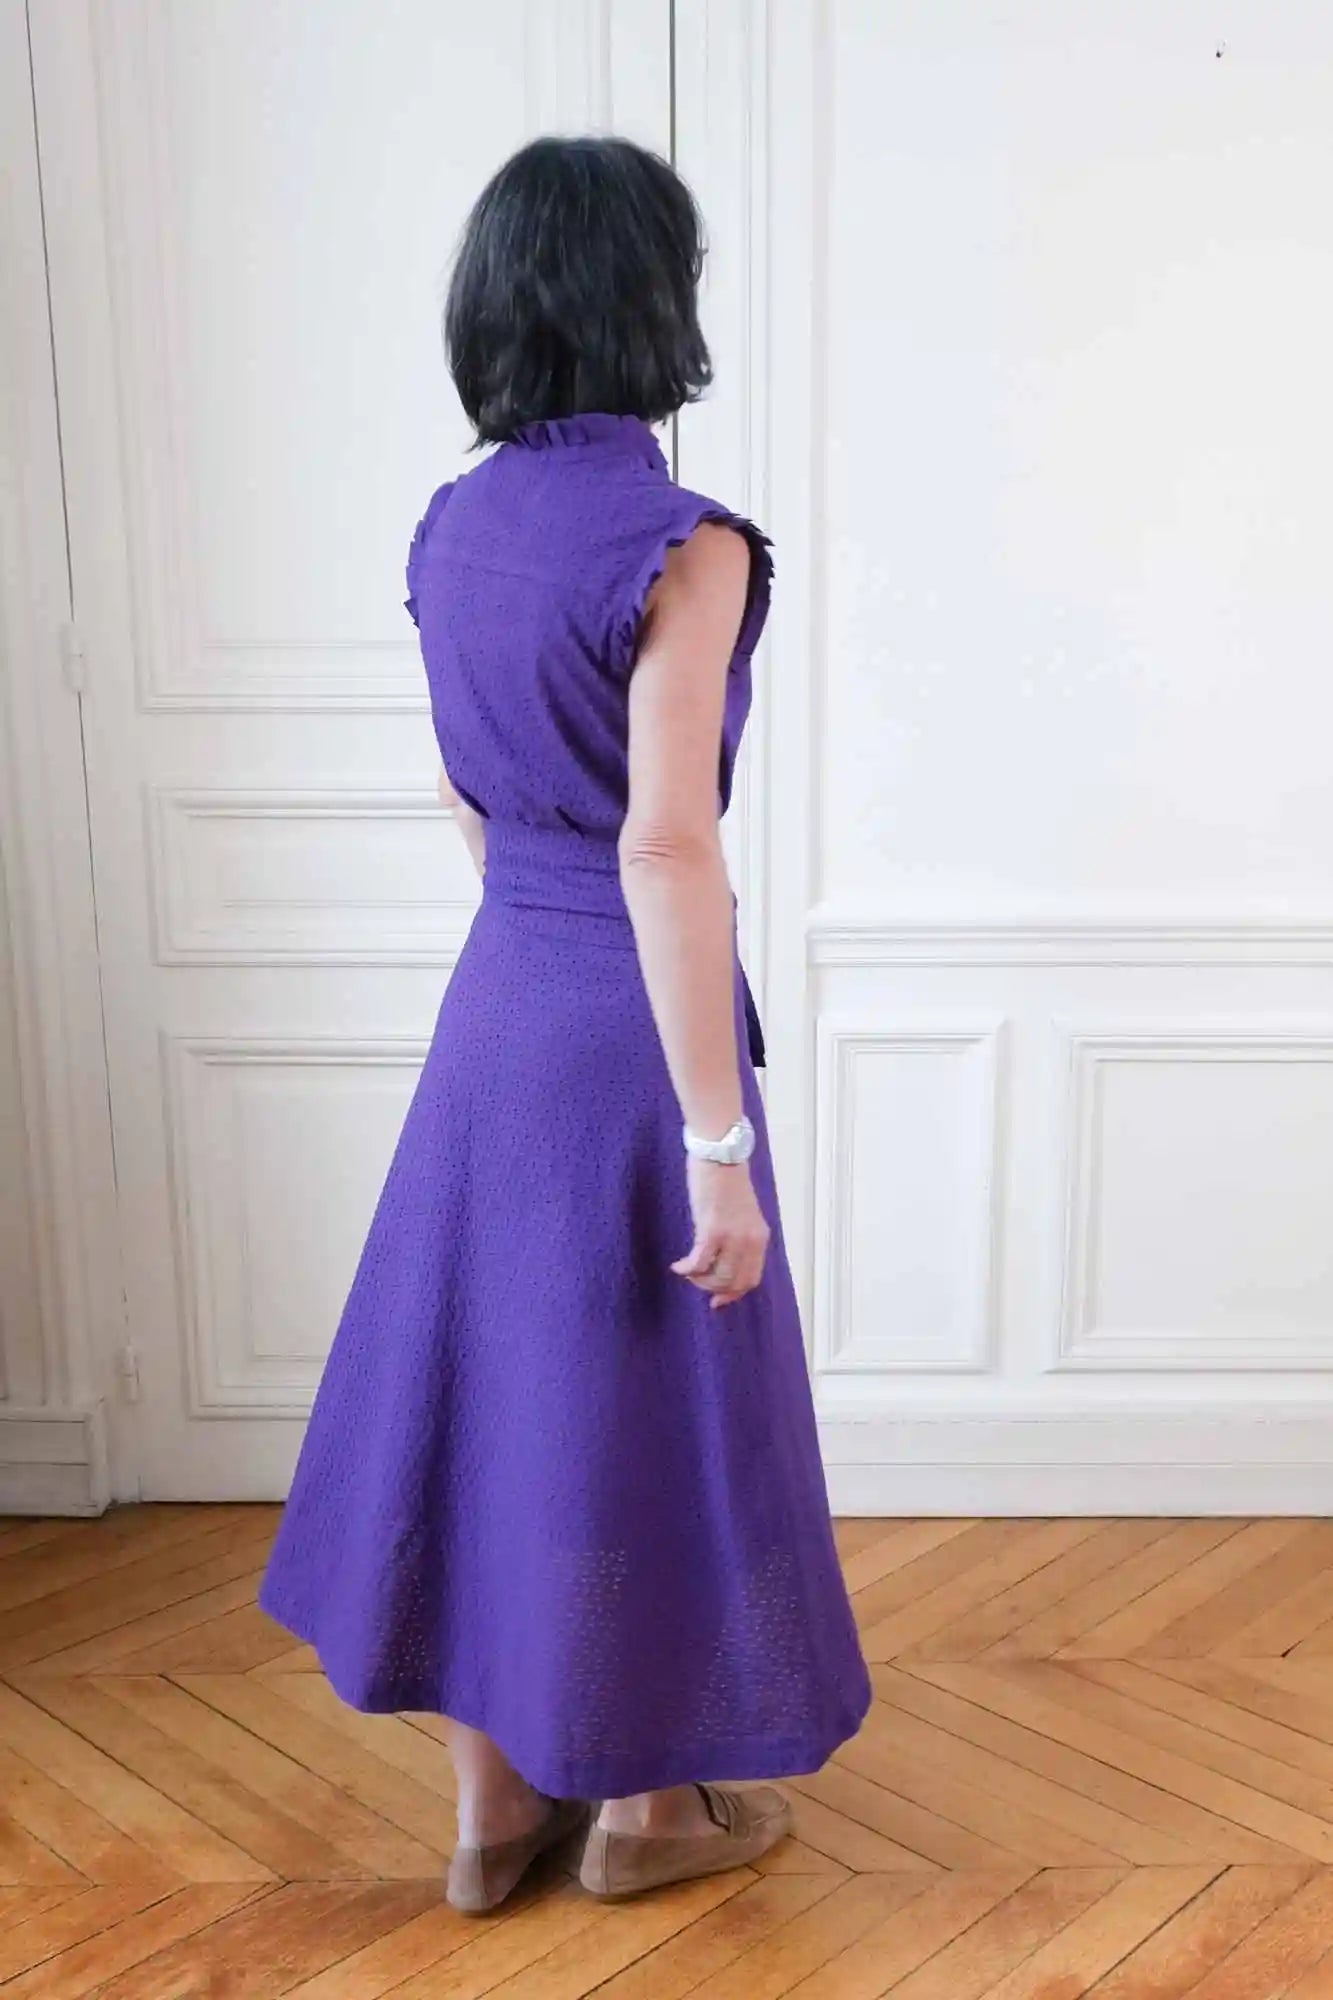
A unique sewing experience
Your are the designer of your next handmade project
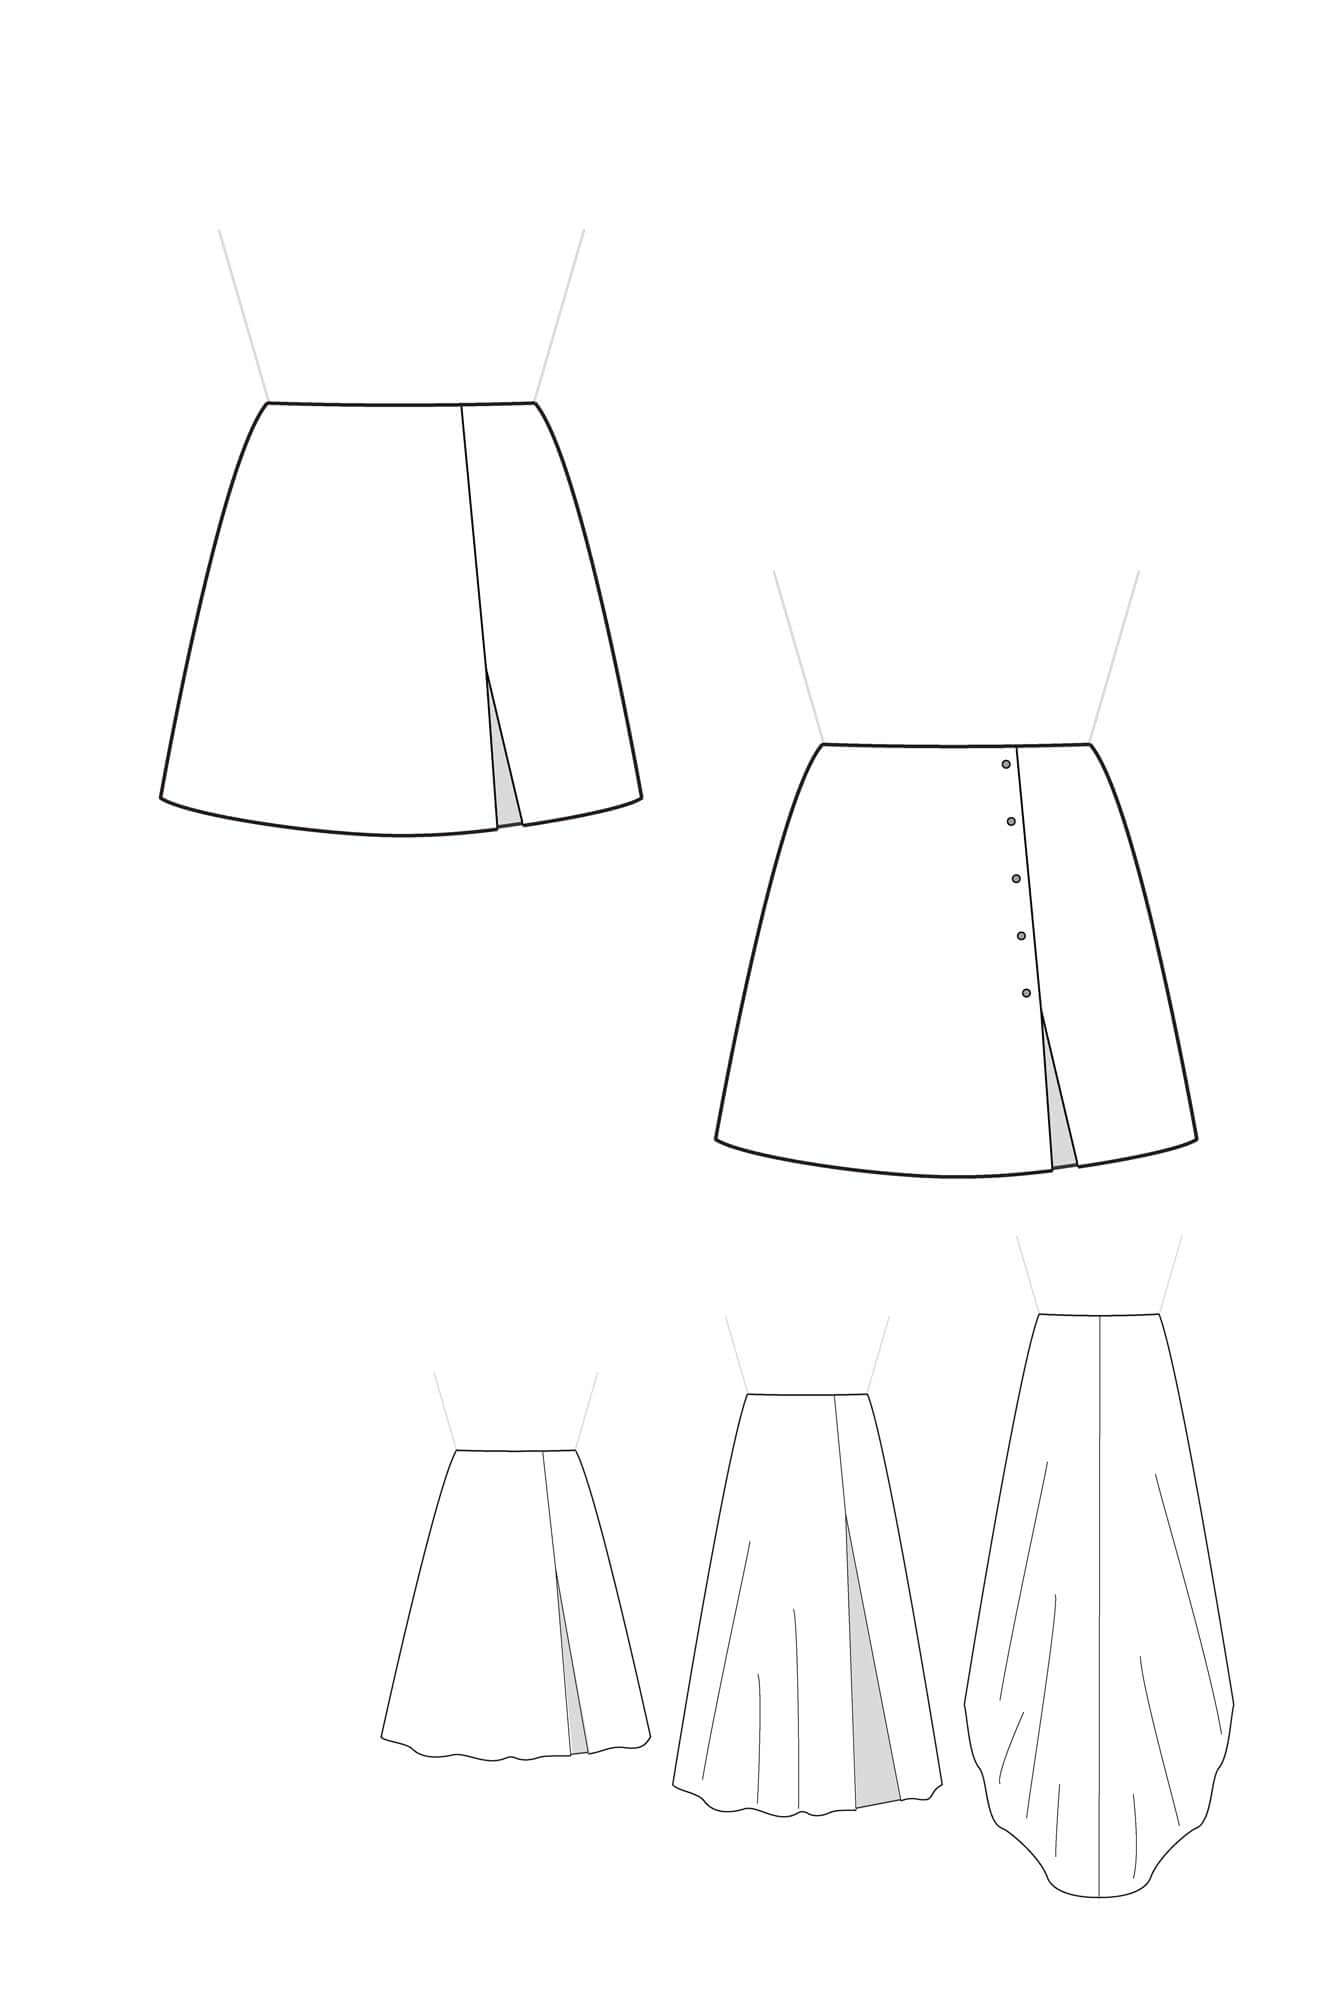
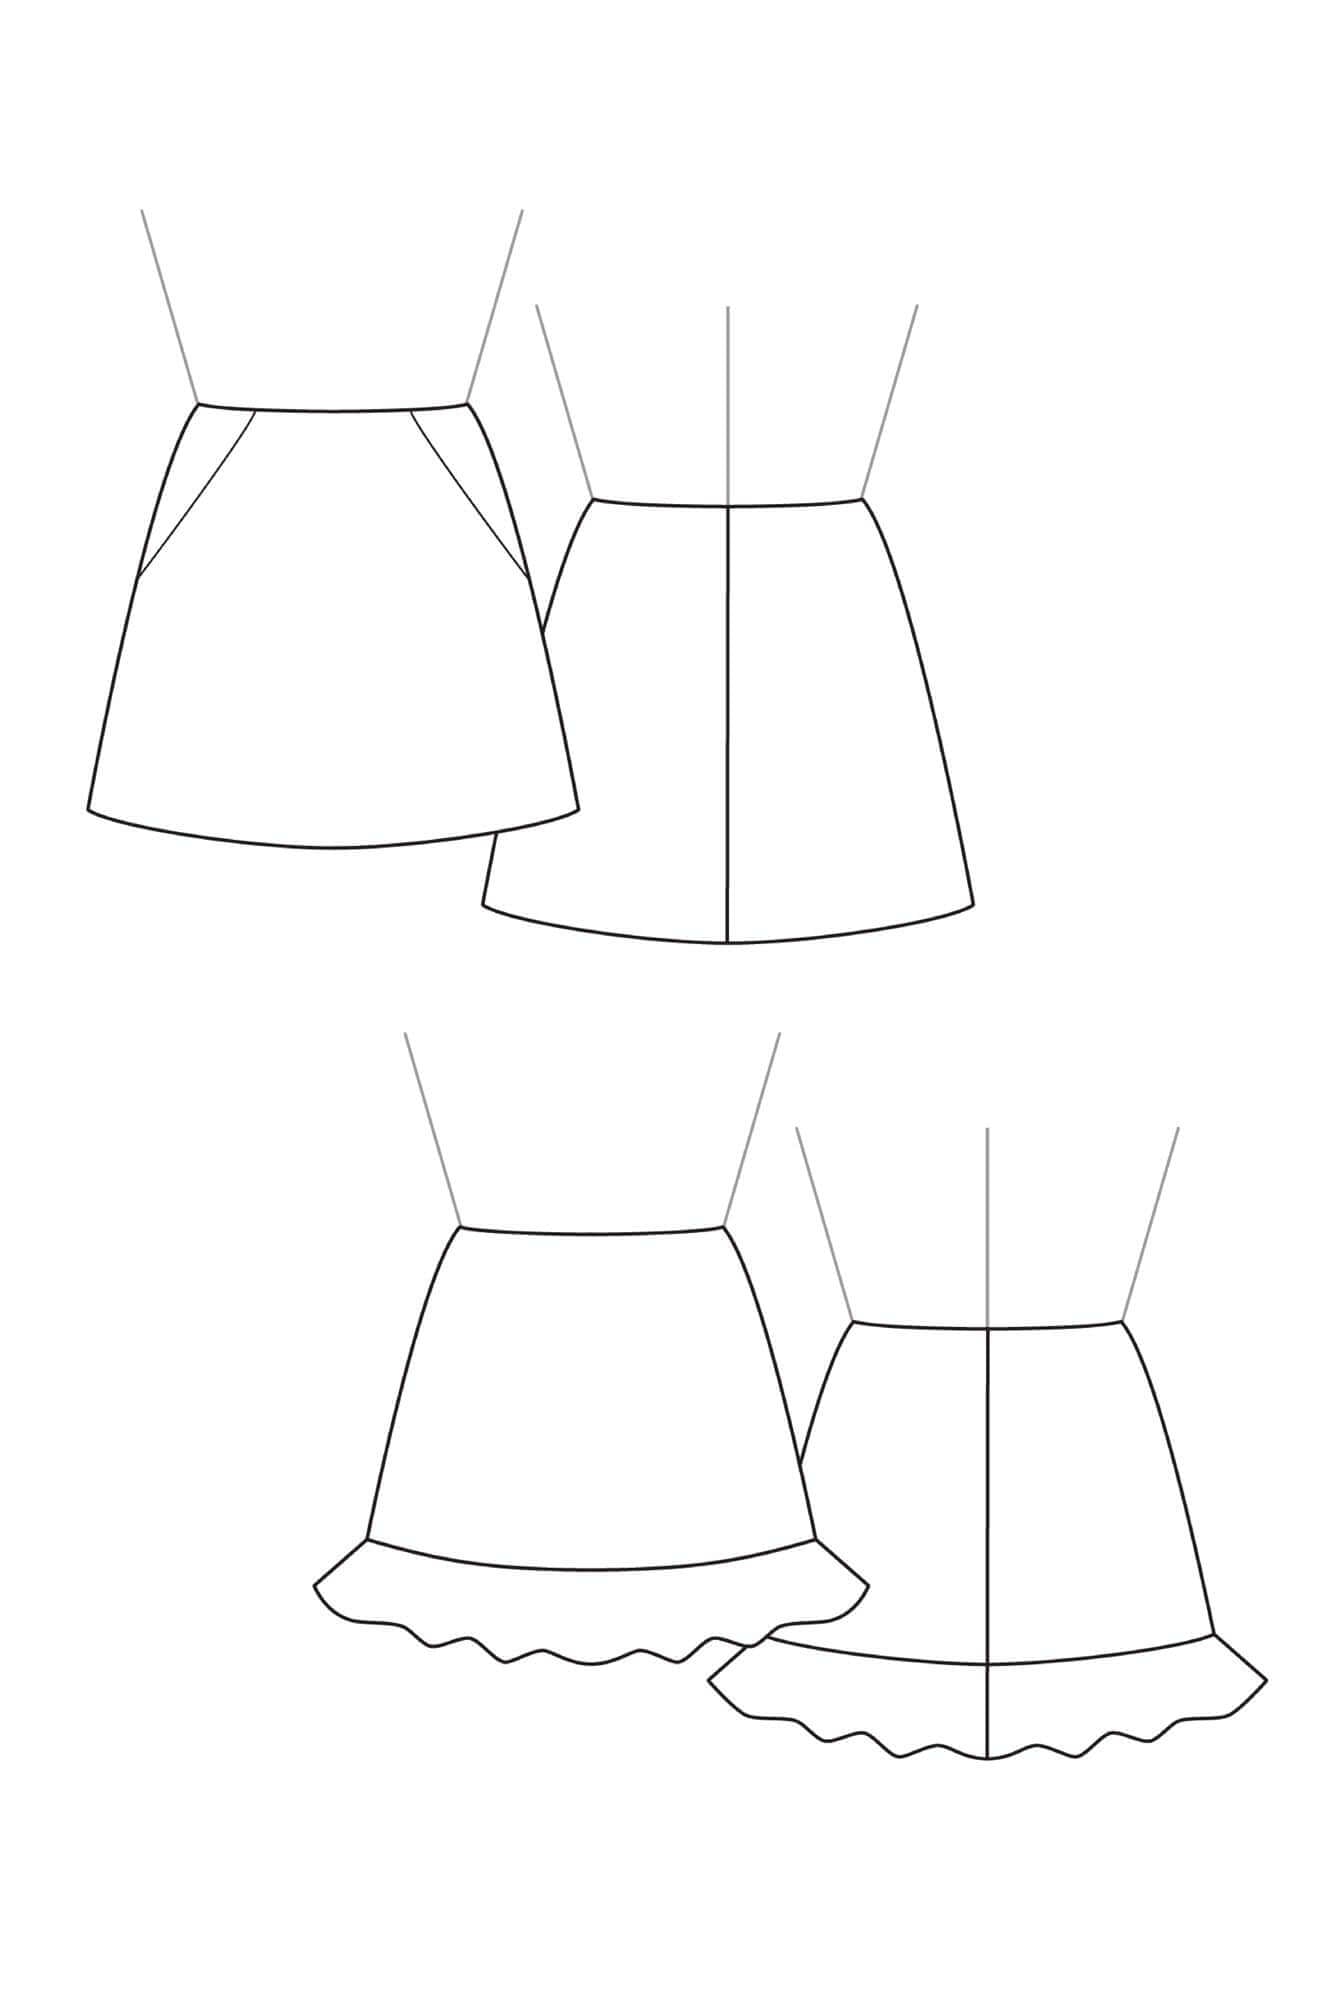
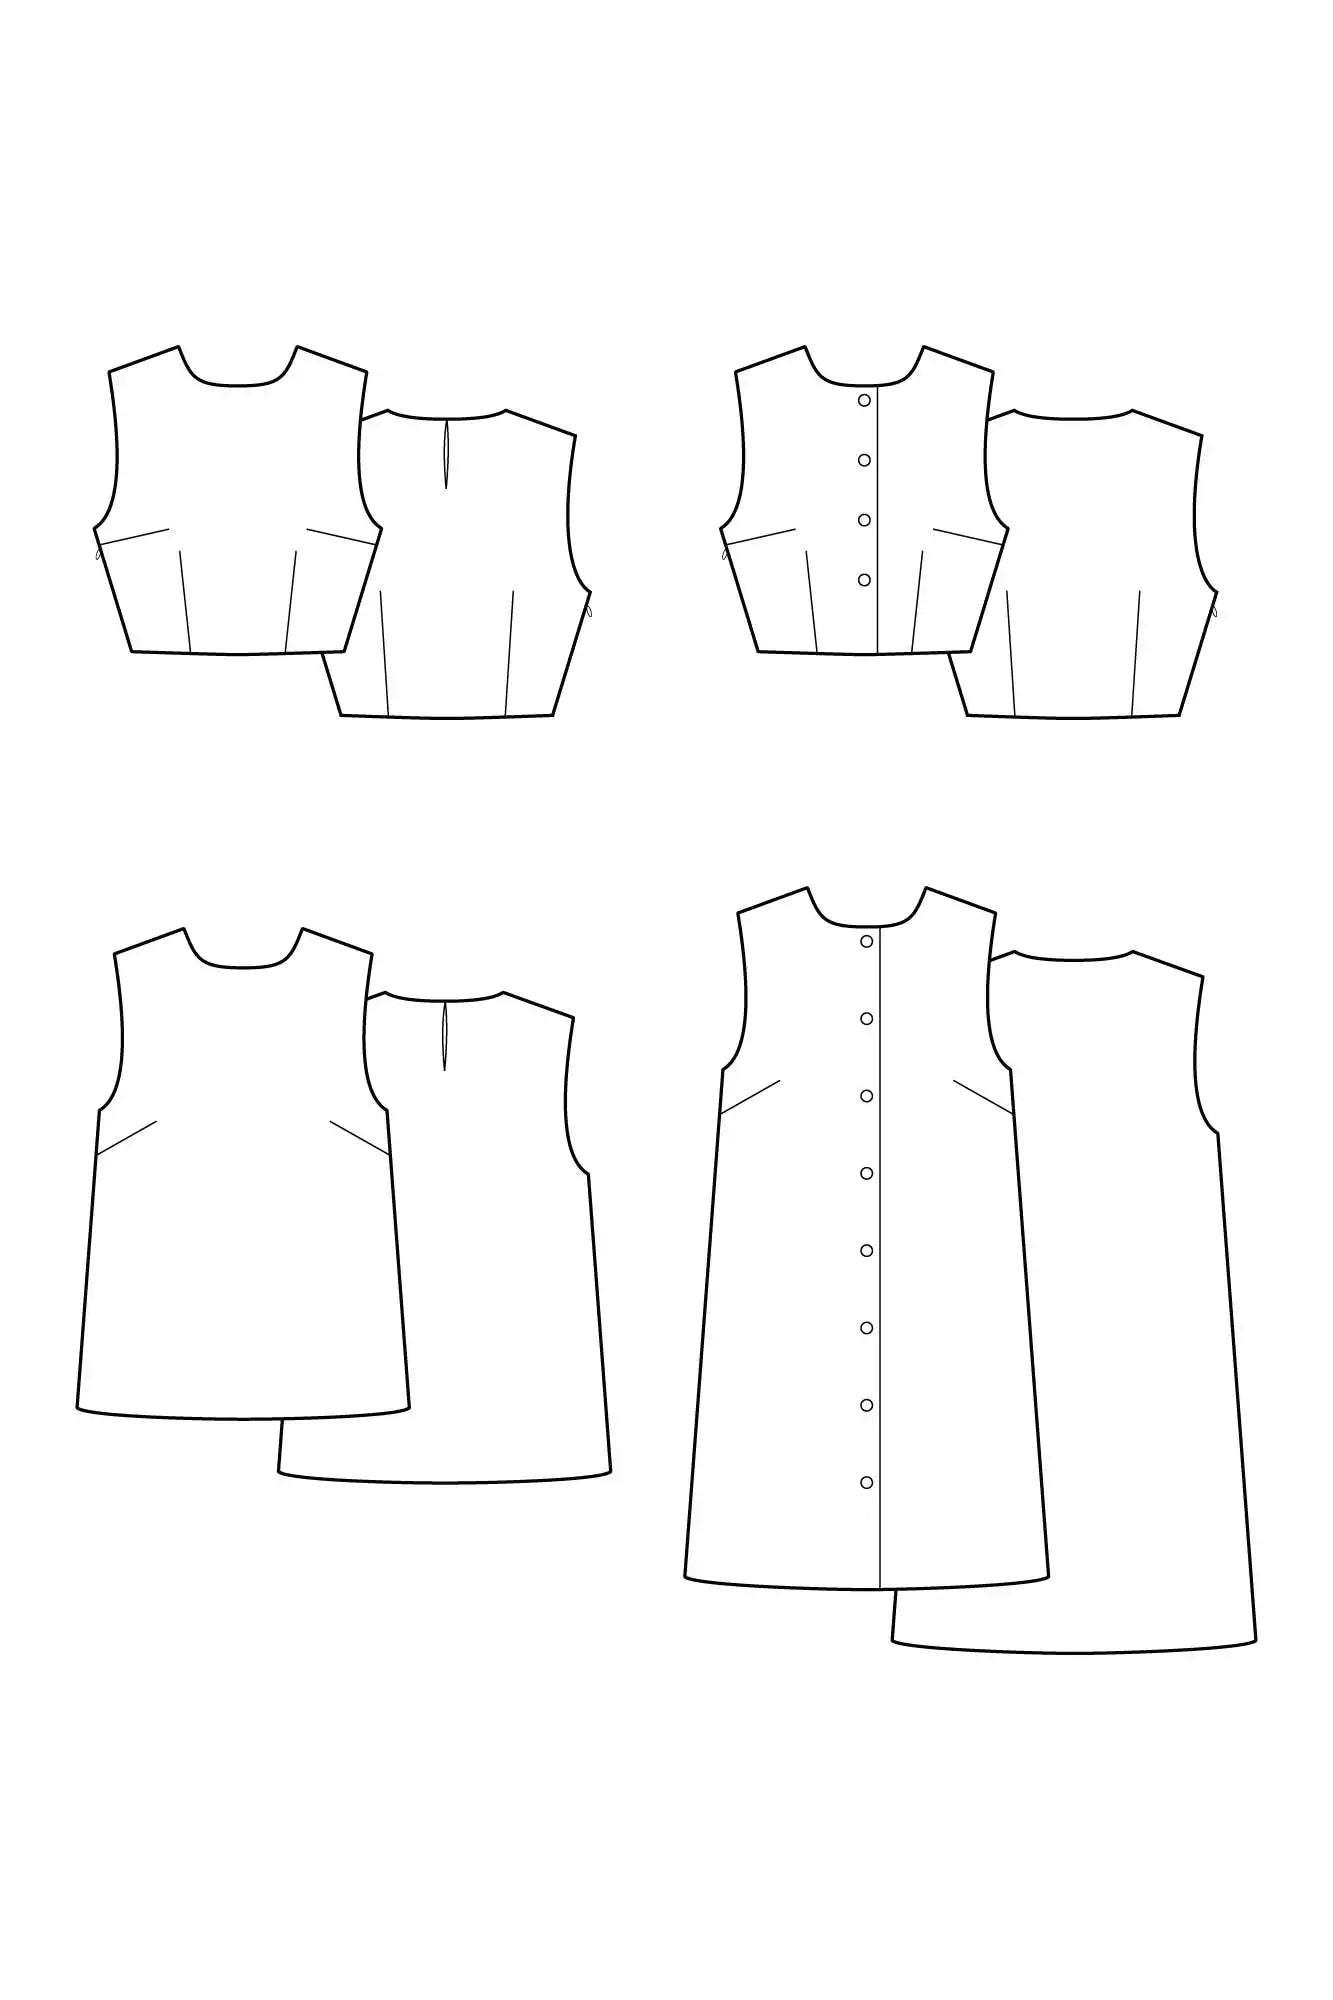
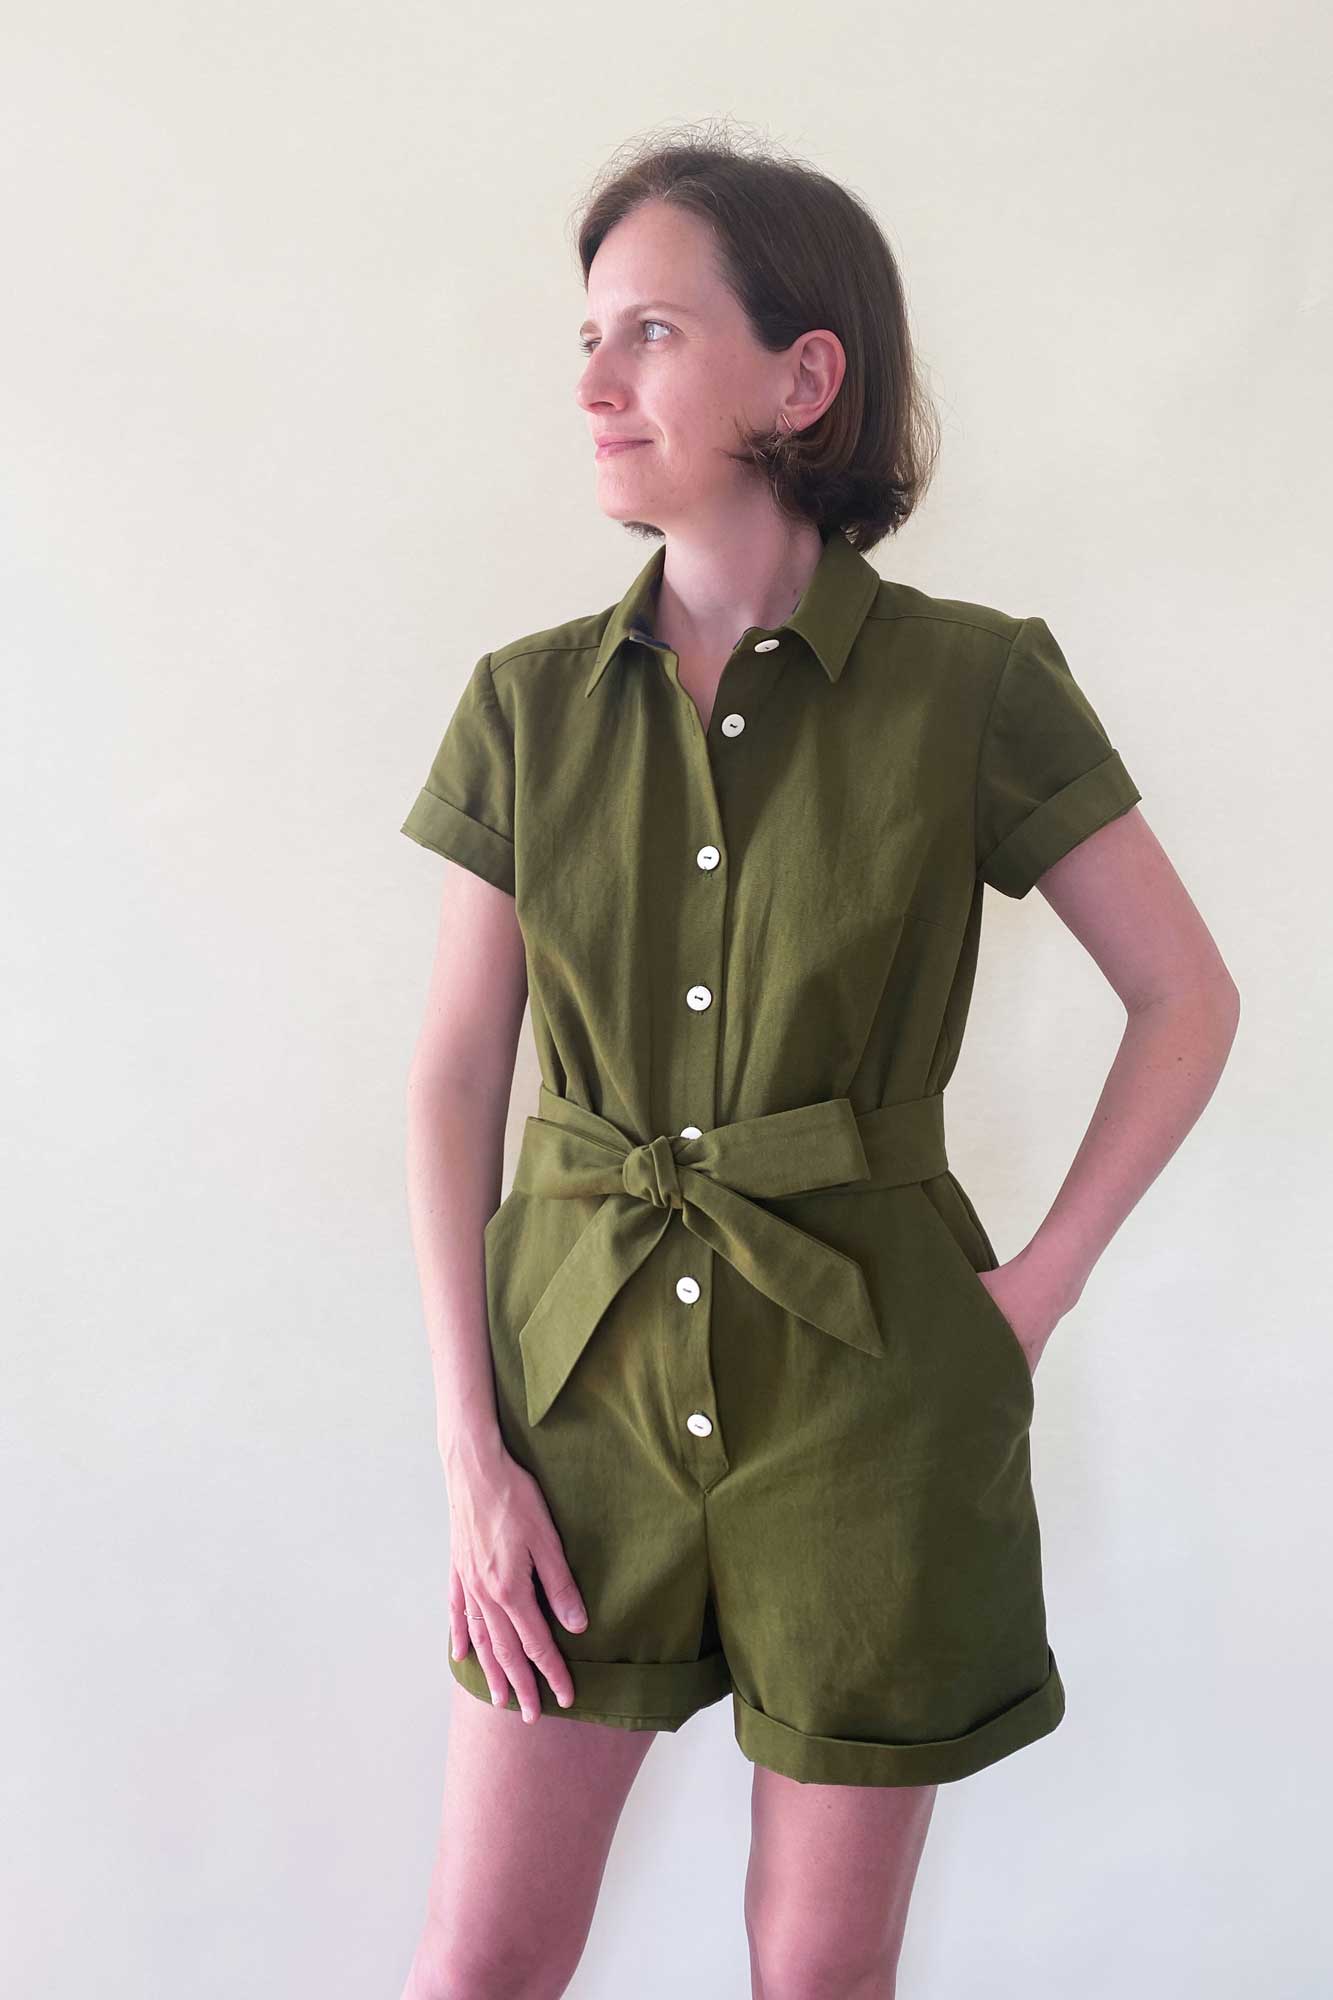
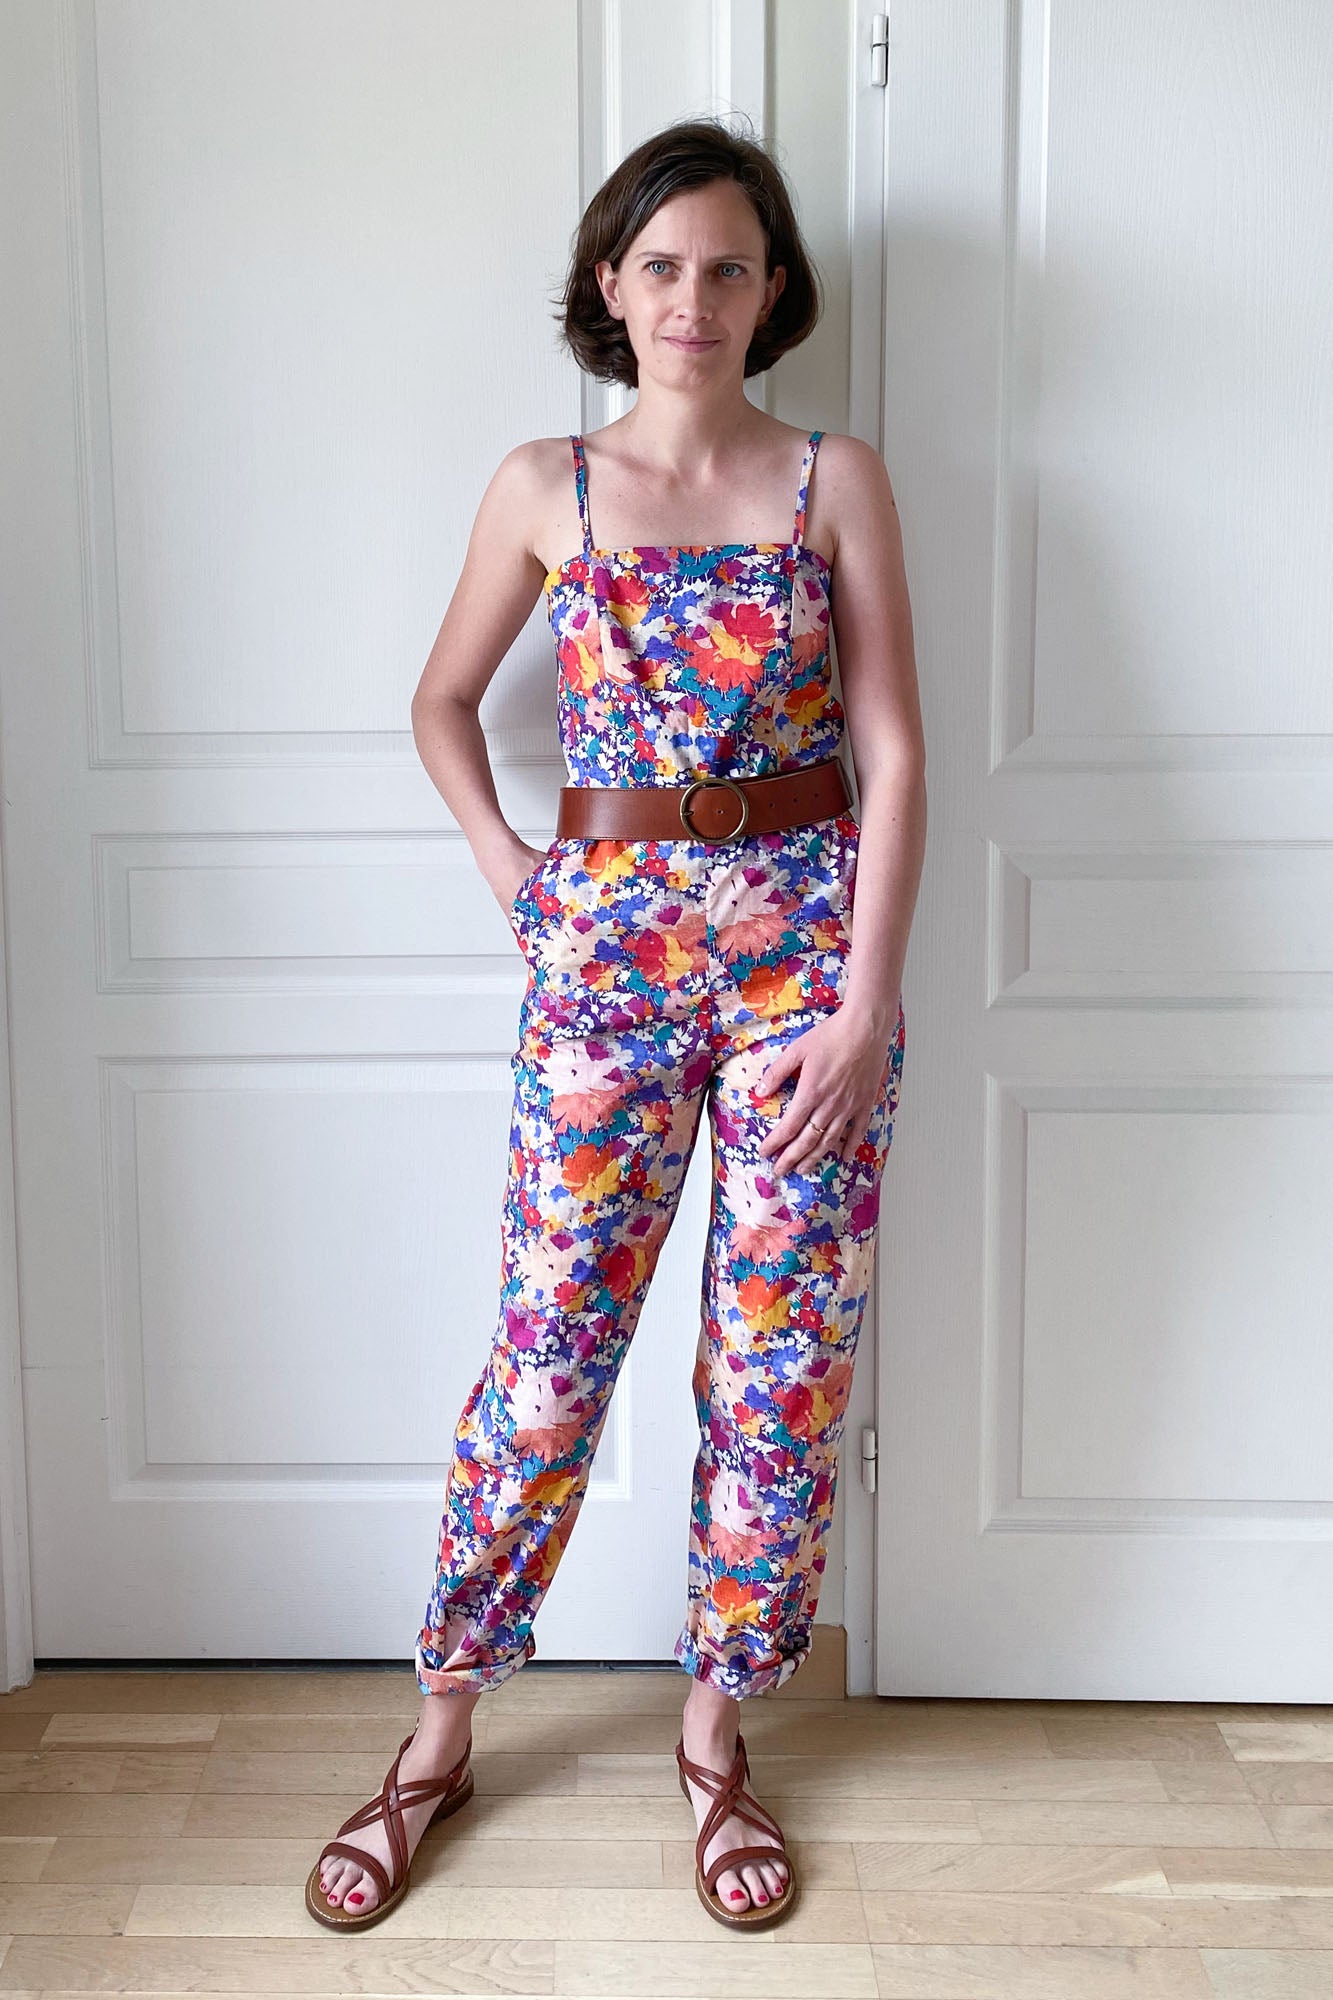
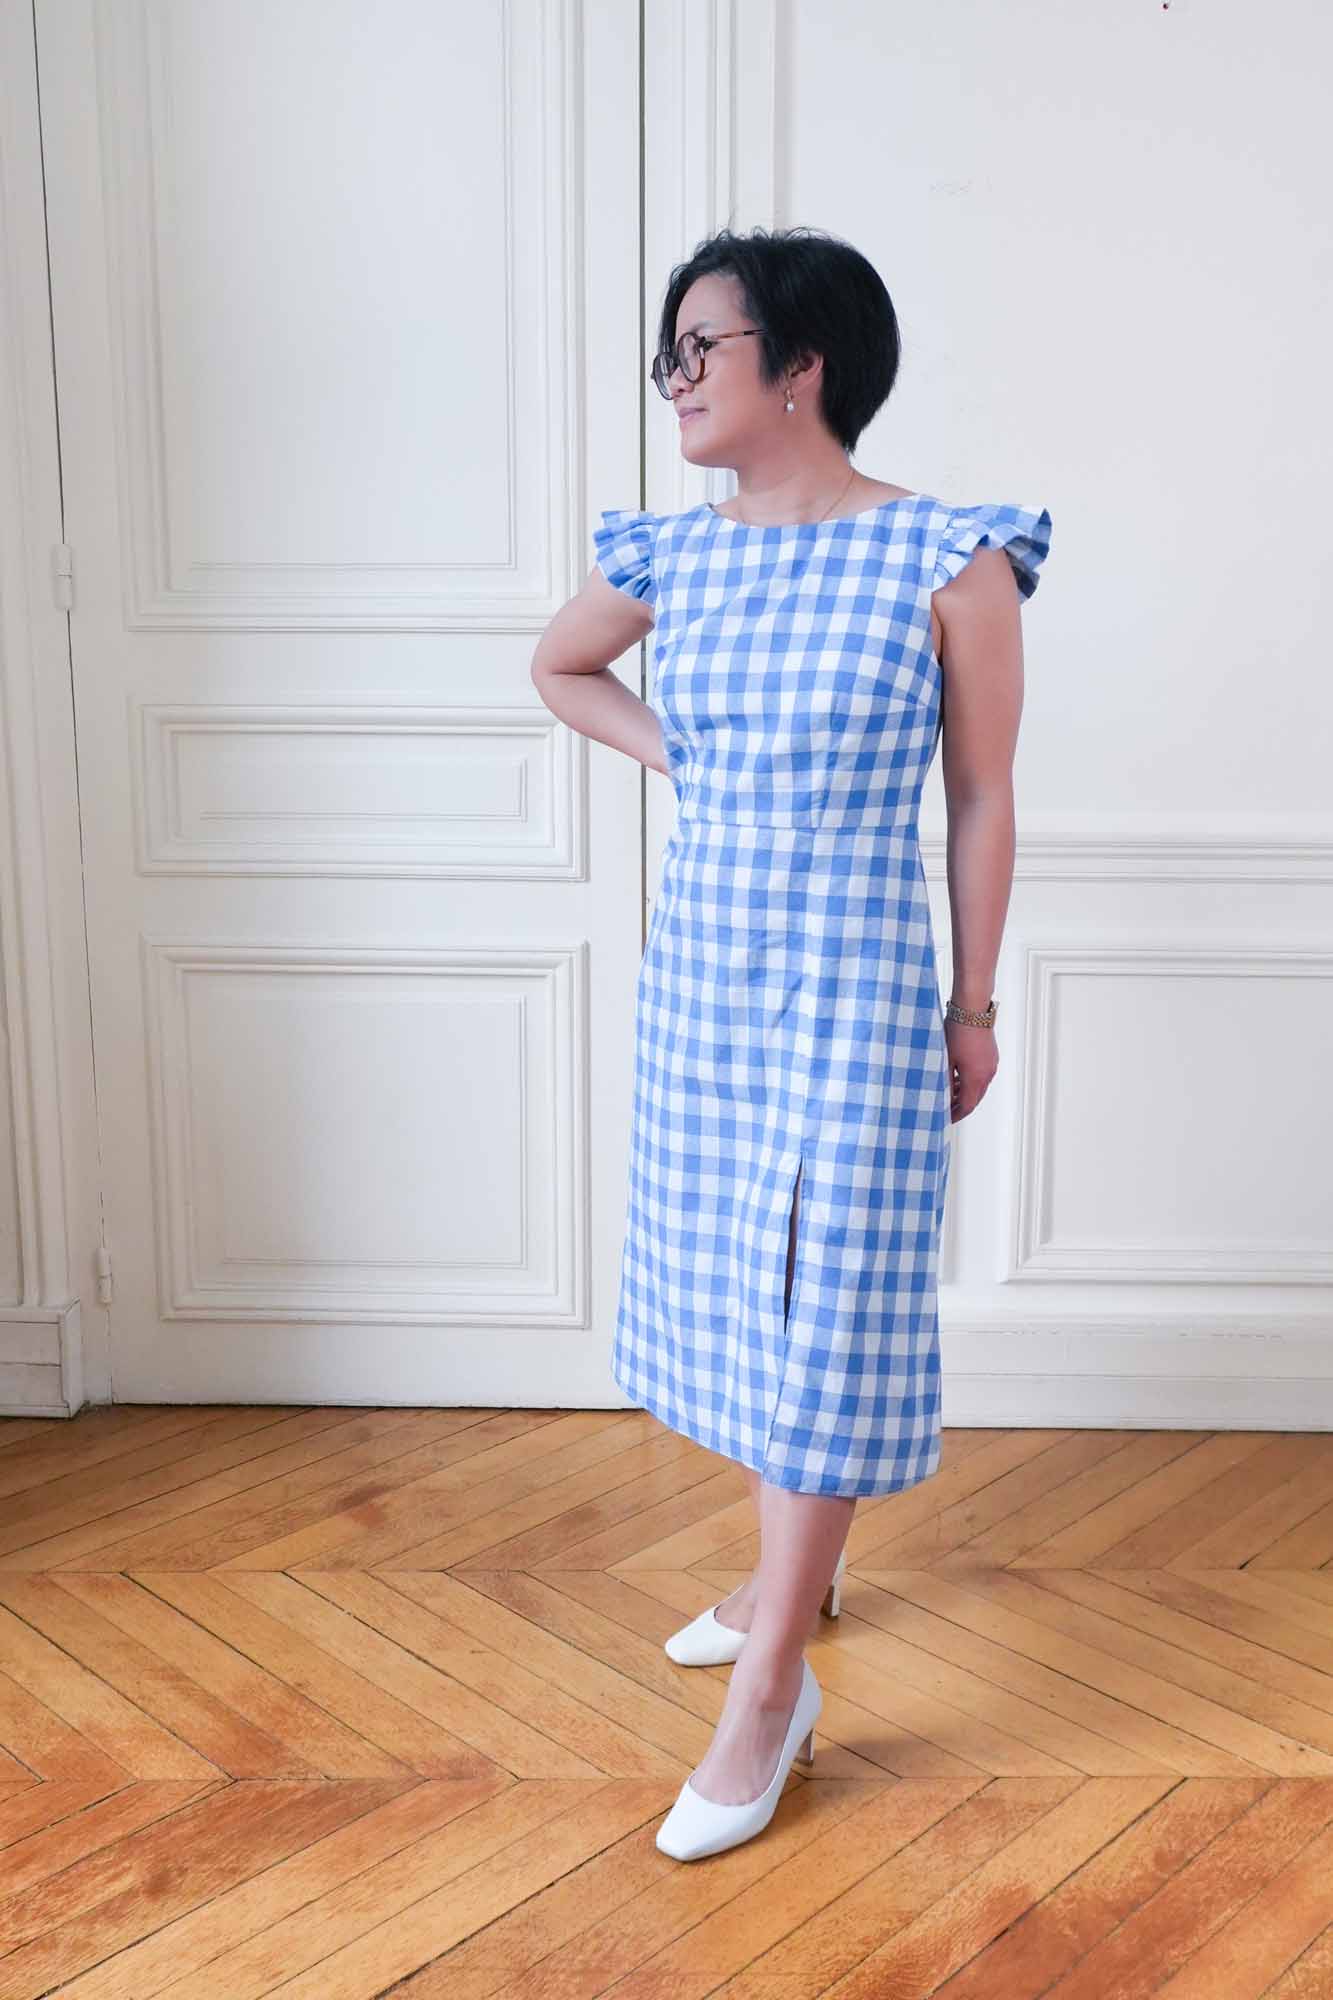
100% CUSTOMIZABLE PATTERNS
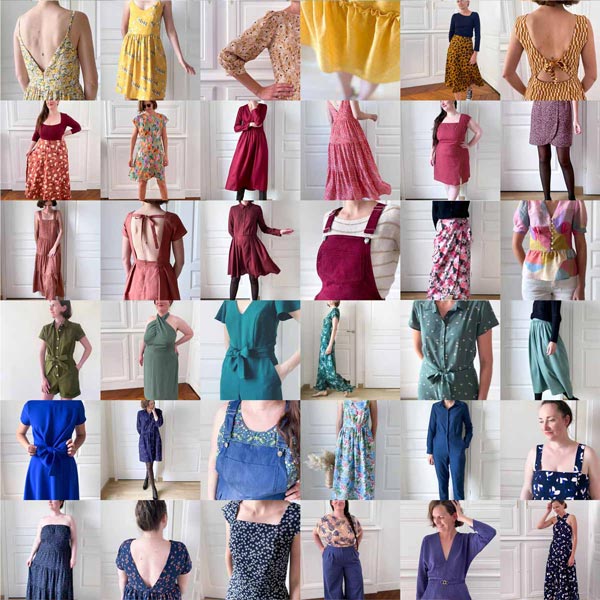
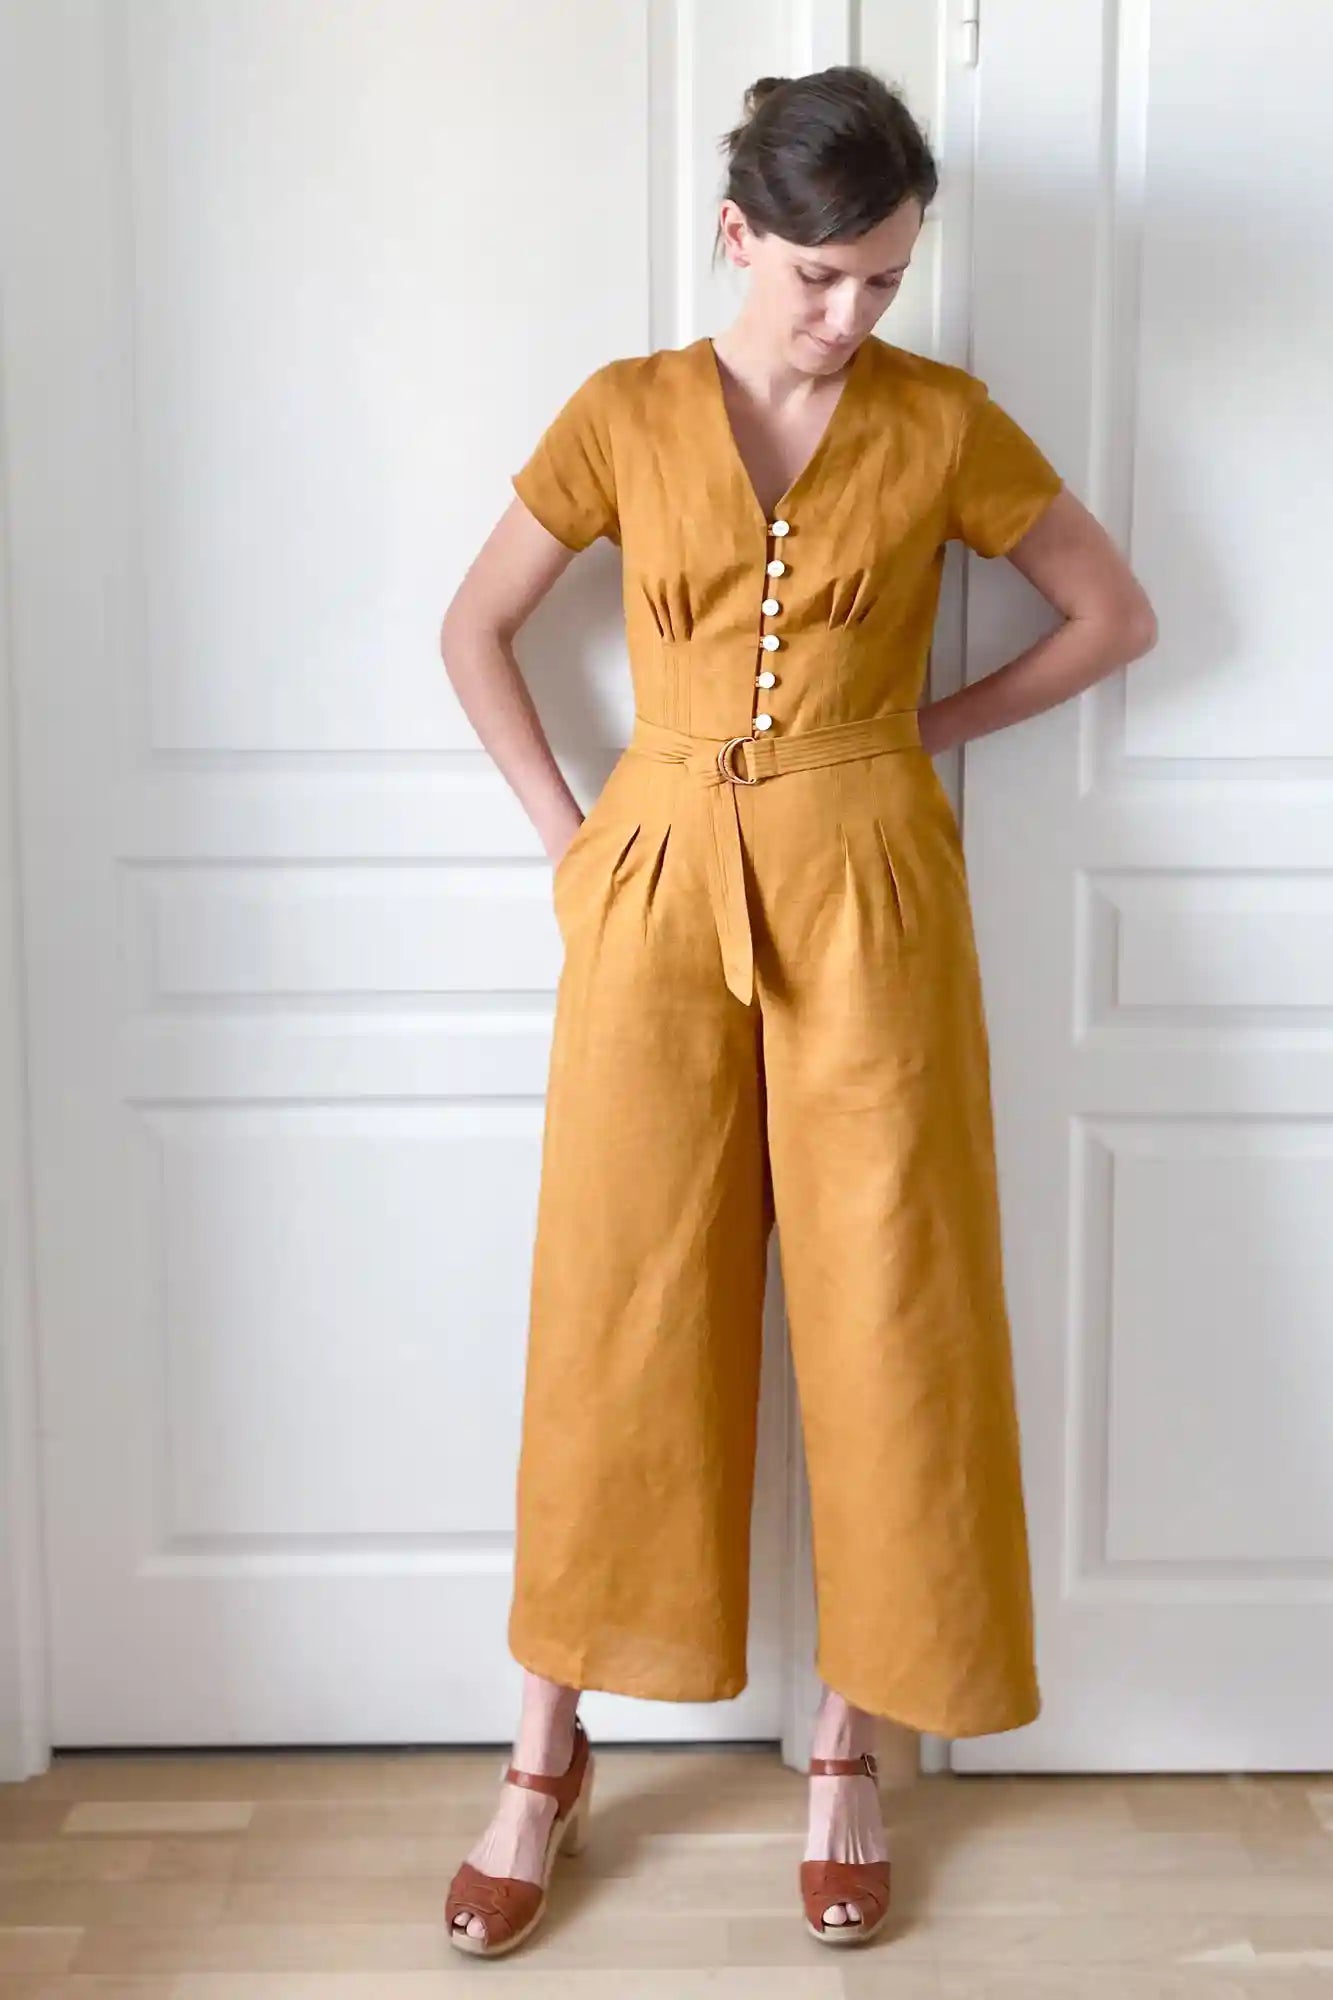
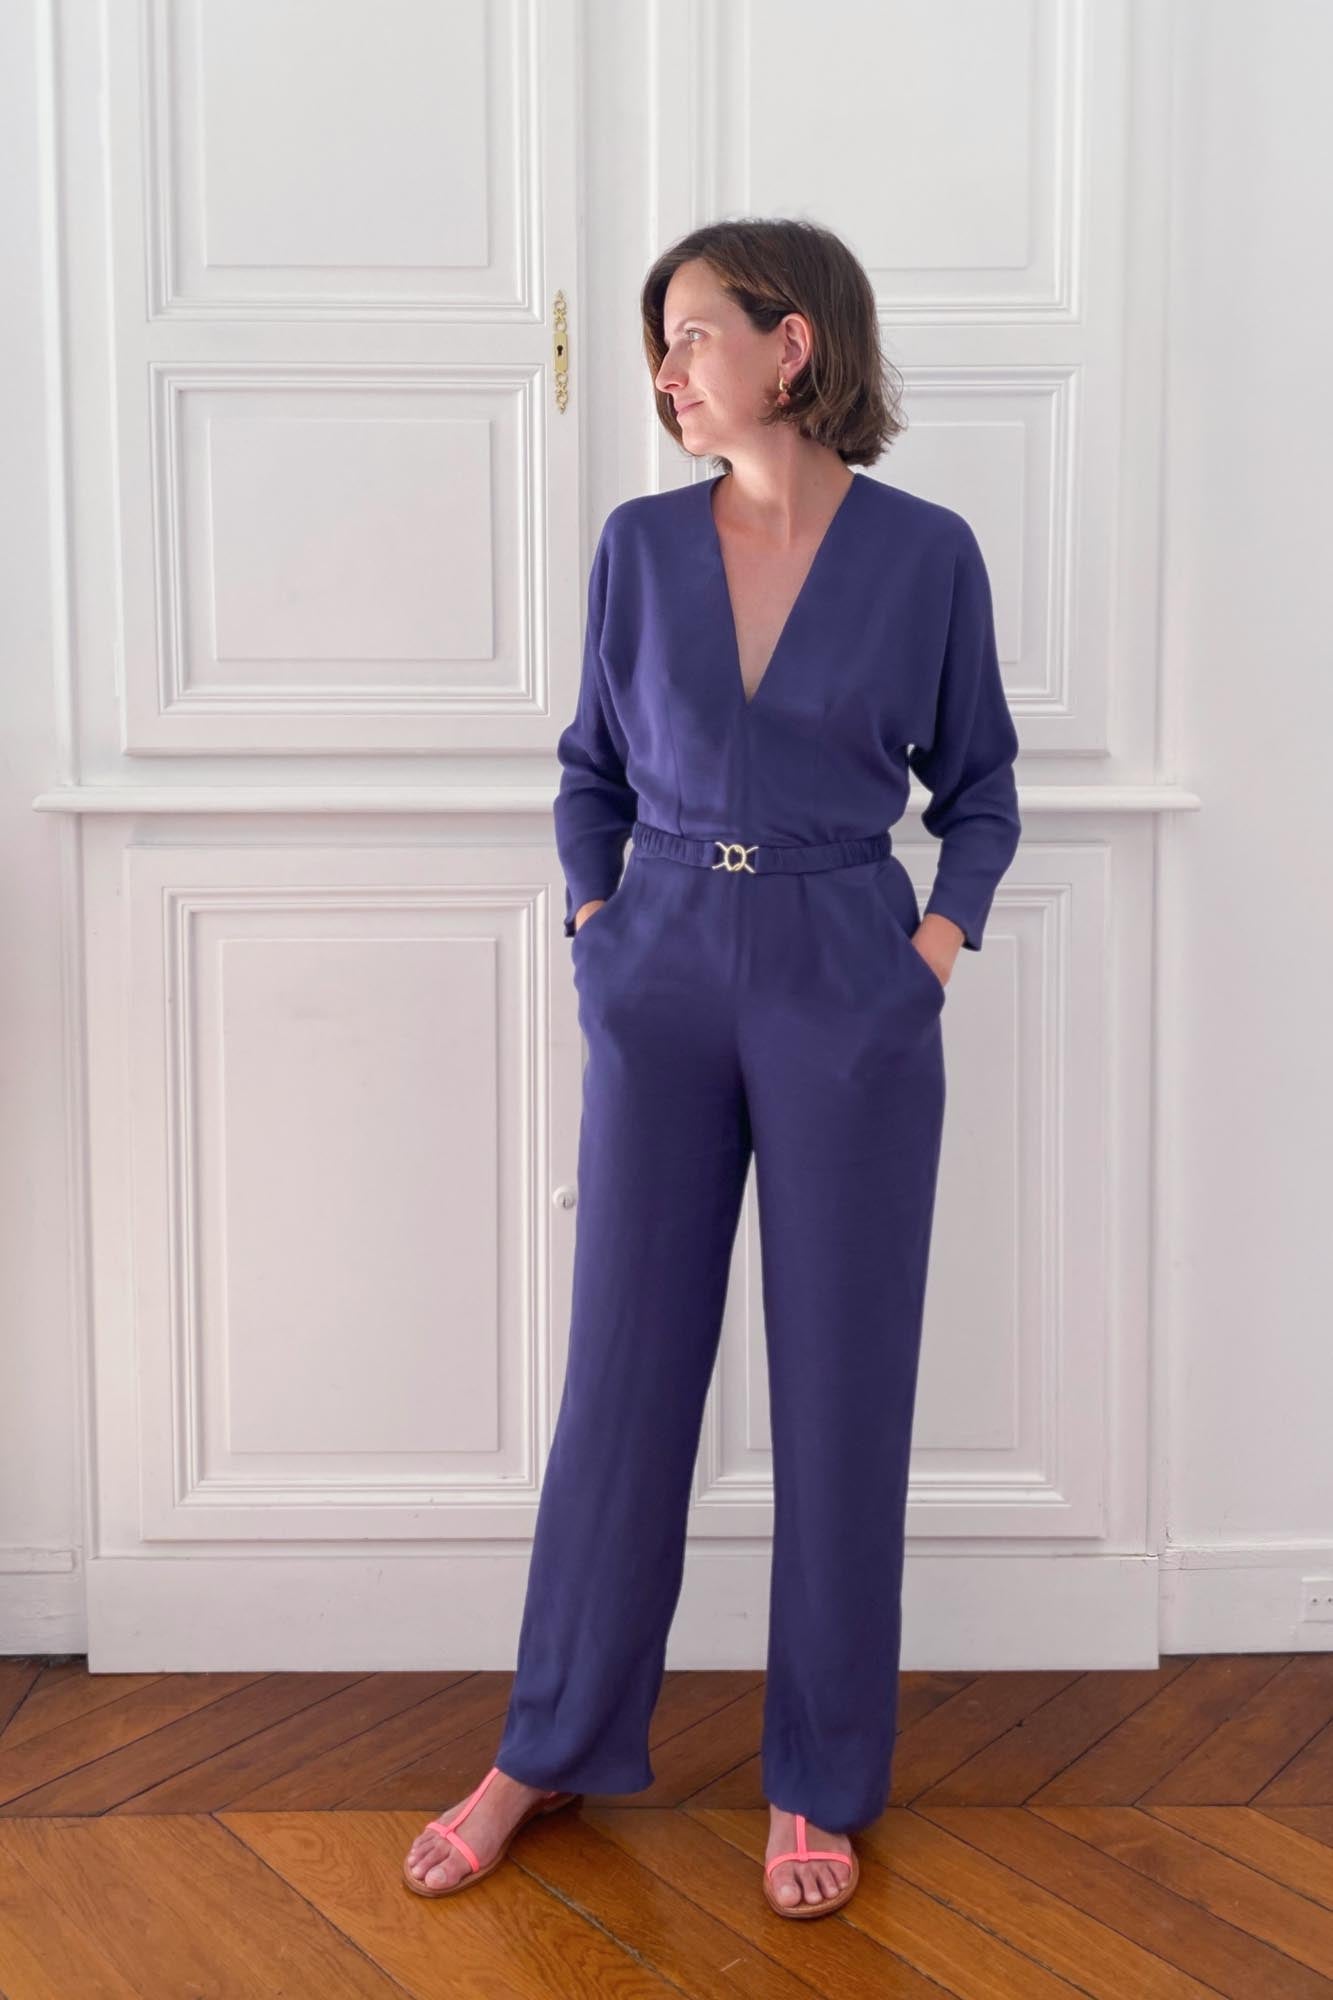
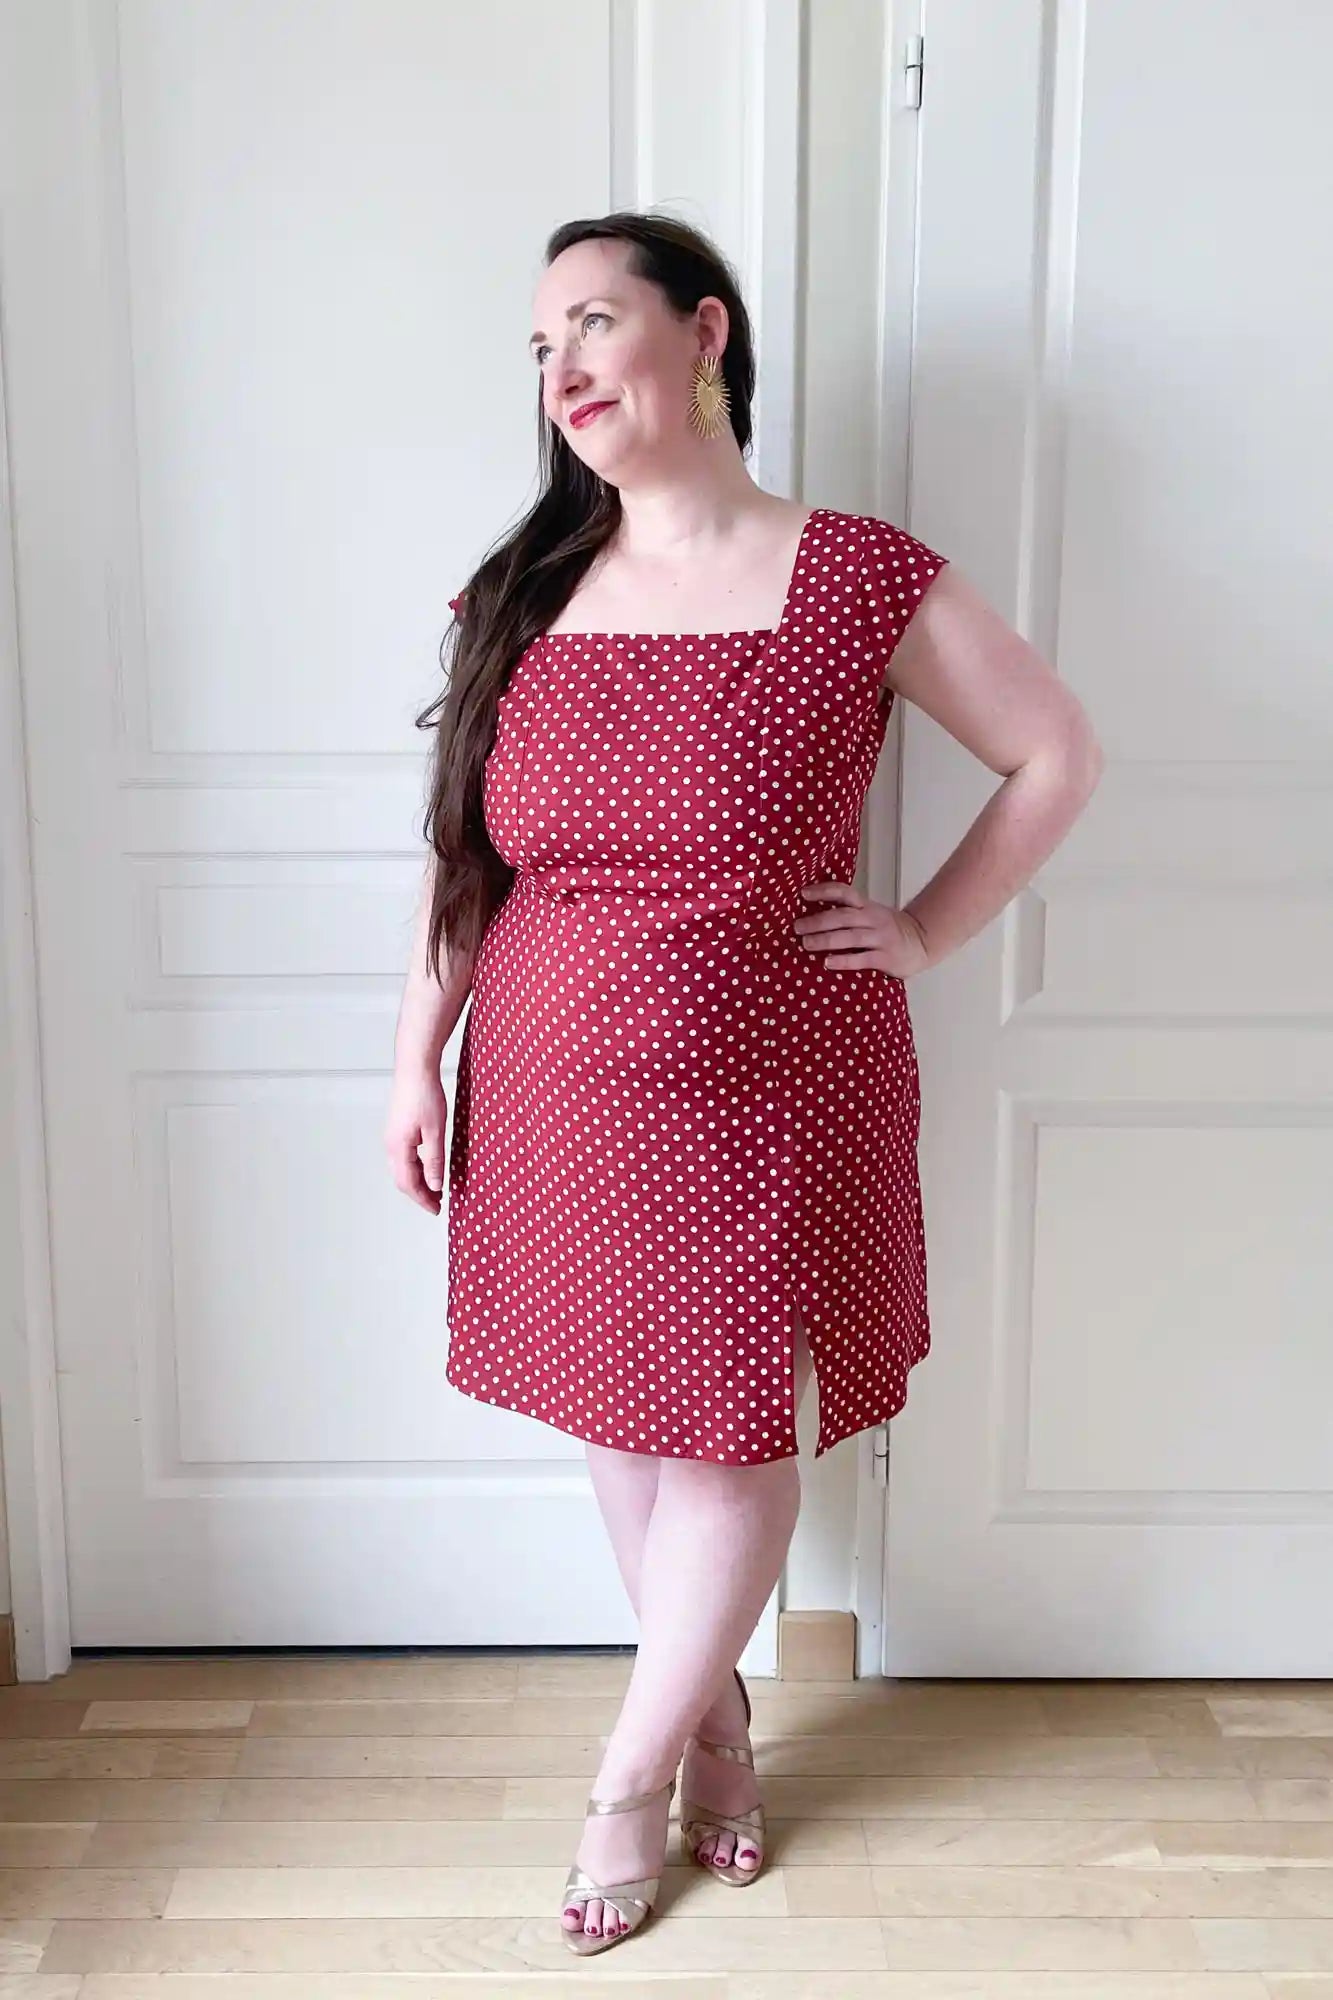
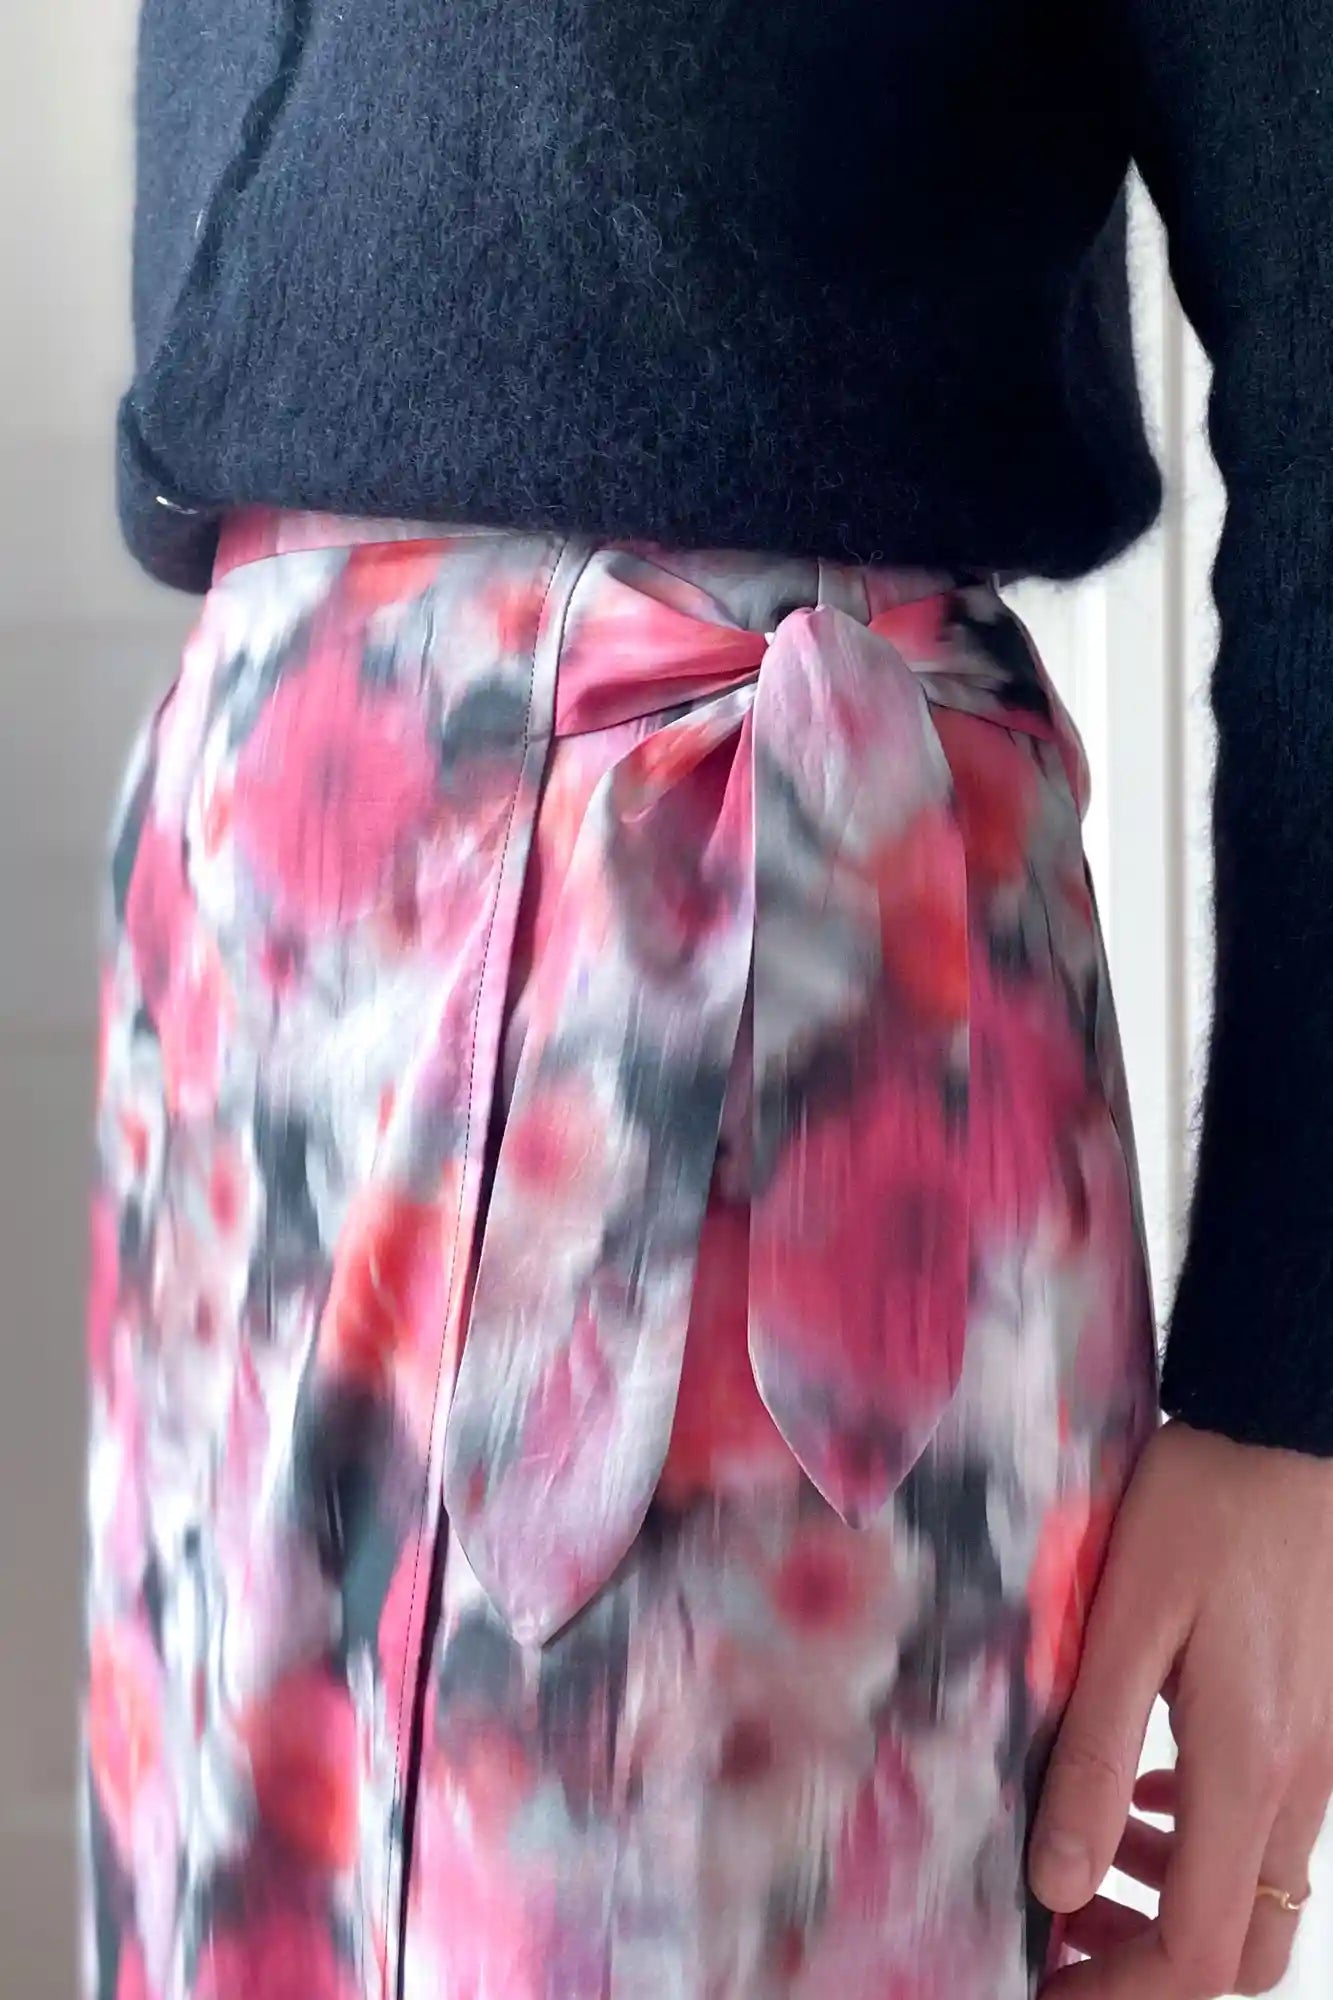
More than 25,000 mix-and-match designs (dresses, skirts, jumpsuits, etc...)
MADE-TO-MEASURE MULTIPLE SIZES
From 34 to 56 with 2 bust cups and 3 heights
WE ARE HERE TO ASSIST YOU!
Email us at hello@ateliercharlotteauzou.com