
Sewing tutorial: the tie belt for personalized dresses

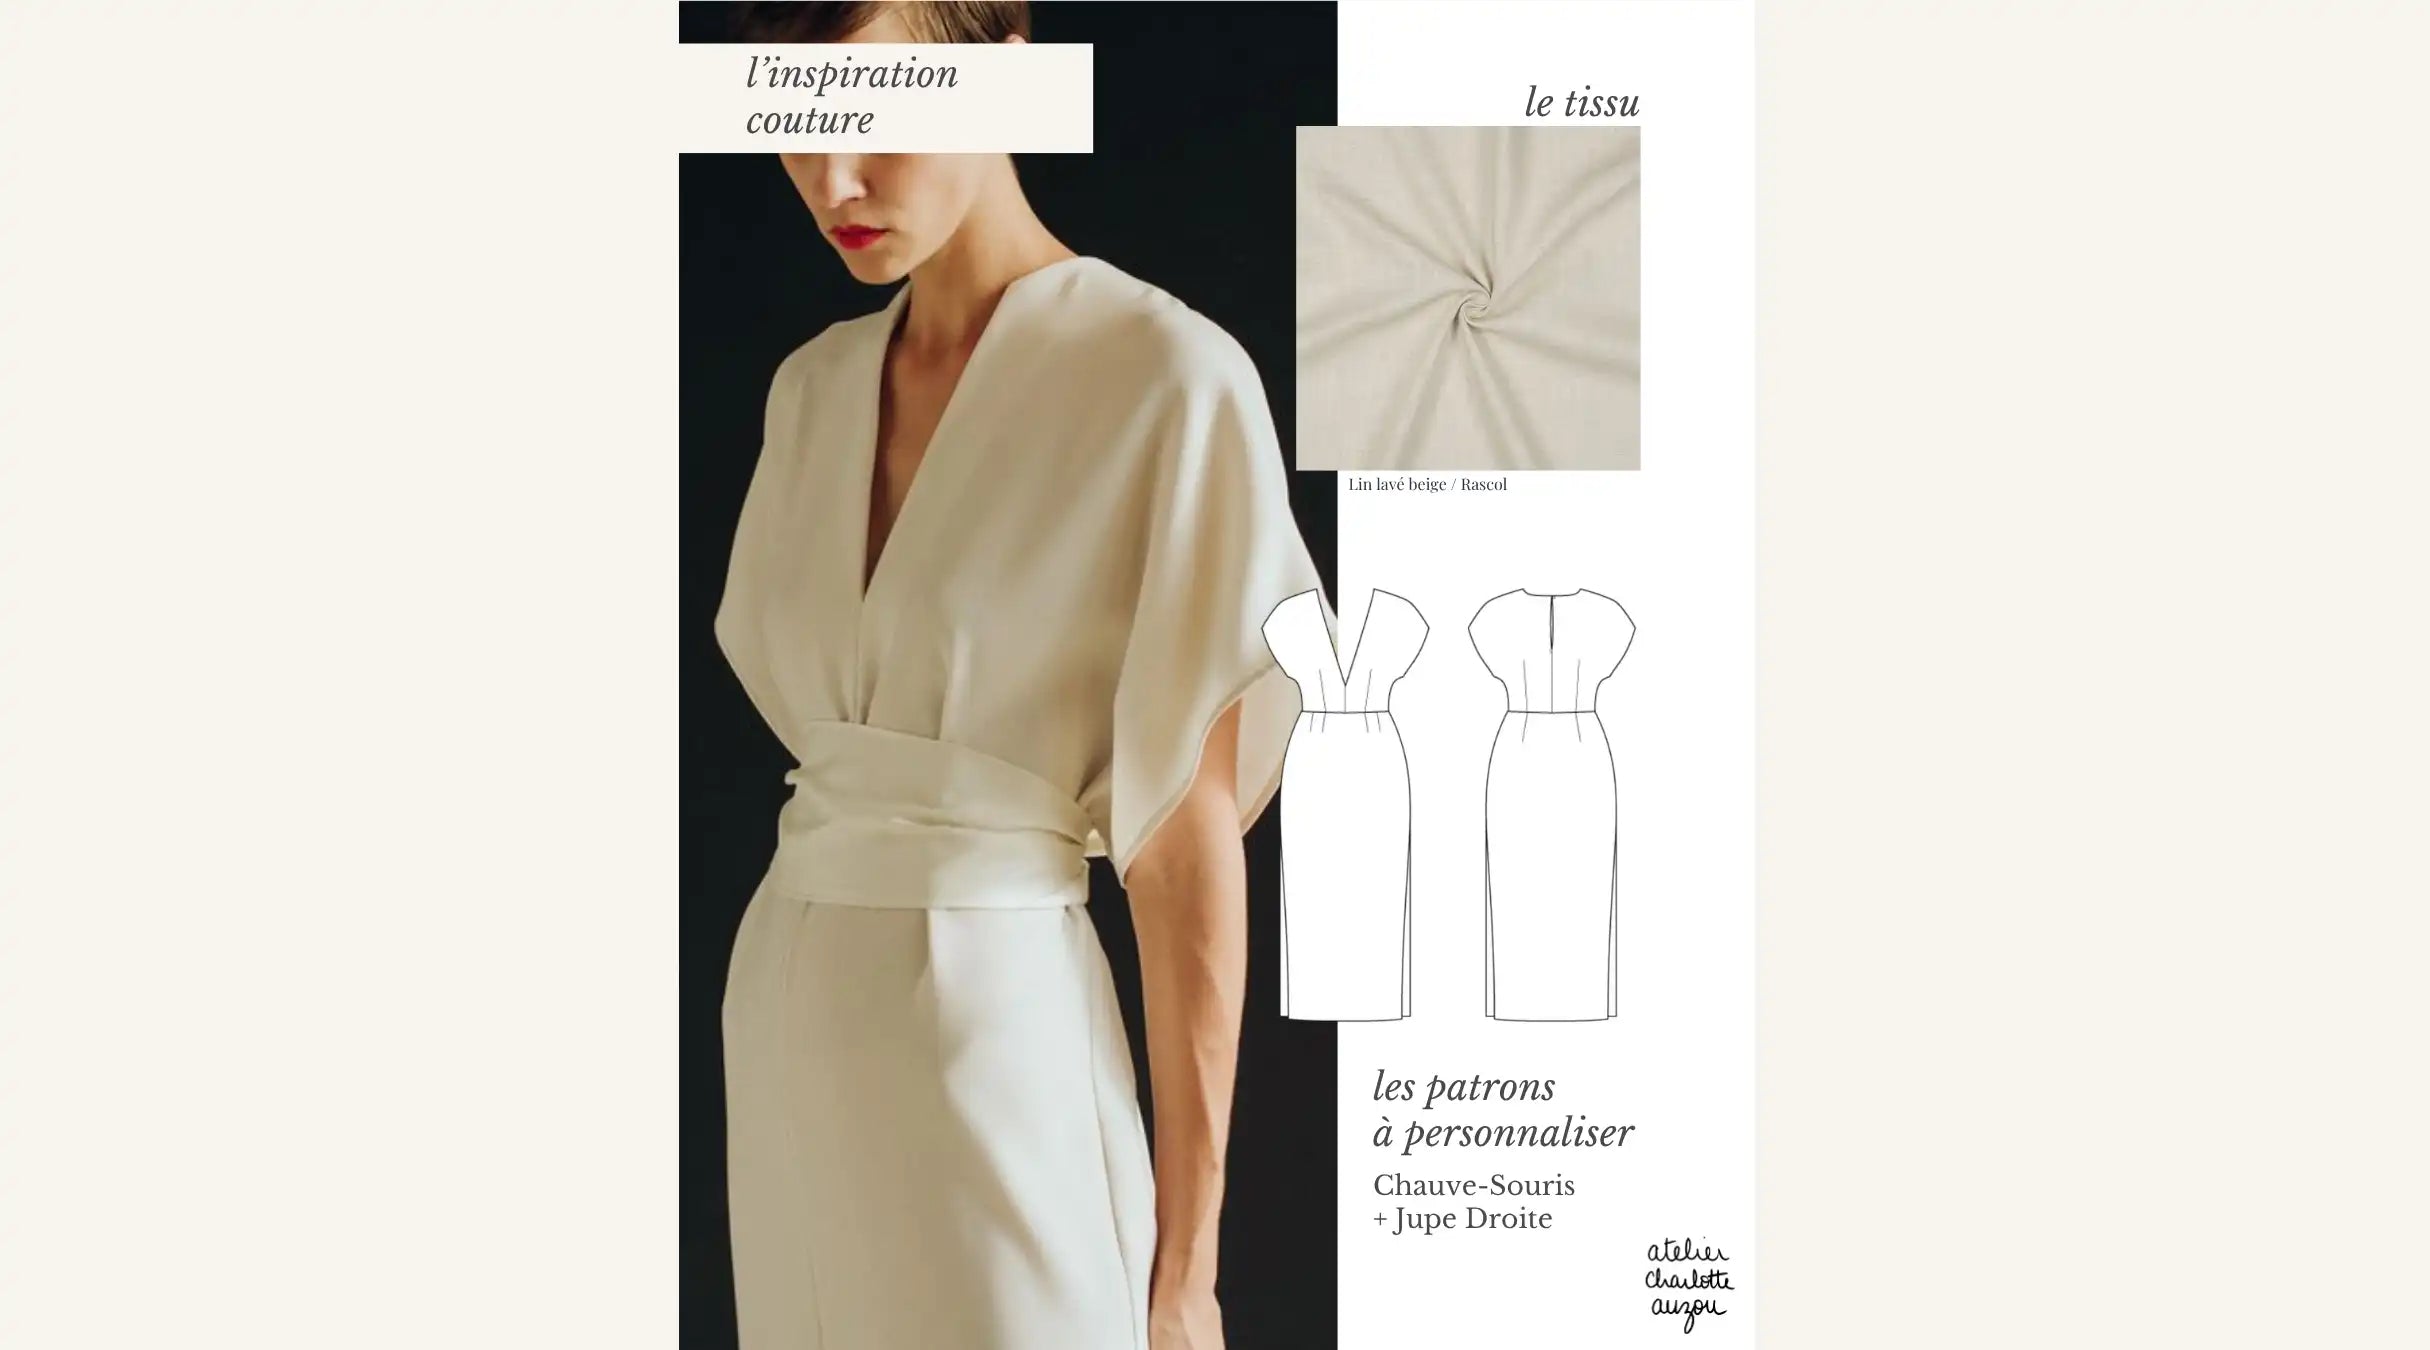
Many of you have spotted on the photos of the #MaRobeAtelierCharlotteAuzou patterns a belt to tie to cinch the waist or embellish your dress with a pretty bow. Today I offer you an ultra simple sewing tutorial to complete your next sewing project!

Cut a strip of fabric along the straight grain. The belt will be 5 cm high once sewn, so you need to cut a strip 12 cm wide (5 cm x 2 + 2 cm for seam allowances).
As for its length, add 80 cm to your waist measurement. If you want a bigger knot, increase this value.
To avoid seams, we recommend cutting your strip in the height of your fabric and not in its width. Adapt the cutting plan of your dress to anticipate the cutting of the belt.

Fold the strip in two, edge to edge, right side against right side. Sew with a straight stitch 1 cm from the edge. Sew a right angle or beveled seam at each end. Leave an opening of about 5 cm to turn the belt right side out. Reinforce your seam with backstitching.

Notch the seam allowances at the ends of the belt. This will prevent excess material when it is turned inside out.

Turn the belt right side out through the opening.

Using a pointed object (here a large wooden knitting needle), form the corners at the ends of the belt.
Iron your belt, forming a fold on the seam.

For invisible finishes, we will close the opening with a hand stitch. Make a large knot at the end of your thread.

Start stitching from the inside of the waistband at the beginning of the opening. Pull the thread.

Insert your needle on the other side of the opening, opposite your thread. Bring the needle out 5 mm further. Repeat, alternating on each side and making sure to always insert it opposite where the thread comes out. Your seam will be completely invisible. Tie off your thread to secure your seam when the opening is completely closed.
Wear your belt with a knot in the front, back or side of your custom dress !


4 comments
Bonjour Charlotte, bravo pour vos explications toujours aussi détaillées, ainsi que pour vos patrons très faciles à adapter.
Guilou
Bonjour Charlotte , merci pour les explications de la ceinture ! C’est clair !!!
ZELLER
@ANIA : oui quelques points de couture discrets au niveau des coutures de côté seraient parfaits pour la fixer :) Bonne couture
CHARLOTTE
Je vous remercie pour ces explications, c’est exactement ce que je cherchais! J’aimerai savoir comment s’y prend on pour l’intégrer à la robe directement ? Peut on la coudre à la main au niveau de la taille ? Dans mon cas ce serait pour la nouer à l’arrière
Ania
Leave a comment
This site is protected by hCaptcha and the hCaptcha Privacy Policy and Terms of Service apply.