
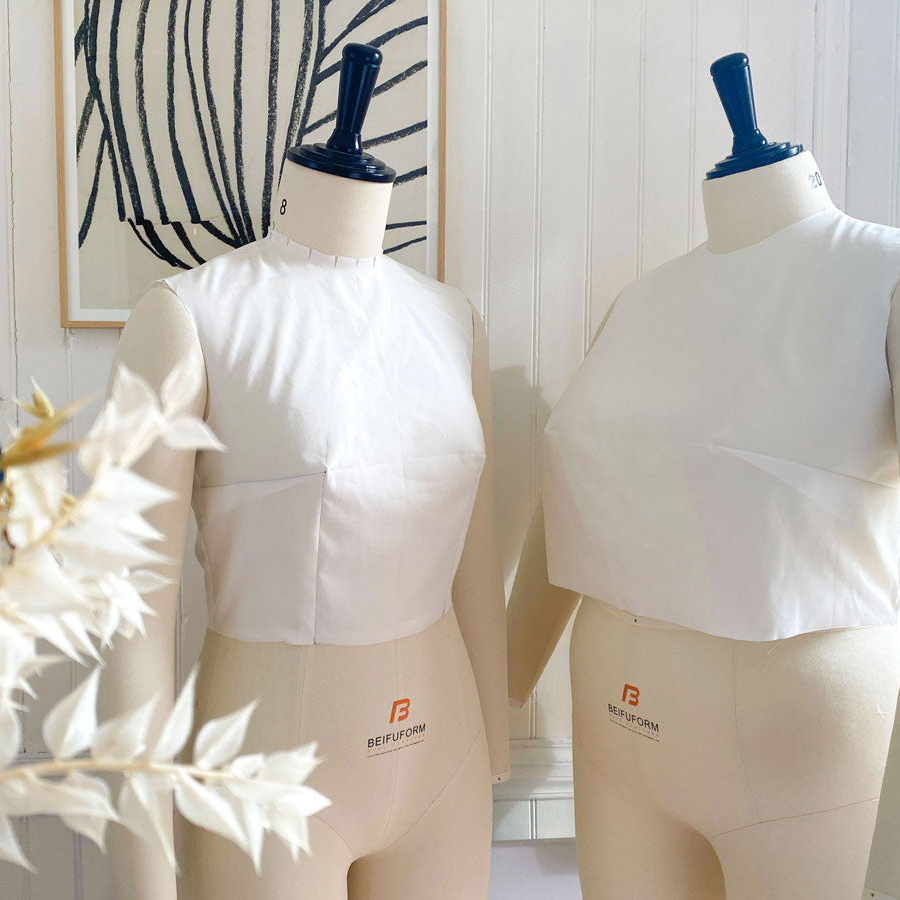
Sewing tutorial: sew a shirt with the customizable pattern "Classic Shirt"

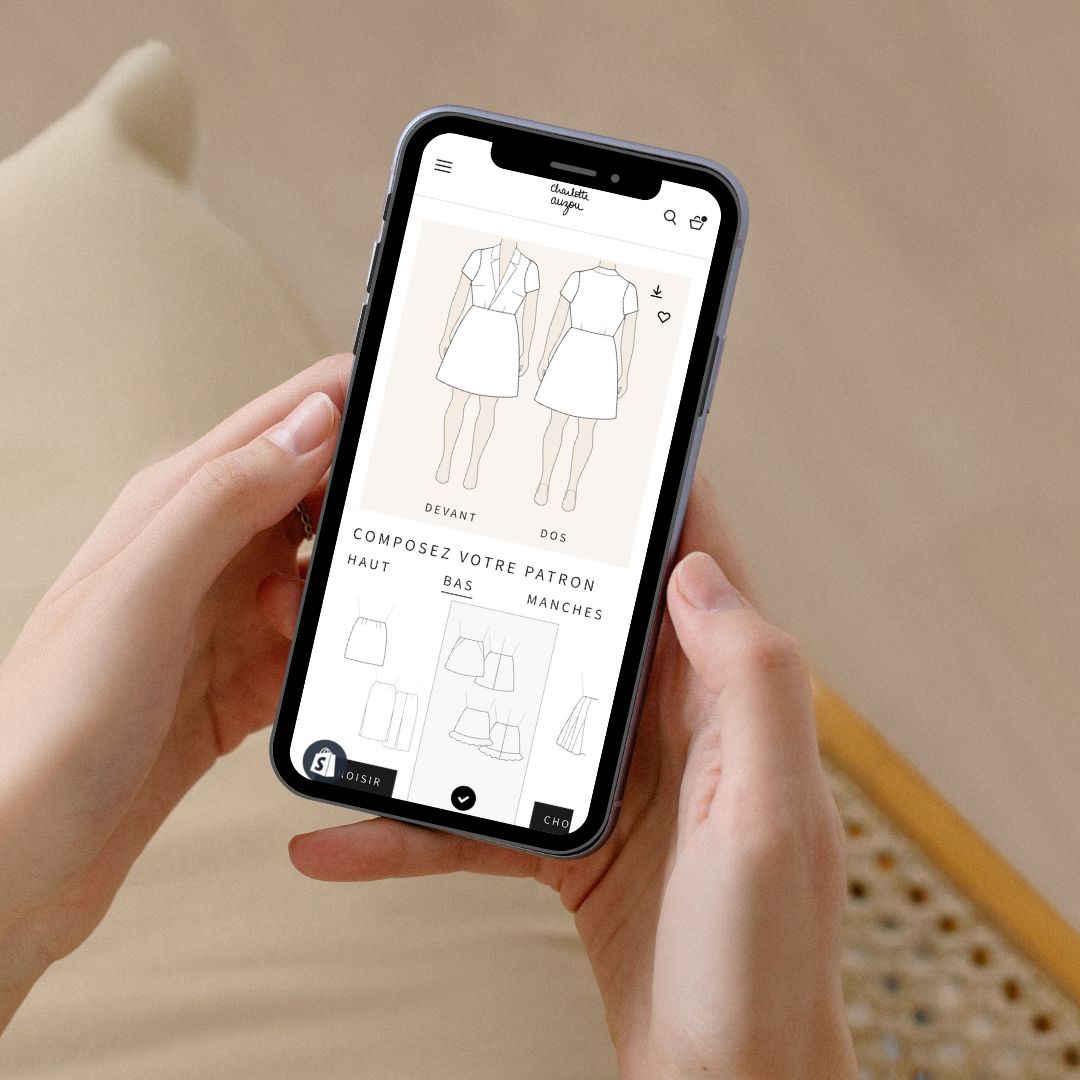
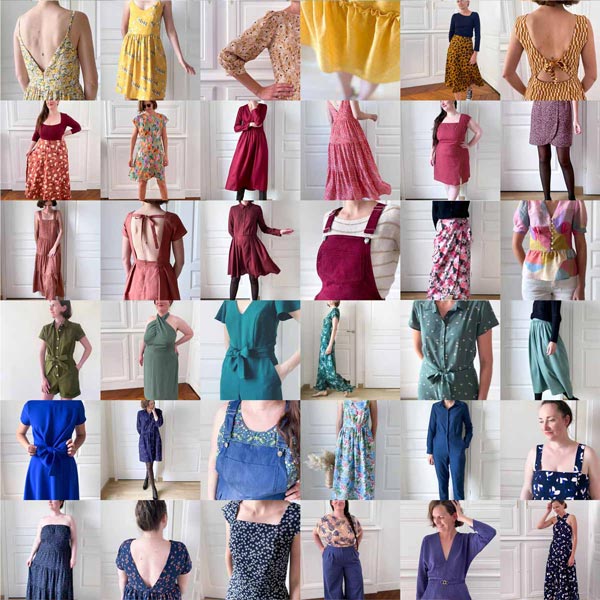
Through the customizable patterns , I want to share with you my vision of sewing. For me, a pattern must be able to be sewn several times without having the impression of making the same garment.
Sewing the same pattern several times will help you improve by performing the techniques of the model several times. You will also be able to become more and more efficient because, once you find your size and the pattern perfectly fits your body shape, you will be able to save the toile step .
The latest collection of customizable patterns includes the "Classic Shirt" pattern for sewing custom shirt dresses. With this tutorial, you will also be able to sew a simple shirt without buying a new pattern :-).
Supplies
Add 25 cm of fabric consumption to the Classic Shirt pattern as well as 2 buttons, and that's it.
The boss
The changes will take place on the front and back pieces. The other pieces are not changed.
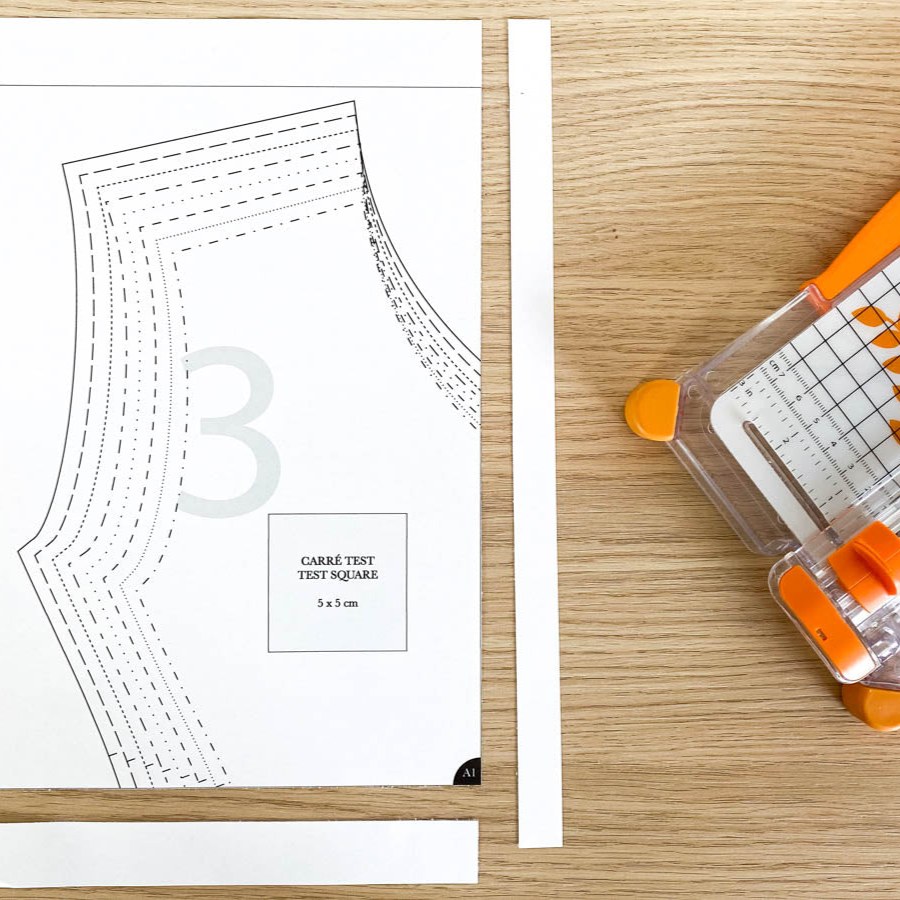
Choose the size of your chest measurement . You can work on the patterns with margins included .

Extend down the center front and center back 9 inches from your height waistline. I like to wear my tops long enough to tuck into a skirt or pants. You can adjust this measurement to suit your preference.

Then draw a line perpendicular to the middle of the front and another perpendicular to the middle of the back.
To determine the lengths to add from the center, do the following calculation. Be careful for the front, the center is not at the edge of the pattern because there is the button placket. On the diagram, the line is indicated in red.
Back = (hip measurement + ease (10 cm)) / 4 - 1 cm + 1 cm seam allowance For example, for a hip measurement of 98 cm.
Back length = (98+10) /4 - 1 + 1 = 27 cm
Back = (hip measurement + ease (10 cm)) / 4 - 2 cm + 1 cm seam allowance
Front length = (98+10) /4 + 2 + 1 = 30 cm
Back length = (98+10) /4 - 2 + 1 = 26 cm

Go back up with a vertical line perpendicular to the hem and draw a slight curve to join the side line at chest level.

If you want to draw a rounded hem to give your shirt a shirred look, bring the hemline up 5 cm on the sides. Using a parrot, draw a curve. It is perpendicular to the center front and the side line. Start by drawing your curve on the back hem, then transfer it to the front.
The assembly
Follow chapters 3 and 4 in the "Classic Shirt" pattern booklet to sew your shirt. Add 2 additional buttonholes. The buttonholes are spaced 8 cm apart.
In chapter 5, make the side seams.
Finish with the hem with two successive 5 mm folds towards the wrong side.