
10 steps to sewing your wedding dress

Sewing your wedding dress is the holy grail for a seamstress. This project is much more accessible than it seems. With the right tools and a little patience and determination, you can succeed in creating the dress of your dreams.
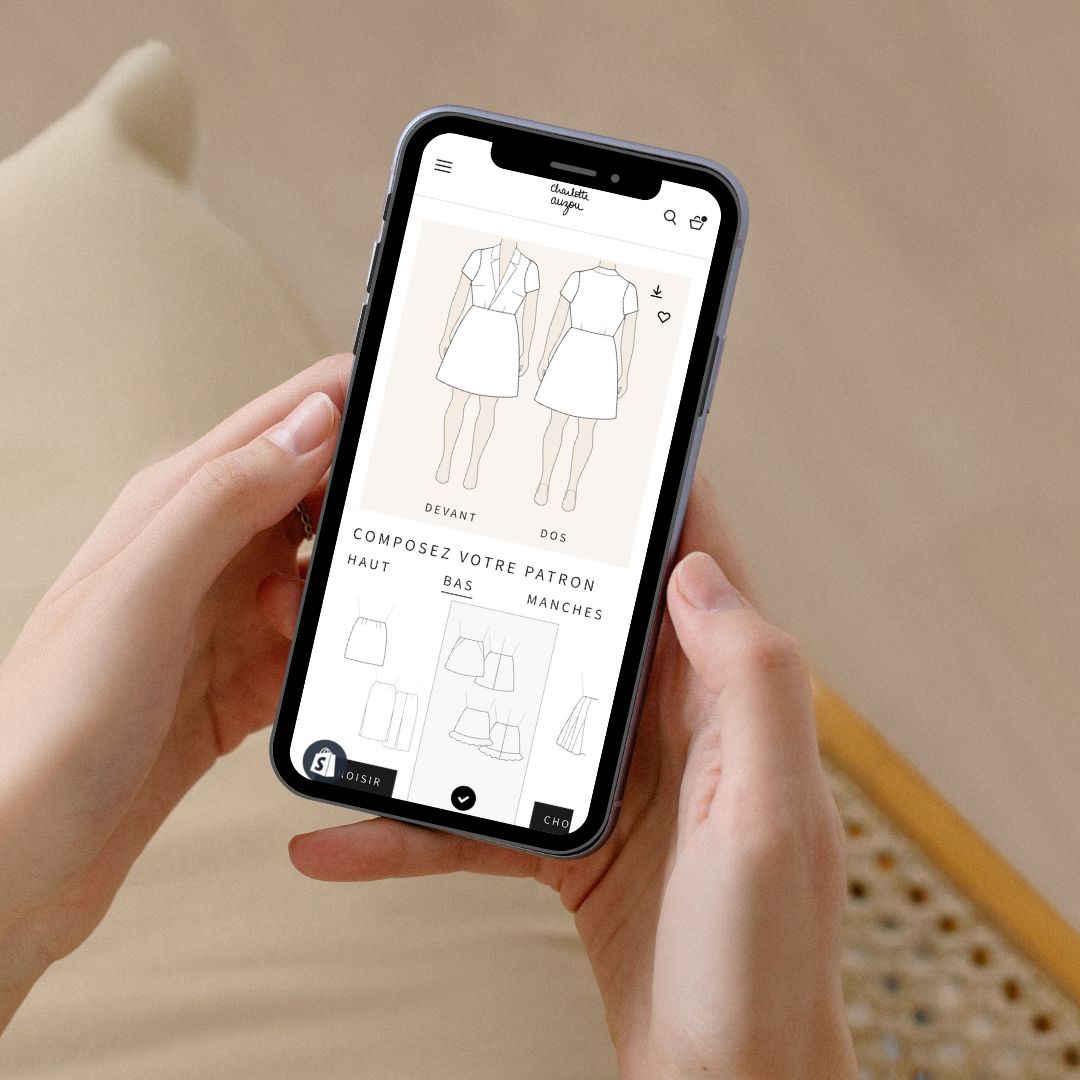
Five years of creating wedding and bridesmaid dresses allowed me to develop the concept of personalized dresses . Today, these are sewing patterns that allow you to imagine the dress you want by mixing the tops, bottoms and sleeves of the collection.
These patterns are completed by an e-book entirely dedicated to the wedding dress . It will allow you to learn to master the materials and techniques specific to exceptional dresses. Thus, any sewing pattern can become a wedding dress by adapting only the fabrics and finishes.
It's a long-term project, which is extremely rewarding! I'll detail the 10 steps to successfully complete your wedding dress sewing project.
♡
Step 1: Search for inspiration
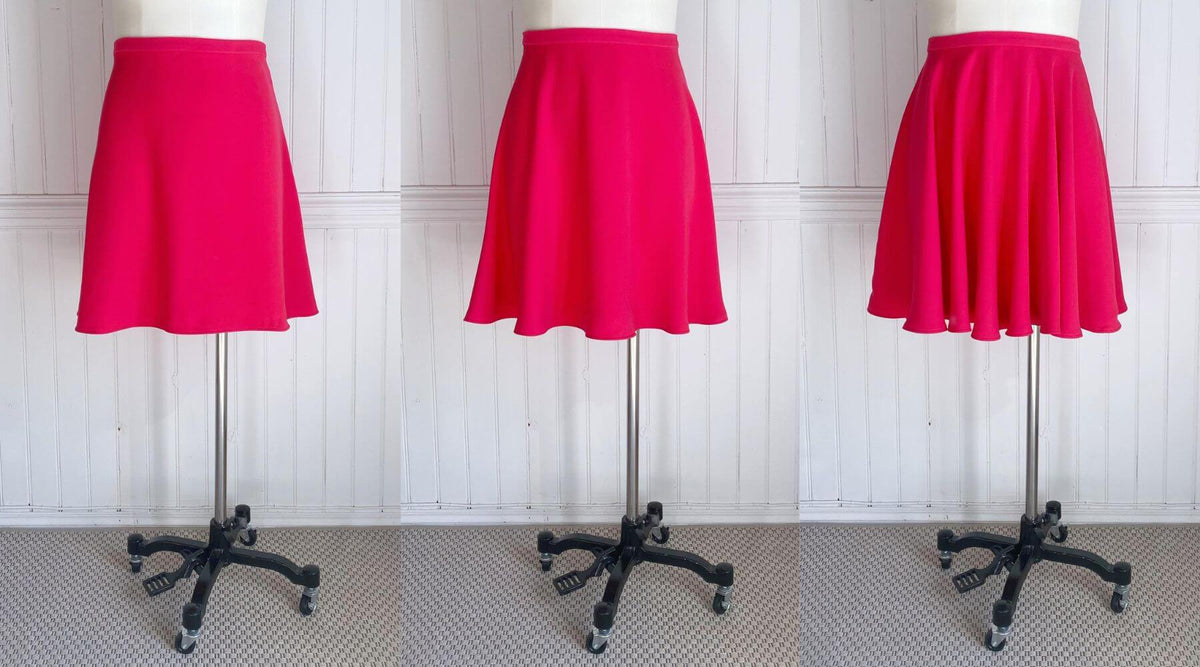
Browse the wedding dress collections and determine the style of dress that suits you. Do you want a high-waisted or low-waisted dress? A long or short dress? A minimalist dress without lace? A dress with classic or modern lace? A flowing or voluminous dress?
Write down your desires in a notebook or on a Pinterest board.
Follow our inspirations on Pinterest
Step 2: Get familiar with the materials
Wedding dresses are usually made of materials that we are not used to sewing. What is a Moroccan crepe, a taffeta, a supreme silk crepe or a silk dupion? To familiarize yourself with these fabrics, go and discover the materials in store or order samples.
A sample may not be enough to appreciate the drape of the fabric. Once you have made your pre-selection based on the samples, buy 50 cm coupons that will allow you to better appreciate the material. This may seem like an unnecessary expense but it is an investment for the future :) These coupons can be used to make study pieces to practice before sewing the final dress.


Step 3: fittings
There can be a big gap between inspirations and falling in love with a dress. Make an appointment with a wedding dress designer or a multi-brand boutique to test your inspirations and check that they perfectly match your desires and your body shape. Having ordered fabric samples beforehand will also allow you to recognize the materials and better understand the drape of each one.
Step 4: choosing the final model and pattern
Making choices and therefore giving up! Stop at the model you want to make and search for or create the pattern that will allow you to make it.
• You can search for existing patterns that will allow you to realize your desires. Do not limit your searches to wedding dress patterns. The e-book allows you to learn how to adapt any dress pattern to become a wedding dress.
• Think about the practicality of the model you choose. Will you be able to put it on easily? A center back closure provides an easy way to put it on so you can do your hair and makeup before putting on your dress without risking staining it. Also, don't forget comfort so you can fully enjoy your wedding day.
• Be realistic about your sewing level and the time you have to sew for your wedding dress, but remain ambitious because it is a great challenge that is within your reach.
• Are you prone to weight fluctuations? Choose a model whose construction will allow for easy alterations until the end of your project. For example, a model with a center back closure will allow you to easily adjust the side seams without having to unpick the zipper. Larger seam allowances can also help you in this regard.
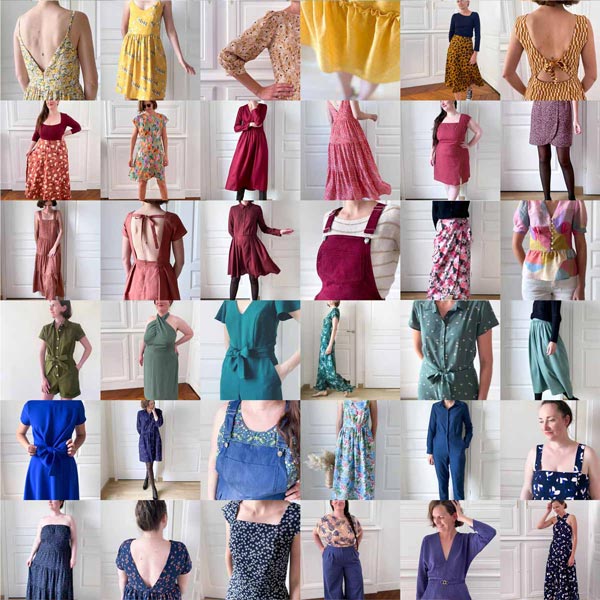
Personalize your unique dress with the customizable patterns #MaRobeAtelierCharlotteAuzou

Step 5: the canvas(es)
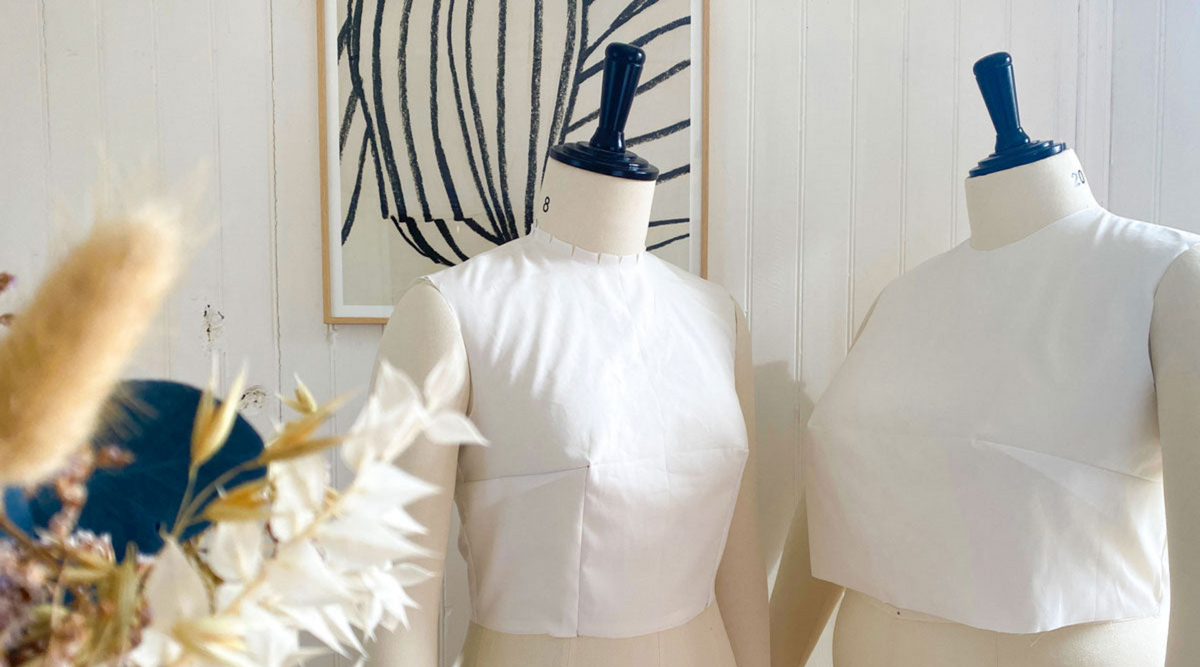
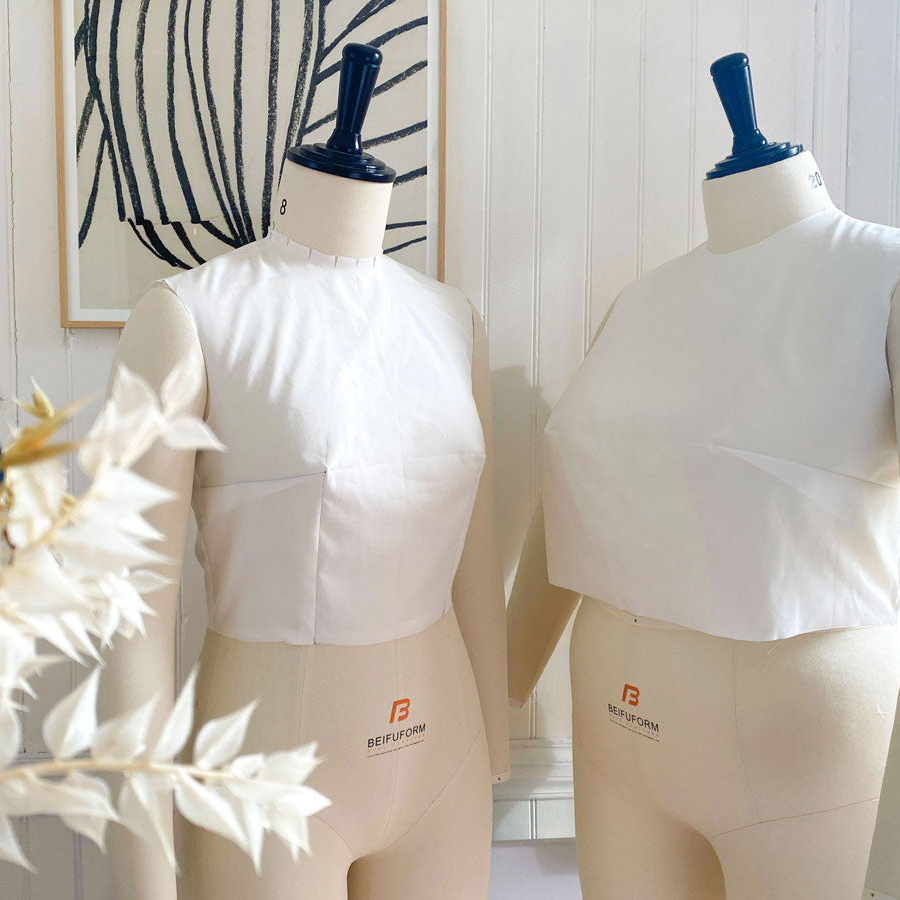
Your dress is taking shape! The toile stage will allow you to make pattern adjustments for a custom fit. You will also be able to think about the assembly steps and the finishing touches of your final dress.
Step 6: Buy the fabrics
Using the toile step, determine the fabric yardage and supplies needed to make the final dress. We recommend ordering slightly larger quantities to allow for potential errors and to make study pieces.
Step 7: Sew study pieces
A study piece is an assembly that allows you to practice and test techniques and settings on the final fabric. For example: choosing your interfacing, choosing the hemming technique, choosing the settings of your machine for sewing lace, practicing the application of the lichette…

Step 8: The Cut
This is a crucial step because a bad cut can alter the final fall of the dress. Dedicate a specific time to cutting your materials.
Step 9: assembly
Be patient and take your time. If you have prepared your project well using the previous steps, it will go smoothly!
Step 10: Final Touch-Ups
They must be done in the month before the wedding to ensure a perfect fit on the big day. This is also the time to hem your dress while wearing your shoes.
♡