
Sewing tutorial: personalize with scallops

Scallops on a couture finish that I have loved for a very long time. From the Los Angeles dress and top to the scalloped bustier of the Love wedding dress , including the customizable wrapover , I love personalizing my patterns with scallops.
You can see them everywhere! On a hem, a neckline, a cutout, a backless... There are many inspirations. I created a Pinterest board to gather all the ideas for adding scallops to your sewing creations.


I want to offer you a two-part tutorial with the goal of teaching you how to customize any sewing pattern with scallops. First, we will learn how to trace the scallops onto the pattern, and then how to sew them.
For this example, I chose to add scallops to the hem of a pair of shorts, but all of the steps also apply to necklines or other places you might want to add scallops.
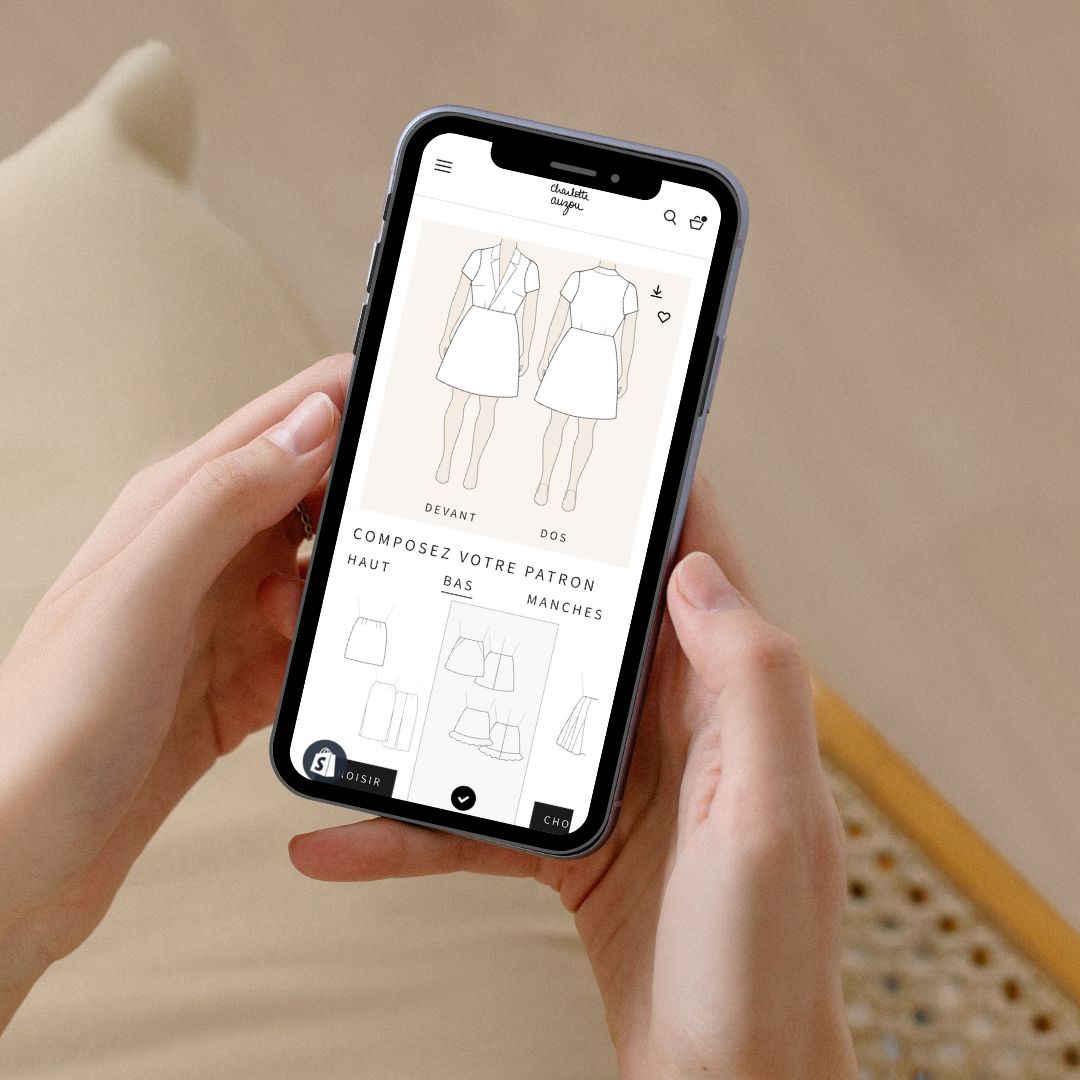
Customizable pattern #MaRobeAtelierCharlotteAuzou: jumpsuit + belt "Just the bottom"
Trace the festoons
Prerequisite : Use a pattern without seam allowances to add the scallops to the pattern.

Draw a parallel line 5mm from the hem towards the inside for the front and back.

Measure the length of this line on the front (26.8 cm)...

...then on the back (34.2 cm). Add these two lengths together. The hem measures 61 cm.
We will now define the length of the scallops to distribute them between the front and the back. I suggest you draw scallops of about 5 cm in length. This is a length that you can adapt according to your taste and the style of scallops you want to add.
Number of scallops = hem length (61 cm) / 5 = 12.2
The result must be rounded, i.e. 12 festoons.
To know the exact length of each scallop: scallop length = hem length (61 cm) / number of scallops (12) = 5.1 cm.

Transfer the length of the scallops (5.1 cm). Place the marks starting at the side seam of the front, then up to the crotch of the front. Continue from the crotch of the back to the side seam of the back. This will ensure that the scallops go all the way around the hem without any interruption at the crotch.

Draw the scallops between each mark. For this, I use a glass 8.5 cm in diameter. A larger glass will give more crushed scallops, a smaller glass more rounded scallops.

To trace the scallop at the junction of the front and back at the crotch, position the patterns side by side.

Before cutting out the pattern and fabric, add 1cm seam allowance all around. Do not cut along the scallops, add 1cm as well.
Draw the edge of a facing that will be used to sew the scallops on the front and back. It is located 5 cm from the scallops towards the inside.

This is the result of your patterns before cutting.
Sew the scallops

Cut your fabric. You will get for the shorts: 2 fronts, 2 backs, 2 front scalloped hem facings, 2 back scalloped hem facings.
These facings are interfacing because the fabric used is a fluid Tencel (175 g/m2) . Without the interfacing, the scallops will be too "soft" and difficult to form. The interfacing I use is H180 from Vlieseline . It gives hold without weighing it down. If your fabric is lighter, you can also interfacing the bottom of the fronts and backs to a height of 5 cm.
Also trace the design of the scallops on tissue paper. You will get 4 pieces: 2 for the front, 2 for the back. Be sure to trace them symmetrically for each of the legs.

Assemble your shorts and join the front and back facings together at the short sides. The facings are like linings for the scalloped hem. They will be on the inside once the hem is sewn.

With the shorts right side out and the facings wrong side out, slide the facings around the legs and pin edge to edge, right sides together. Align the side seams.

Overlap the tissue paper with the scalloped outline.

Machine stitch along the outline of the scallops. You are sewing 3 layers here: the main fabric, the facing and the tissue paper. If necessary, use a transparent presser foot for better visibility. The stitch used is a straight stitch with a length reduced to 1.7. This allows for a stronger seam. Do a test on a scrap before starting.
To turn between each scallop: stop sewing, insert the needle into the fabric, raise the presser foot, turn your work, lower the presser foot, start sewing again.

Carefully tear off the tissue paper.

Using small scissors, cut along the scallops a few millimeters from the seam. Take your time, this is a delicate operation.

Cut between each scallop without cutting the seam.

The shorts are inside out. Turn the facing inside out and start pre-shaping the scallops with your fingers.

Iron the scallops one by one, forming a fold on the seam. This is the most important step to successfully make your scallops. To properly form the roundness of the scallops, I use a non-blunt, pointed object. Here, a wooden knitting needle.

To fix the facing inside, there are several types of finishes.
- I chose to overlock the top of the facings and to sew with a straight stitch on the machine. It's less discreet but it holds well!
- you can hand-stitch your facing to the side and crotch seam margins. It's completely invisible but you might see them showing.
- you can hand sew all around the facings with an invisible stitch.

Here is the result. Feel free to ask me your questions and share your experience in the comments.
Happy sewing!