
Sewing tutorial: a personalized dress with a pleated skirt

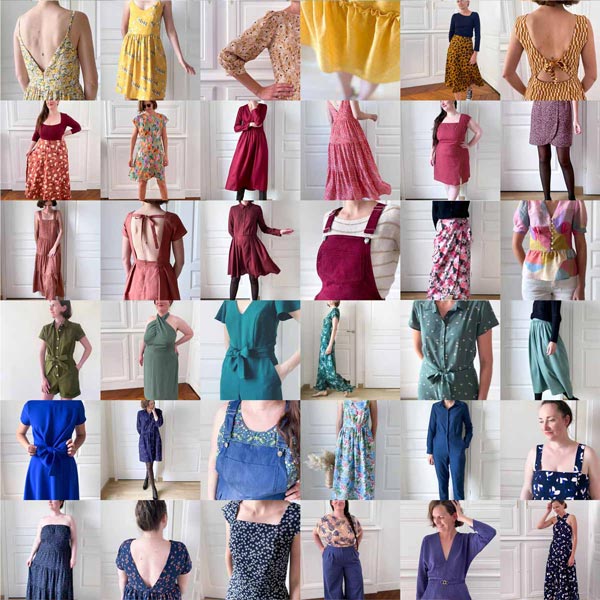
The customizable #MaRobeAtelierCharlotteAuzou patterns are designed to develop your sewing creativity and I am more than delighted when I discover your unique creations on Instagram.
I literally fell in love with @pawline_sew 's creation and her saffron dress that I invite you to discover on her account.
Today, I'm teaming up with Stragier to put together a tutorial that will help you sew your pleated dress.
Stragier pleats
Stragier has developed a range of pleated fabrics sold in the form of panels of 75 cm or 150 cm in height. A rolled hem is already made on the panels. Two materials are available: microfiber batiste and washed satin . For these two qualities, you can also buy the matching non-pleated fabric.
Here I chose the rust washed satin and sewed it on the matte side.

The boss
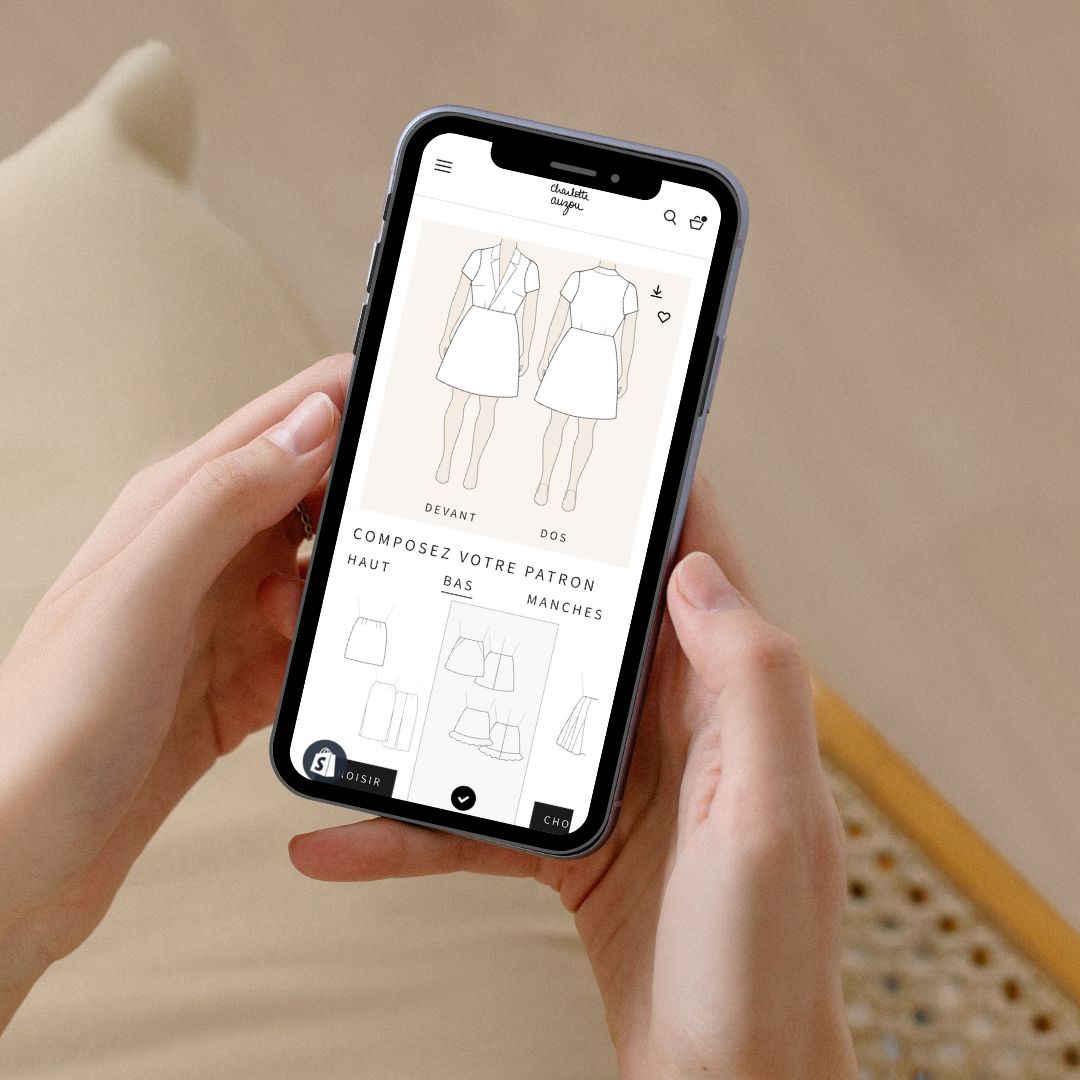
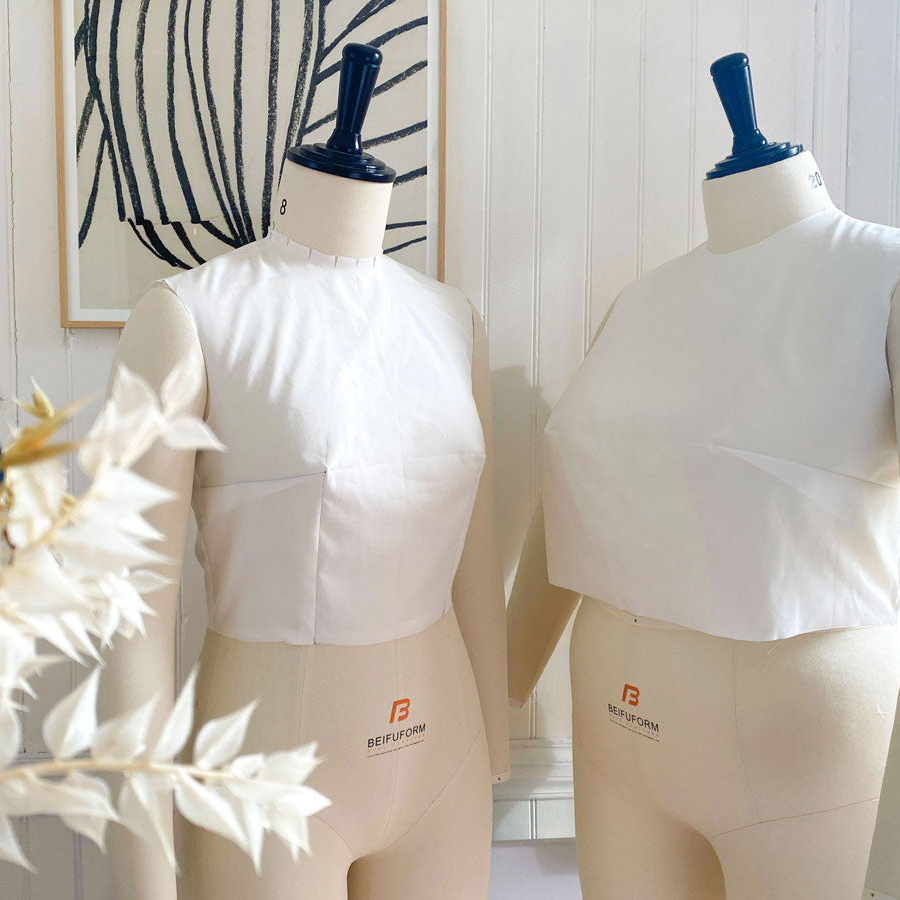
To make this model, you will need a TOP pattern from the customizable range #MaRobeAtelierCharlotteAuzou . You can also add Sleeves . You do not need a bottom pattern.
Supplies
• dress top and sleeves: the list is in your pattern instruction booklet. Here I chose the classic front back and short sleeves .
• pleated skirt: a 75 cm high panel for a midi length dress if your waist size does not exceed 80 cm. Otherwise, choose a 150 cm panel that you will cut in two in its height. Here, I cut the 75 cm panel to make a short skirt 50 cm high.
• the dress is also personalized with the tie belt. You can find the tutorial for sewing it on the blog .
The assembly steps
Start by completing chapters 1, 3, and 4 of your top and sleeve instruction booklets. There is no chapter 2 to complete for the bottom.
In Chapter 5 "Waist and Side Seams" the steps will start to differ.

Before assembling the top and bottom at the waist, we will assemble the front and backs of the top at the sides.
Overlock the sides and place them, edge to edge, right side against right side. Stitch 1 cm from the edge and press the margins apart.


Place a piece of adhesive tape (masking tape here) at the top of the pleated panel (side without a rolled hem) if you want to make a midi-length dress (photo 1). Otherwise, place the adhesive tape at the desired skirt height (photos 2 and 3). This will hold the pleats in place. Sew with a straight stitch along the adhesive tape. Cut 1 cm from the seam if necessary and remove the adhesive tape.

For the waist seam, place the pleated panel and top right sides together. Sew again over the seam previously made on the pleated panel.
Make sure to place the pleats according to the following diagram on each side of the middle back in order to subsequently create nice pleat connections for installing the invisible zip.

Cut off the excess portion of the pleated panel.
Place the invisible zip in the middle of the back of your dress according to the steps detailed in your booklet in chapter 6.
Close the middle back in line with the zip, making sure to respect the fold connections.
Make chapters 7 and 8 for the sleeves of your dress. There is no chapter 9 because the rolled hem is already done by Stragier :)
Happy sewing!


* the fabric to make this tutorial was generously donated by Stragier