

Sewing tutorial: elastic belt with buckle

The custom dresses from the #MaRobeAtelierCharlotteAuzou patterns are fitted at the waist. When I sew them, I like to add a little ease at the waist for more comfort and add a belt to fit as I like. Perfect for the end-of-year parties and their good meals ;)
After the sewing tutorial for the tie belt , today I offer you a step-by-step guide to sewing an elastic belt with a buckle.
Supplies
1 belt buckle 2 cm high (Cousette)
1 flat elastic band (here 2 cm high)
1 strip of fabric ( Dobby night Atelier Brunette )
Measures
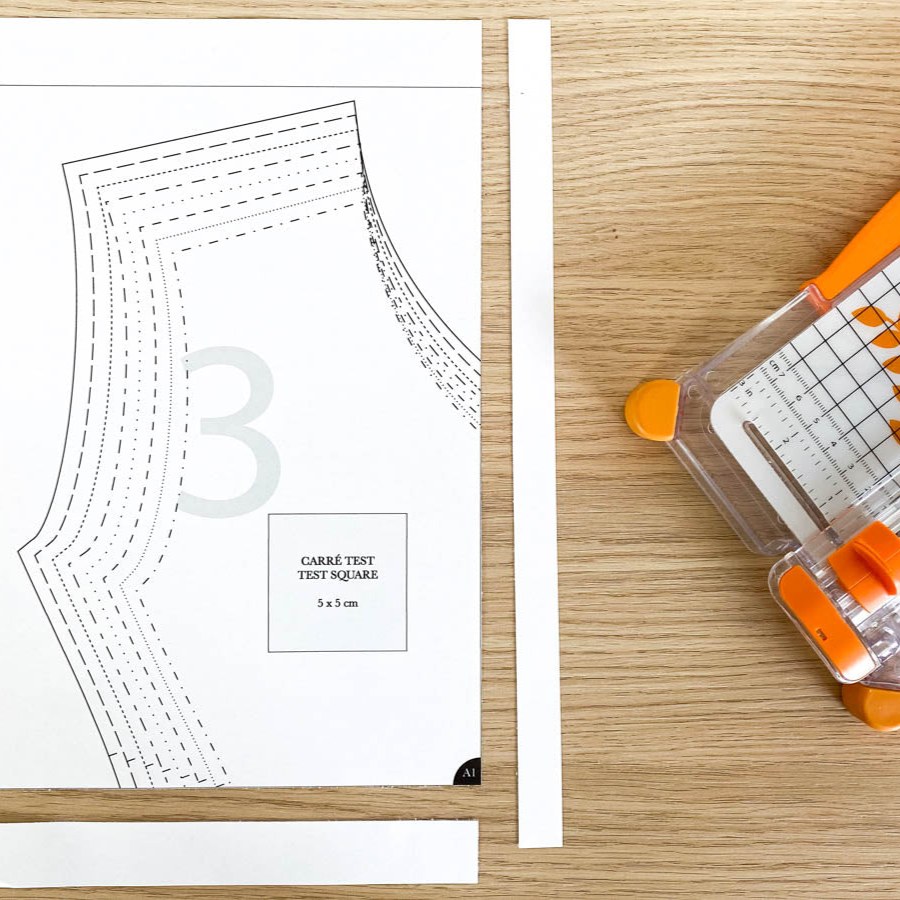
Height of the fabric strip : multiply the width of the elastic by 2 and add 3 cm of margins for seams and ease. So for an elastic 2 cm wide, the fabric strip will be (2 cm x 2 + 3 cm =) 7 cm high.
Length of the fabric strip : measure your waistline and multiply it by 1.6. For example, for a waistline of 70 cm, the fabric strip will be (70 x 1.6 =) 112 cm.
Elastic length : measure your waistline (here 70 cm). Also measure the width of your loop (here 4 cm). To determine the length of the elastic, subtract the width of the loop from the waistline and add 2 cm of margins. For example, 70 cm - 4 cm + 2 cm = 68 cm.
Assembly

1/ Fold the strip of fabric, right side against right side, lengthwise. Sew 1 cm from the edge along the entire length without closing the ends.

2/ Using an iron, spread the margins and center the seam.

3/ Turn right side out using a bias binder.
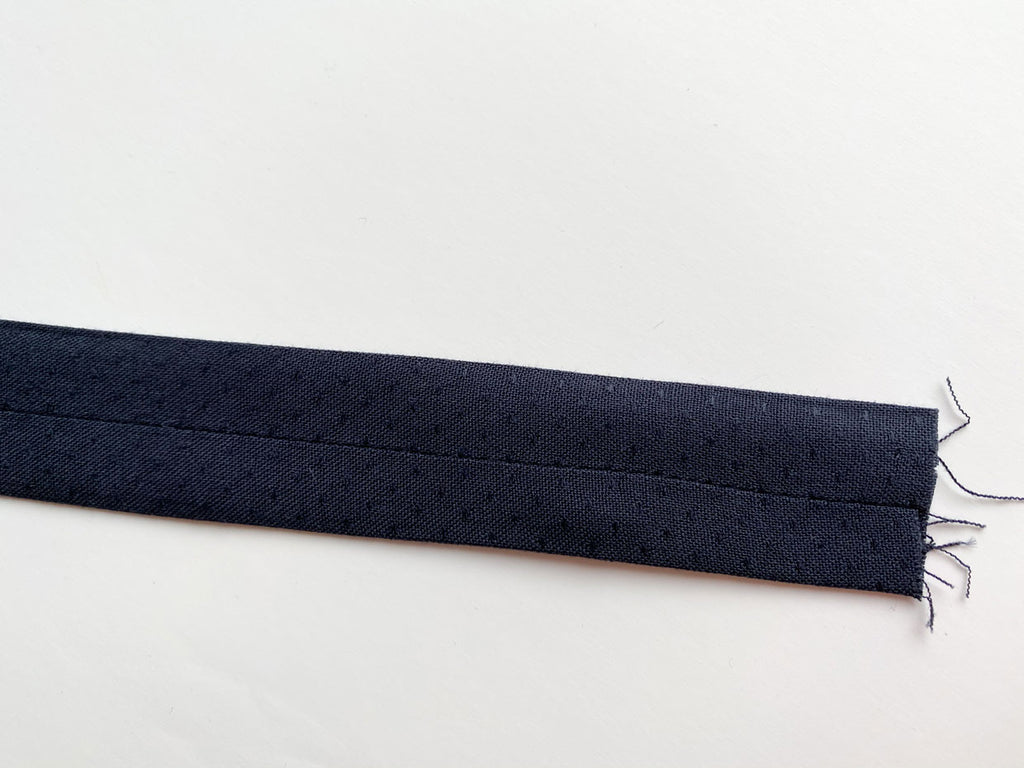
4/ Iron, making sure to keep the seam in the middle of the belt. This way it will be completely hidden when you wear the belt.


5/ Using a safety pin, slide the elastic into the strip of fabric. Since the elastic is shorter, gather the fabric and make sure that the elastic sticks out on both sides. Place a pin on one end to help you.

6/ Slide the elastic inside the strip of fabric. There is 1 cm of fabric left without elastic, and the rest of the belt with elastic. Place a pin to hold in place.

7/ Slide the belt into the buckle 3 cm. Pay attention to the direction, here is the reverse of the belt and the buckle.

8/ Fold the belt over 1 cm (elastic part), then over 2 cm and pin.
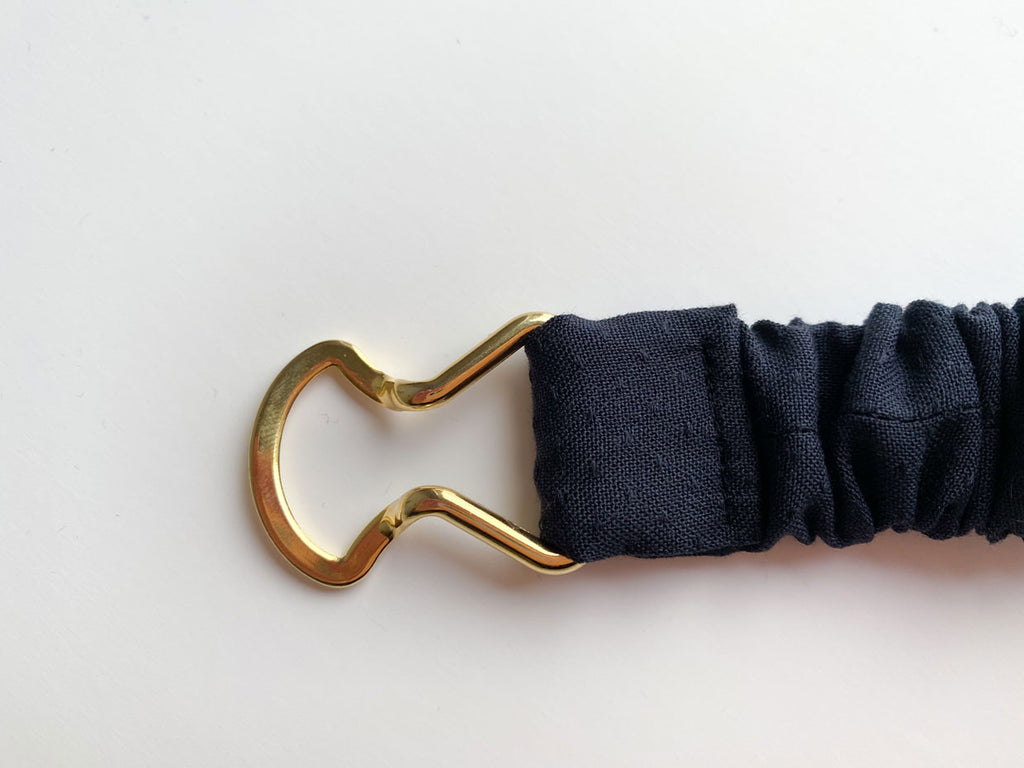
9/ Sew with a straight stitch as close to the fold as possible. Make sure to consolidate your seam with back stitches at the beginning and end.

10/ Repeat steps 6 to 9 on the other end of the belt with the second part of the buckle.
TAADAA!

Dobby night fabric Atelier Brunette