
12 sewing tips
This summer, I had the pleasure of sharing with you on Instagram my favorite sewing tips. They are not all academic but they work rather well for a perfect rendering of your sewing creations without too much hassle!

"Notch the seam allowances" or "trim the corners"?
When I assemble a facing with a rounded seam at a neckline or armhole, I prefer to trim the seam allowance 2 mm from the seam rather than notching. This gives a nicer seam when ironing on the right side. I also prefer to use my small scissors to avoid accidents 🙈 
Fixing your facings
Facings allow for pretty finishes to necklines and armholes. But to prevent them from coming out when you wear your handmade creation, I advise you to fix them with a few stitches by hand at the shoulder or side seam allowances. 
Do you know about iron-on straight-grain tape?
This is a must-have when sewing flowing materials that tend to stretch on the bias. It is perfect for V-necks, wraps, backless dresses, etc.
Place your fabric piece wrong side out and overlay the corresponding pattern to check that it is not distorted. Position the straight-grain tape in the seam allowance and iron. Your garment will not distort when sewing or wearing. 
The canvas
There are two stages in learning to sew: knowing how to sew and knowing how to make clothes that fit us.
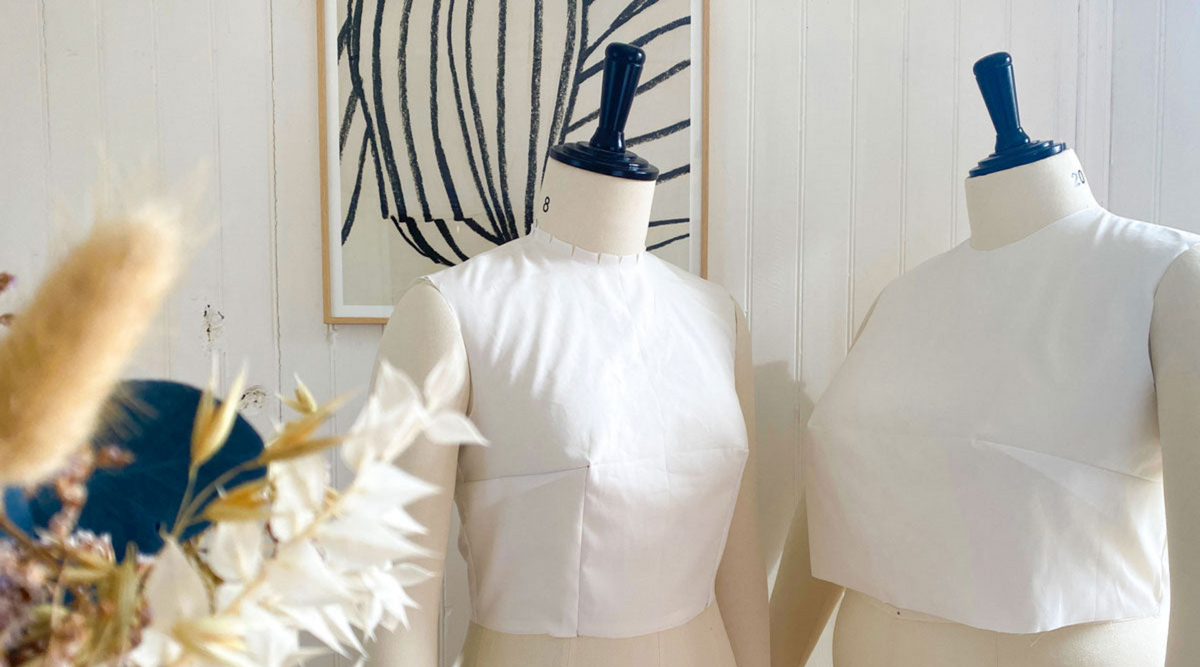
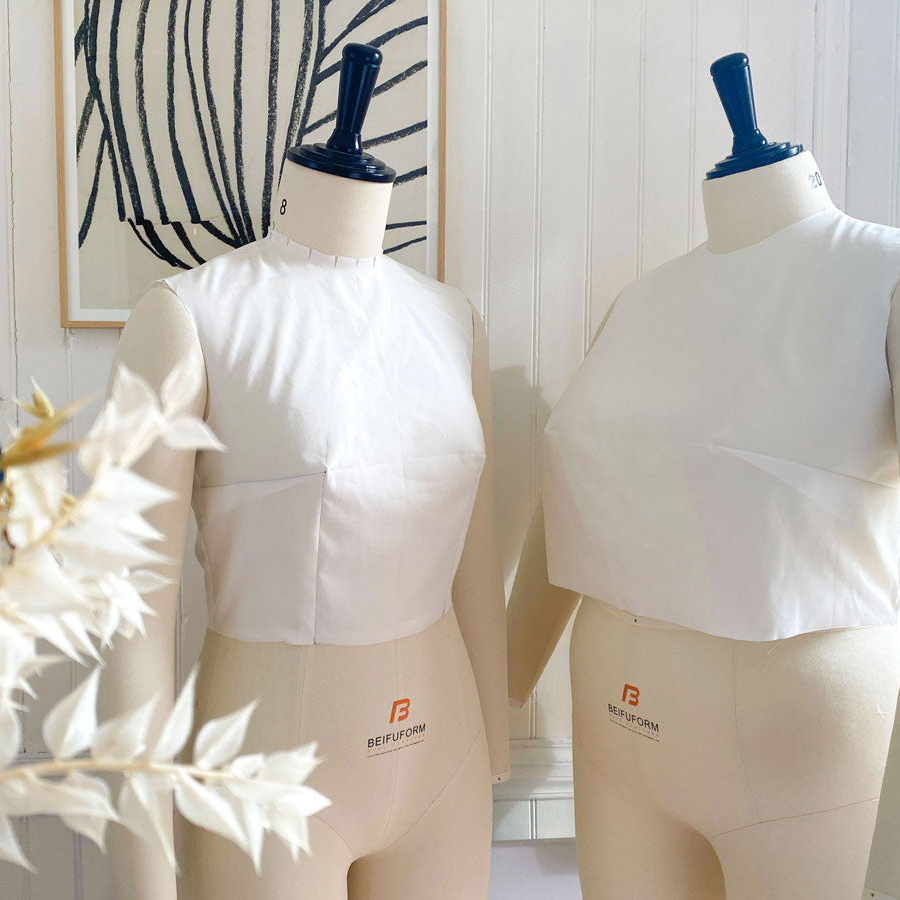
Thanks to a toile, you can make the necessary adjustments to a pattern directly on you so that the standard becomes custom-made.
You can buy special canvas fabric but also use your scraps for a pretty patchwork style canvas ;-) 
Open seams
A great sewing project is ironing. I tend to use open seams for most of my projects and the jeannette is the essential tool, especially for ironing sleeves or pants. 
The invisible zip
This technique may seem scary but it is not that complicated ;-)
I have gotten into the habit of basting my zipper (this is the only time I baste!) to prevent it from moving while sewing. And the special foot on my sewing machine is essential. I also spread the teeth of my zipper apart while sewing to be more precise. 
Passion for festoons 💕
To sew beautiful scallops, you need an easy-to-iron fabric and a suitable interfacing. But I also have this wooden knitting needle, sharp but not too sharp, which I use to form the pleats well when ironing.

Pin
To be able to easily remove your pins as you sew on the machine, place them perpendicular to your seam with the head positioned on the right (or on the left if you are left-handed). 
The assembly marks
To mark the assembly notches or darts, I usually cut the pattern and the fabric with a small pair of scissors. Be careful not to cut too much to stay within the seam allowances ;-) 
The cutting stage ✂️
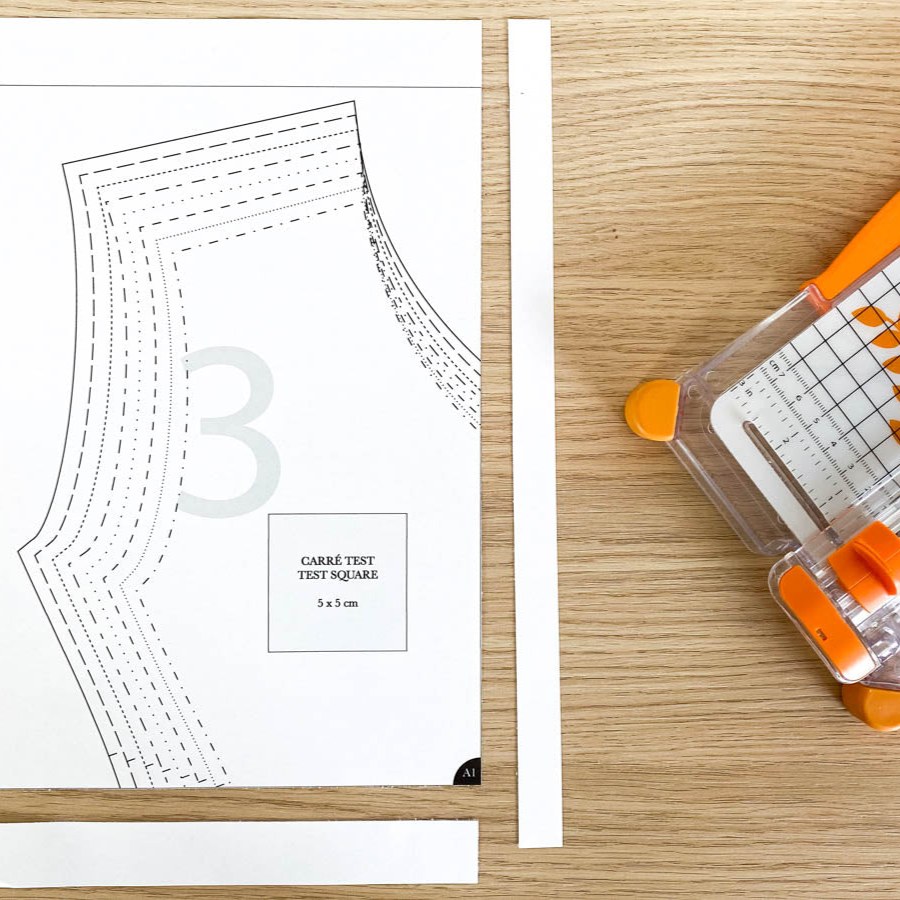
It's not always the time you prefer. For most of my projects, I've gotten into the habit of using a rotary cutter and a cutting mat. I save a lot of time!
And for flowy fabrics that slide, instead of pinning my pattern to my fabric, I add weights and cut both at the same time. 
Handkerchief hem
Before sewing my handkerchief hem on the machine, I overlock the edge of the fabric. I then have a 5 mm guide which allows me to easily fold my fabric twice and form my hem. 
The table trash can
Even though I have a room dedicated to sewing in my apartment, I have gotten into the habit of having little pots on my work surface to put threads and fabric scraps in. No need to clean up after each sewing session!
And even more useful now that my workshop is shared with my baby's room :)