

Sewing tutorial: lining your personalized dress
Winter is coming but that's no reason to stop sewing pretty dresses! I offer you a tutorial to learn how to line your personalized dresses to give them a little warmth. This technique can also be applied to dresses that need to be lined because the fabric is transparent, or lace dresses.
Please note that this tutorial does not replace the instructions in your pattern but gives you keys to adapt the assembly.
The cut

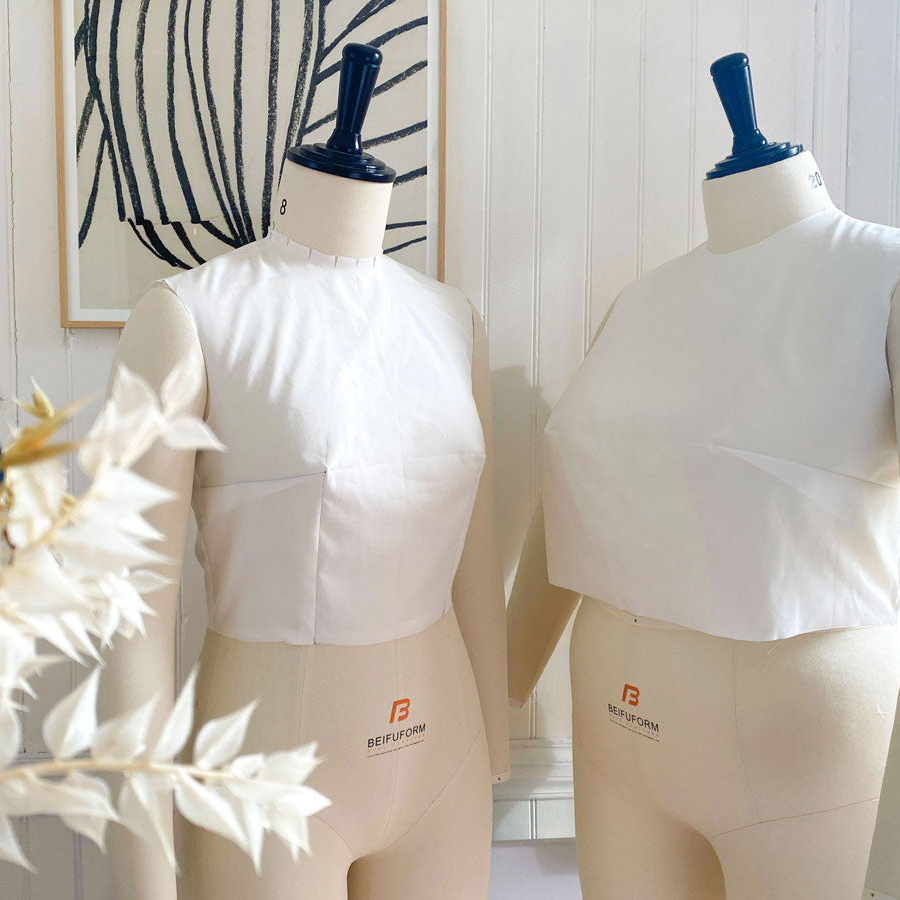
For a lined dress, you do not need to cut the facings. Cut the front and back pieces of the top and bottom from the main fabric, then cut them again from your lining fabric. The sleeves do not need to be lined.

Reinforce the bias-cut necklines with iron-on straight-grain tape to prevent them from becoming deformed. This step allows you to replace the facing interfacing initially planned in the assembly of your dress.
The assembly of the dress

Repeat the steps for assembling the main fabric onto the lining fabric. The goal is to obtain two identical dresses that will then be assembled against each other. You can leave the edges unserged as they will then be hidden once the dress is assembled. This also helps to avoid excess thickness.
For assembling the facings at the neckline and armholes (if assembly type 2), follow the steps as if your lining were the facings.
Installing the invisible zip 

Once the invisible zip is placed on the main fabric, the lining will be sewn in the same way as the facings but over the entire length of the zip instead of a few centimeters.
Place the main fabric and the lining right sides together. Pin the lining along the invisible zipper, making sure to match the waist seams.

Sew using the special foot following the teeth of the invisible zip. 

Turn right side out. Waist seams are facing.
Assembling the sleeves 

If you have chosen type 2 sleeves for your custom dress, this step does not apply to you.
For type 1 sleeves, the sleeves are not lined. Start by pinning together the armholes of the main fabric and the lining, edge to edge, wrong side to wrong side. Stitch 5 mm from the edge to hold them together. Assemble your sleeve and stitch 1 cm from the edge with the three layers (sleeve, main fabric, lining). Overlock and press the seam allowances towards the sleeve. 
The finishes
Icing: this technique allows the lining to be held securely to the main fabric, particularly at the waist seam.
On the wrong side of the main fabric, between the main fabric and the lining, place the waist seam allowances against each other. Hand-sew a few stitches to hold them together. Be sure to match up any side seams, princess seams, or darts.
Material advice
There are many fabrics that can be used as lining. Here are some materials that I like to use:
• Bemberg for its lightness and antistatic side. I like to use it for dresses that I wear with tights.
• Viscose poplin . Ultra soft and comfortable, but be sure to wash it well before sewing to avoid any shrinkage.
• cotton batiste for its opacity and natural side. I do not recommend it for winter dresses because it clings to tights.


52 comments
Merci beaucoup pour ces explications ^^
Et comment peut-on coudre la doublure entre le bas du haut cache cœur et le haut de la jupe s’il vous plaît ?
Merci.
Julie
merci pour un encore bonne astuce!! je doublais mais ne glacais pas j’utilise plutot le bemberg mais le voile de viscose est surement une tres bonne option!! je retiens!!💜
clémentine
Leave a comment
This site is protected by hCaptcha and the hCaptcha Privacy Policy and Terms of Service apply.