

Embroidering the yoke pattern and sewing a blouse

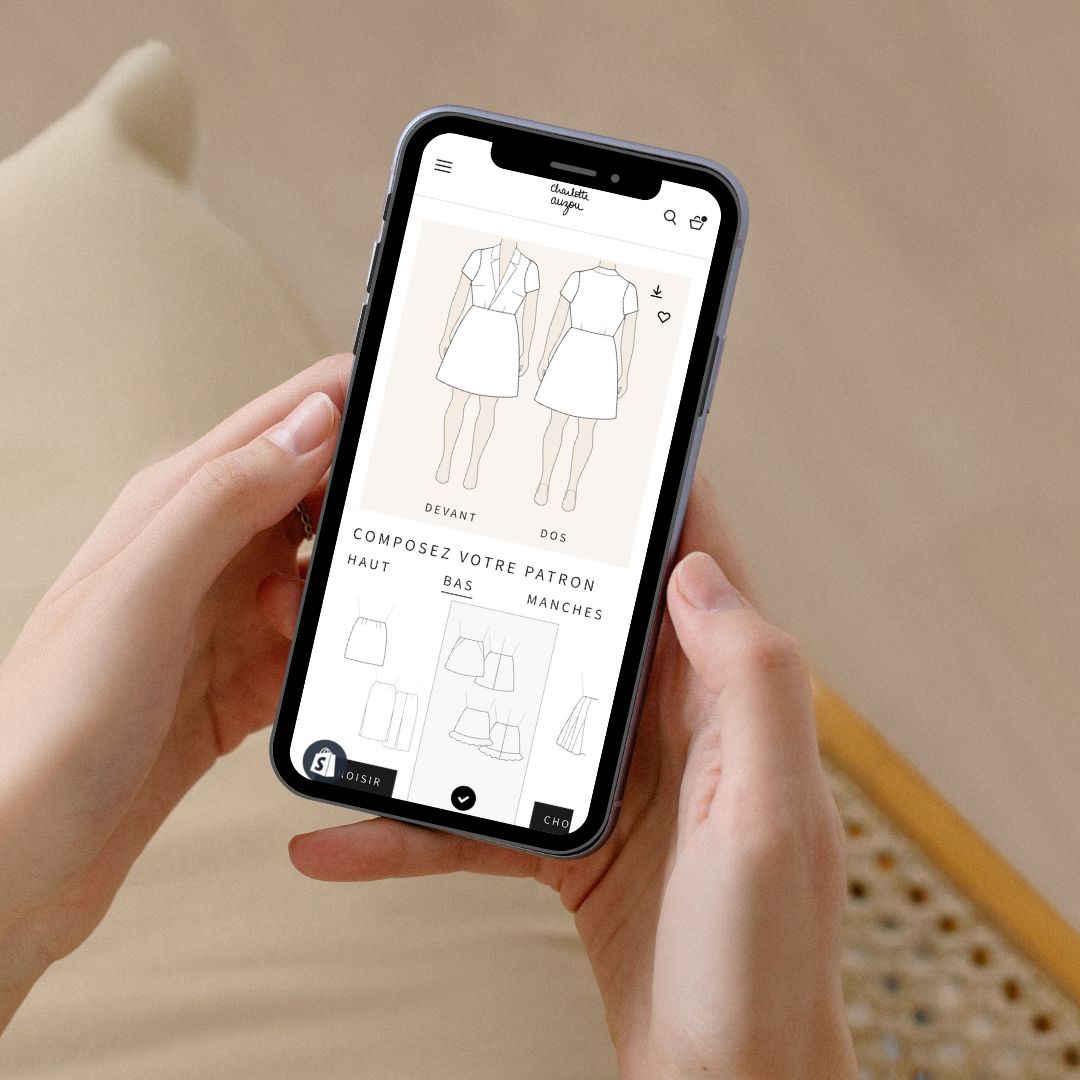
There are patterns that you can immediately visualize with a finished version in mind. This is precisely the case with the customizable top Plastron. When I imagined it, I thought that its lined front and back yoke offered an ideal playground to let creativity run free. Small pleats, quilting, embroidery… the possibilities seemed endless.
As often happens, the desire was there, but the time was not. This blouse sat for a long time in a corner of my mind before I truly got started. And once I decided to begin, a new challenge arose: several months were needed to complete the hand embroidery before even being able to cut and assemble the fabric.
Throughout this process, I tried to document the different steps with photos, with the idea of sharing both the progress of the project and some tips. If you also feel like customizing the Plastron pattern with embroidery, you will find here my feedback and experience. My embroidery skills being limited, this is primarily a story of experimentation.

Let’s begin with the inspiration behind this project. In my wardrobe, I have a few Mexican blouses brought back from trips that I love to wear as soon as the warm weather arrives. Their embroidery is stunning, rich in detail and color. However, for a first embroidery project, they seemed a bit too ambitious, particularly due to the multitude of threads and small flowers to reproduce.
Through my research, especially on Pinterest, I discovered many embroidered blouses in terracotta and ecru tones. This soft and natural palette immediately appealed to me: warm, timeless, and more accessible for getting started.
It was ultimately during a visit to Diffus’Laine that the project truly took shape. There, I found a cotton poplin in a beautiful terracotta shade. This meeting between the idea and the material acted as a trigger: all the elements were in place to begin. The first stone of the project was laid.

Next, I had to design the motif I would embroider. I initially spent a lot of time searching online for existing embroidery patterns, but none really matched what I had in mind or how I wanted to integrate them into the Plastron yoke. I therefore decided to draw it myself.
I usually draft my patterns digitally using Illustrator. So I revisited my files, isolated the pattern pieces corresponding to my size, and displayed the yoke at scale on my screen. From there, I began sketching floral motifs directly on top.
For this project, I drew inspiration from the floral patterns found in Japanese Sashiko embroidery. Their graphic simplicity and repetition seemed particularly well suited for a first embroidery exercise. Working digitally made it easy to duplicate shapes and adjust proportions as I went along. Of course, this step can also be done by hand on paper, depending on one’s preferences.

Here is the result once printed to scale. It is essential to work from a pattern without seam allowances to ensure that the motif will not be cut off during garment assembly. This precaution allows you to visualize the final result precisely and adjust the placement of the design safely.

I then traced both my pattern and my motif onto Solufix. This is a water-soluble and slightly adhesive paper, which allows you to avoid drawing directly on the fabric. It is also a practical support that provides some stability to the textile during embroidery, similar to a lightweight interfacing.

I stick my Solufix onto the fabric, aligning it with the grainline, and off I go for many hours of embroidery ahead :-)

Not yet mastering the different embroidery stitches, I chose to keep things simple. I made sure to fill all my flowers in the same way, using a consistent and regular stitch. This may seem simple in theory, but in practice, consistency requires patience and a certain amount of learning! A small tip ;-) I would recommend starting with the back pieces to get comfortable and finishing with the front Plastron.
My embroidery thread is DMC brand thread in ecru. I used a total of three skeins for this project. The thread is made up of six strands, and I chose to embroider using only two strands at a time. In hindsight, this may not have been the most efficient choice, as it significantly extended the embroidery time!
This project kept me busy for several months, in phases. I made real progress last February during a train trip to Italy. Twenty-six hours round trip leaves plenty of time to advance on your embroidery! It is, in fact, a creative hobby particularly well suited to long journeys, allowing you to progress calmly while pleasantly occupying your time.

And here is the result! I did notice, however, that the shape of my pieces might disappear when removing the Solufix. To remedy this, I carefully marked the outlines with a basting stitch to preserve my reference points for the next steps of assembly.
I must admit I felt some apprehension after all those hours of embroidery at the idea that the Solufix might not dissolve properly. I had simply forgotten to do a preliminary test, oops… Fortunately, everything went well: the material dissolves very easily in water. I then machine washed the fabric pieces to remove any remaining residue, and the result is flawless.
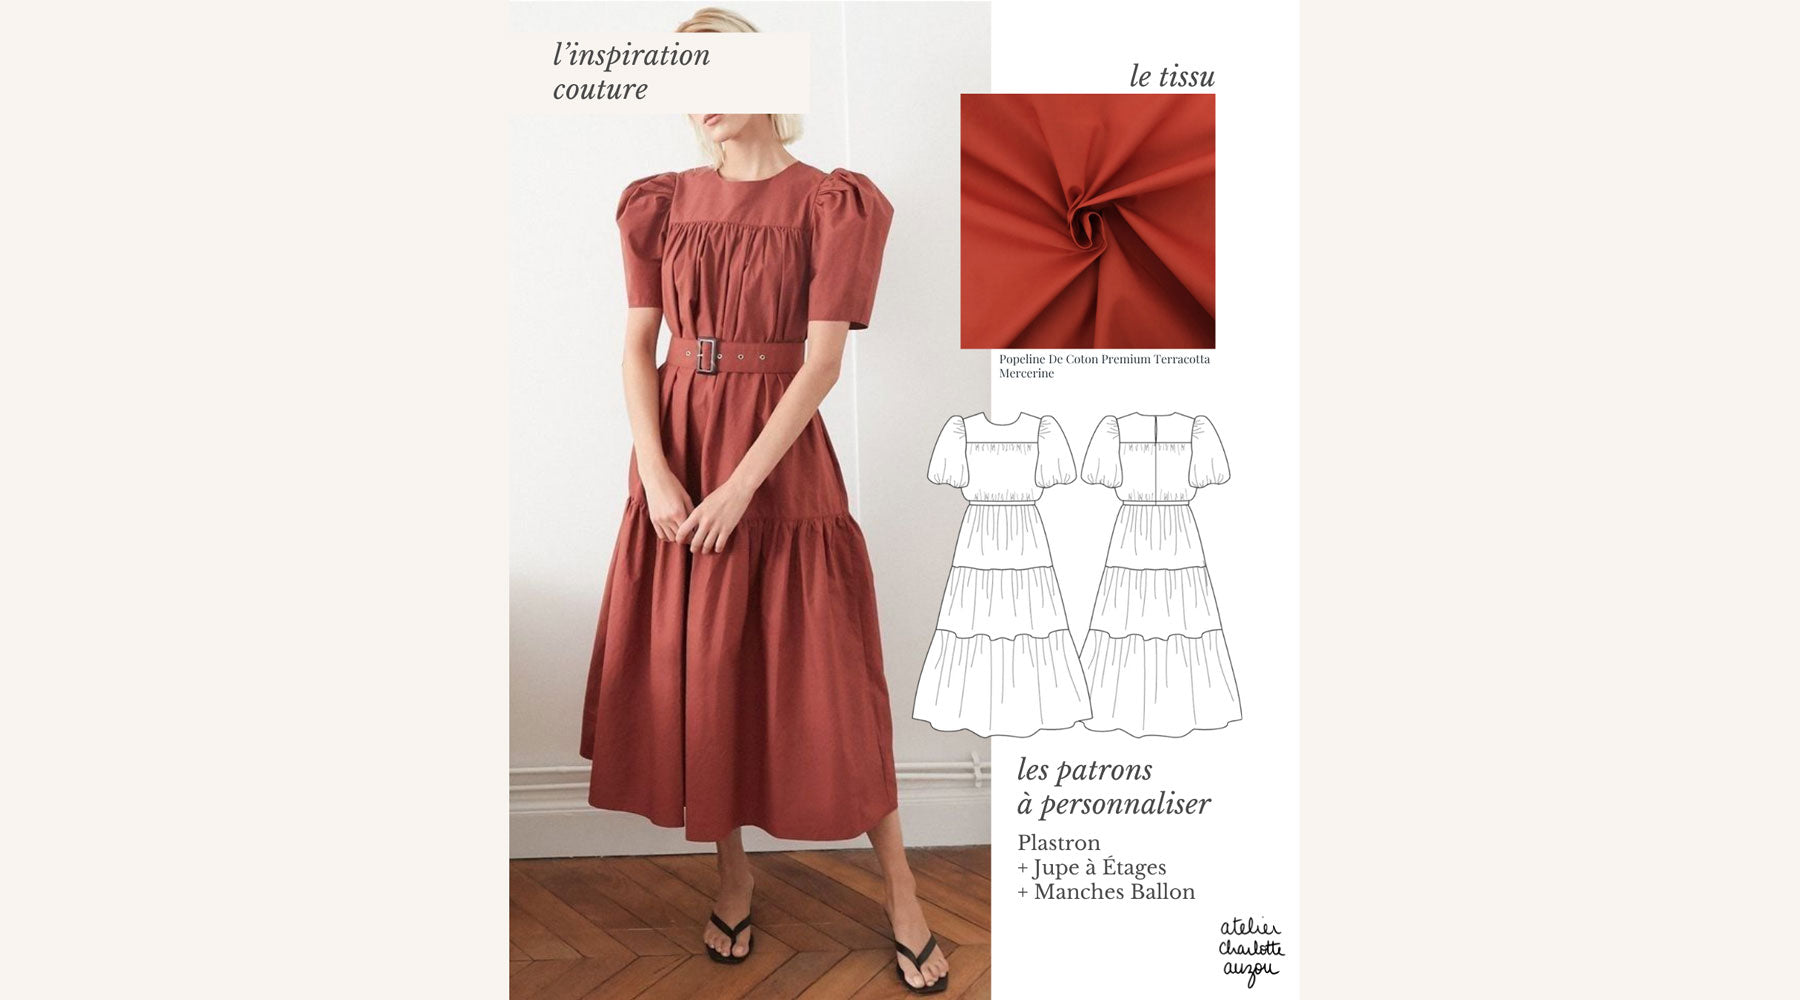
The sewing part almost felt like a formality after all that embroidery work. I therefore sewed the Plastron pattern, a customizable top model that can be made into a dress. On my blog, I provide a tutorial to modify it into a simpler blouse. The sleeves used here are the Classic Short Sleeves.
I hope my embroidered blouse inspires you to explore the possibilities offered by combining embroidery and sewing in your future creative projects.
Happy embroidery and happy sewing!
Charlotte




Leave a comment
This site is protected by hCaptcha and the hCaptcha Privacy Policy and Terms of Service apply.